In the PC-Engine consoles line, the DUO is my favourite. It plays Hucards, all CD-Rom games (excepted Aracade ones) and has still a nice dark gray look despite its age. I know that the DUO-R is said to be the more robust, but it lacks stereo jack output and its white body tends to become yellow over the time. Moreover, it is easier to find technical informations about the DUO. Unfortunately, this model suffers from bad capacitors that always end up leaking. It’s a necessity to change all capacitors as soon as possible, before the damages become unreapairables. And the console has a lot of capacitors : it took me around 3 hours to clean everything and change them all !
Here is the story of my PC-engine DUO’s capacitors replacement…
Needed Material
- Soldering iron
- Tooth brush
- Isopropyl alcool
- Some Q-tips
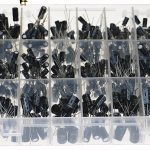
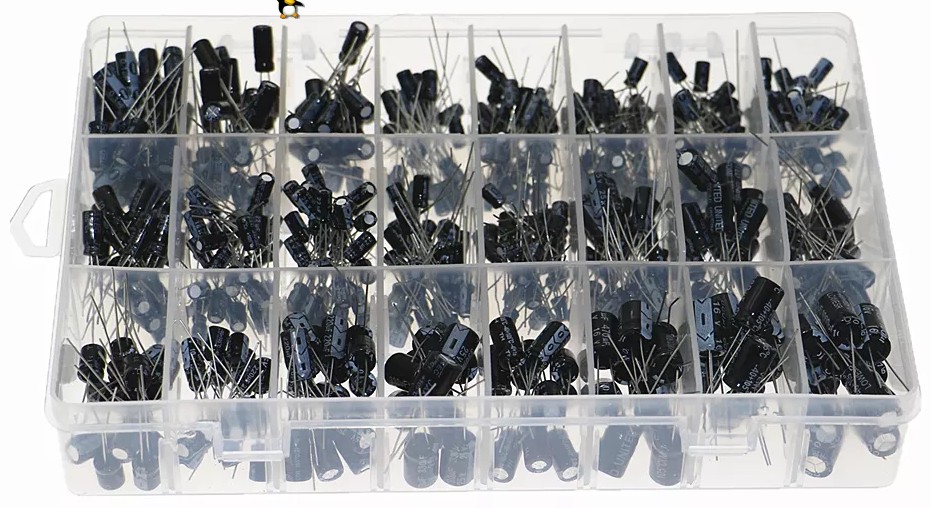
- Of course brand new capacitors (the list is here console5.com)
- A desoldering pump can help for through-hole capacitors
- A pair of flat pliers to handle capacitors (they become hot while desoldering hem)
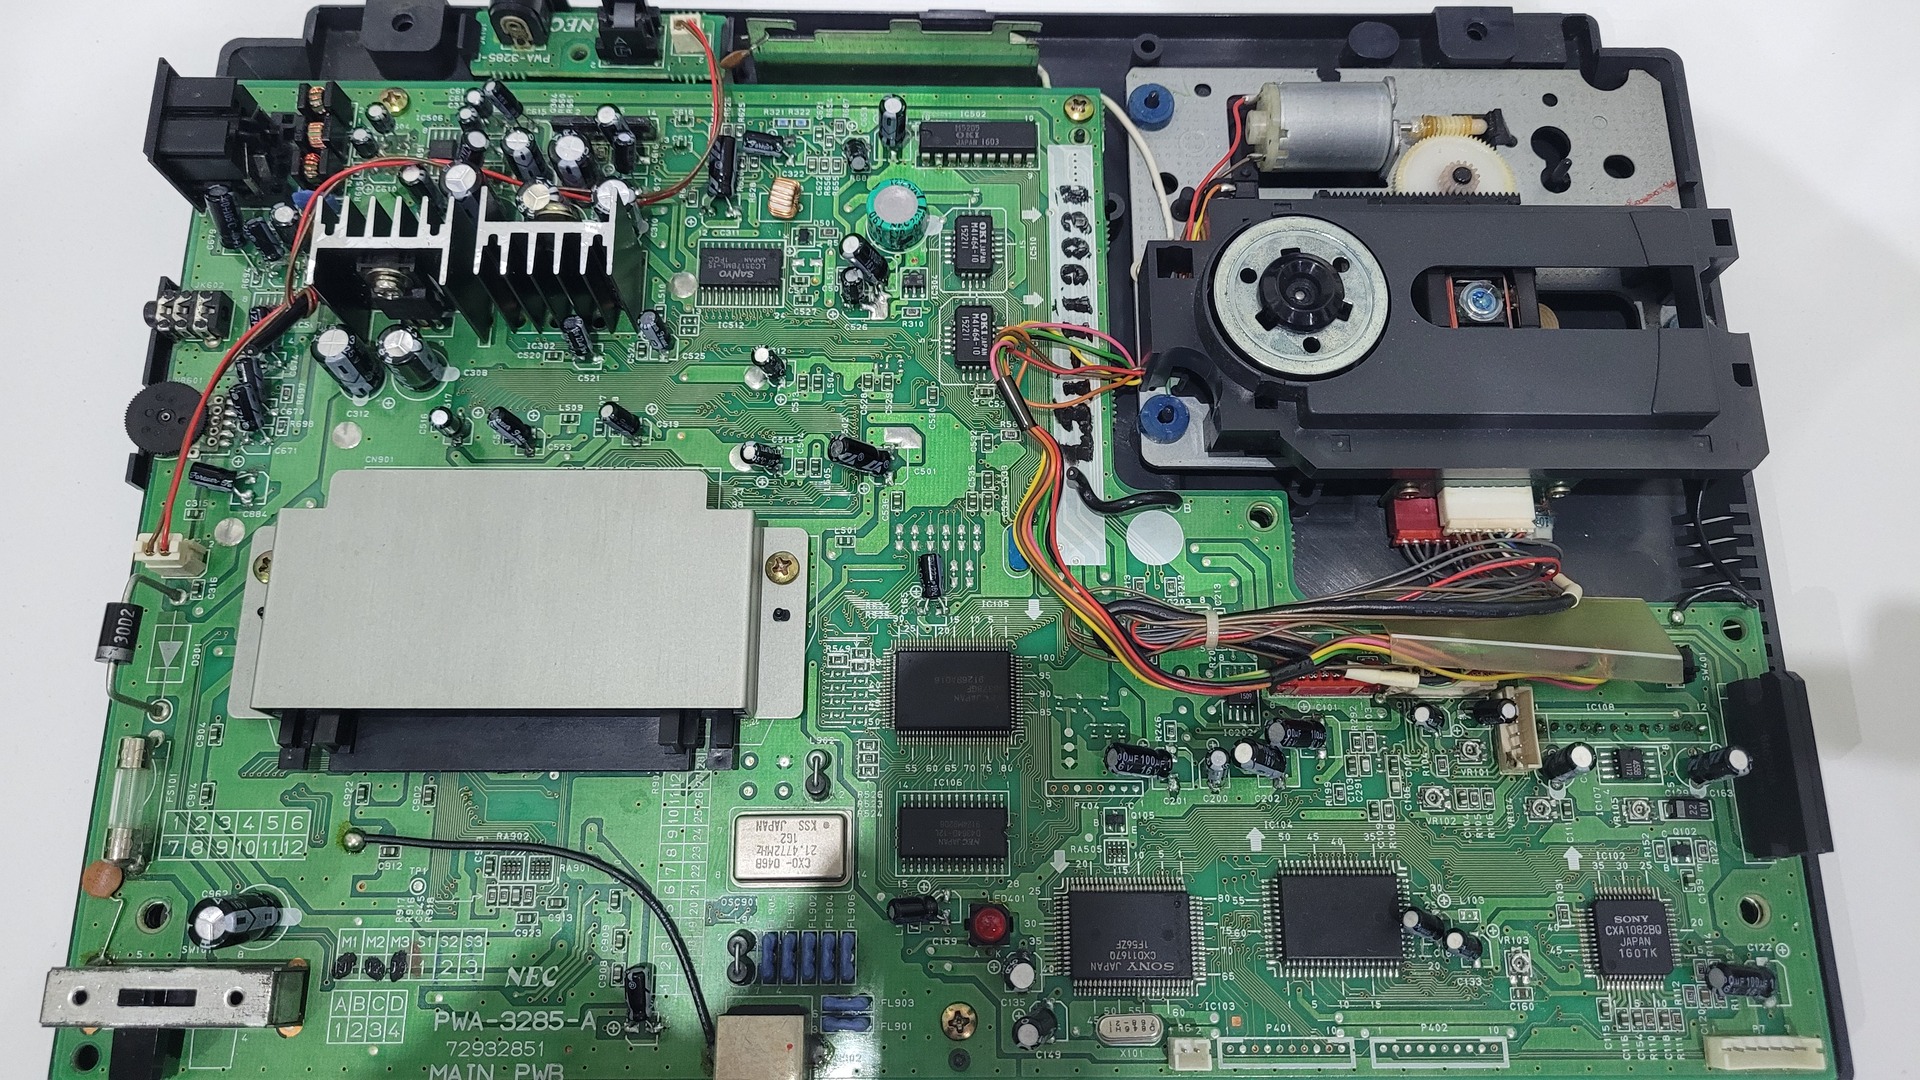
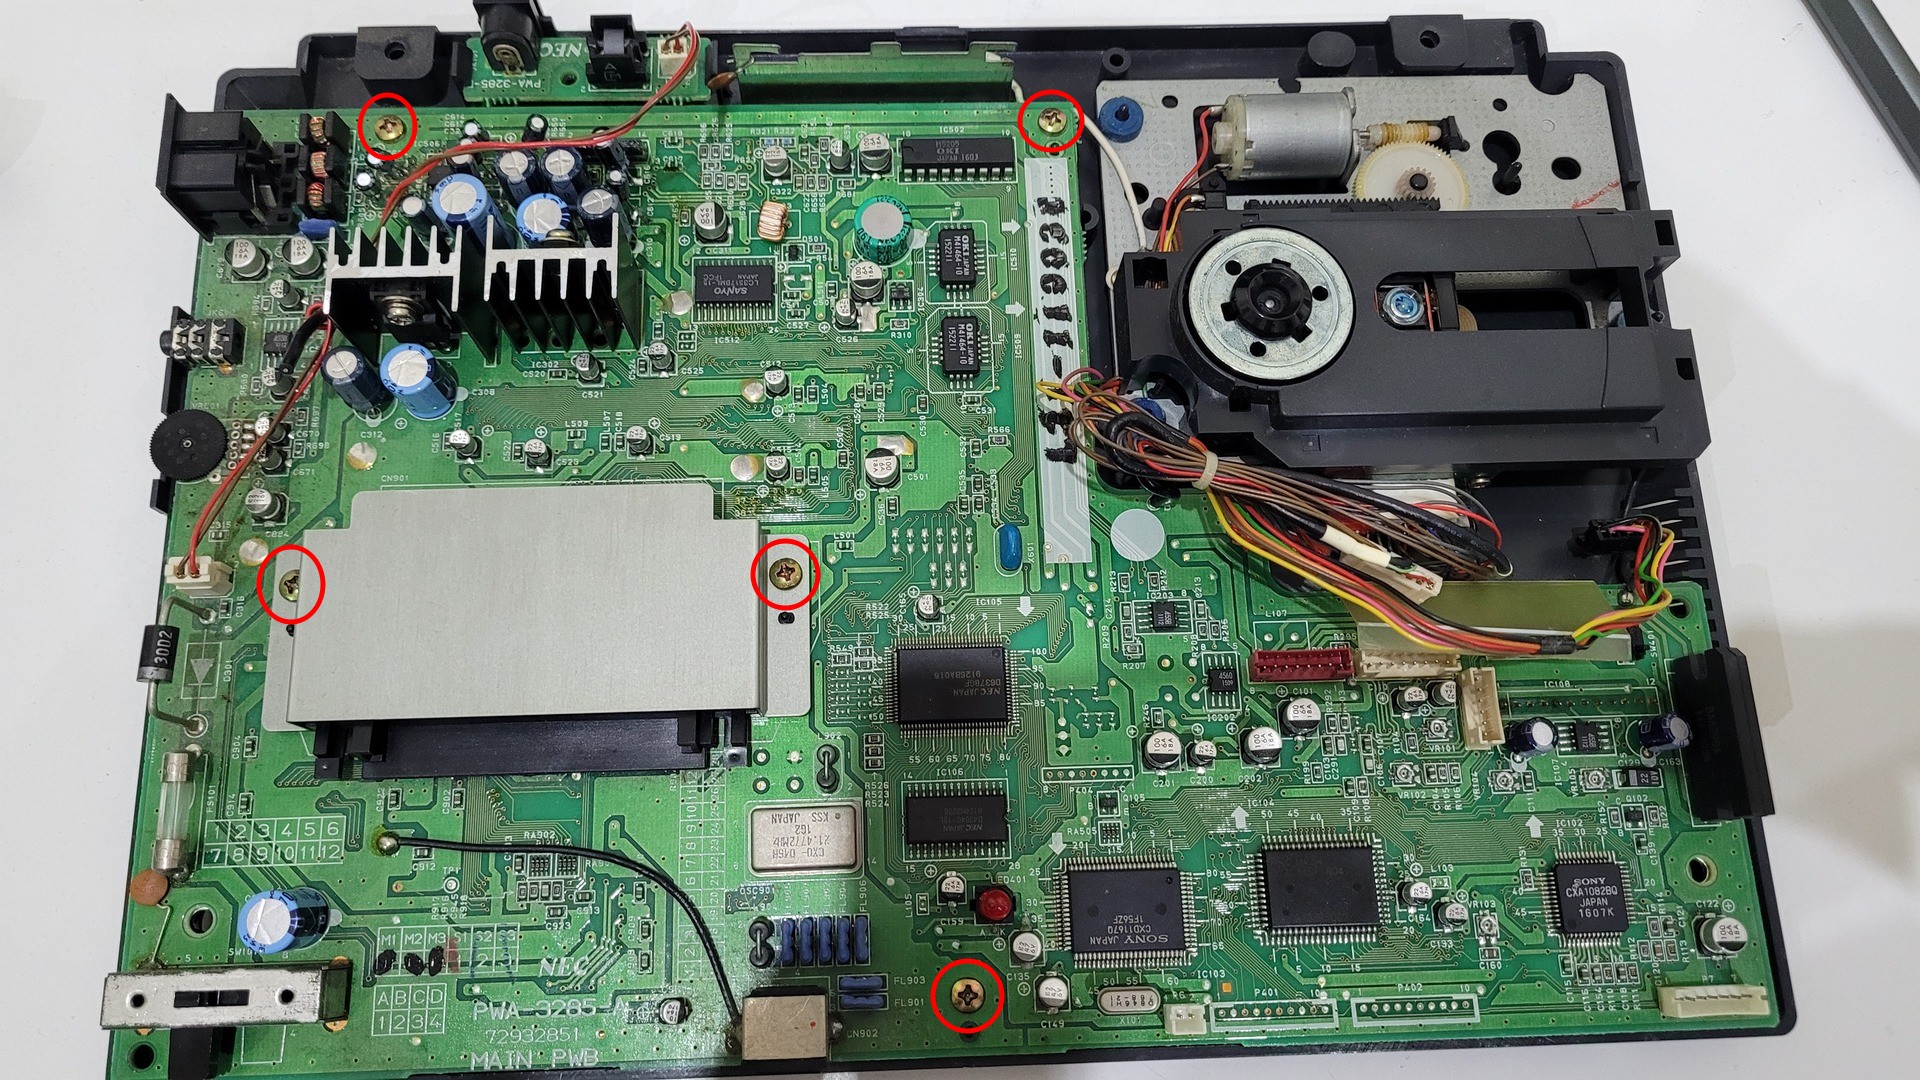
Motherboard Overview
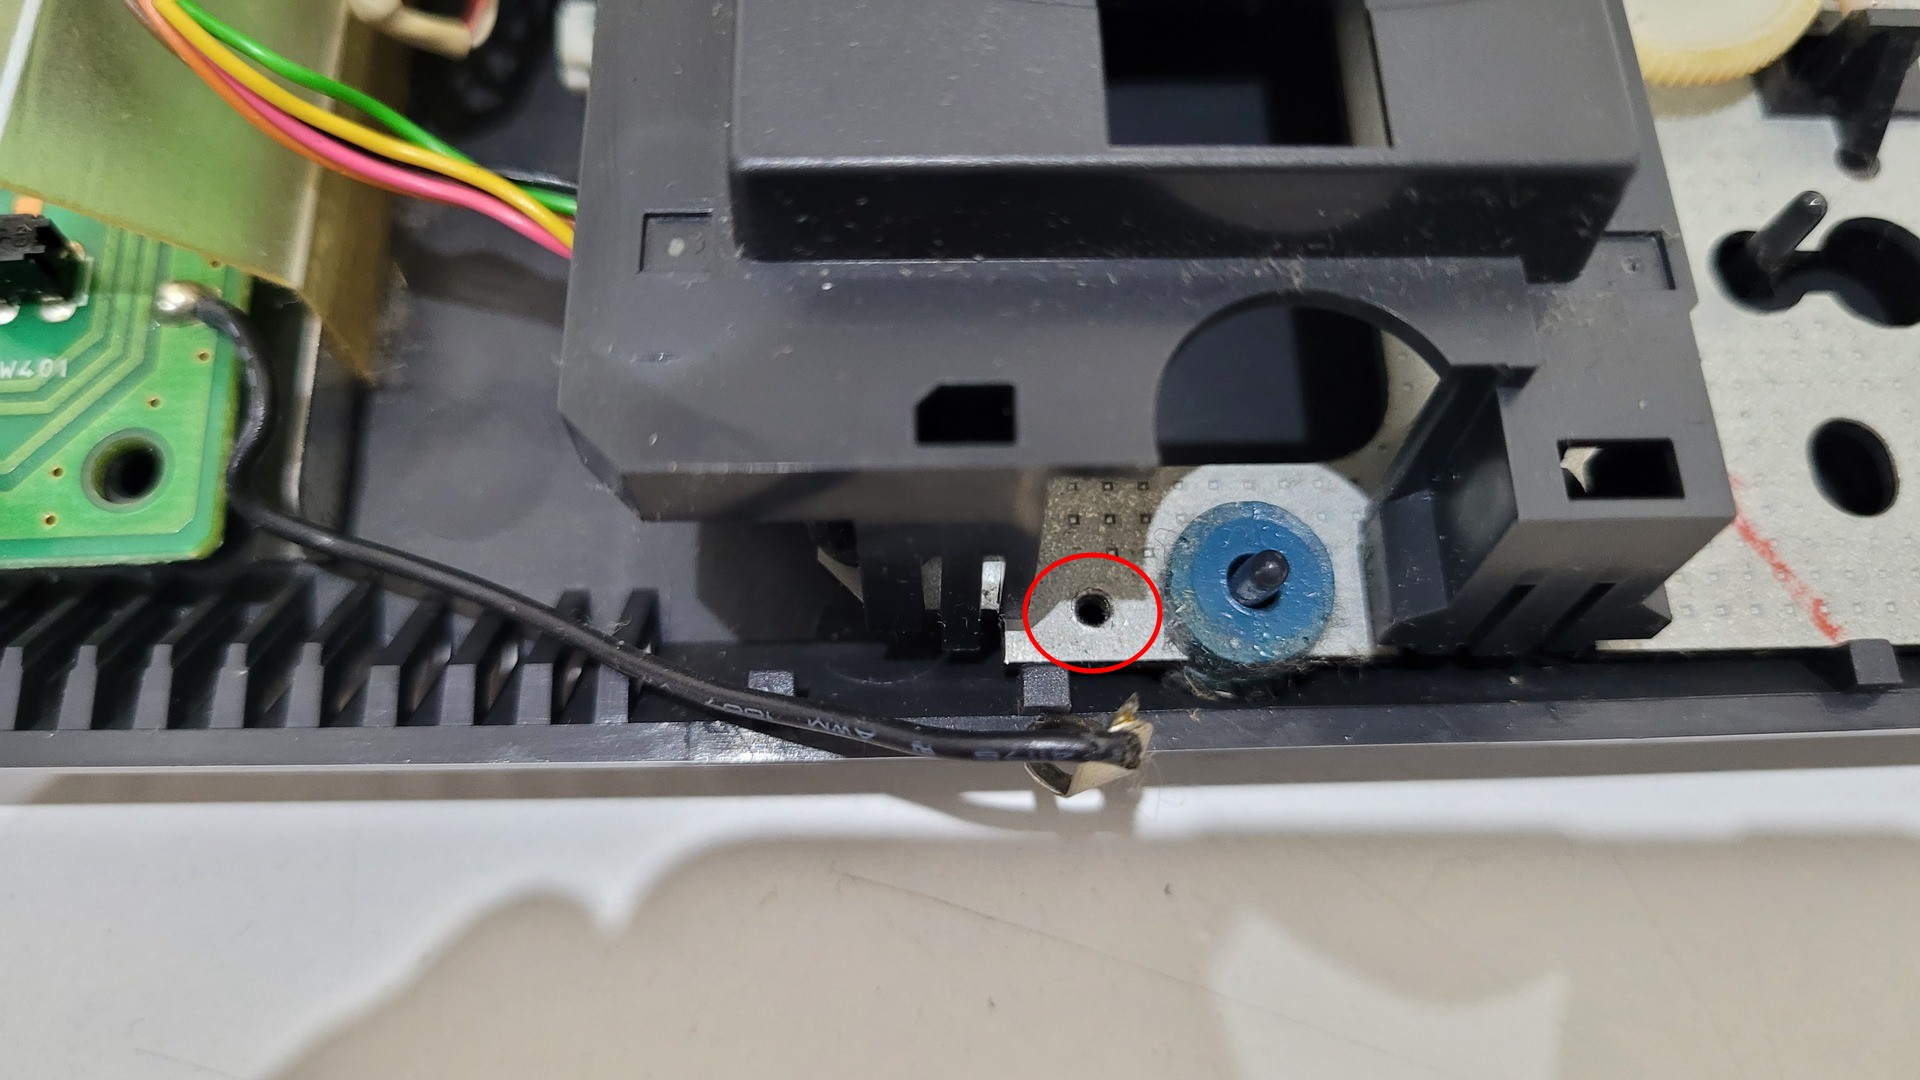
Umount
The console is easy to open, there are only some skrews on the bottom. Obviously, the motherboard has to be completly removed for this job. There are five skrews to remove and the CD drive must also be disconnected.
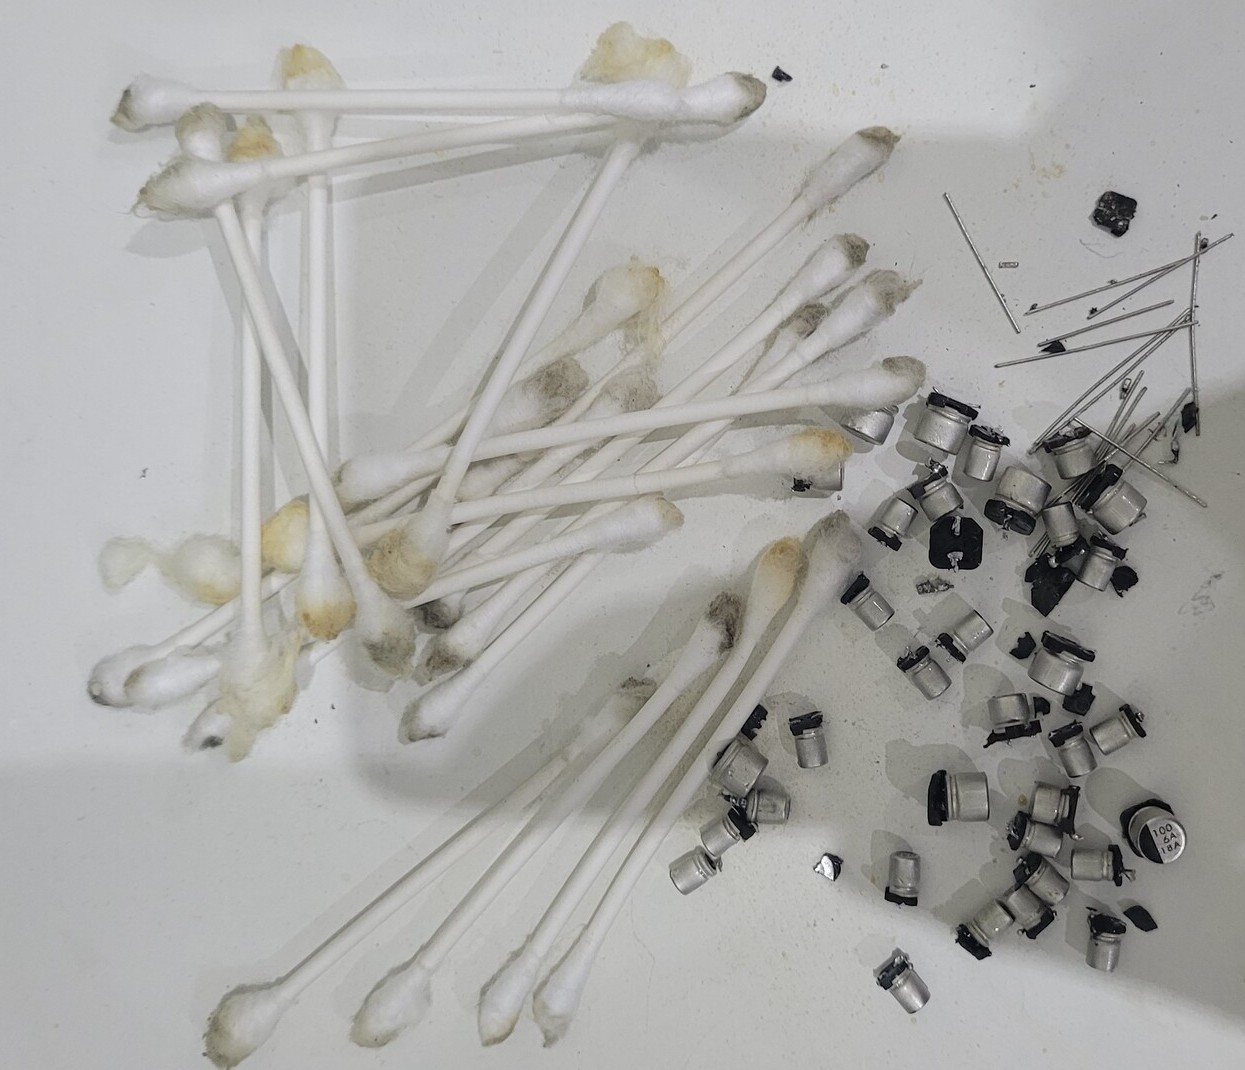
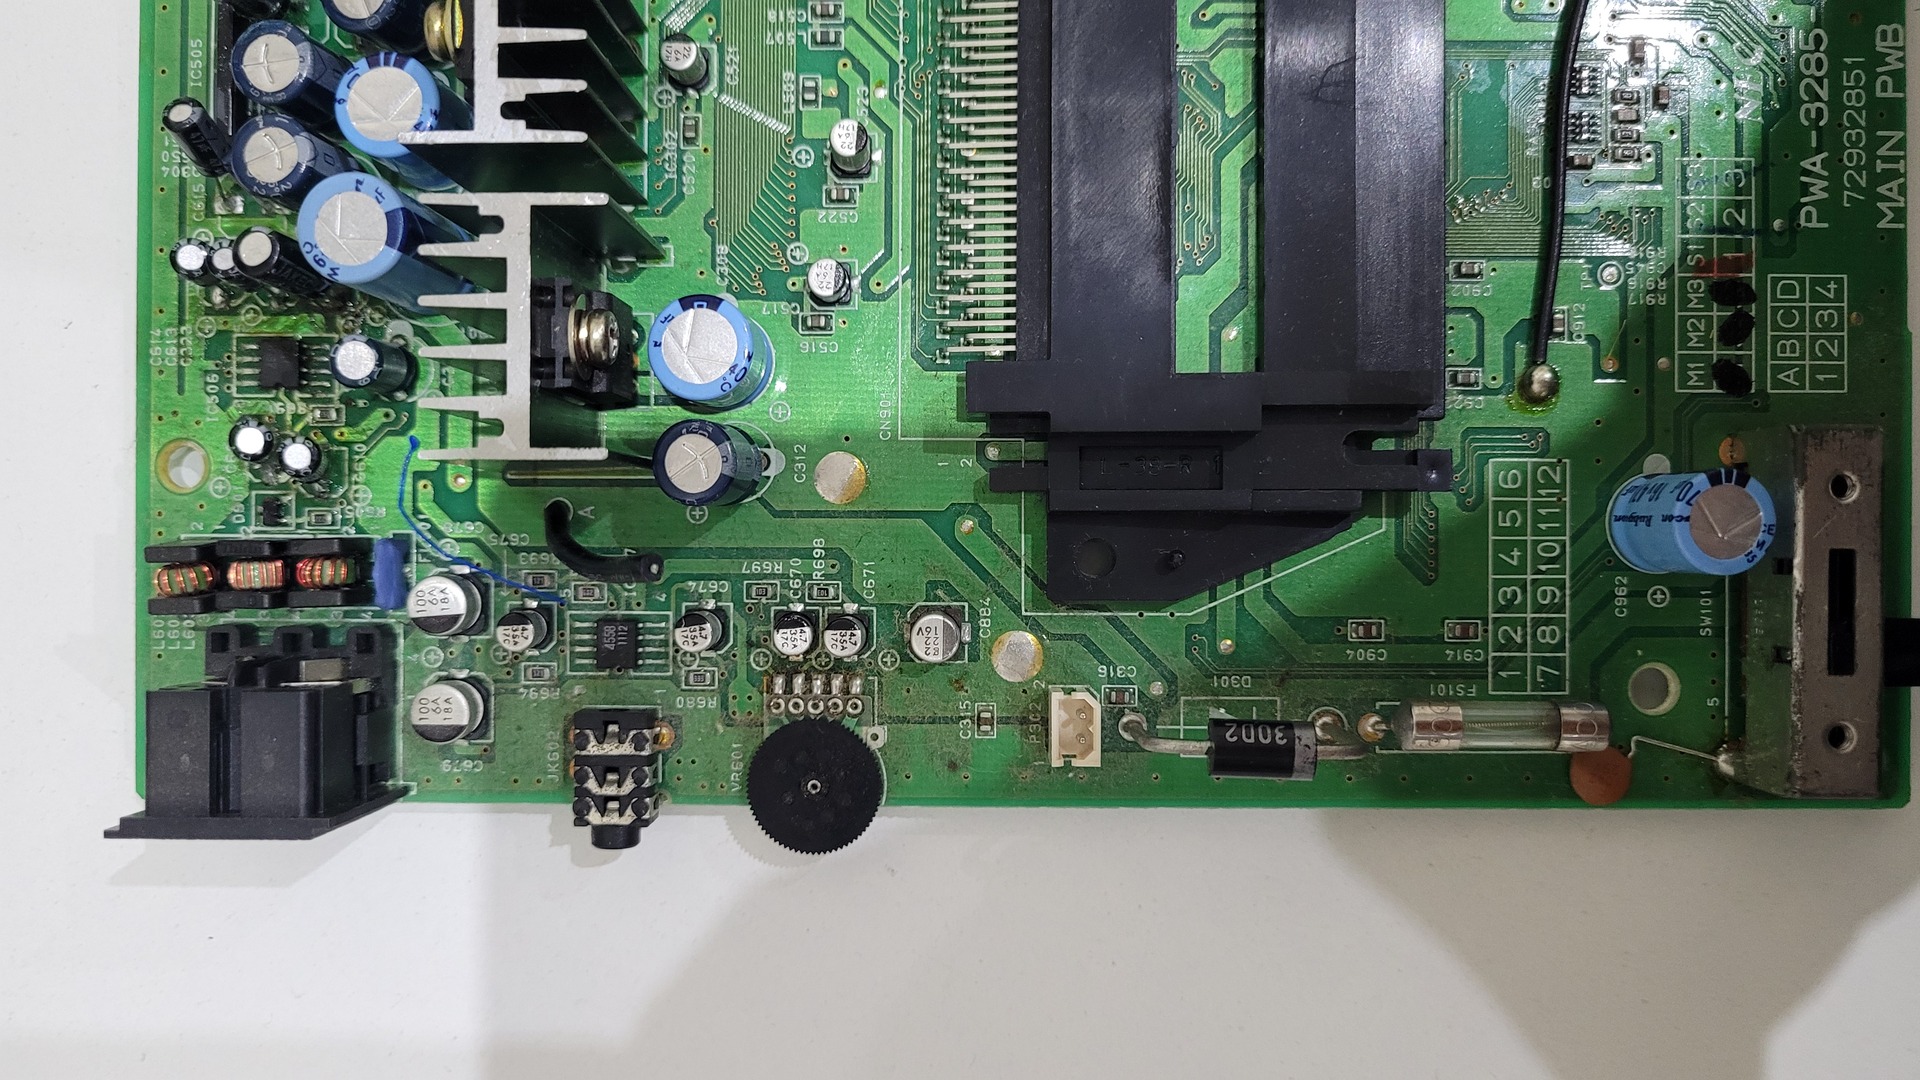
Clean-up
The DUO I got was dirty and I started to clean both sides of the motherboard in order to be able to see any damaged track. Hopefully, there was no damage, but some capacitors had already leaked. I probably did the replacement just in time…
To clean the board, I used some isopropyl alcool and a tooth brush. Below are some before / after photos

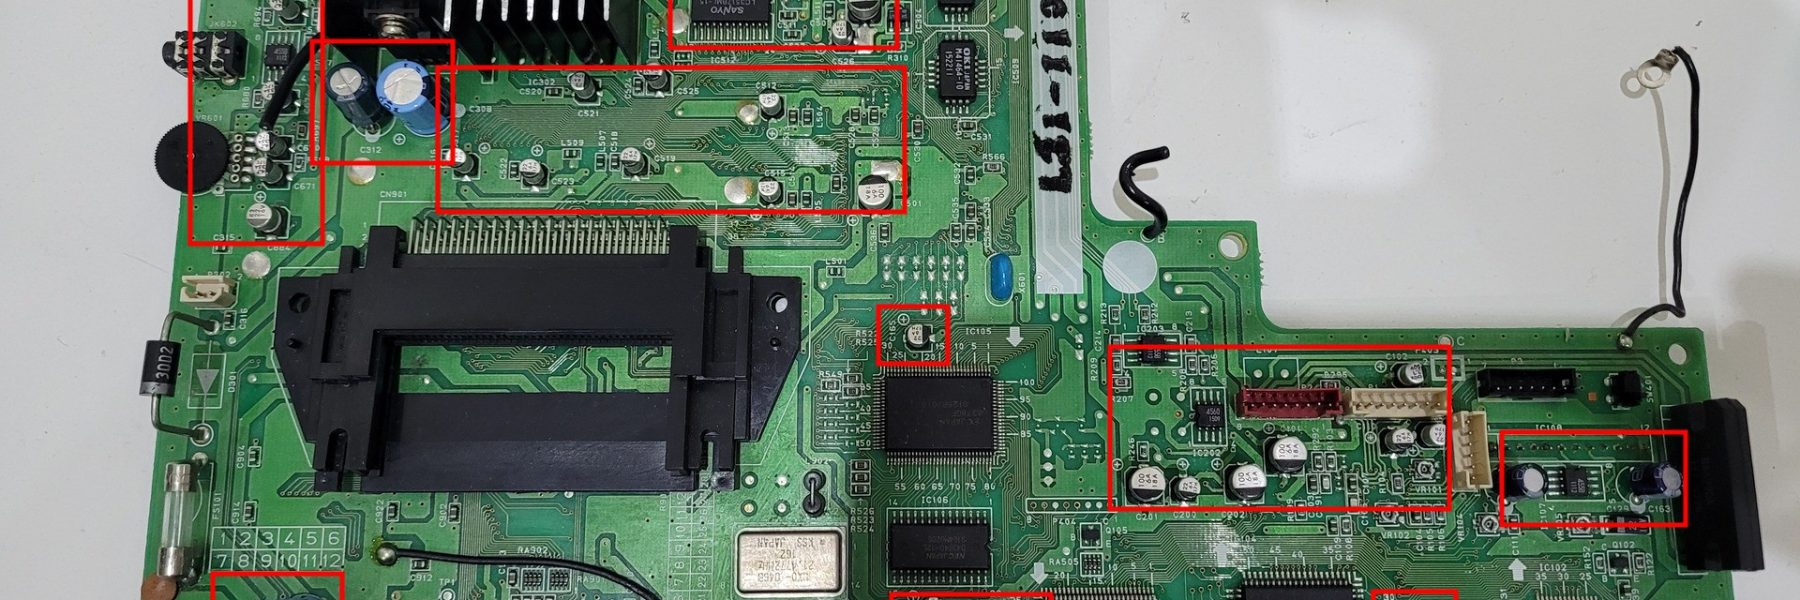
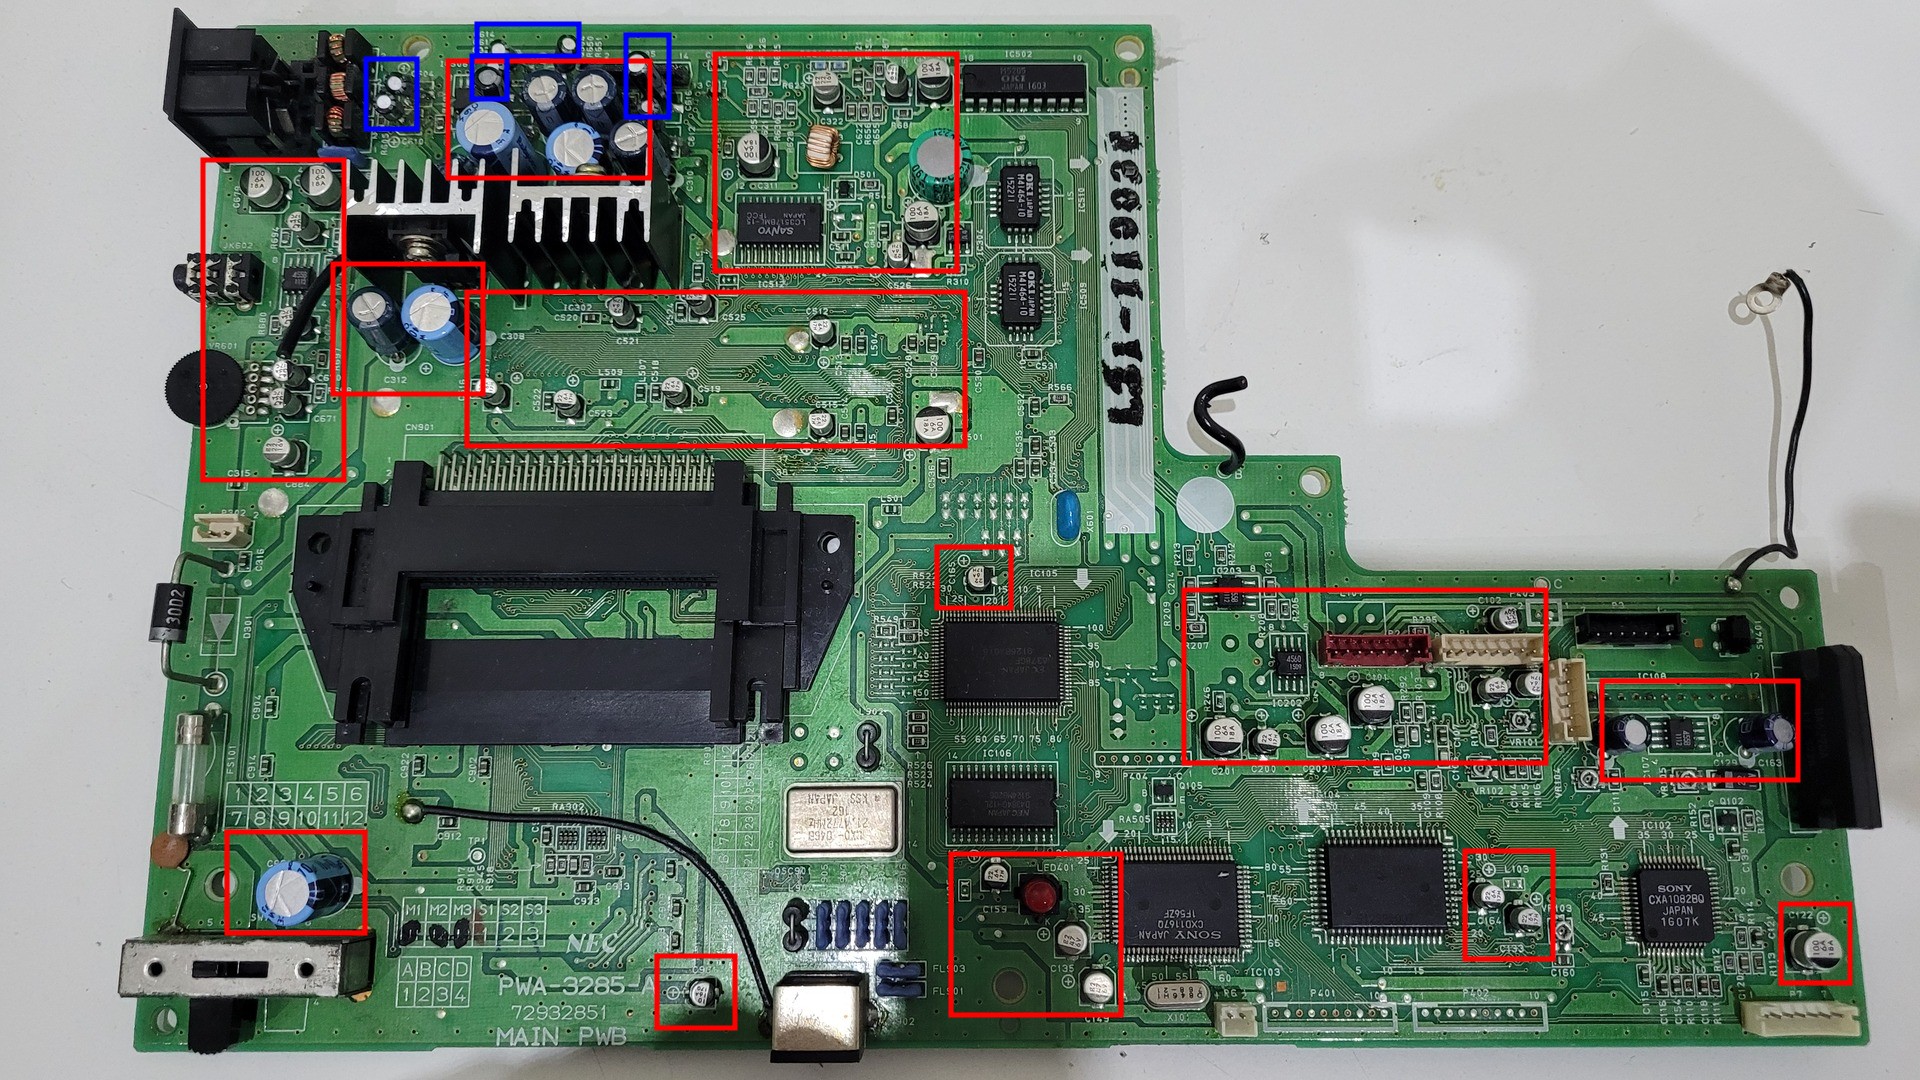
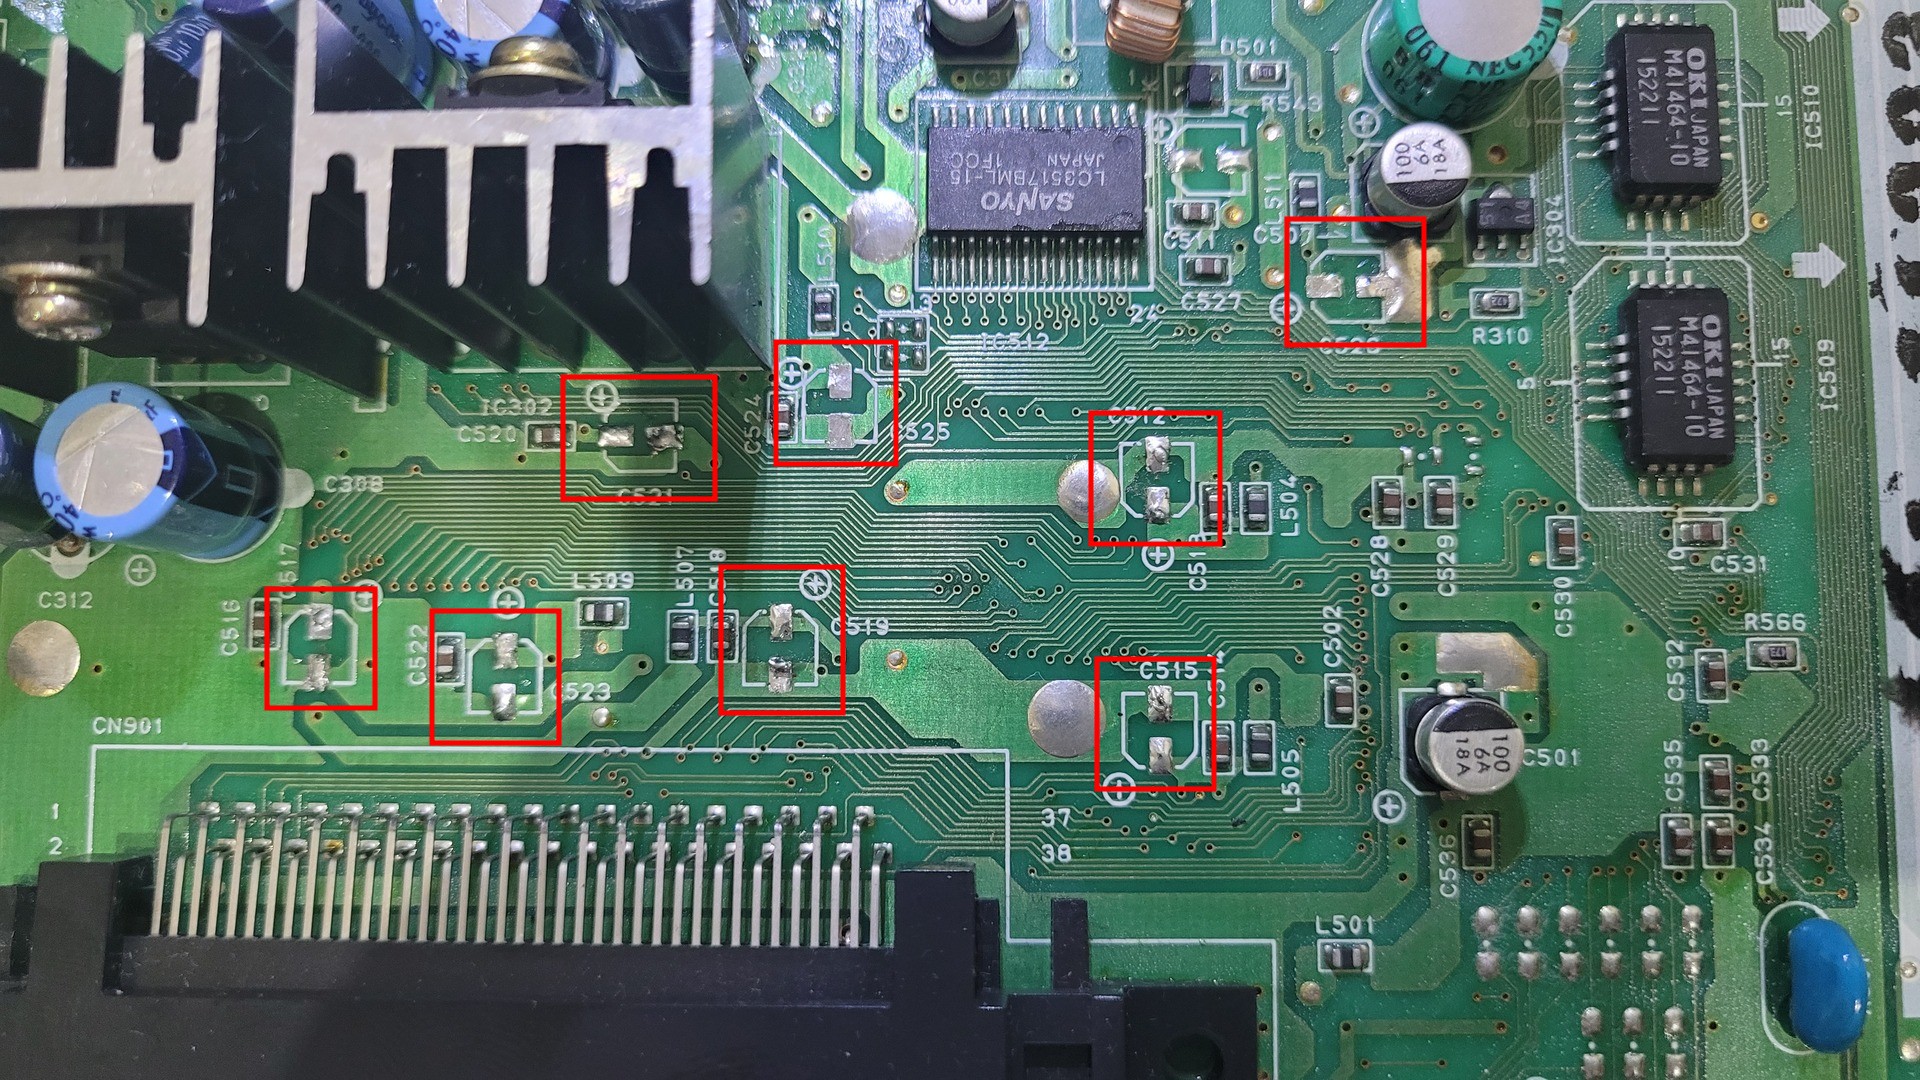
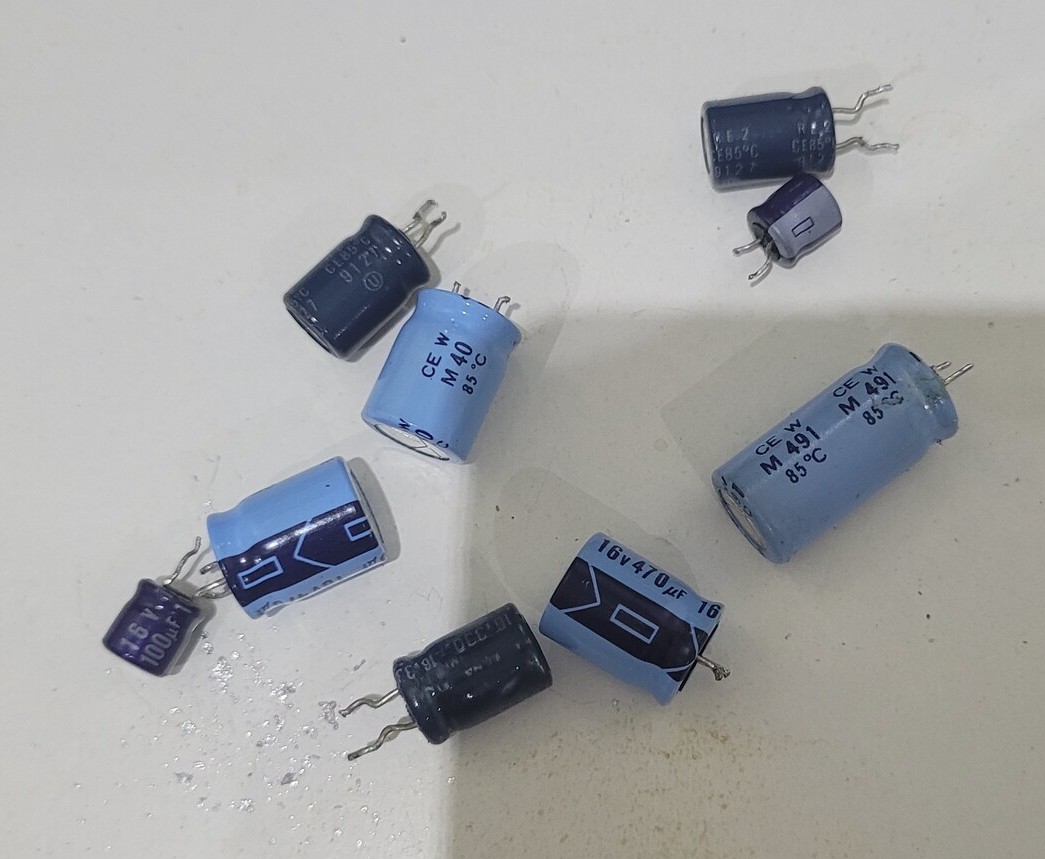
Capacitors to replace
Even with the capacitors list, I did not removed all of them before replacing. I proceeded zone by zone. The blue areas show that some capacitors had already been replaced on this board. These are used for the sound and in fact, its a common first failure on the DUO : the sound becomes low and / or distorded. The person who did this replacement should probably have changed all others…
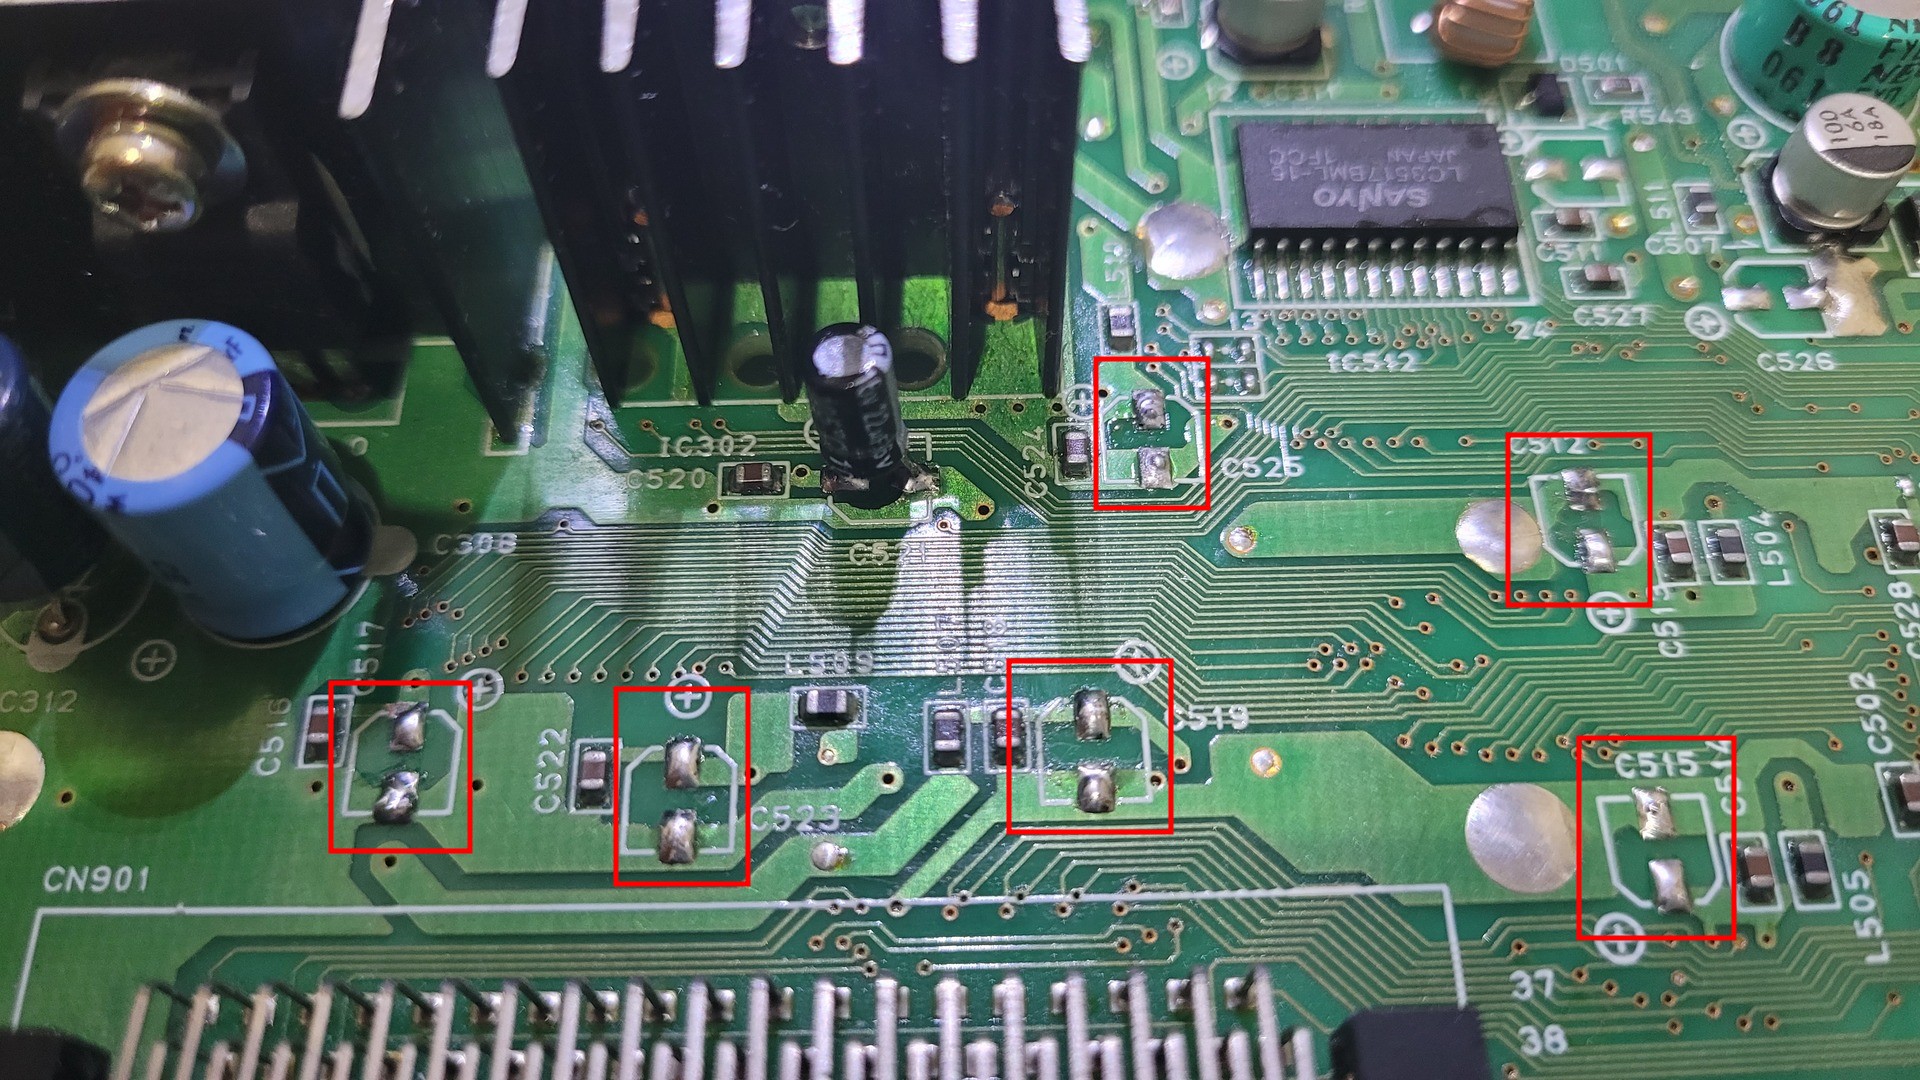
Replacing caps
Steps
There is basicaly 3 methods to remove surface mount capacitors :
- Braking the legs with a pair of flat pliers : pretty dangerous for the motherboard tracks, it is really not recommended
- Using a hot air gun : I don’t like this method because I find it easy to also desolder or move other components
- Adding some fresh solder on each legs, then desolder one leg at a time with a soledring iron : this is what I did
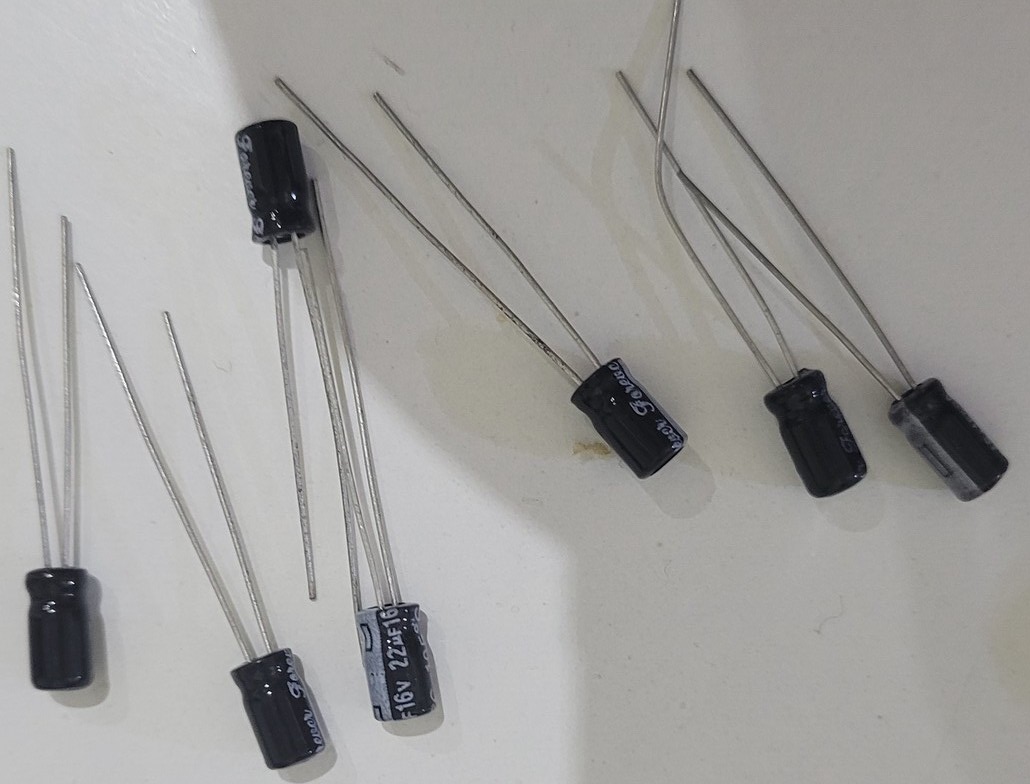
Before soldering the new capacitors, I cleaned up the zone with isopropyl alcol and I added some fresh solder to all solder points. Then I cut the legs of each new capacitor so they can easily be soldered while not being too tall

I proceeded the same way for all zones exepted for some capacitors near the CD drive connectors and the 5v power regulators.
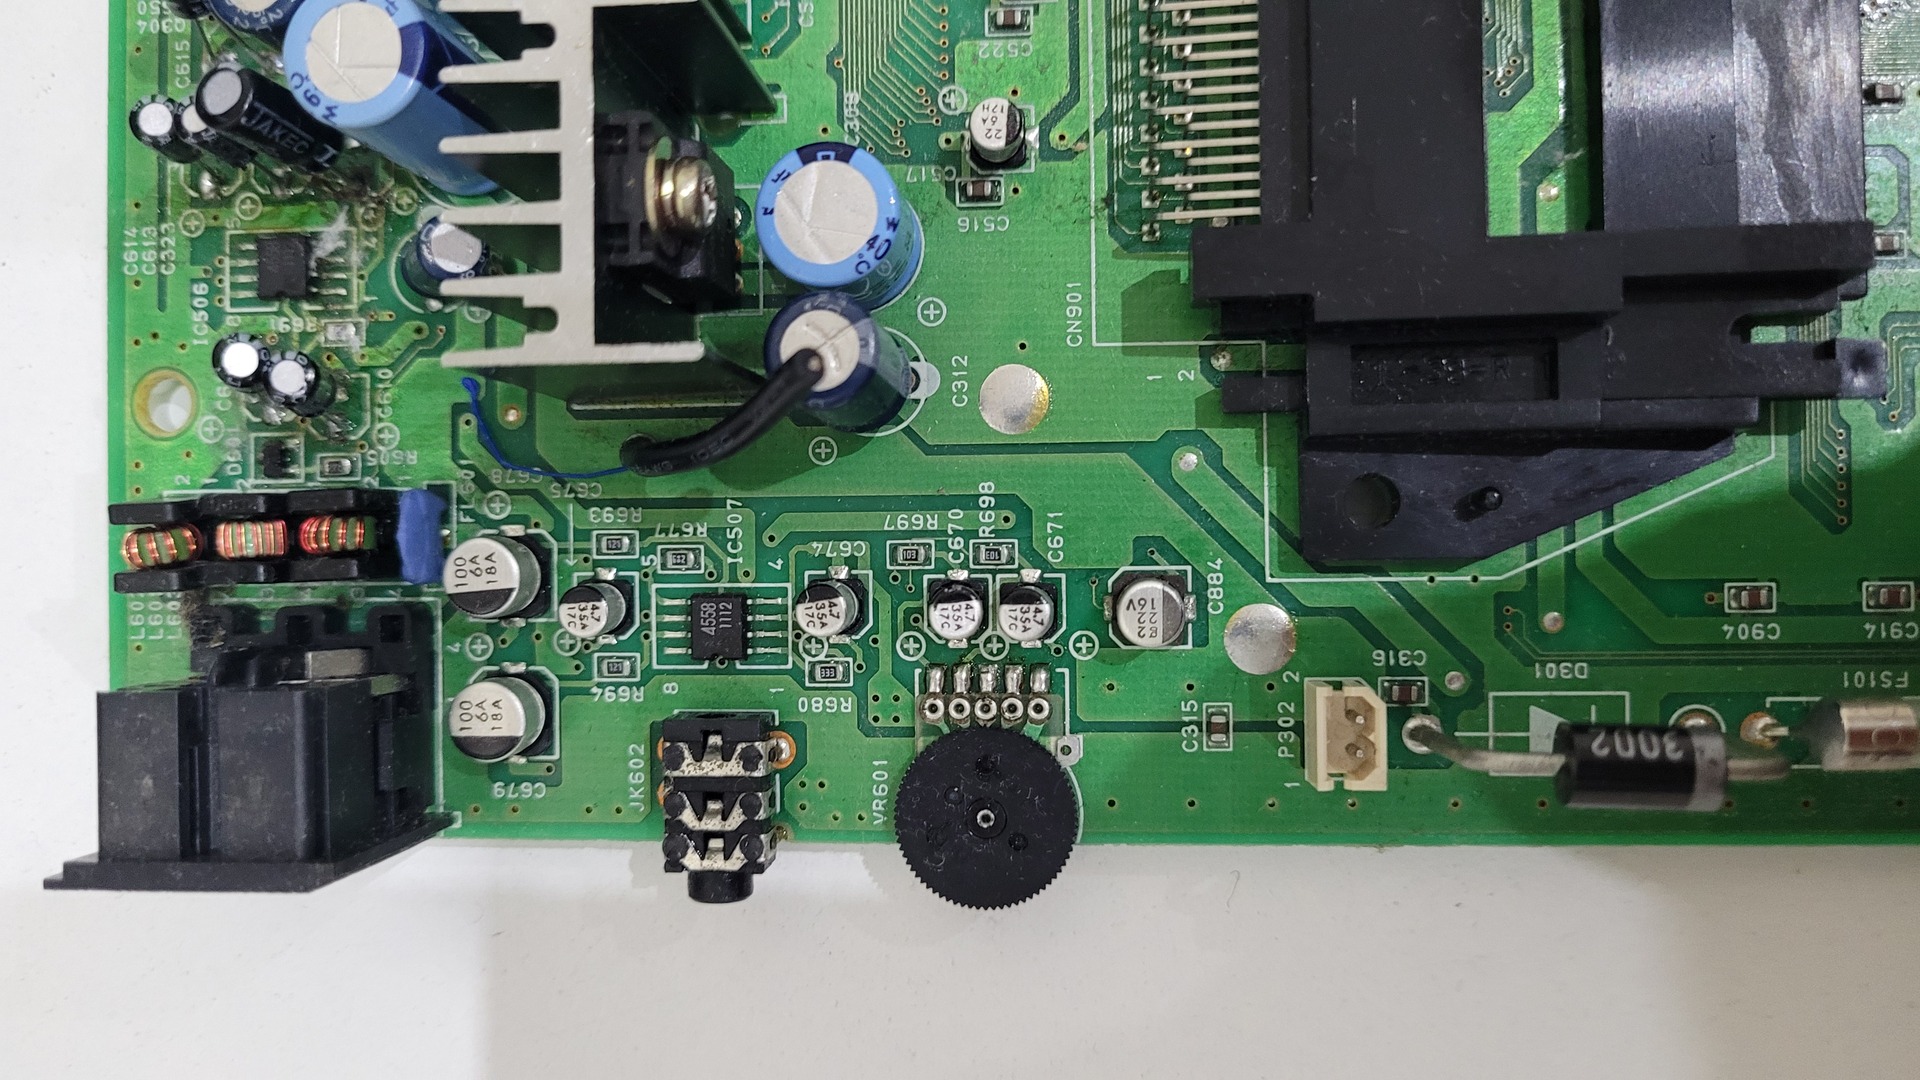
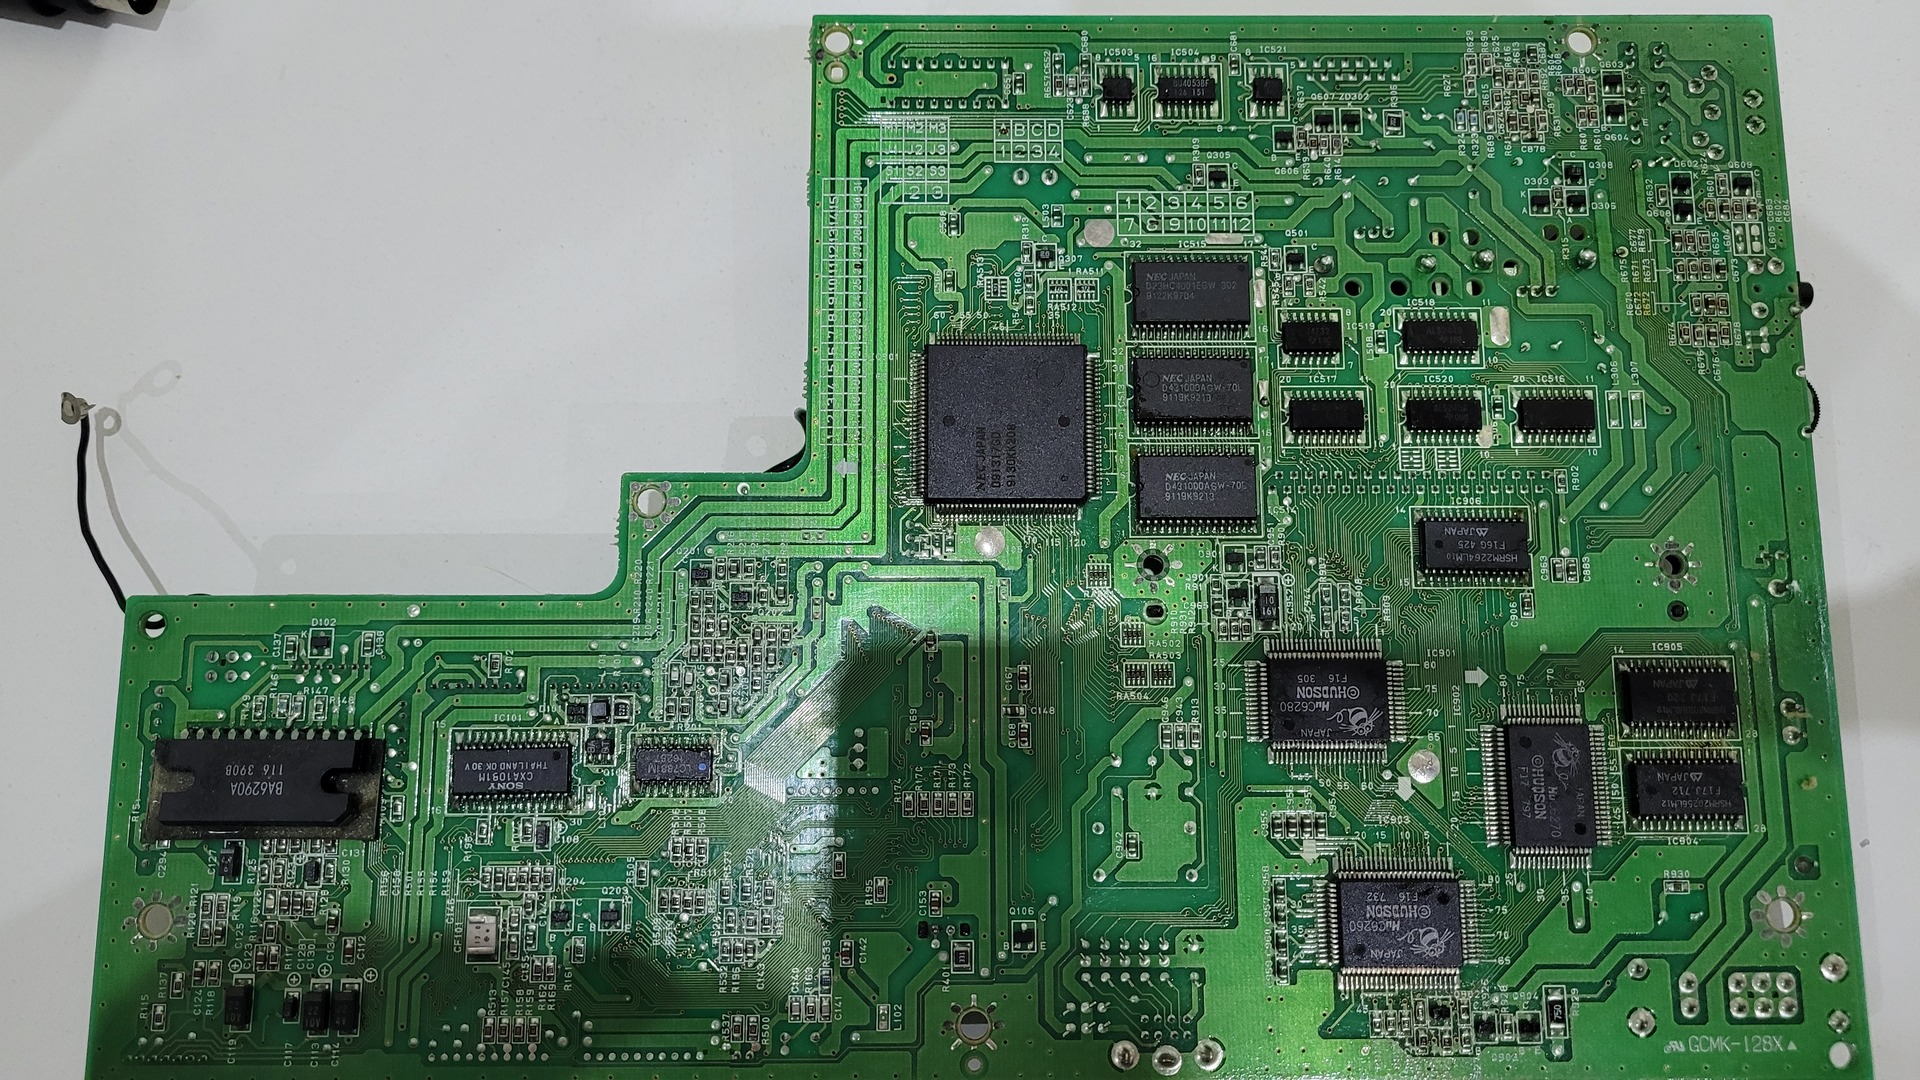
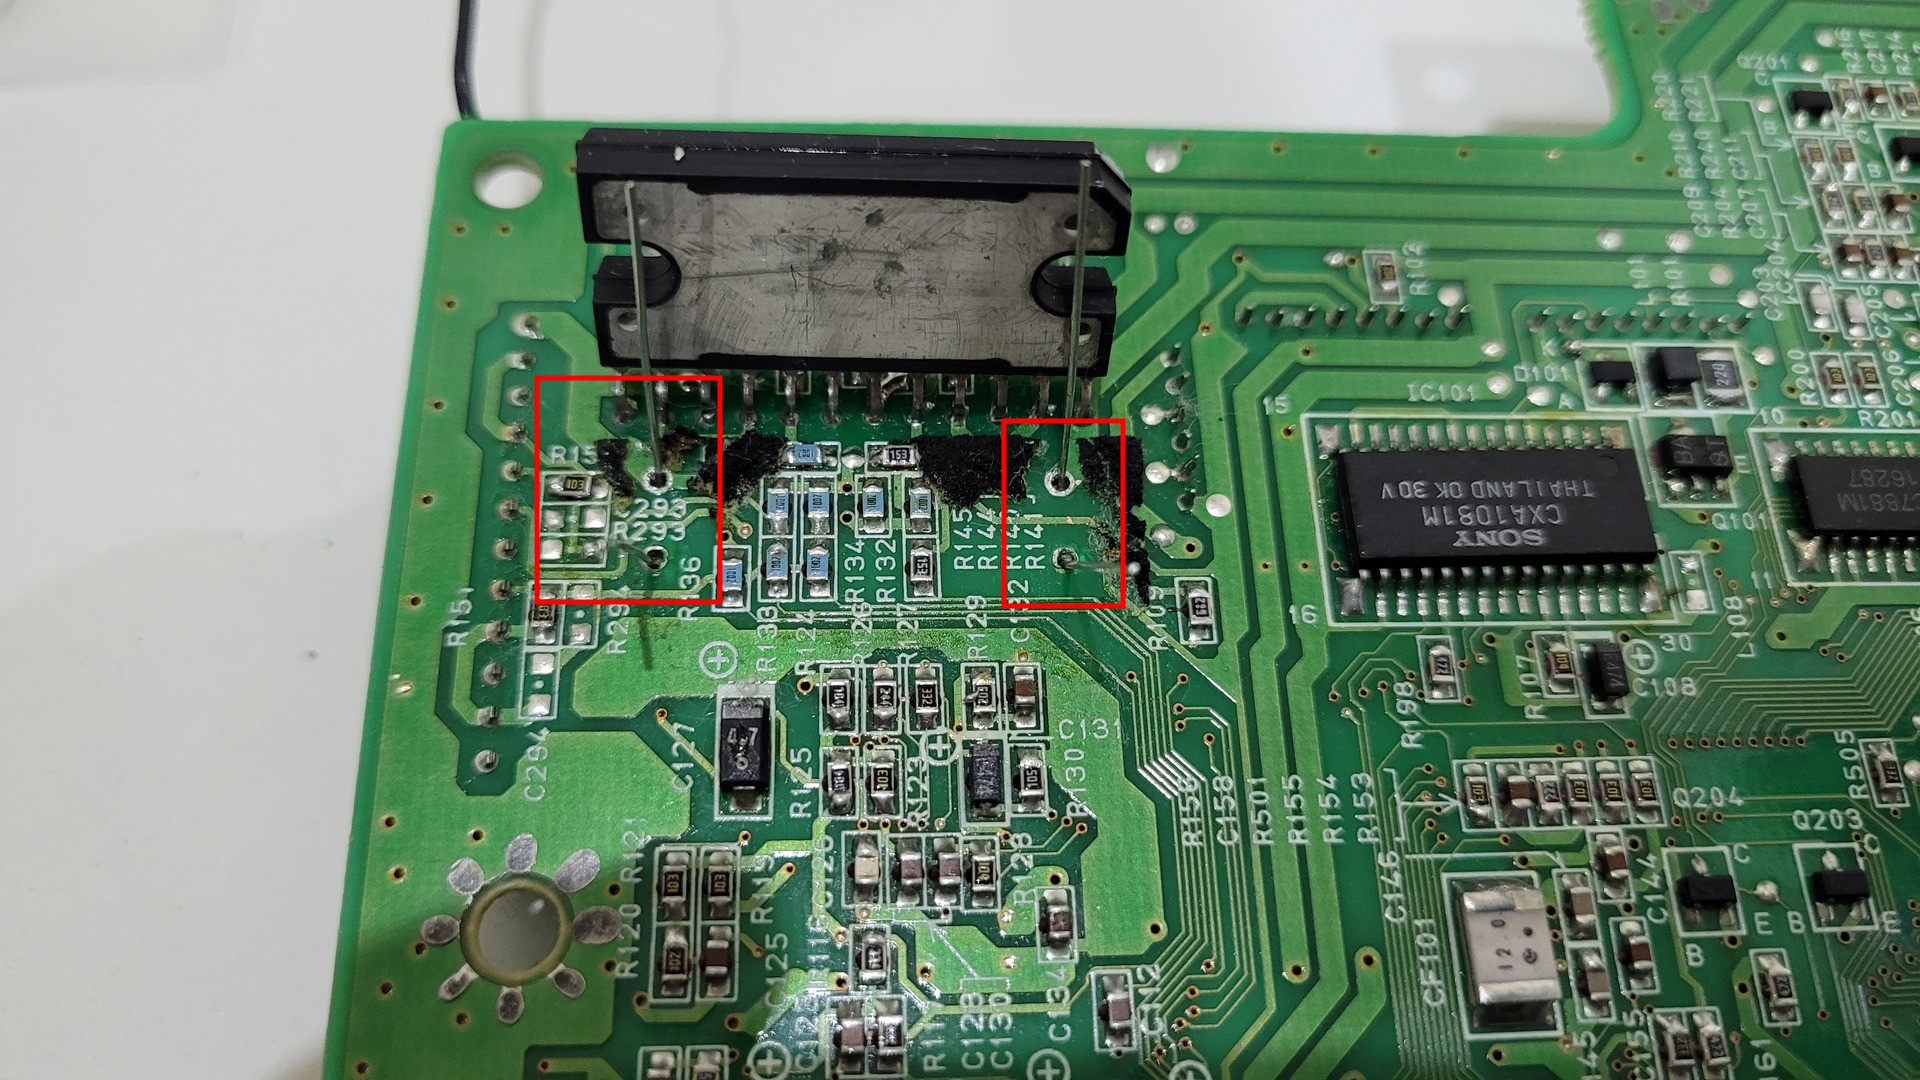
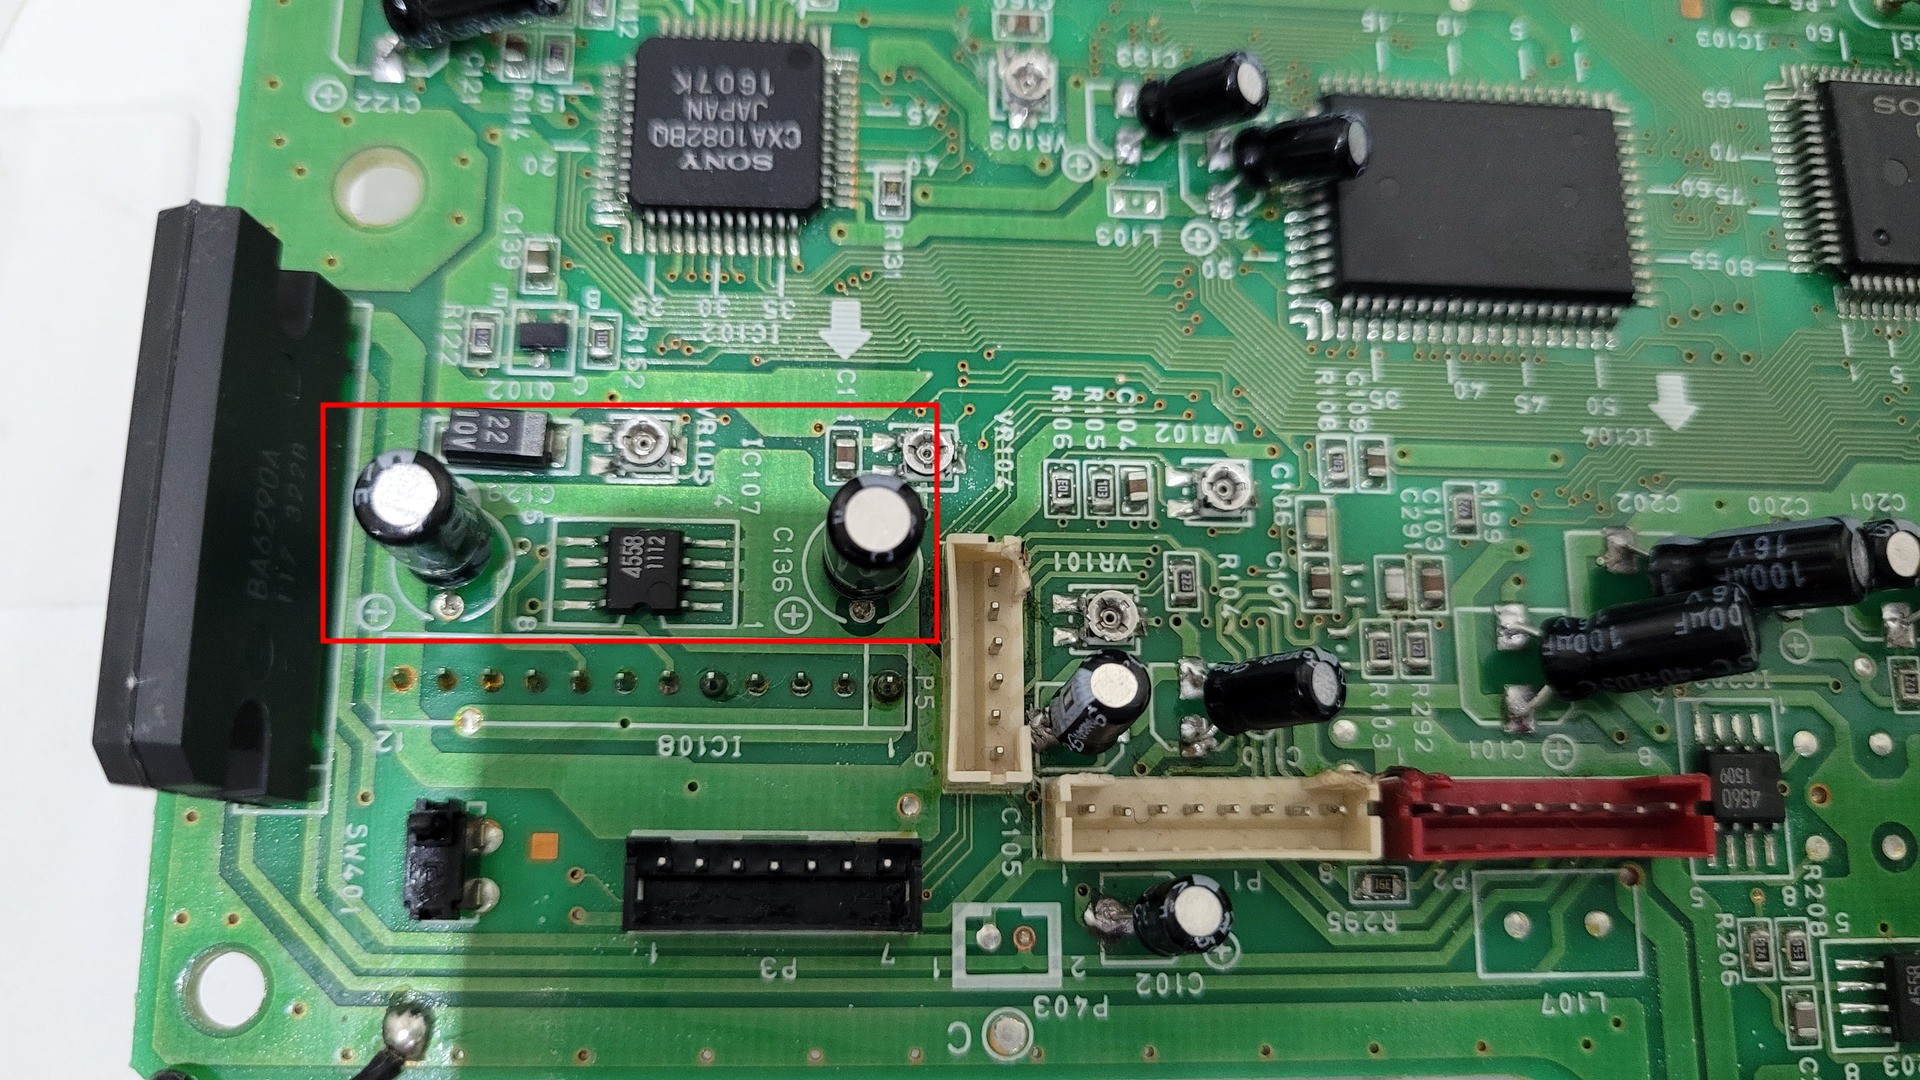
CD drive zone
Next to the white CD drive connector, on the right, there are two through-hole capacitors. But to desolder them, the chip “BA6290A” must be moved. I just bent it.
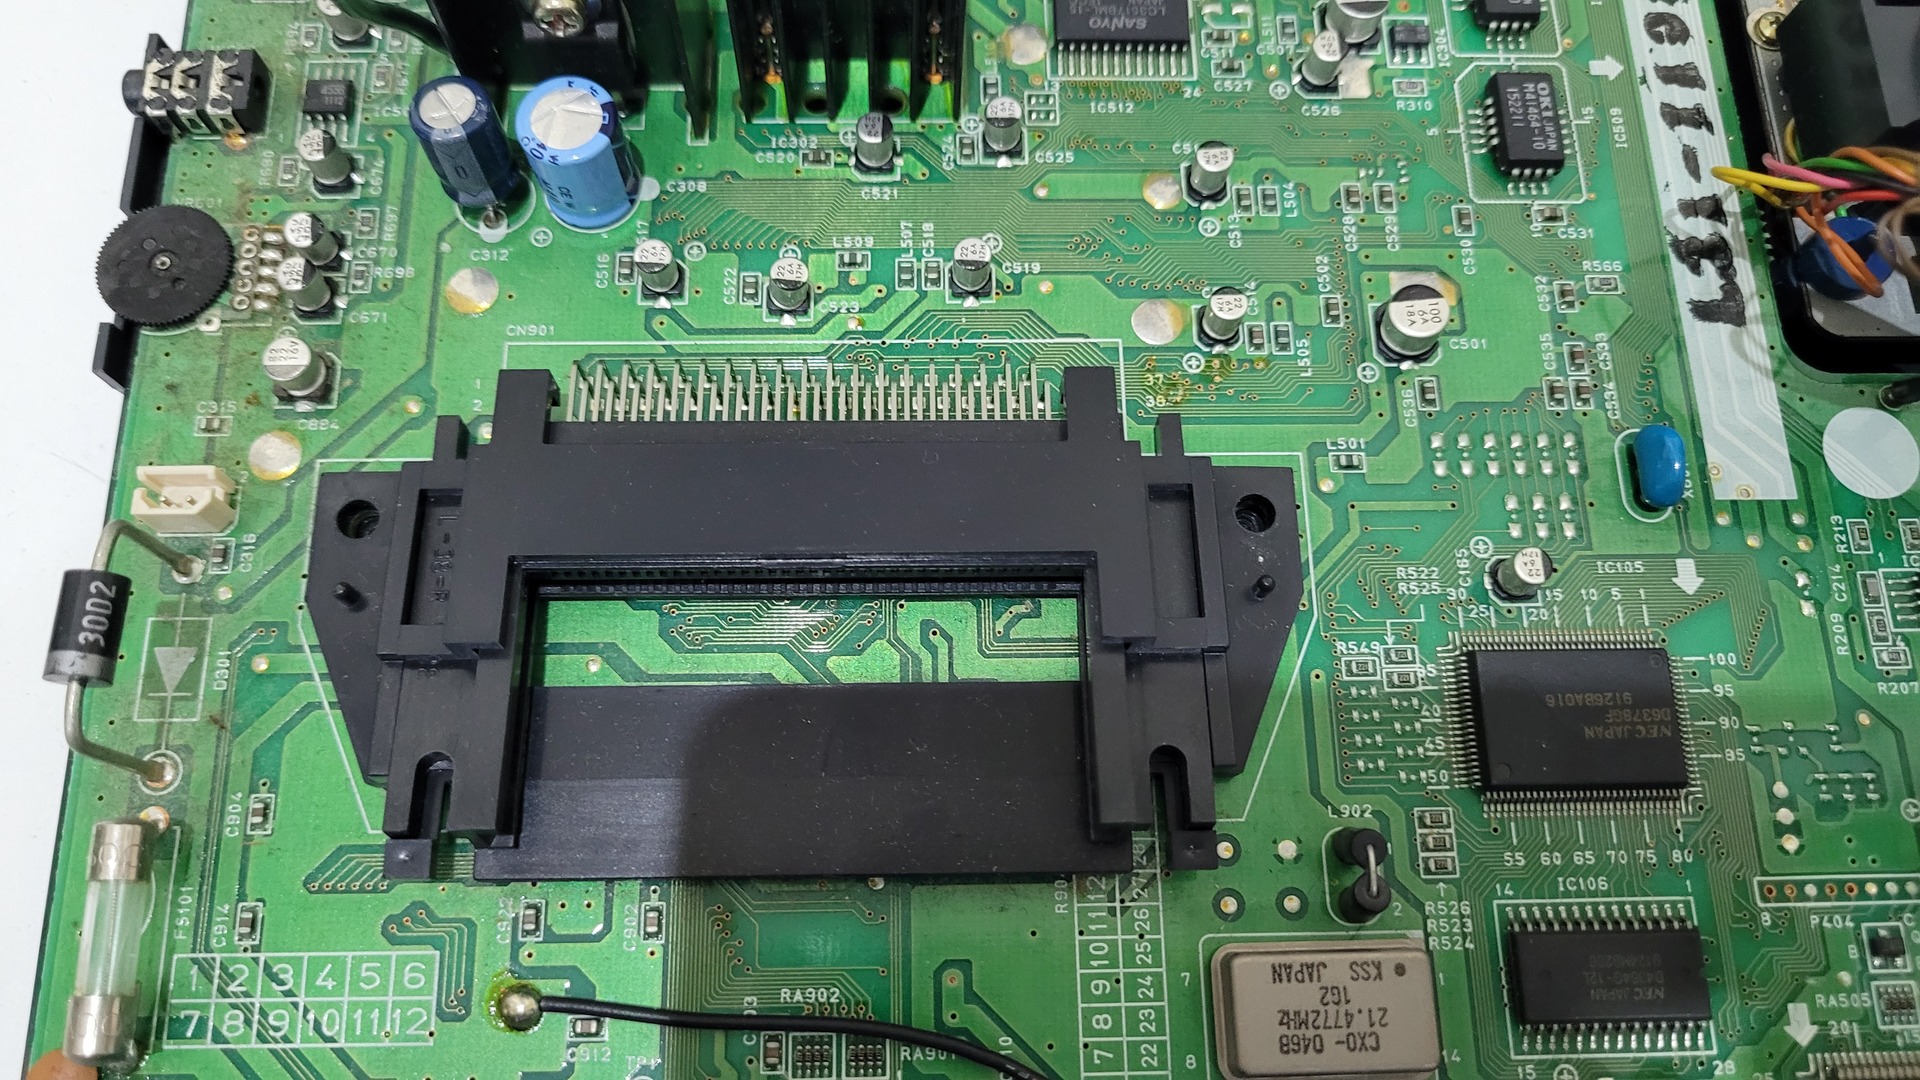
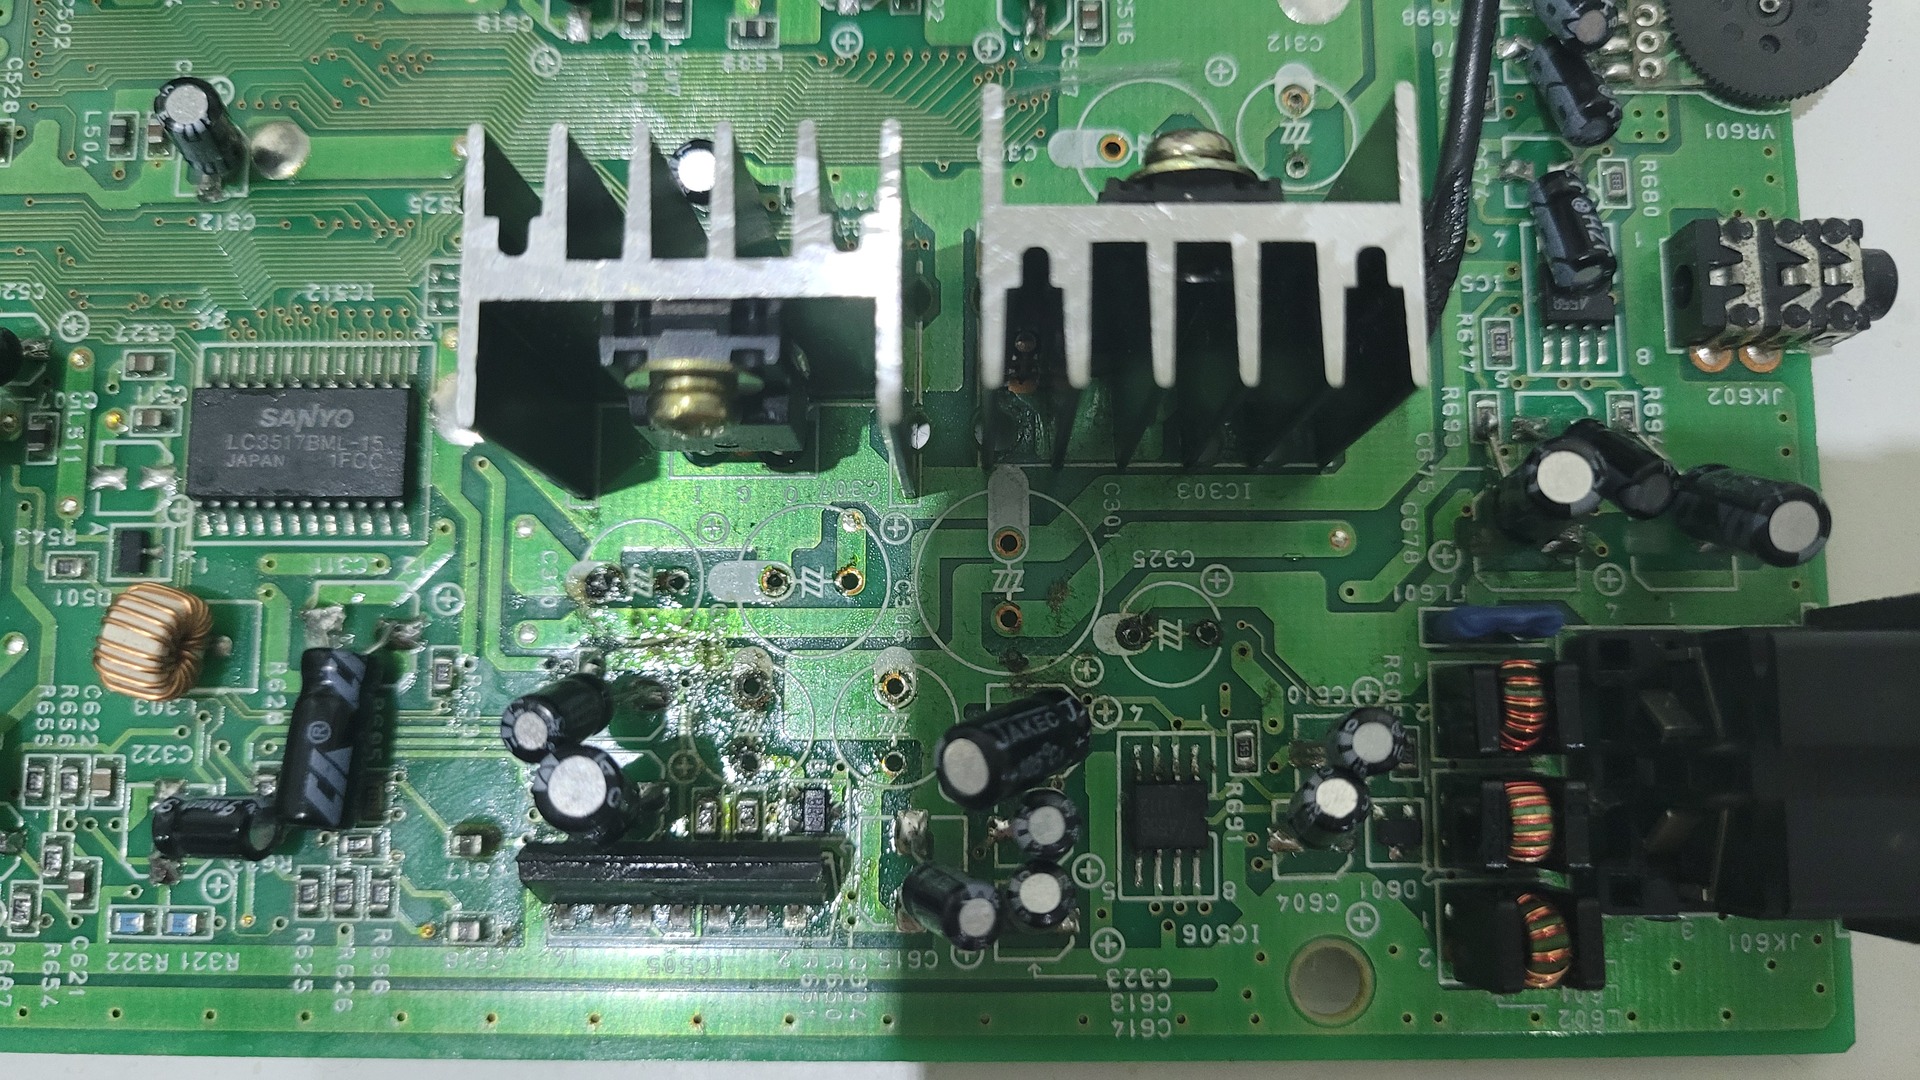
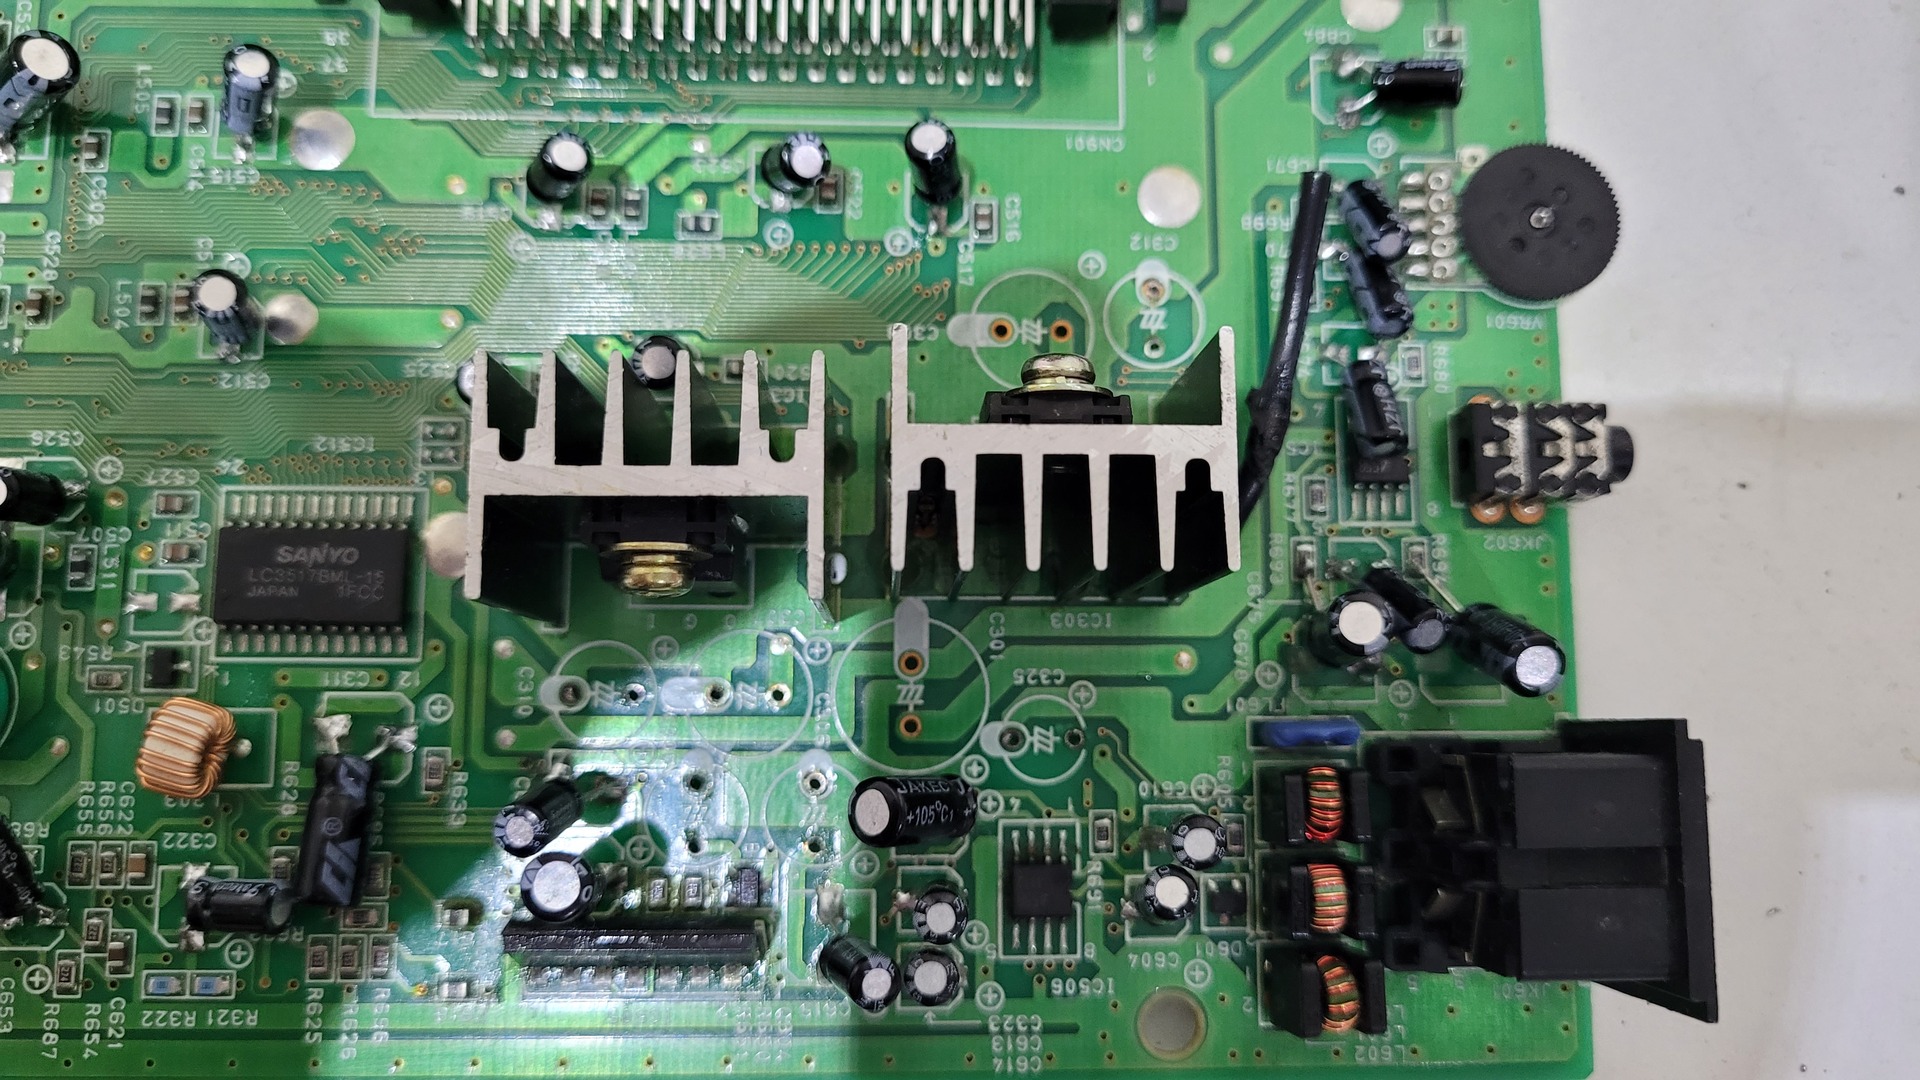
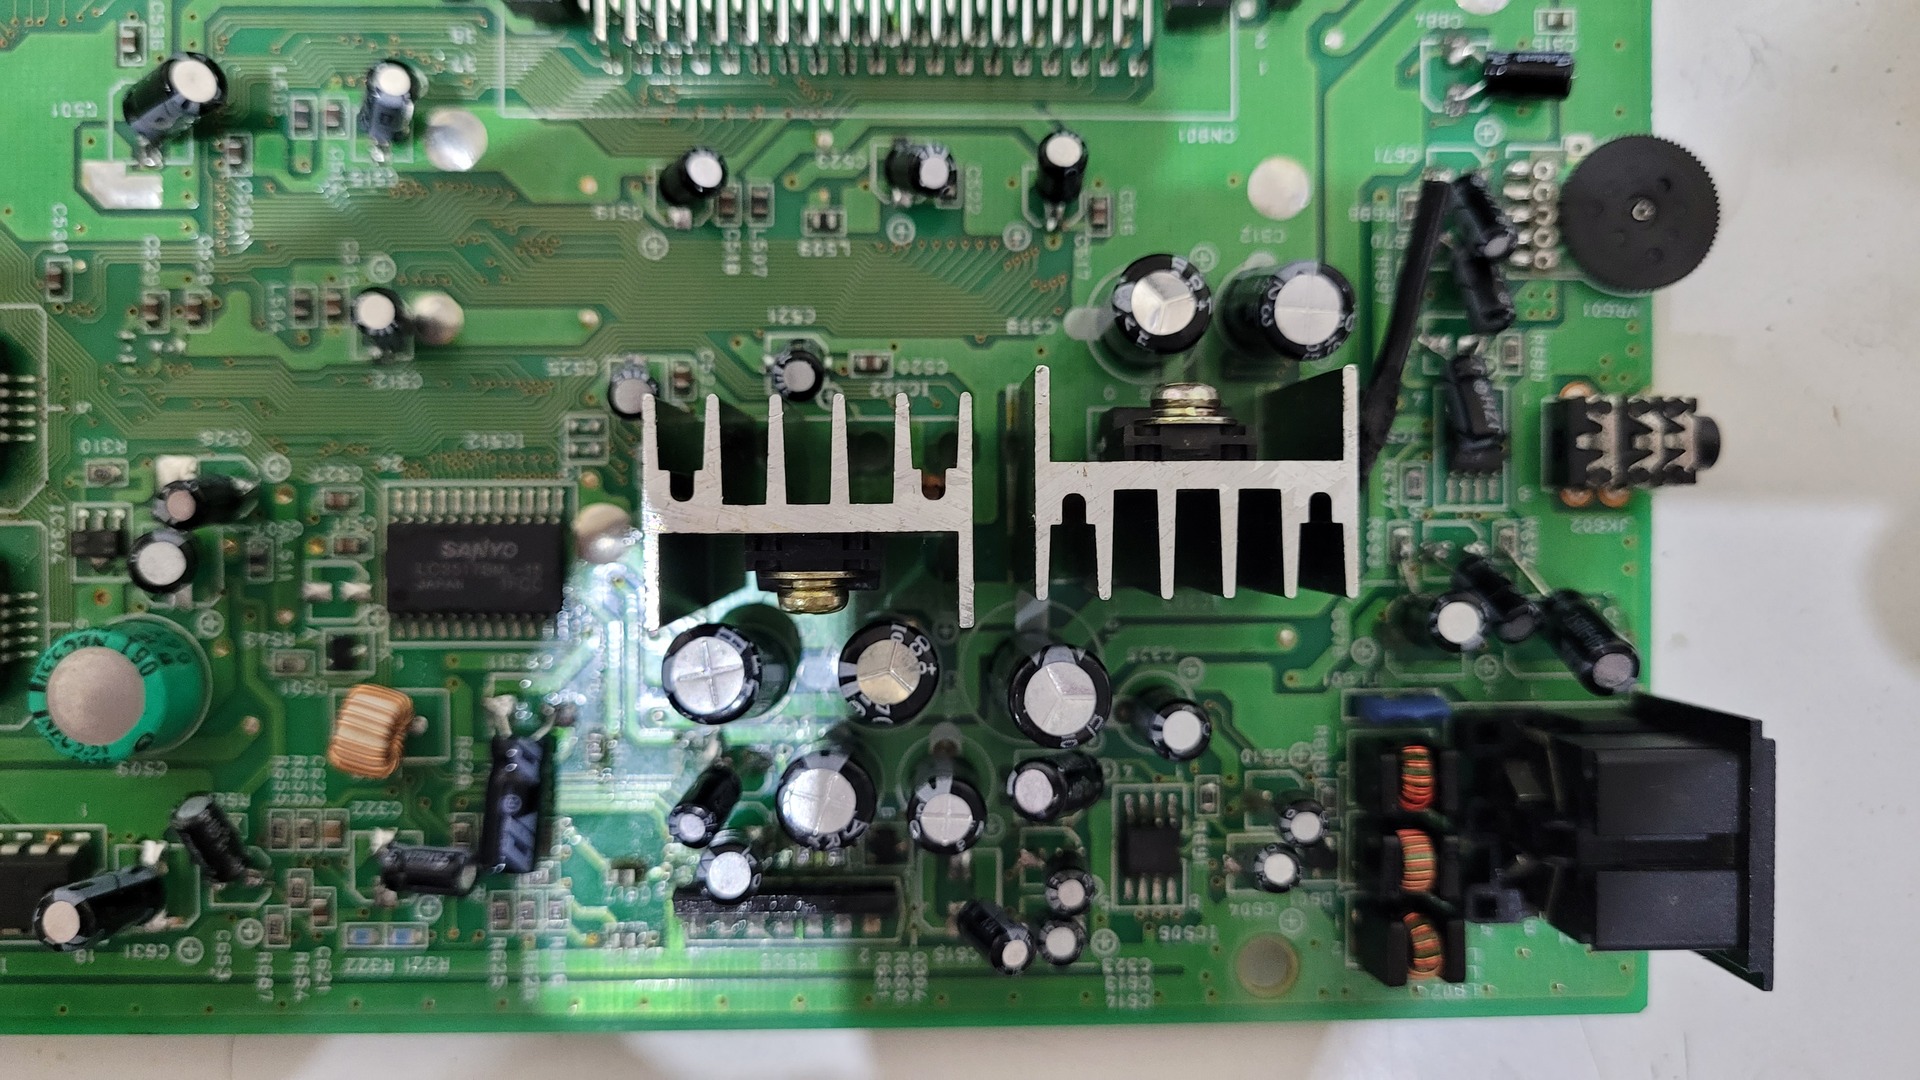
Power regulators zone
All capacitors near the two power regulators are also through-hole capacitors. These ones are easy to remove. On this motherboard, it was “just in time” : as the first photo shows it, they started to leak and I had to clean this zone too.
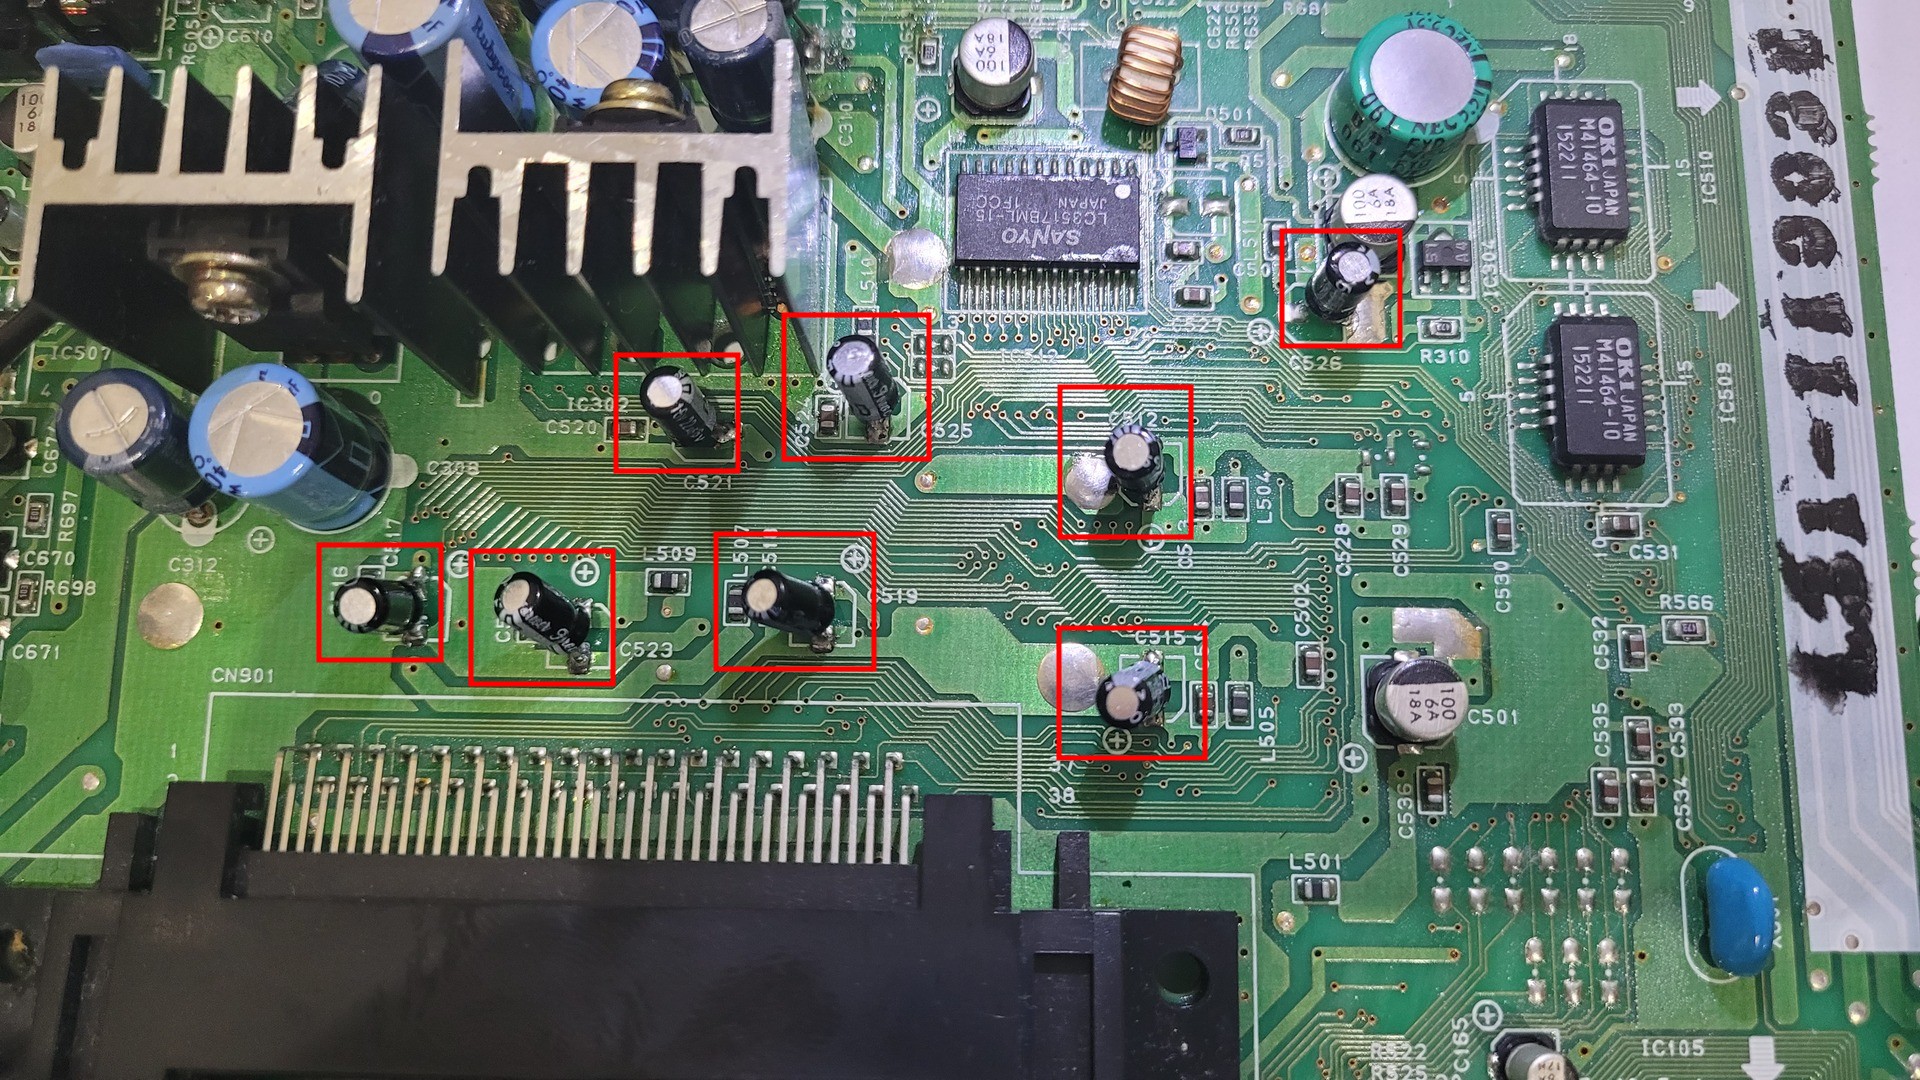
Result
After more or less 3 hours, all capacitorss were replaced. I hope my DUO is now ready for the next 30 years 😉