I recently had to replace the touch panel of my Nintendo DSi XL : it was not working anymore and some games were even crashing while touching the screen. I think it is worth replacing it : the DSi XL has better colors and viewing angle compared to the regular NDS and even DS Lite. Some prefer to use a 3DS XL which is also compatible with DS games, but even if the 3DS XL has better color rendering, DS games look blurry on it, because the native resolution is not the same, so the 3DS does some sort of scaling.
There is a very nice article on iFixit, so I’m just sharing my own experience…
Used materials
Nothing very special is required here :
- A brand new touch panel : I got mine on Aliexpress
- A small phillips screw driver
- A pair of tweezers
Accessing the touch screen
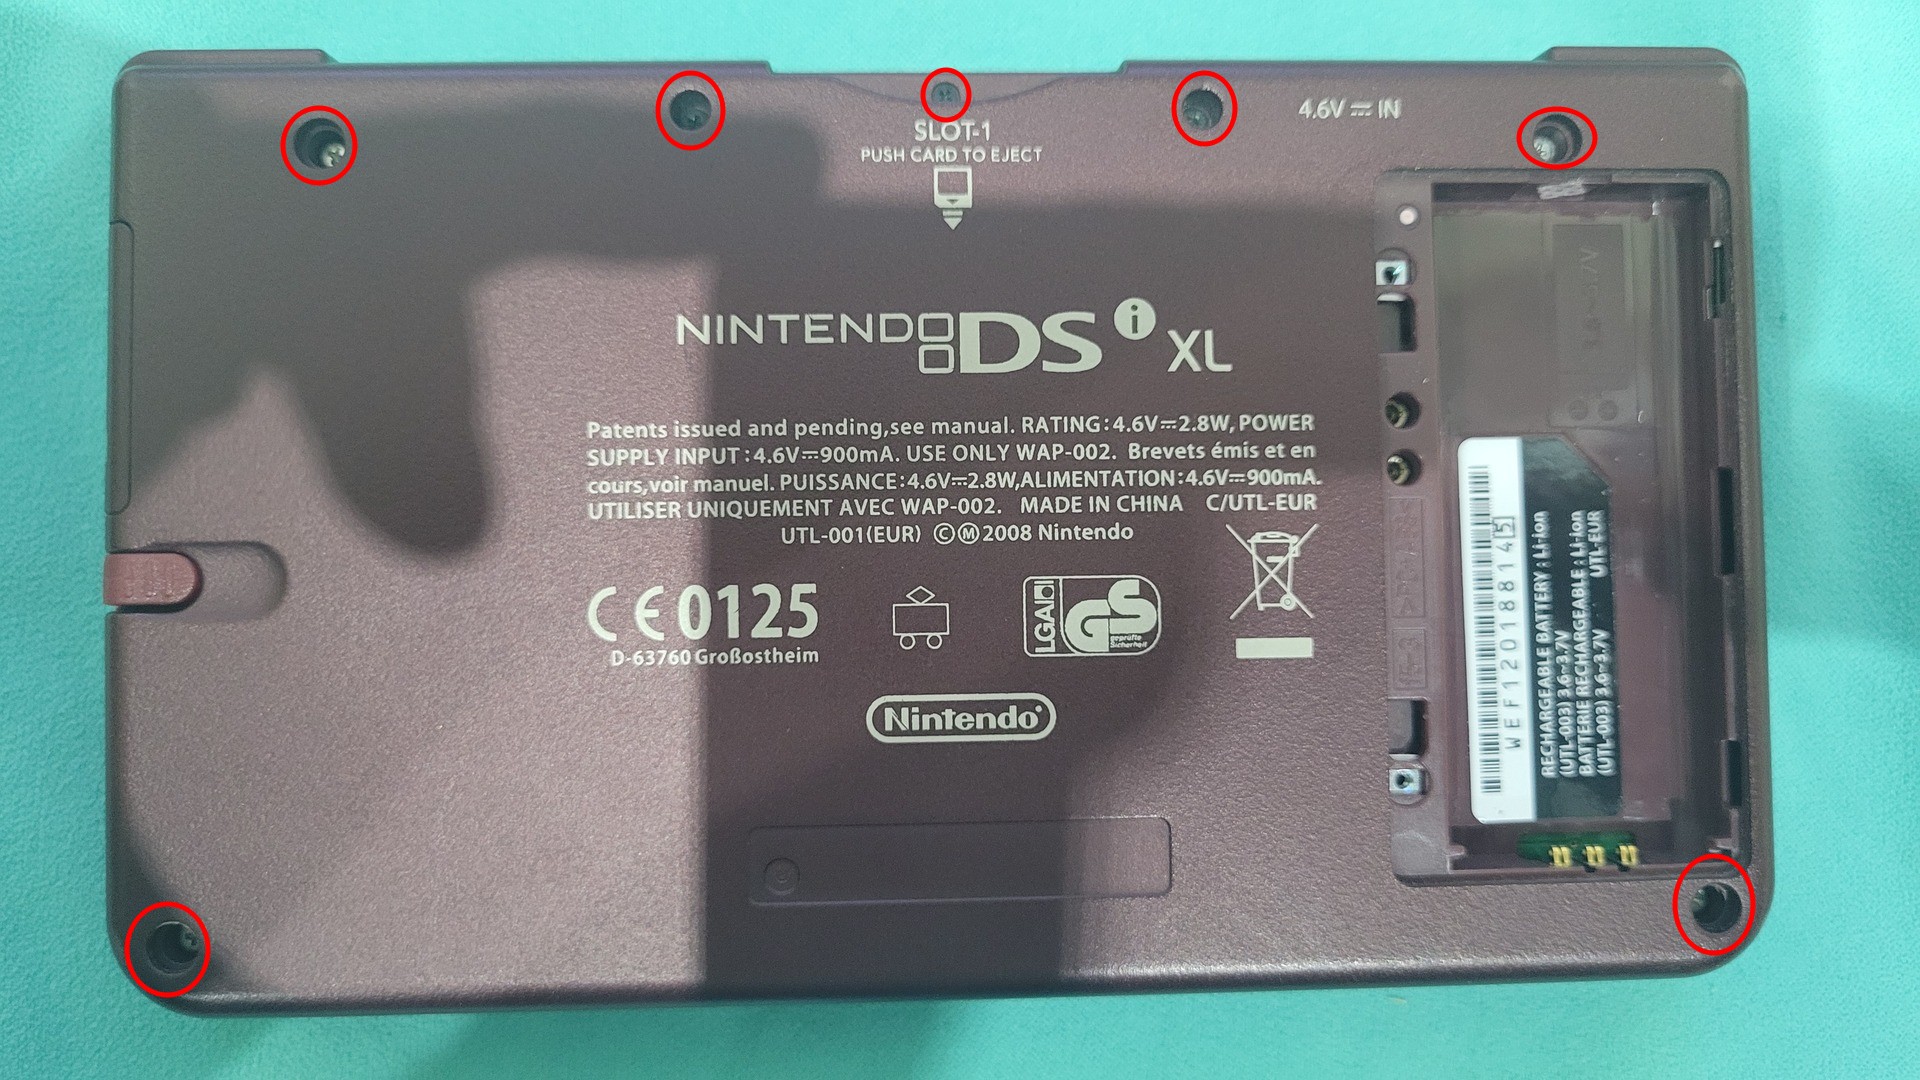
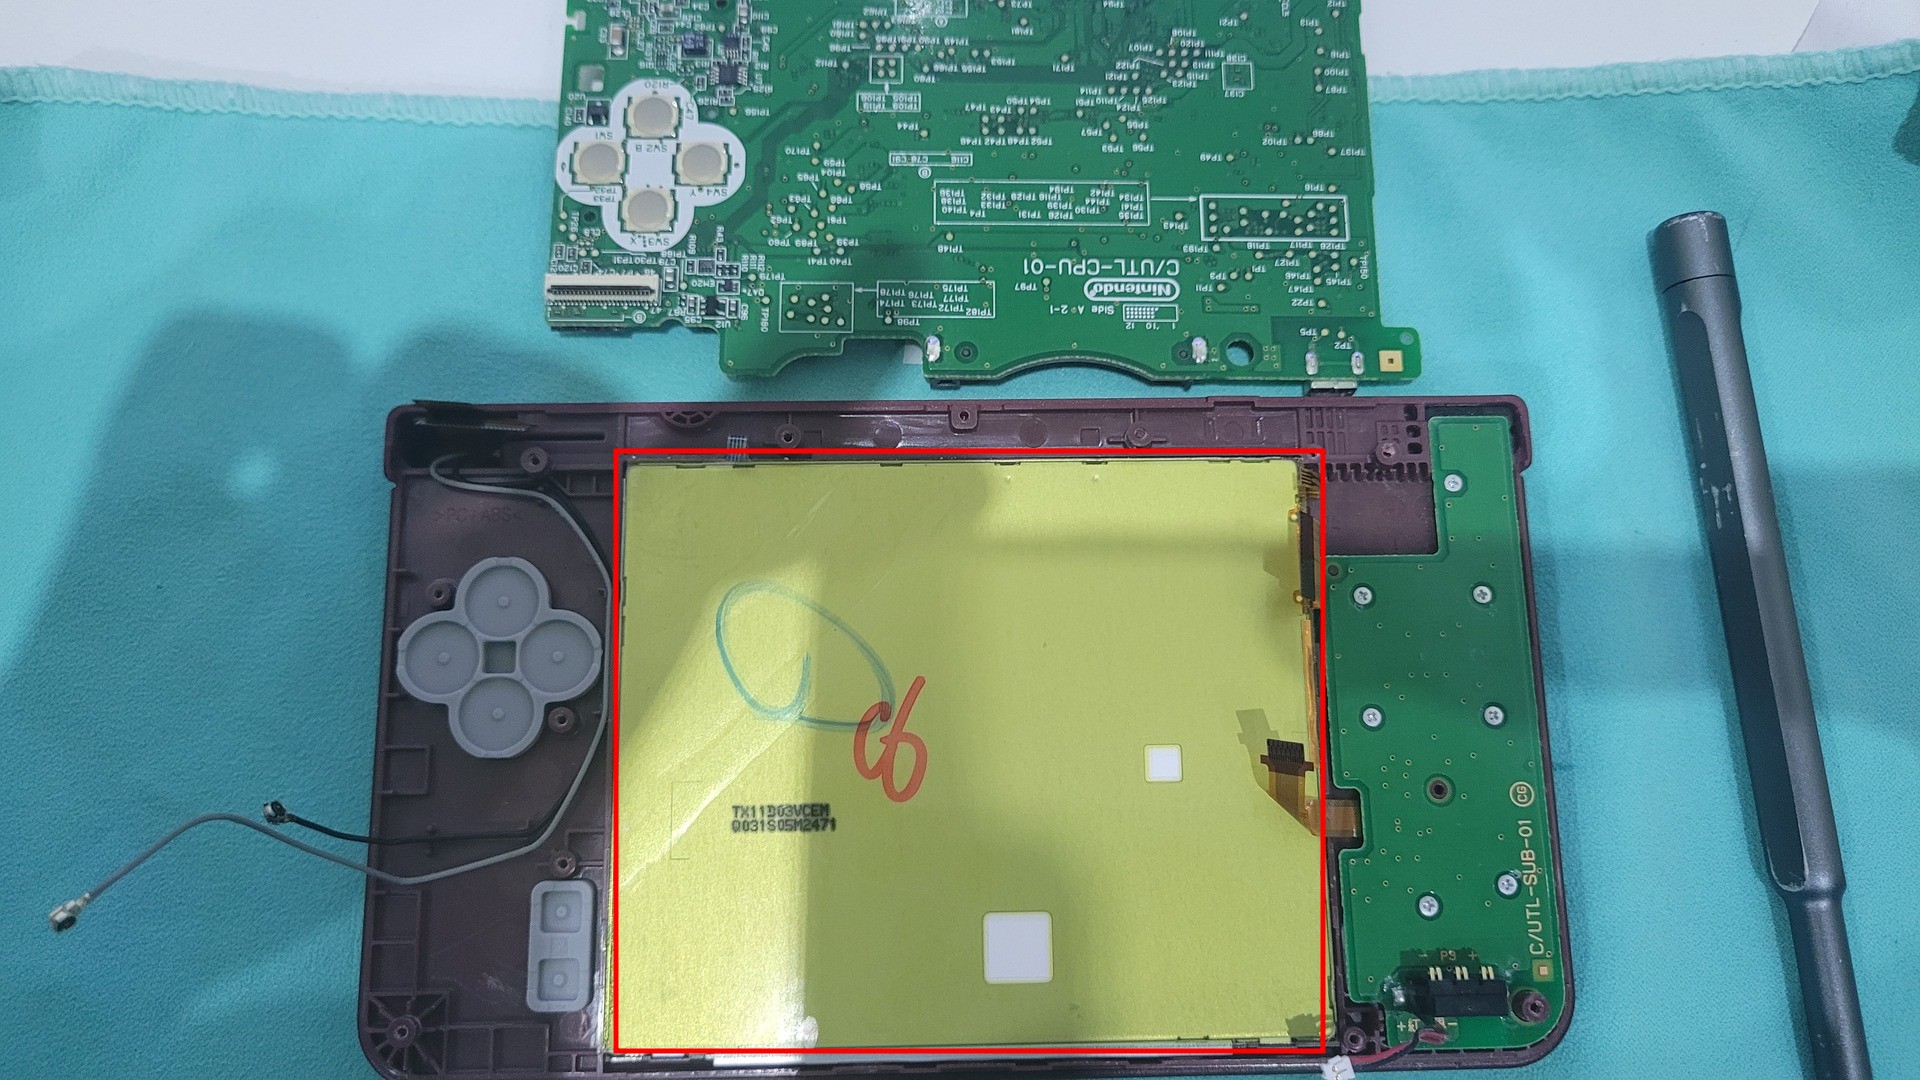
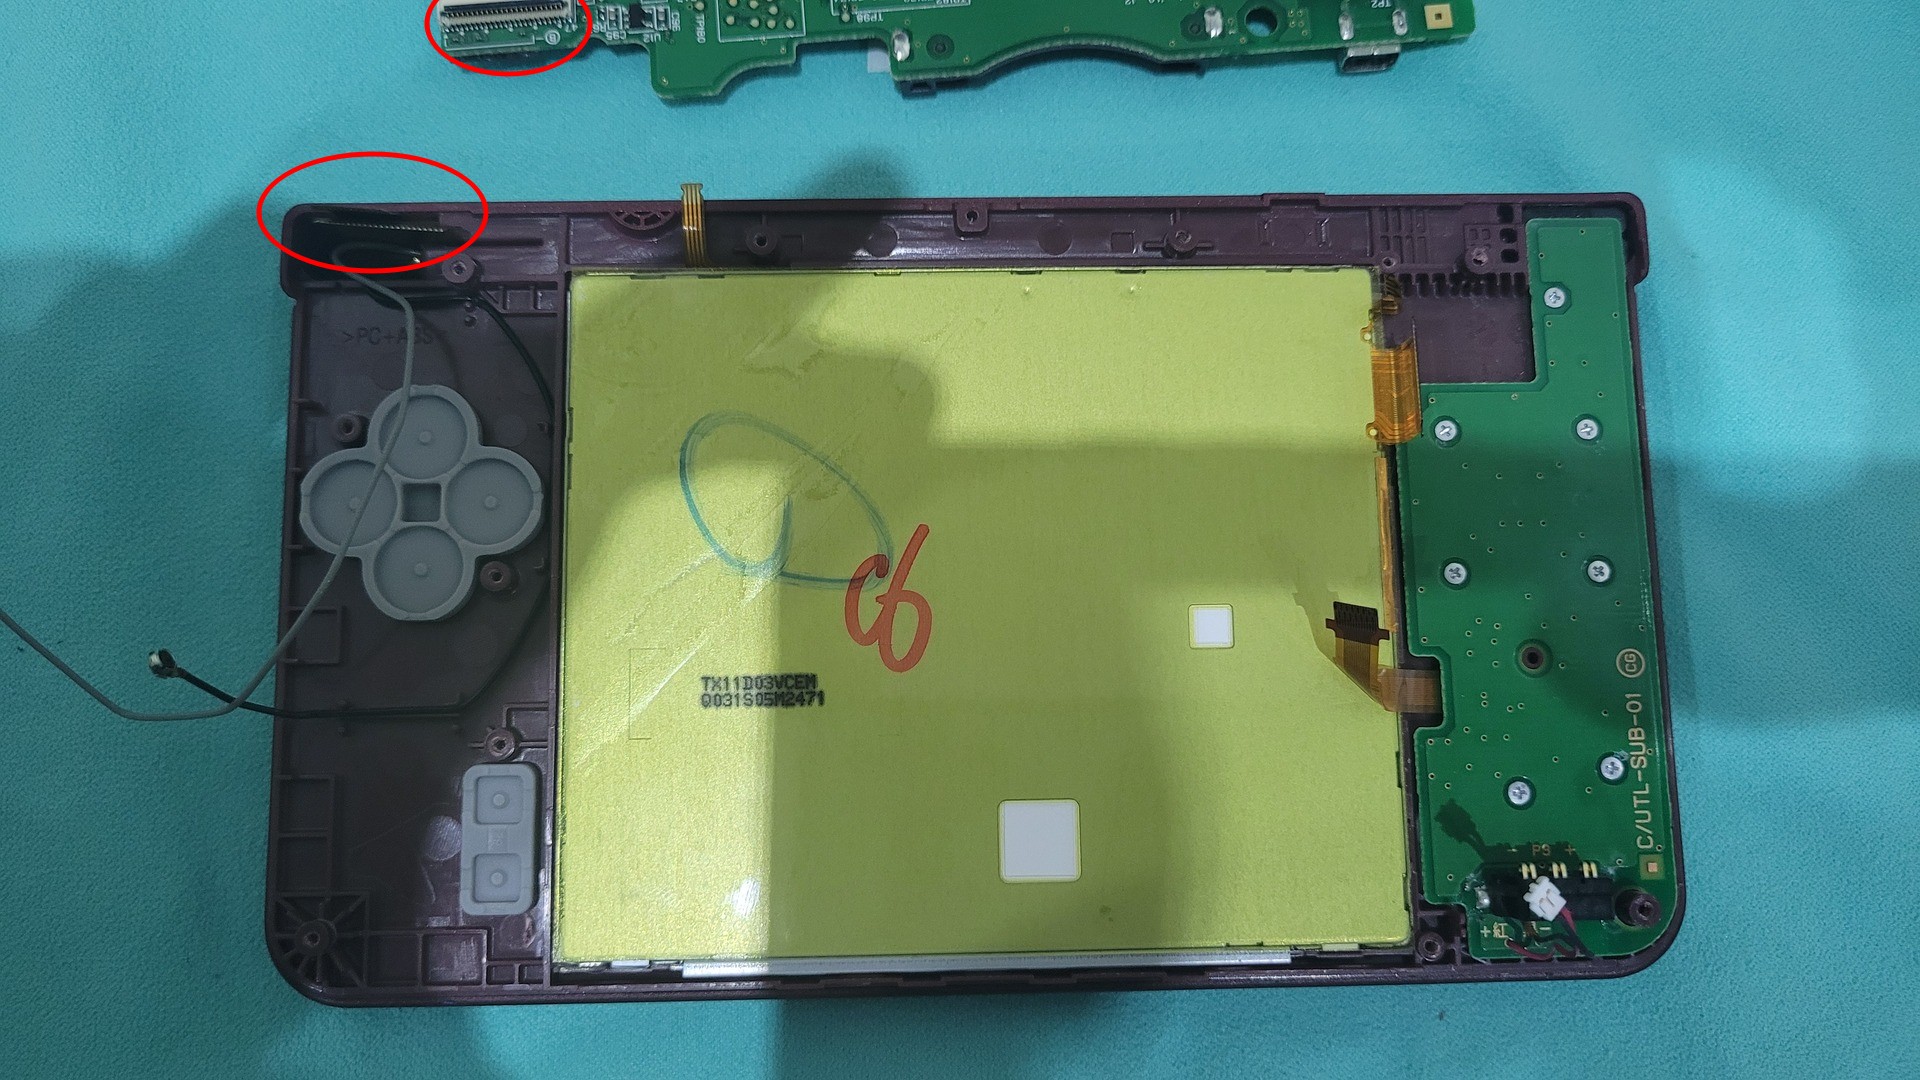
To access the touch screen, the motherboard must be removed because the touch screen is under it. The first thing to remove is the battery :
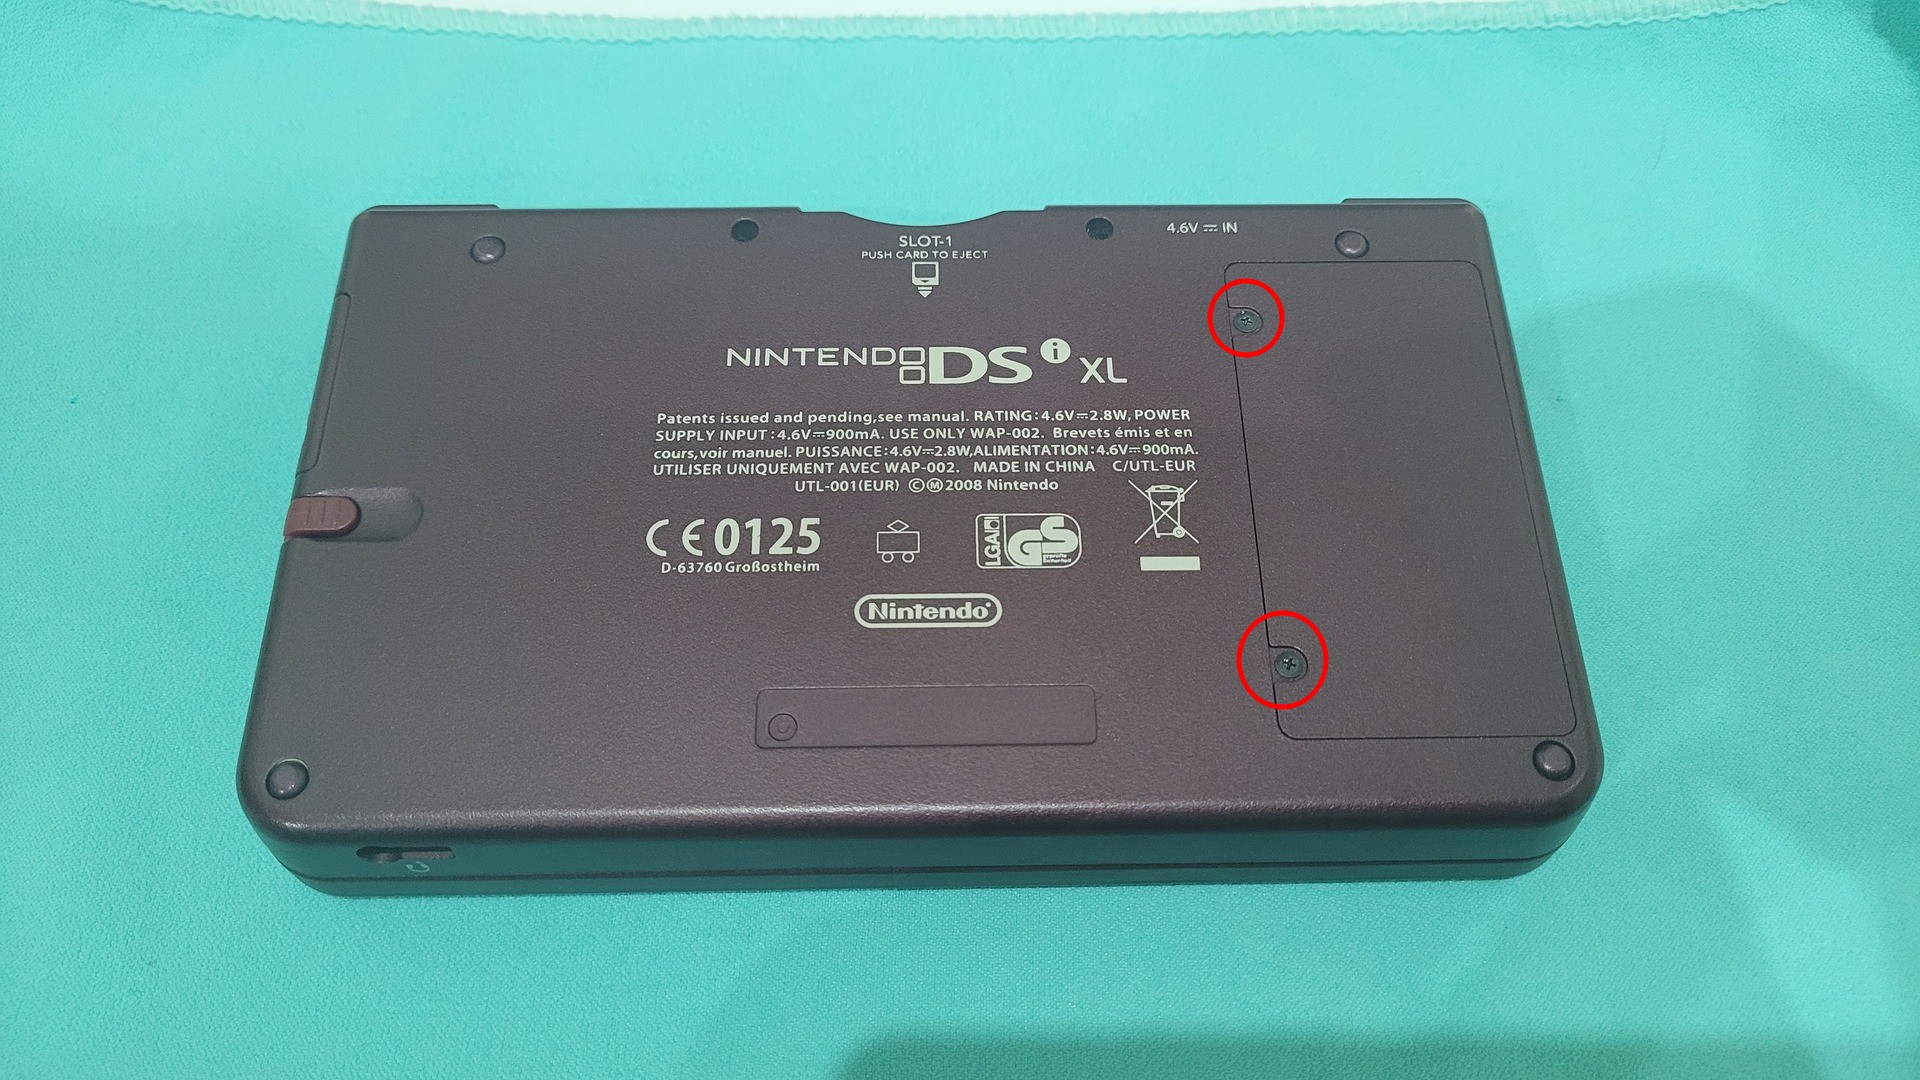
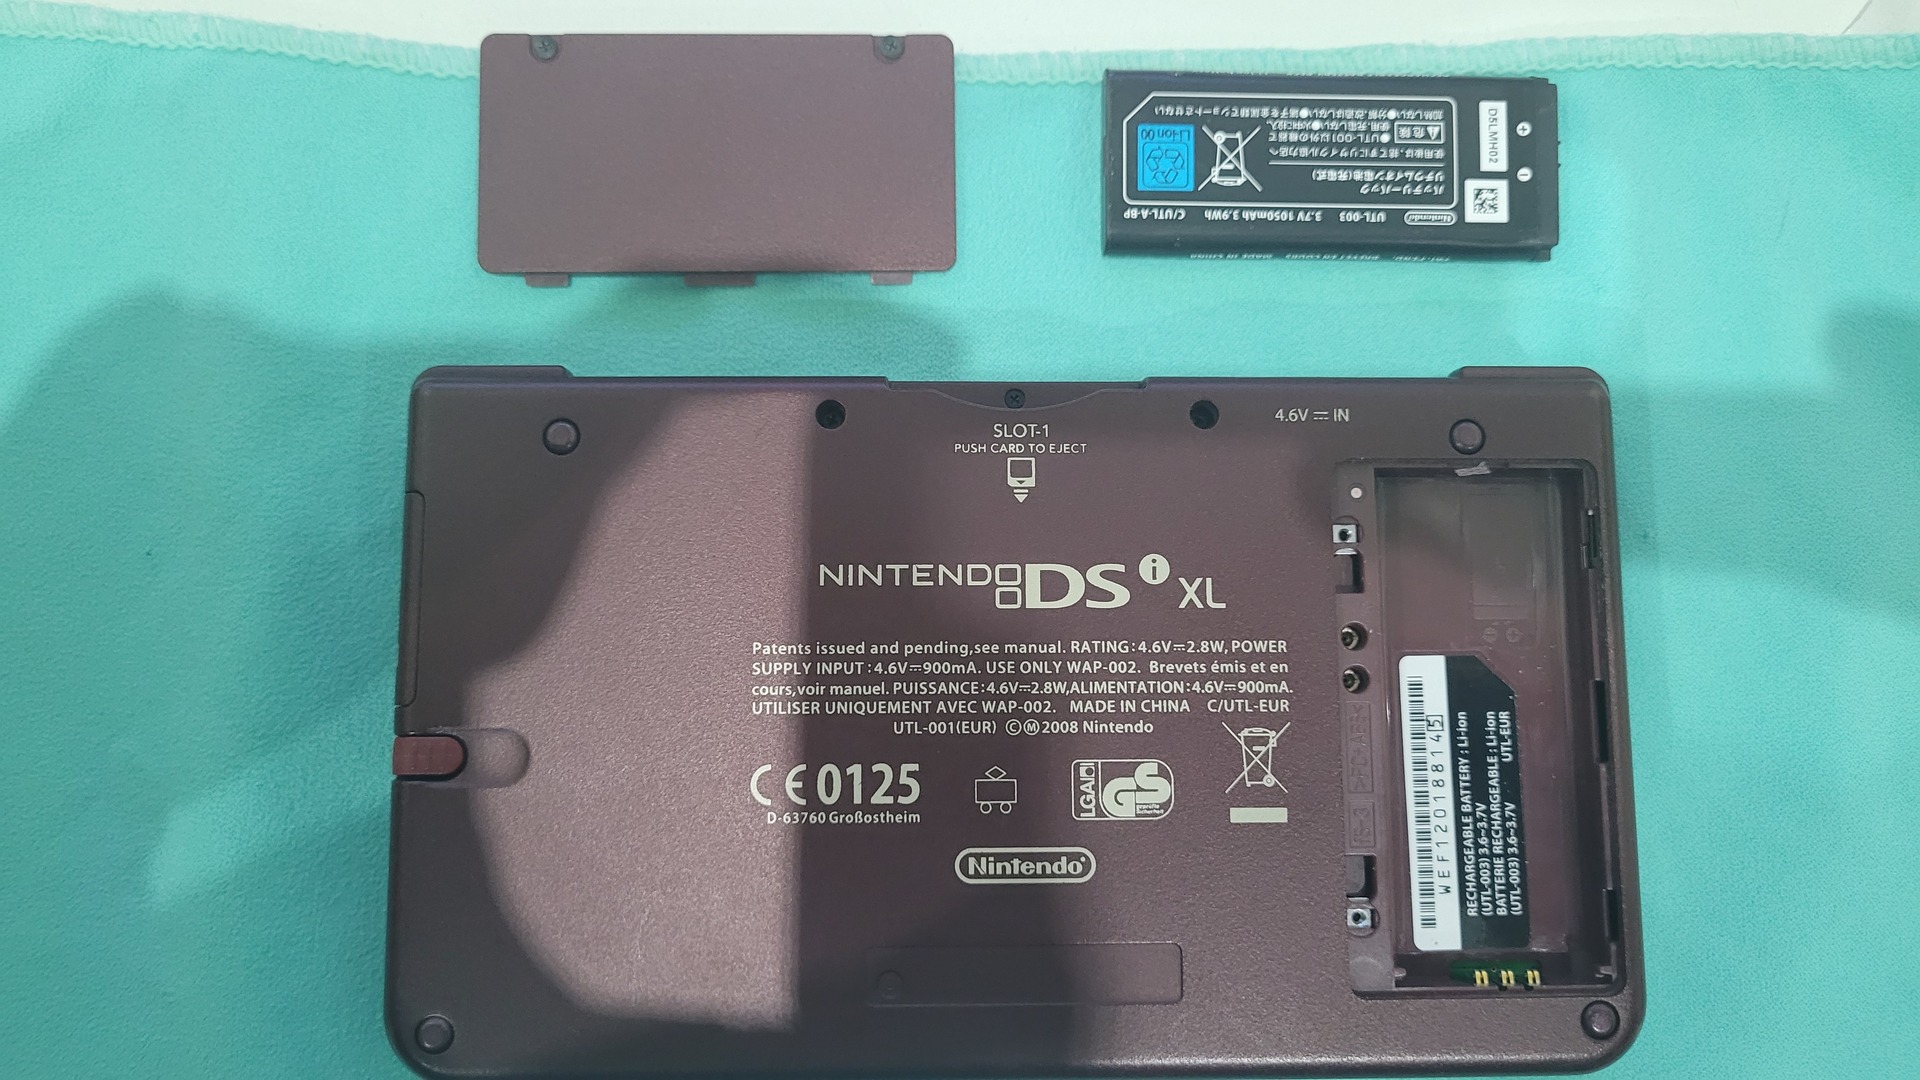
There are 7 screws to remove in order to detach the back of the shell. 4 screws are hidden under the 4 rubber pads: they can be removed with a pair of tweezers. The back of the shell is also clipped, bending a bit the console or using a finger nail is enough to unlock it.
When opened, 2 ribbon cables must be unplugged before the back cover could be removed:
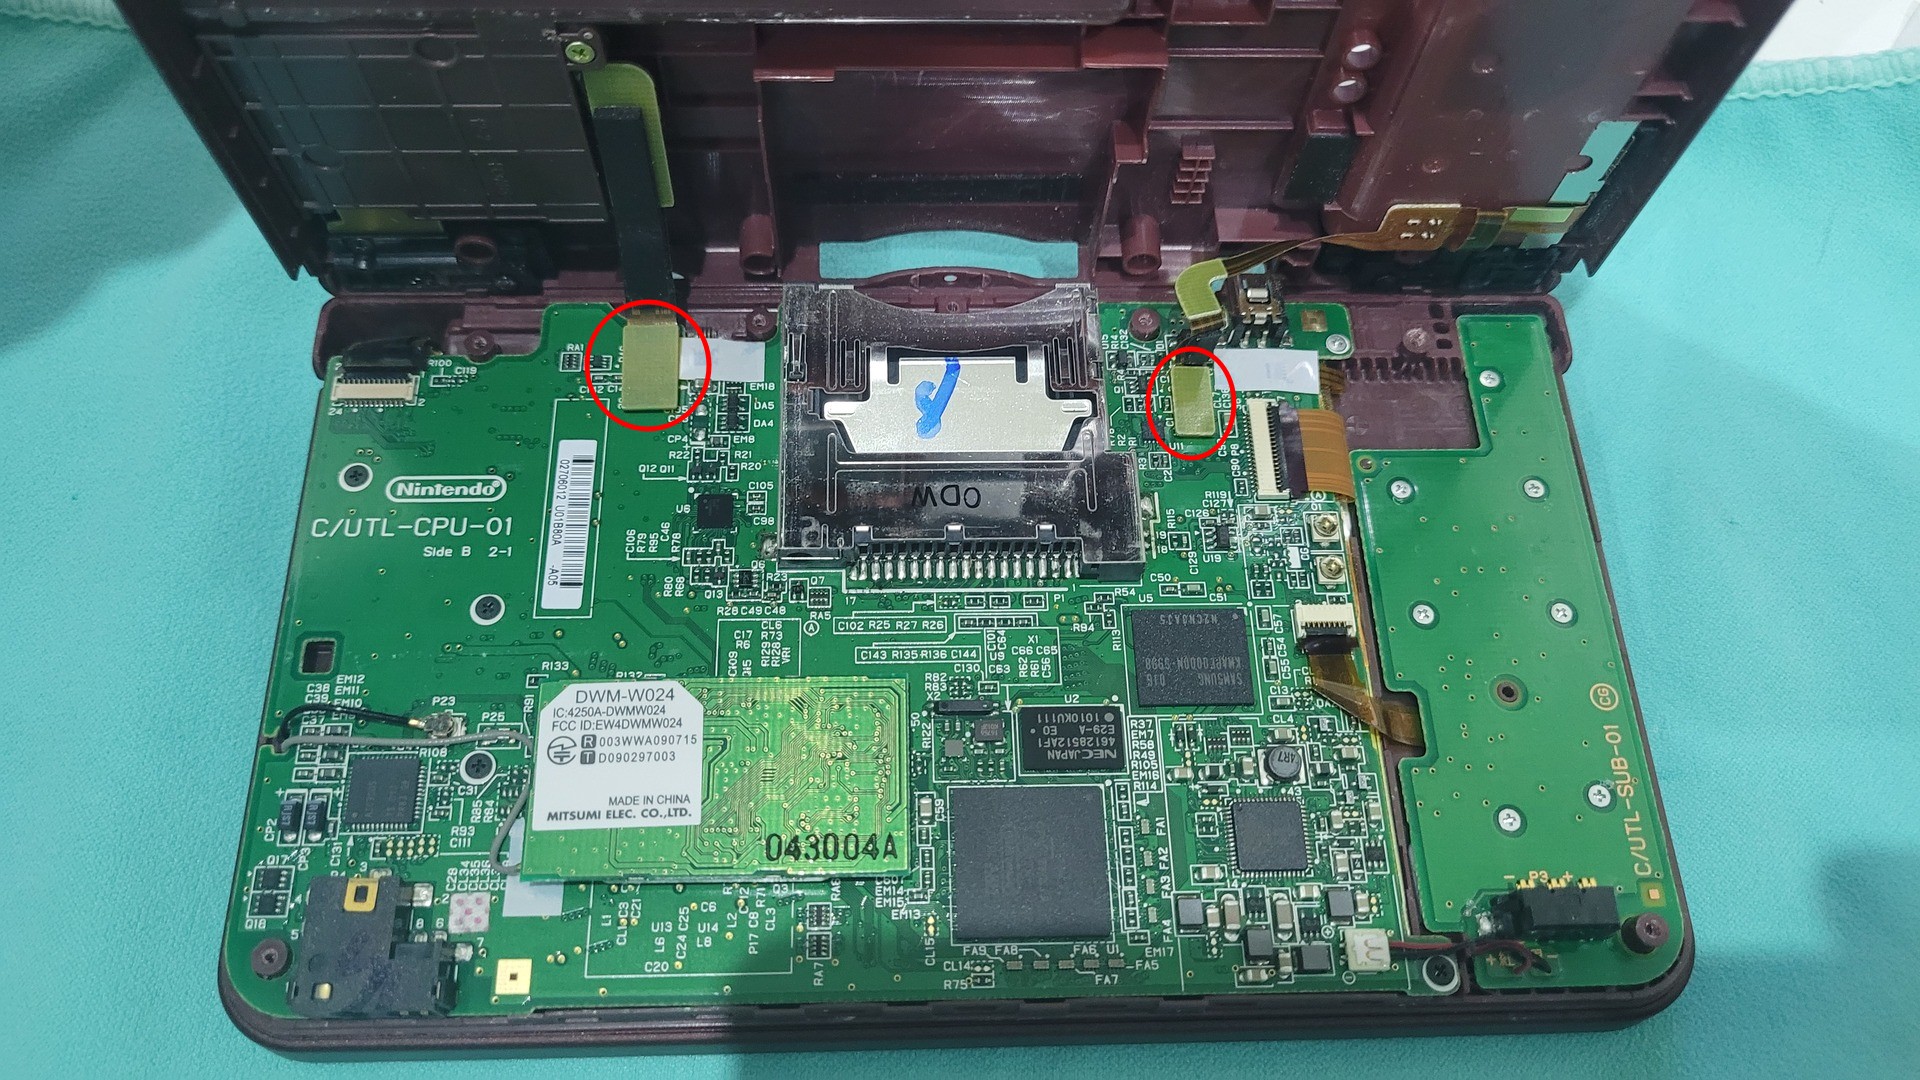
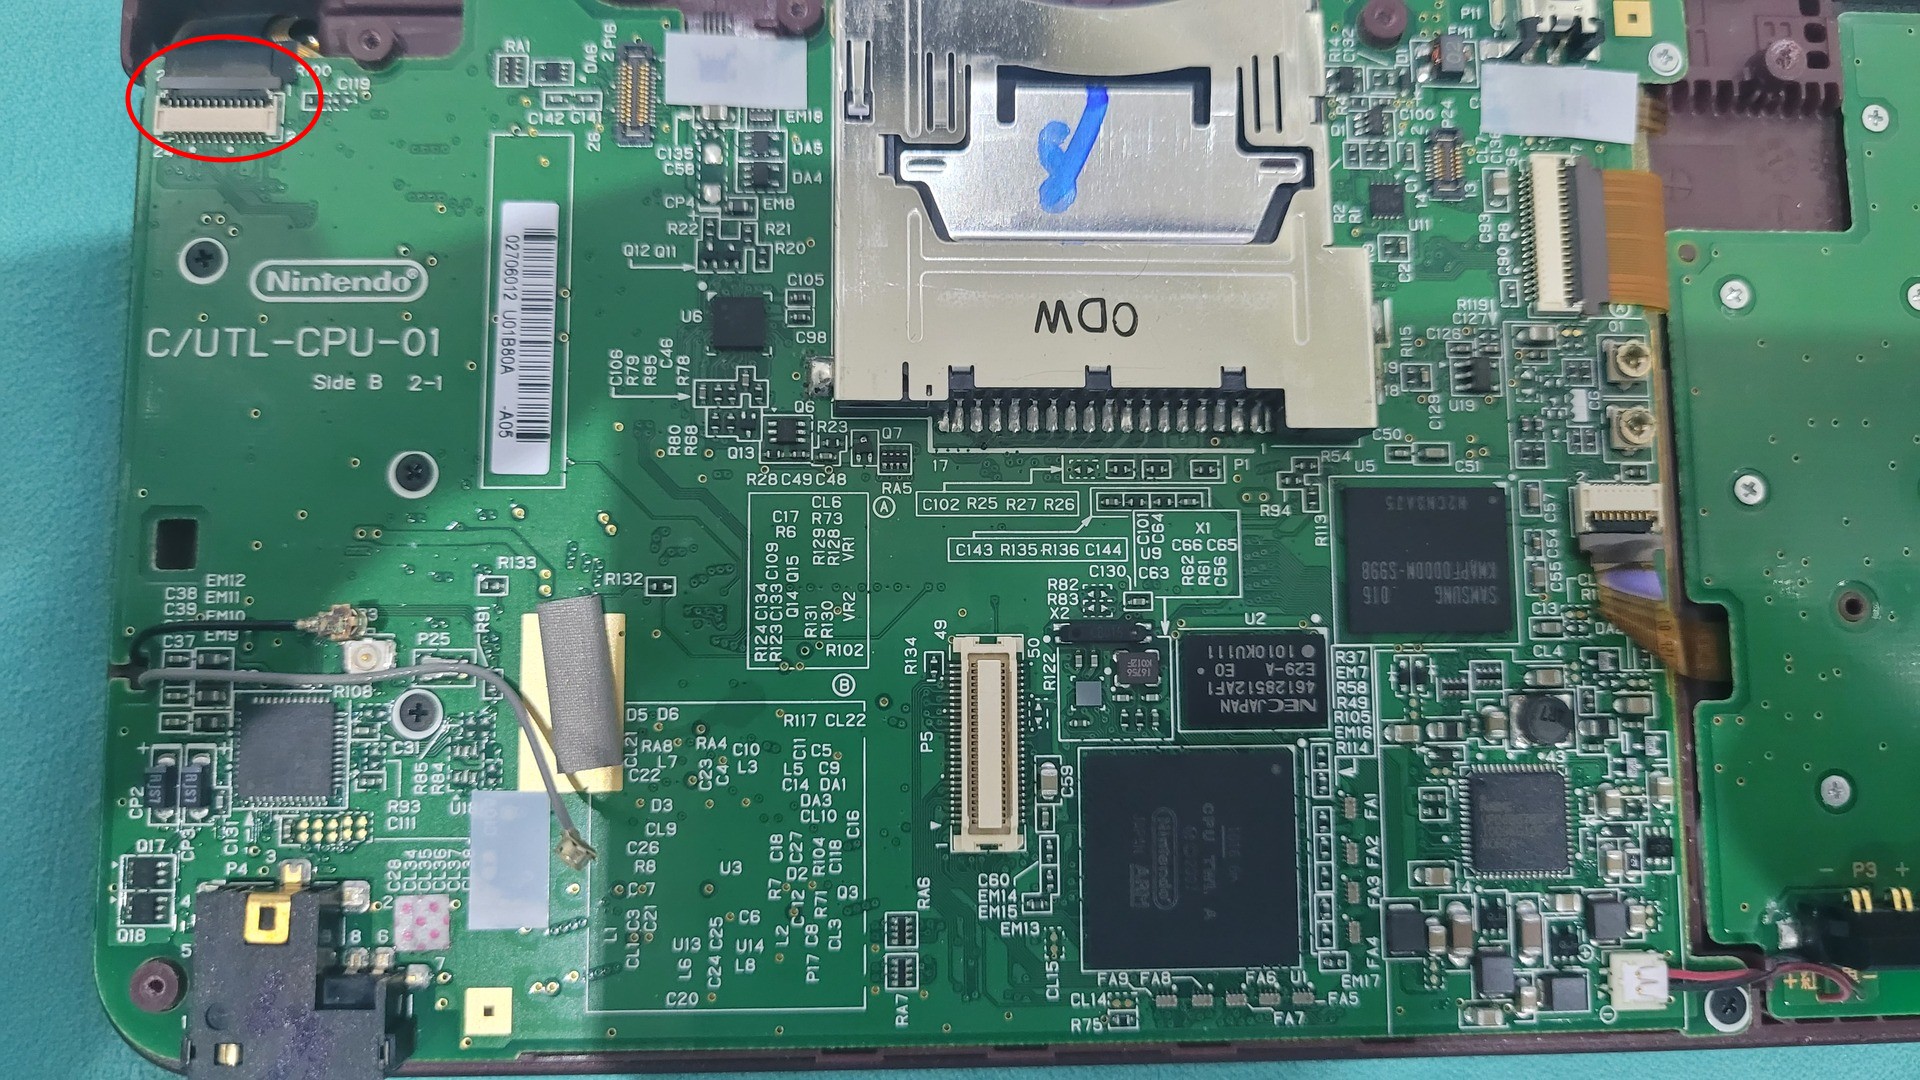
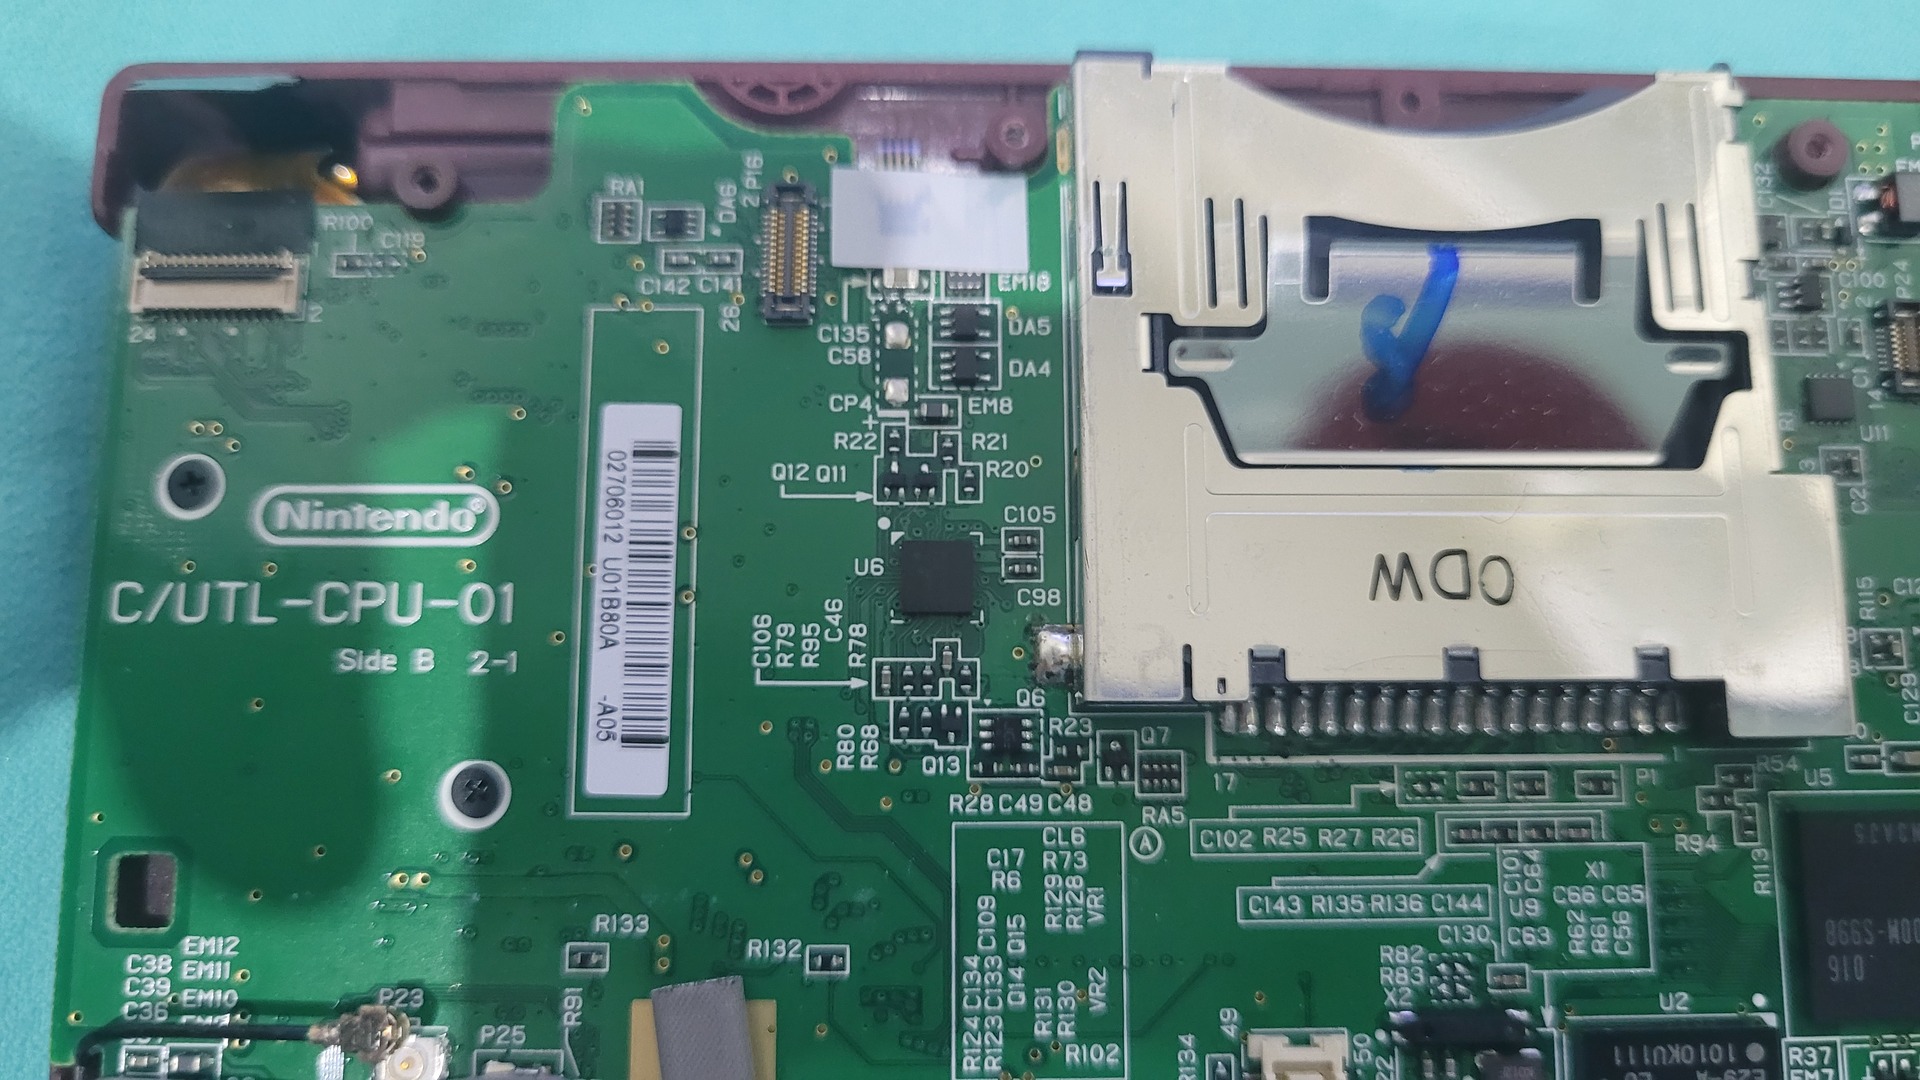
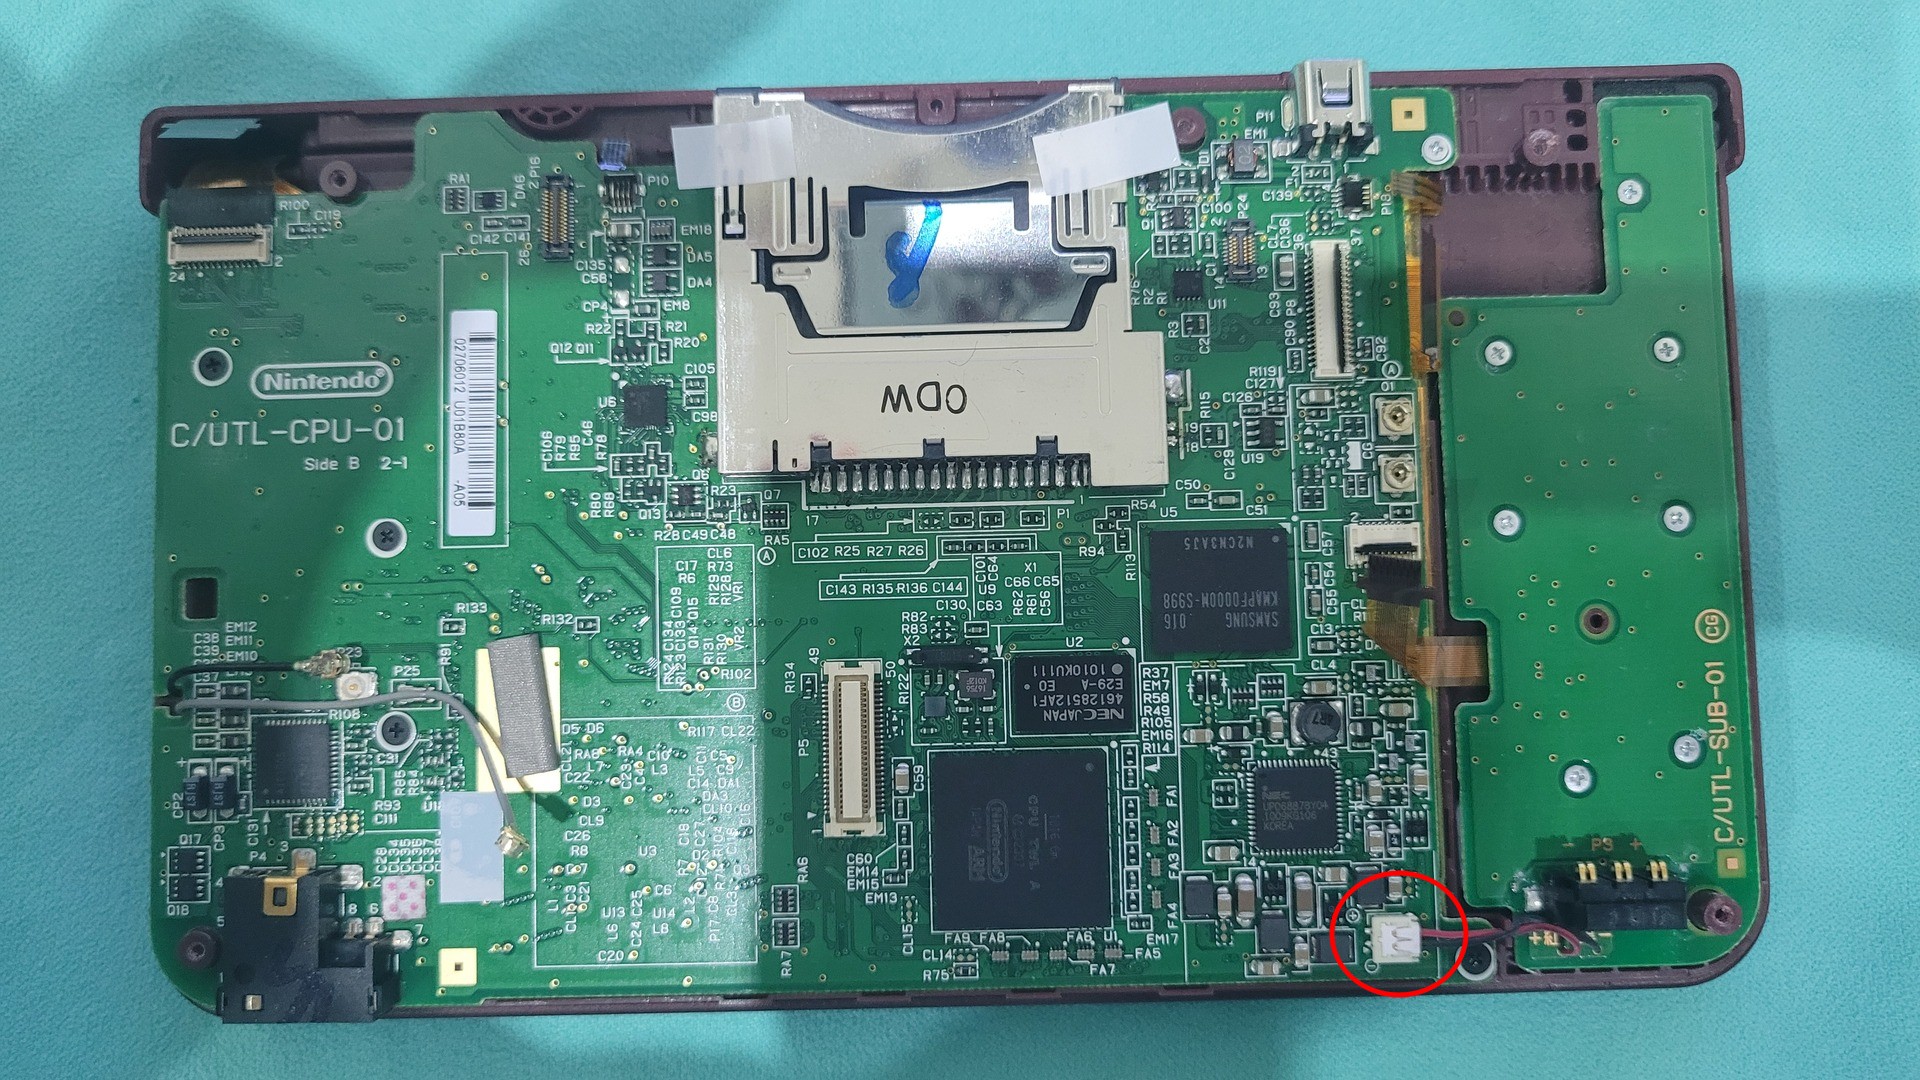
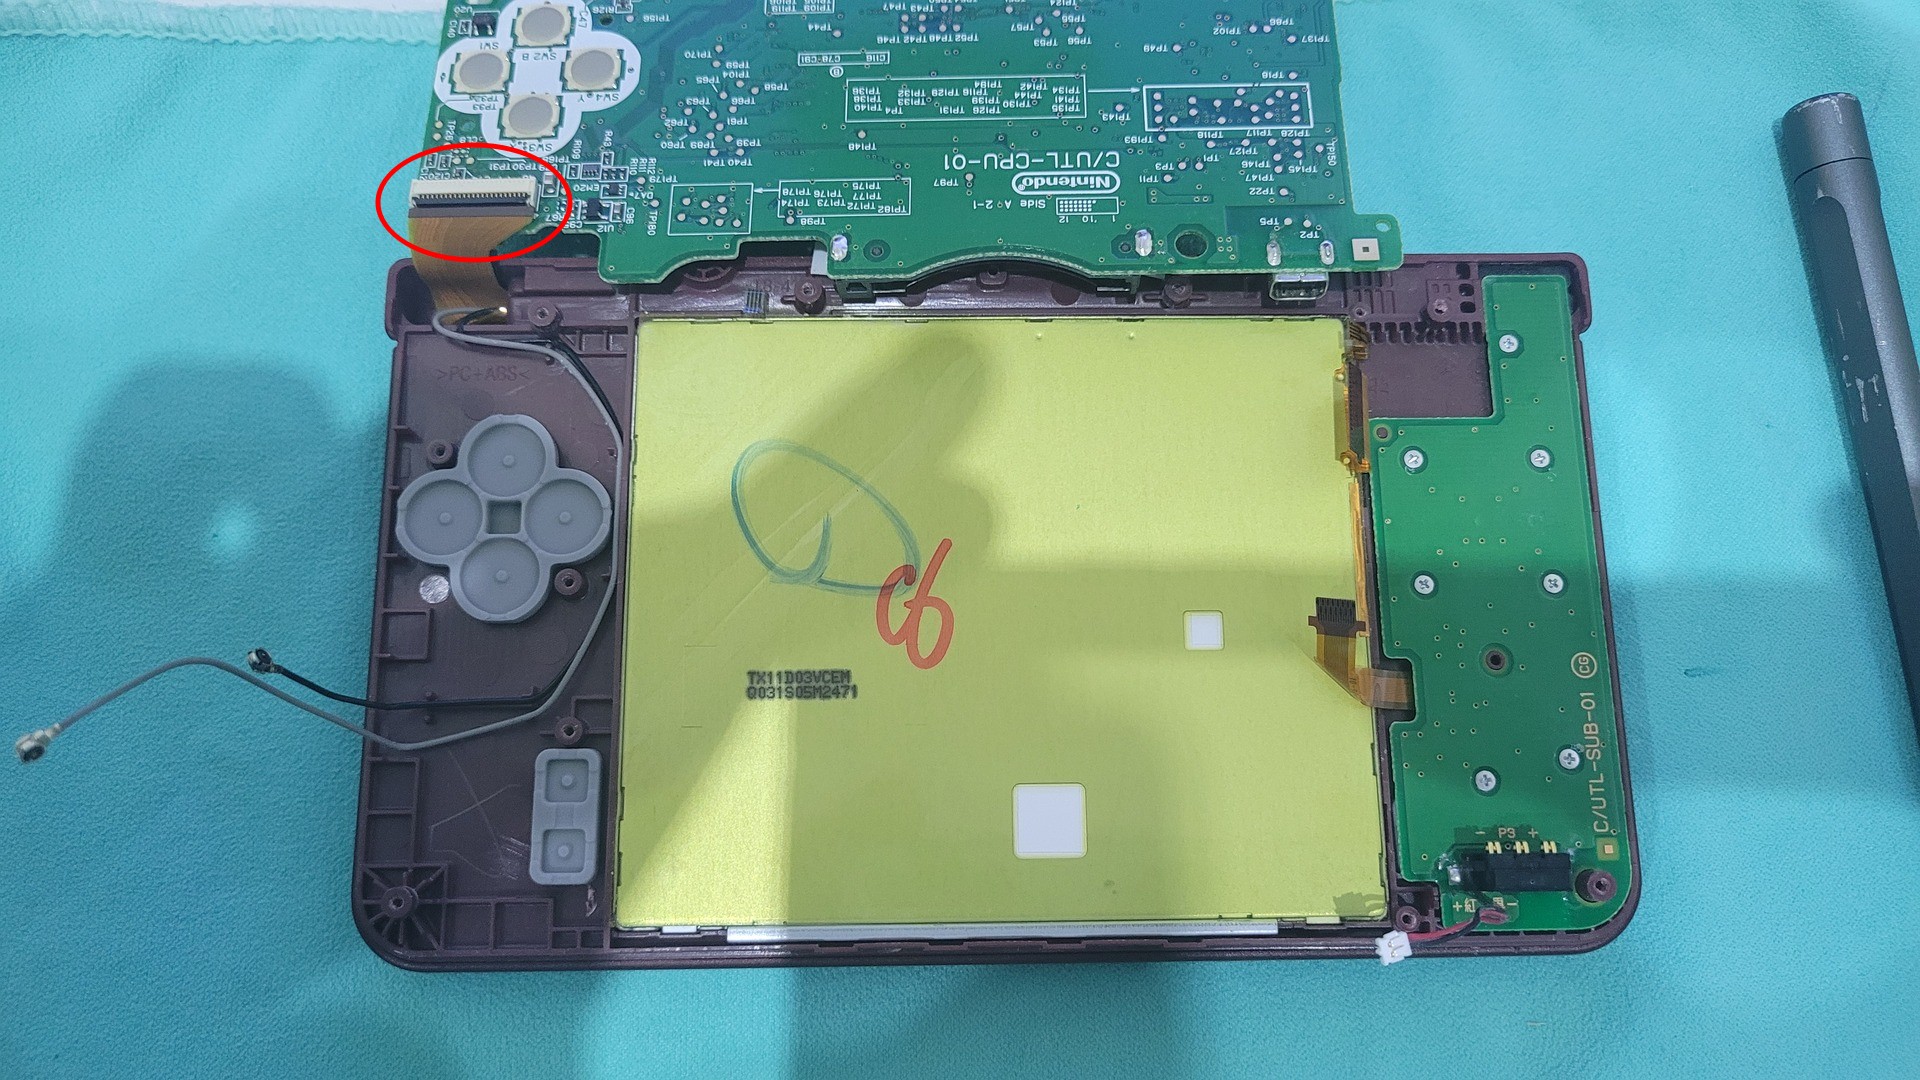
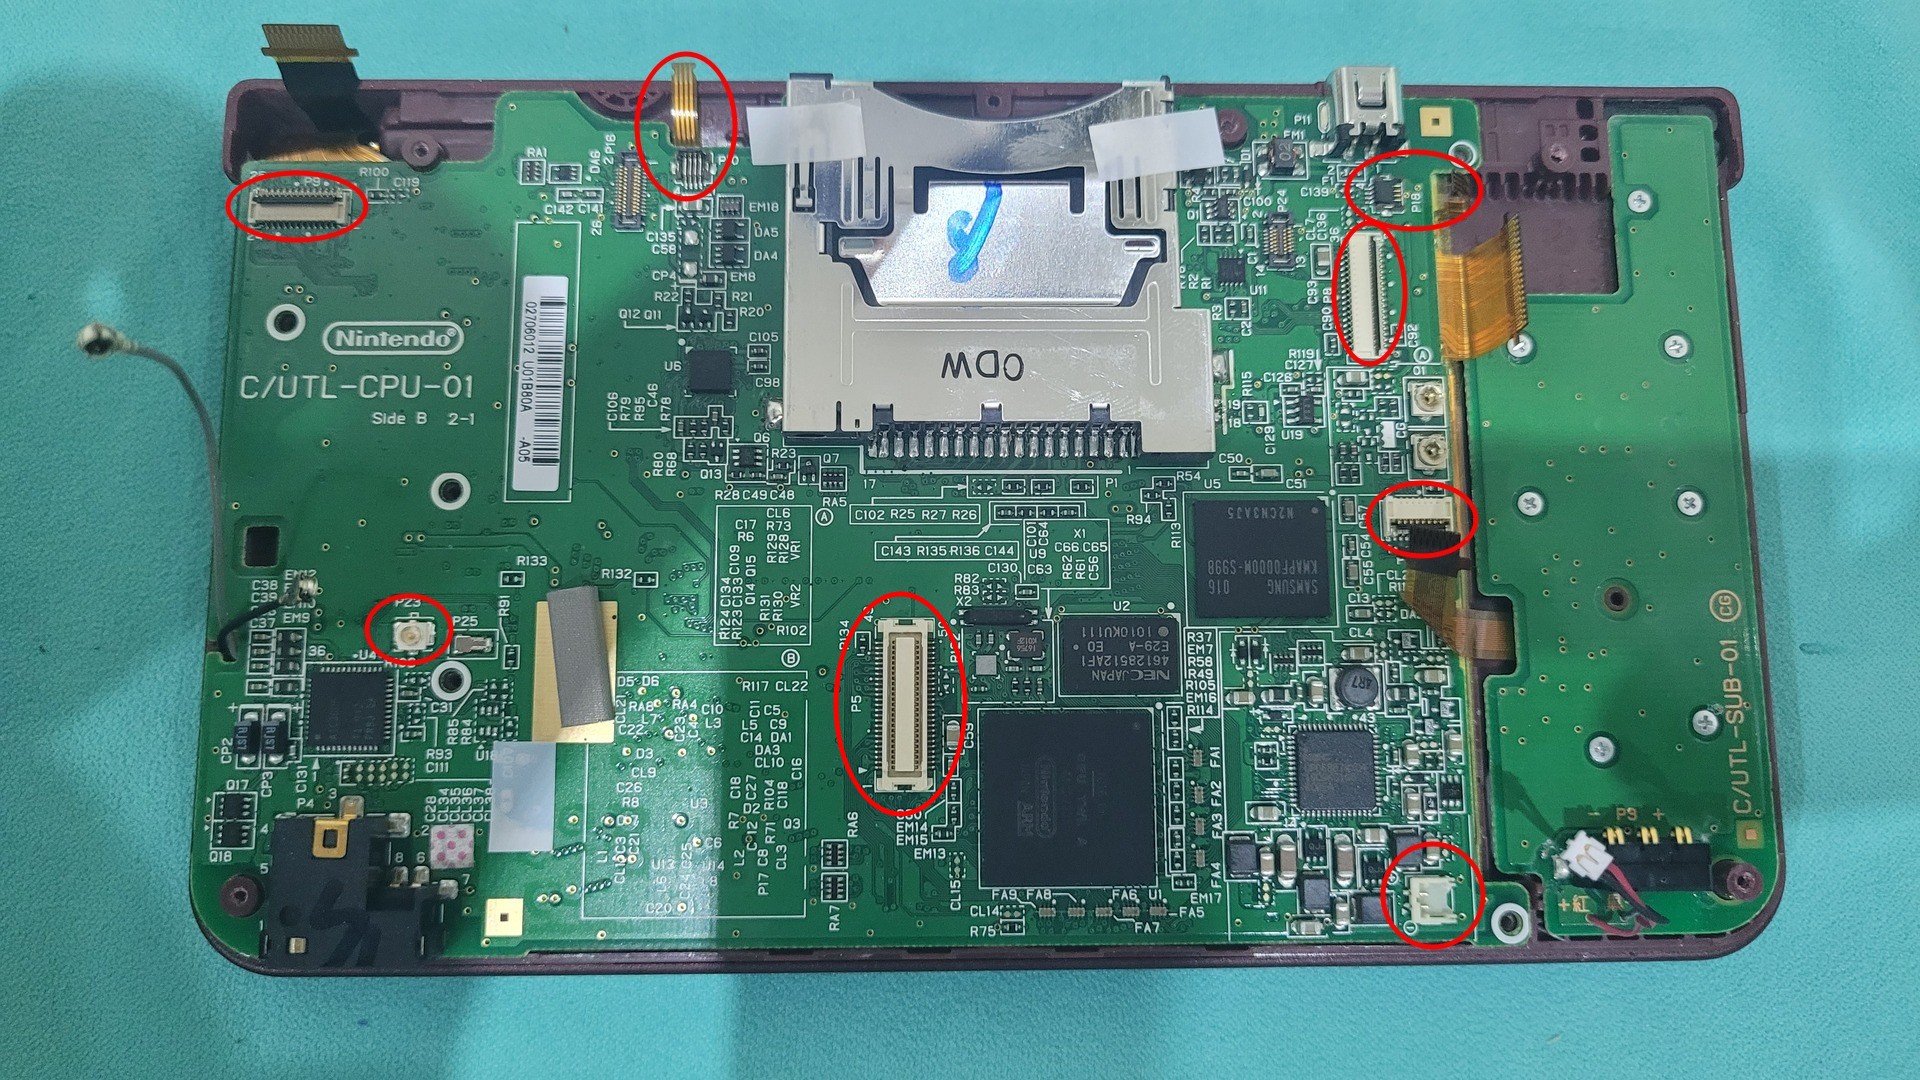
The next steps consist in carefully removing all ribbon cables that are attached to the motherboard as well as the wifi card:
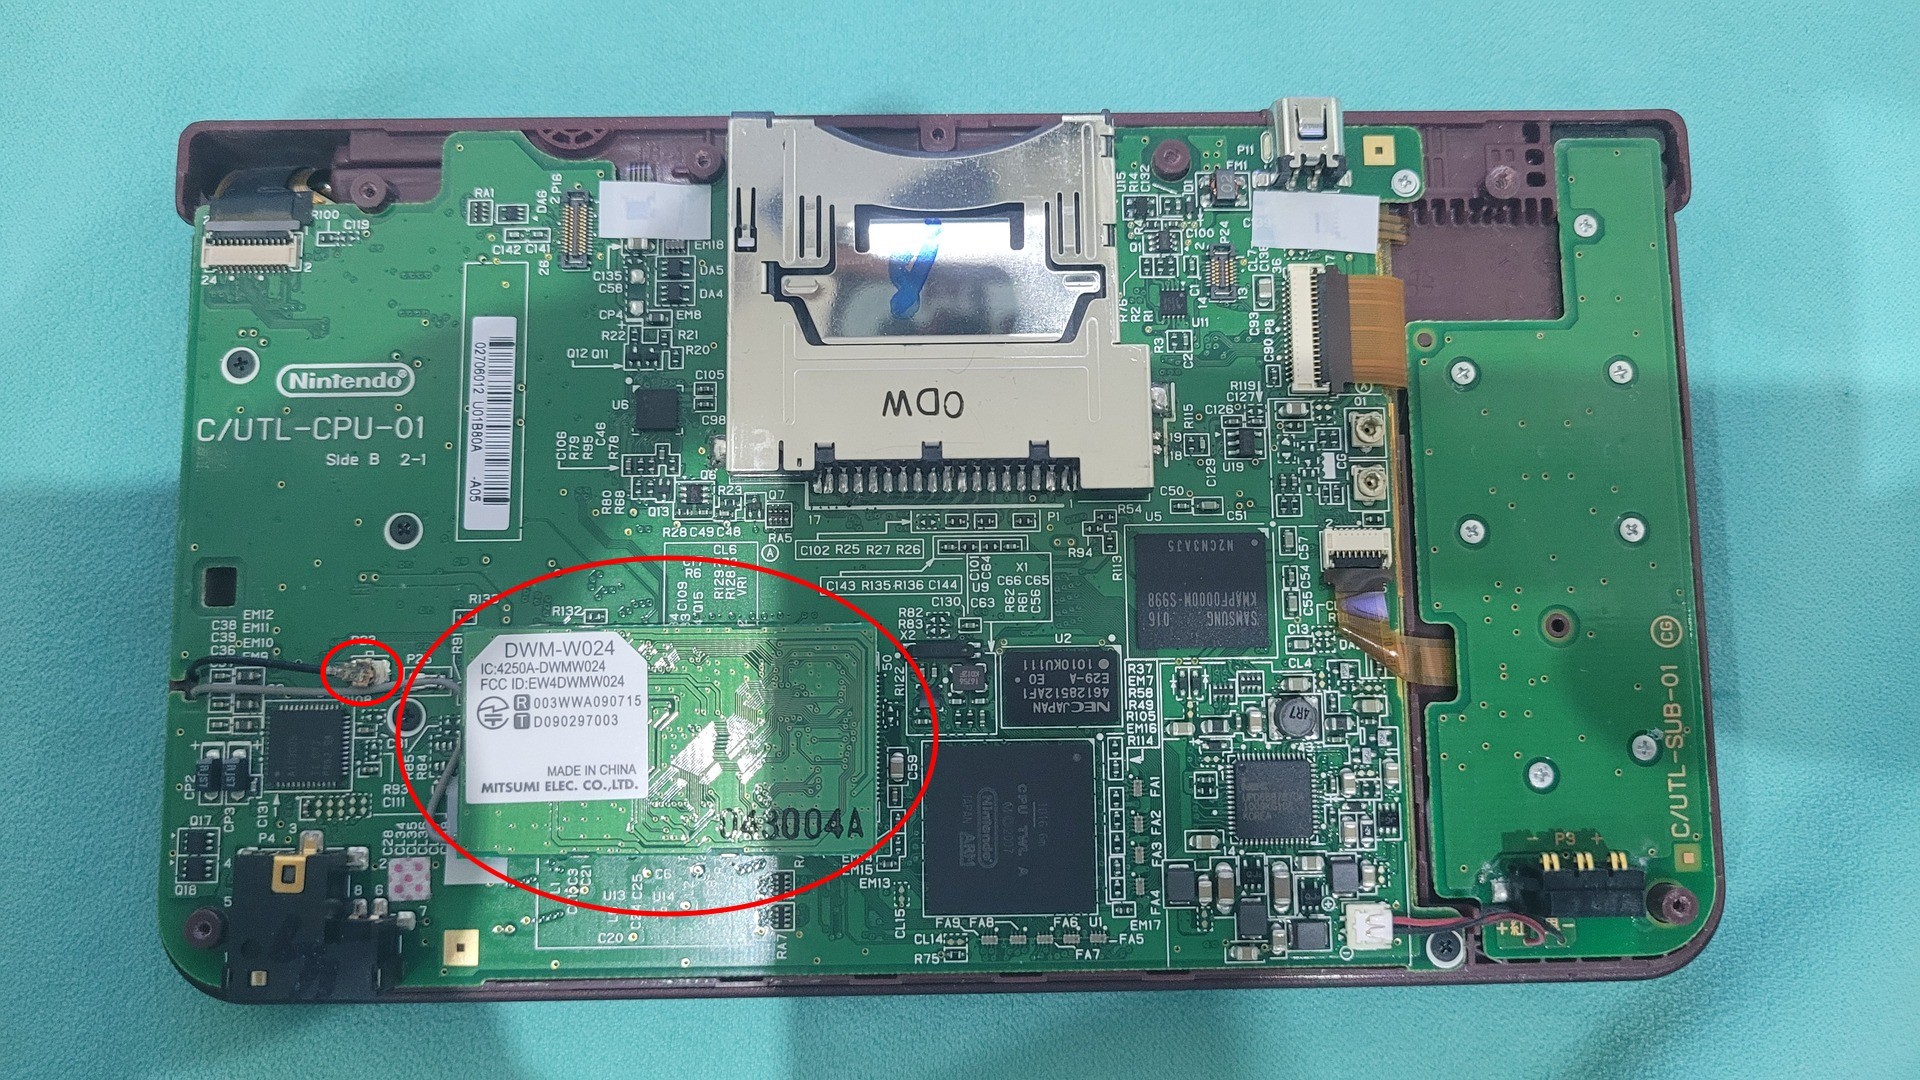
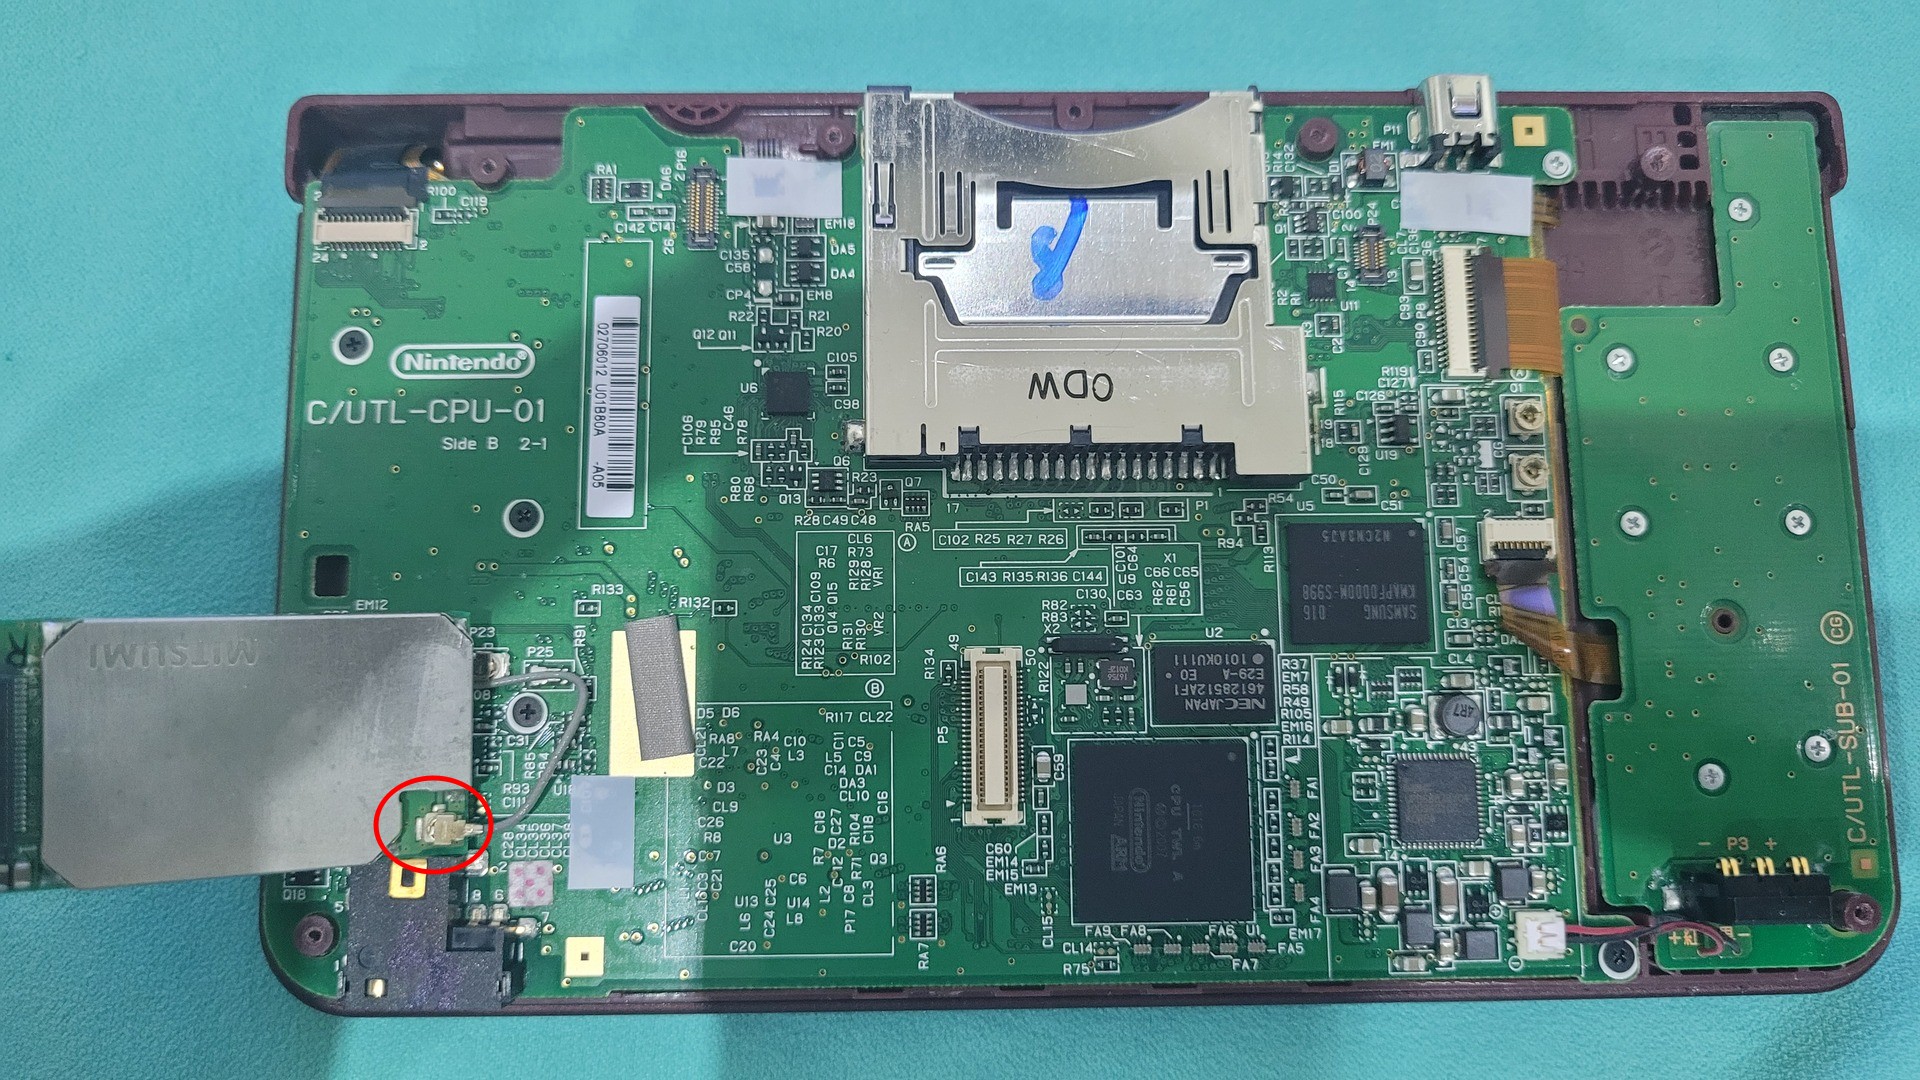
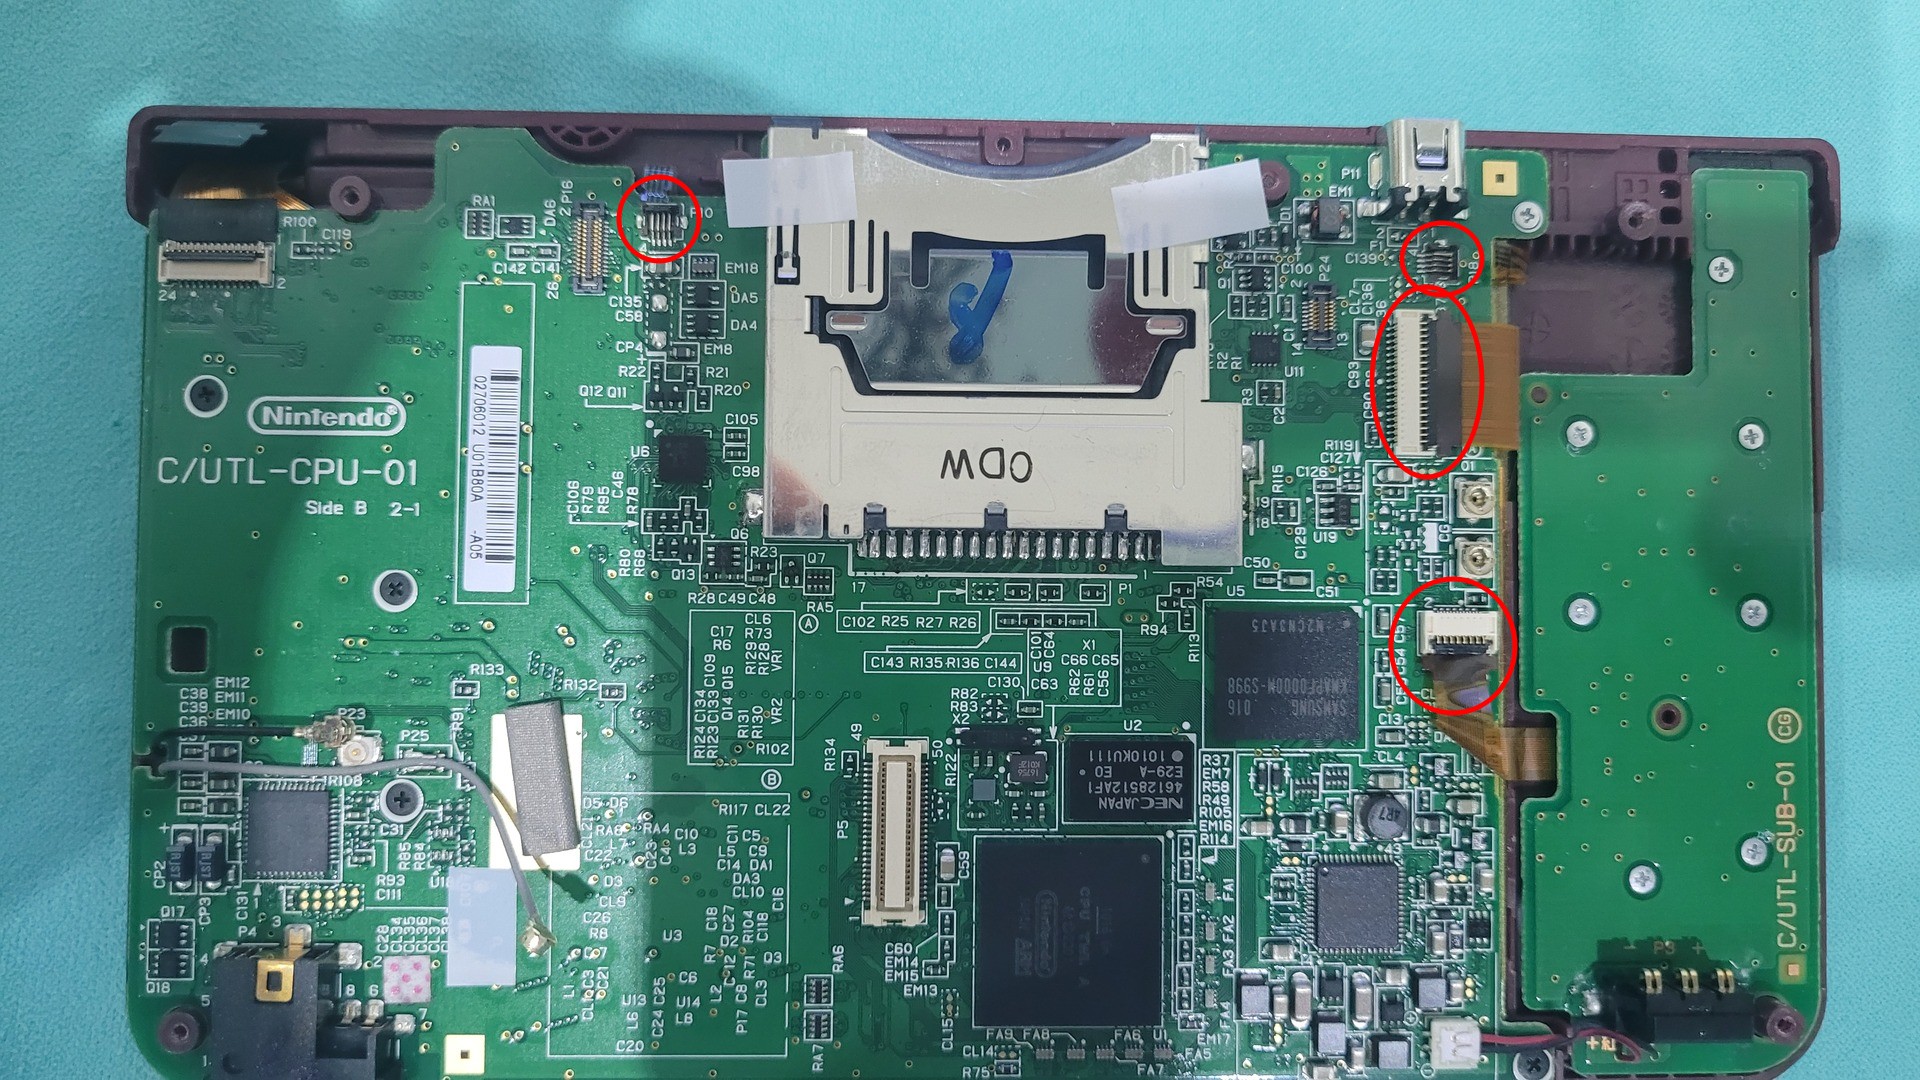
At this time, the motherboard can be lifted. There is still a ribbon cable attached. Removing it is optional. I personally did it but I regretted as soon as I had to put it back, because it is not that easy to do because the cable is pretty short.
Replacing the touch panel
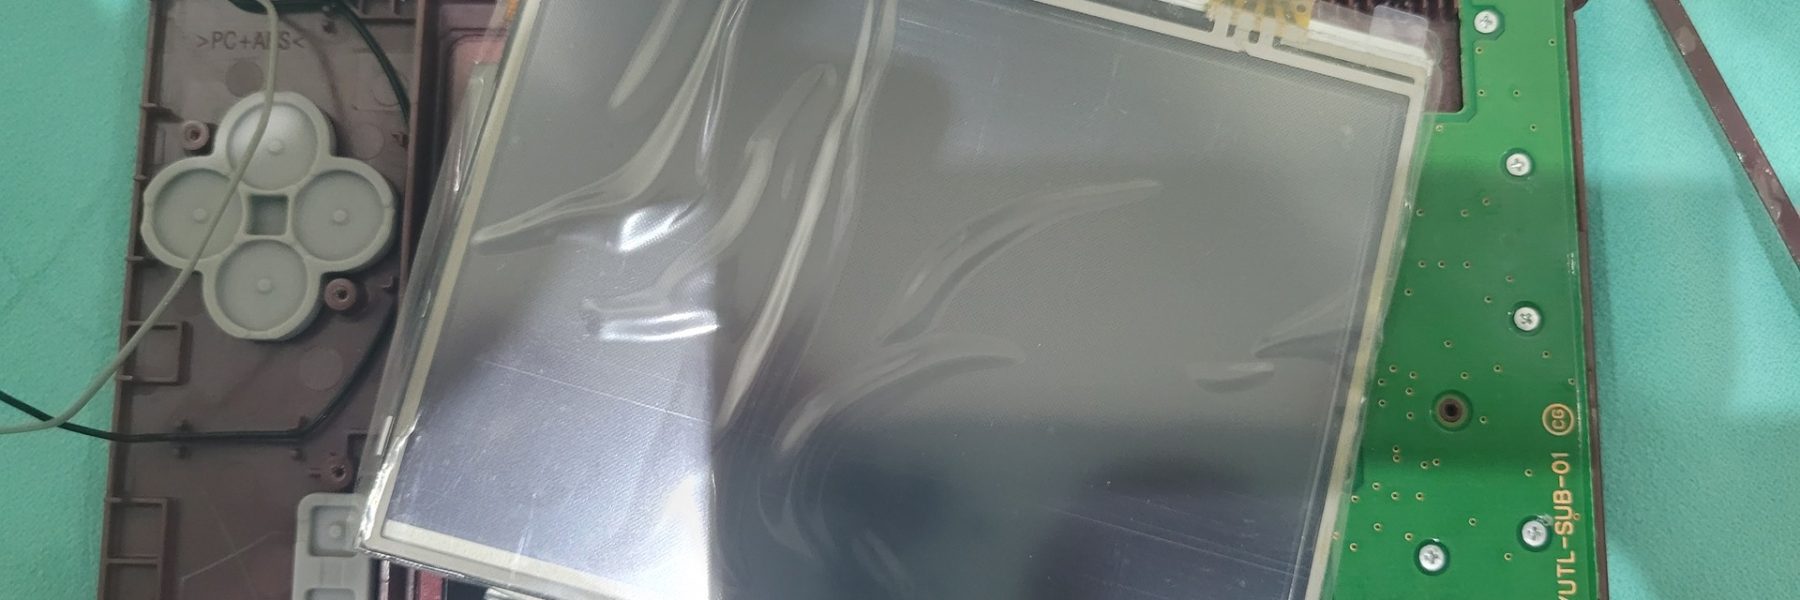
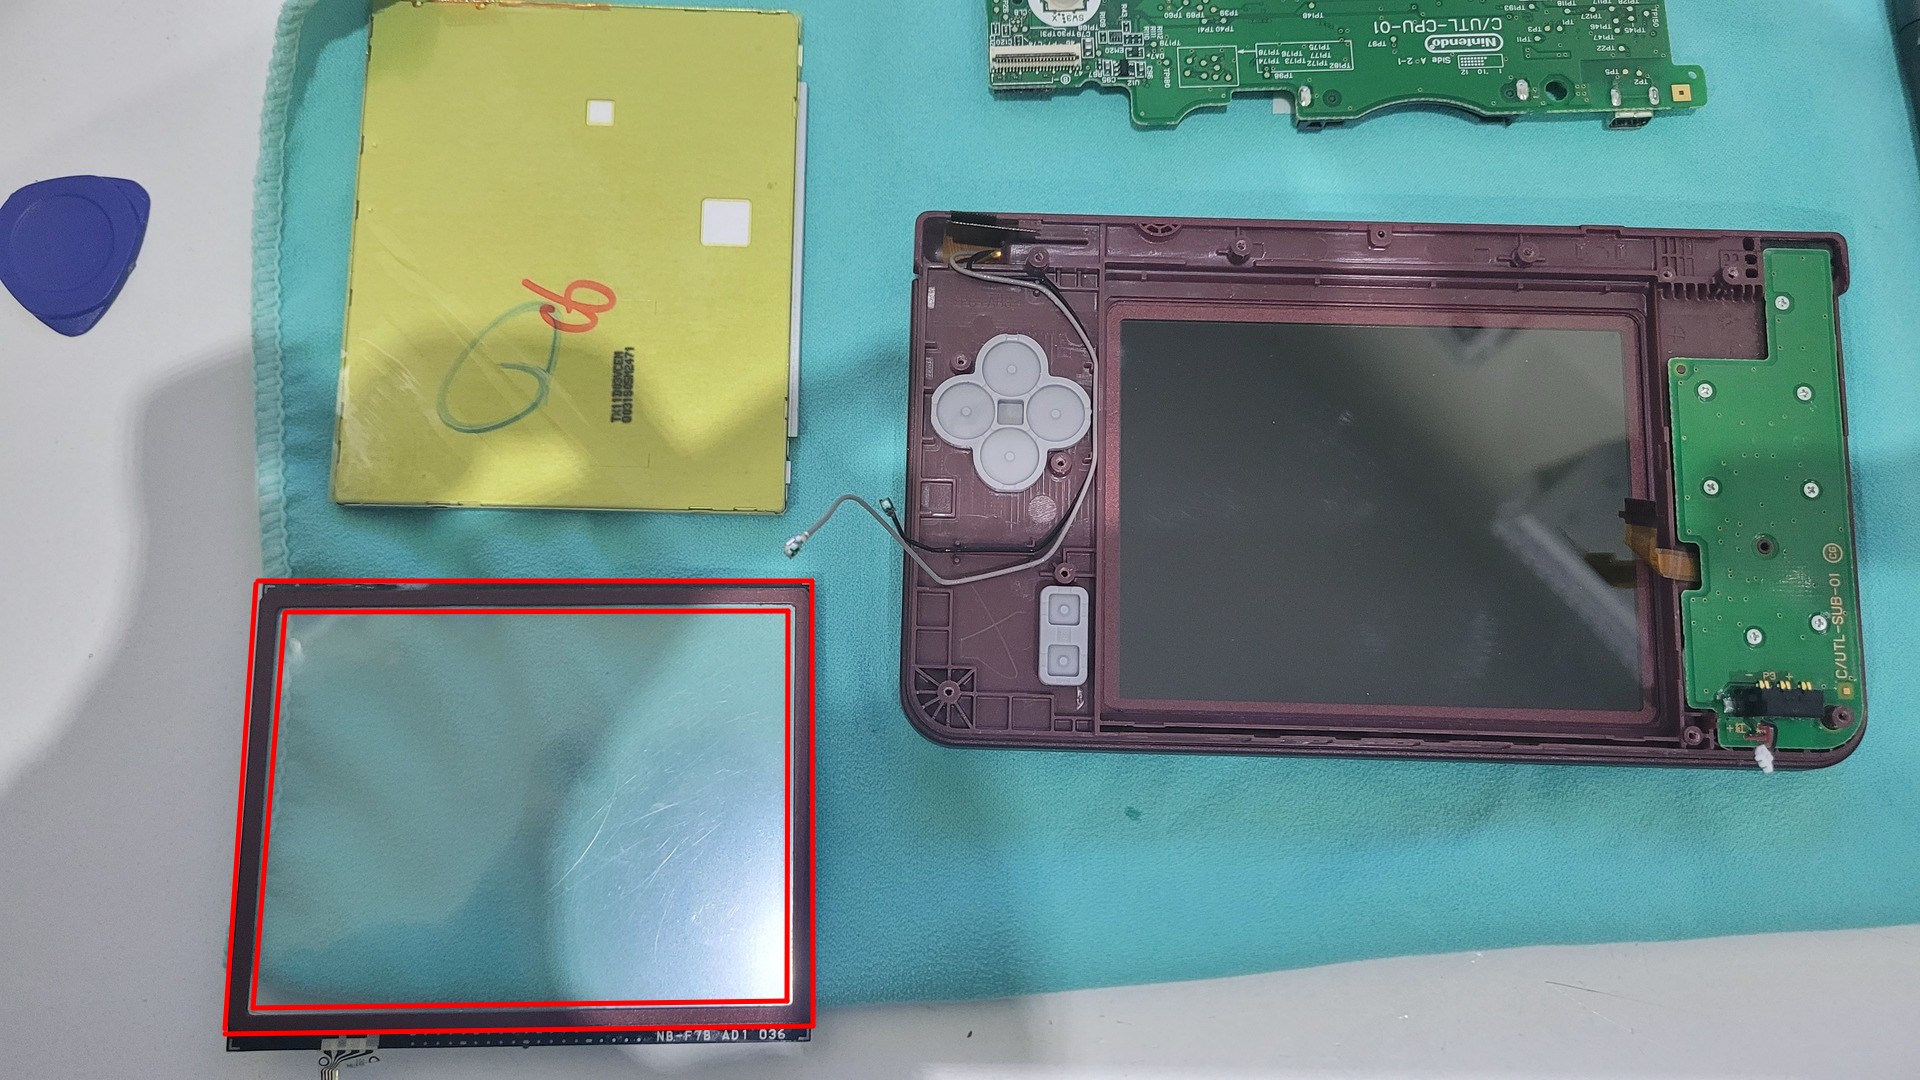
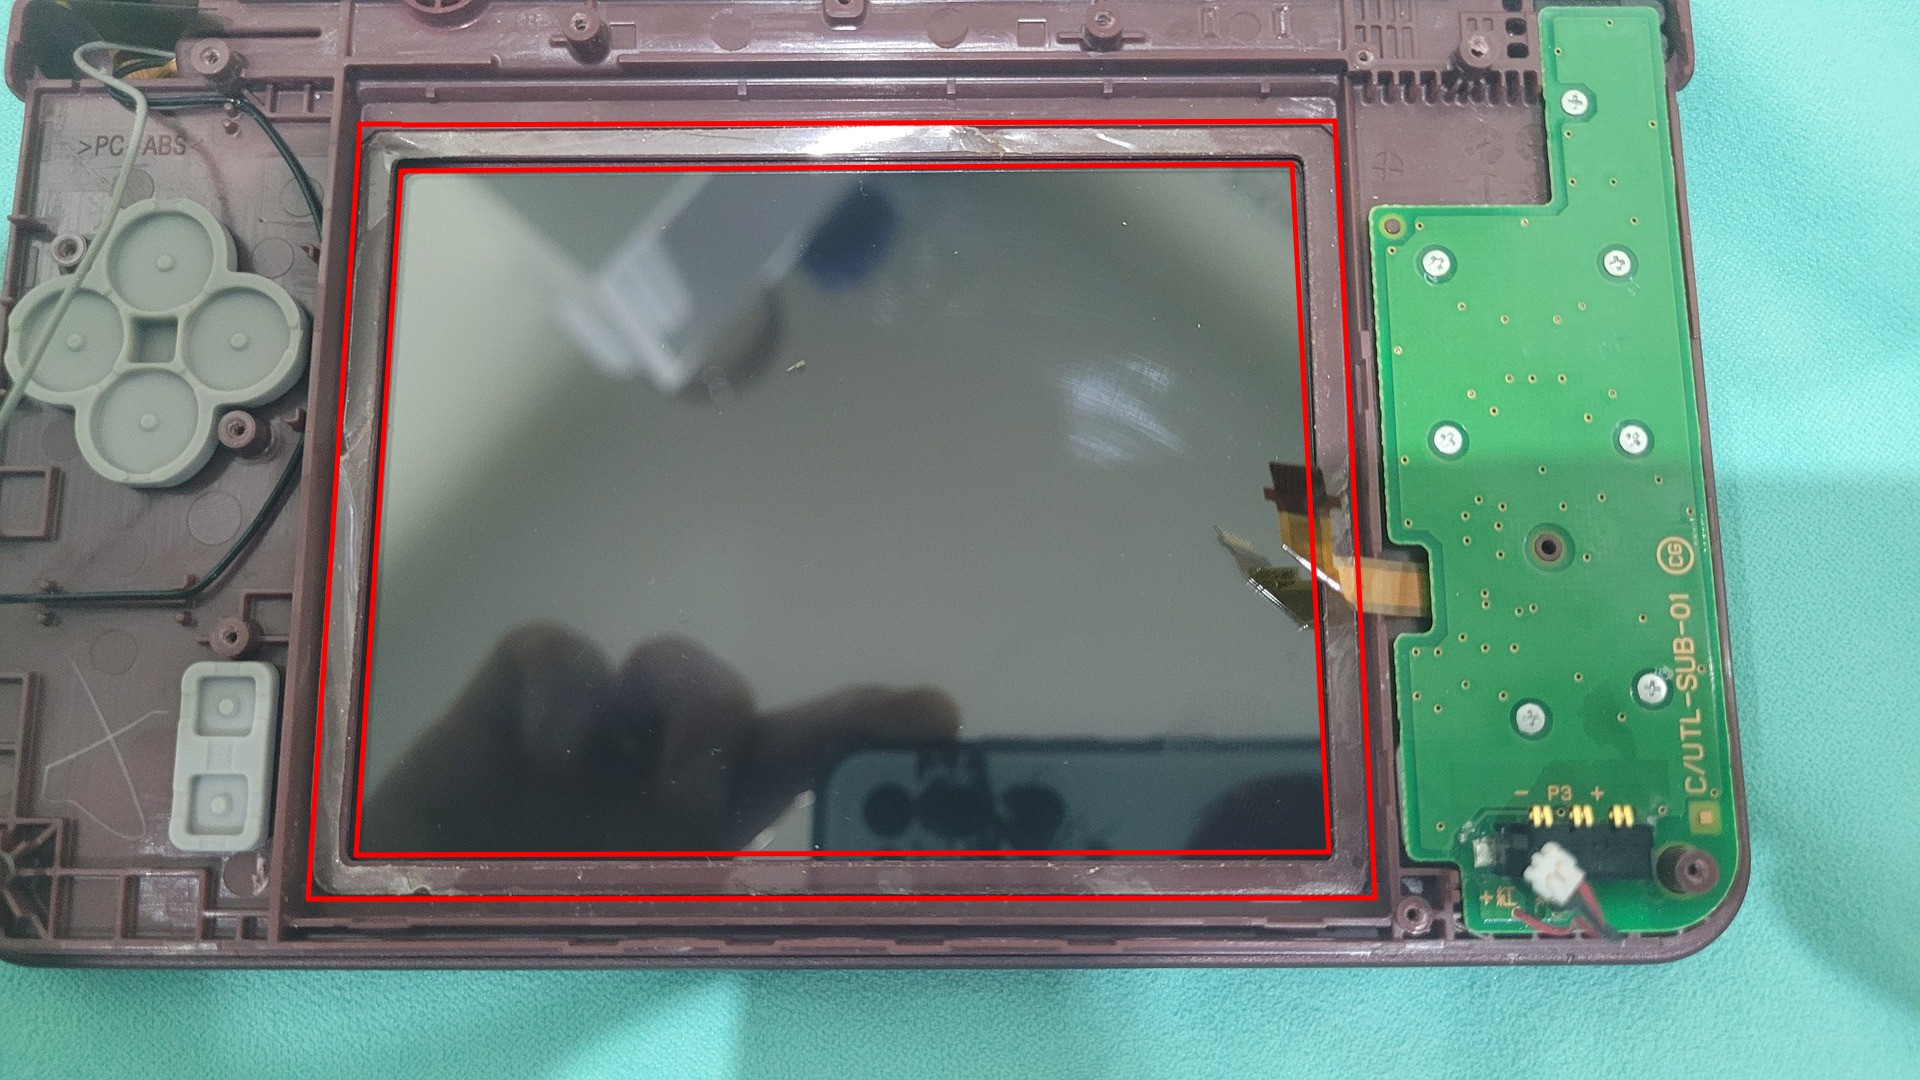
Now, the screen and the attached touch panel are accessible. By gently pushing the screen from the front (where you normally touch it while gaming), it came easily
The touch panel is glued on the screen, I removed it with a finger nail. Then, there is a small plastic bezel to remove from the touch panel, with the same technique.
The best way I found to correctly put the bezel back on the new touch panel is to :
- put it first on the display area
- assemble the new touch panel with the screen (there are simply glued with some adhesive)
- put the display back over the bezel.
As I previously removed the last ribbon cable, II had to reconnect it.
Finally, put the motherboard back over the display and reconnect all ribbon cables as well as the wifi card
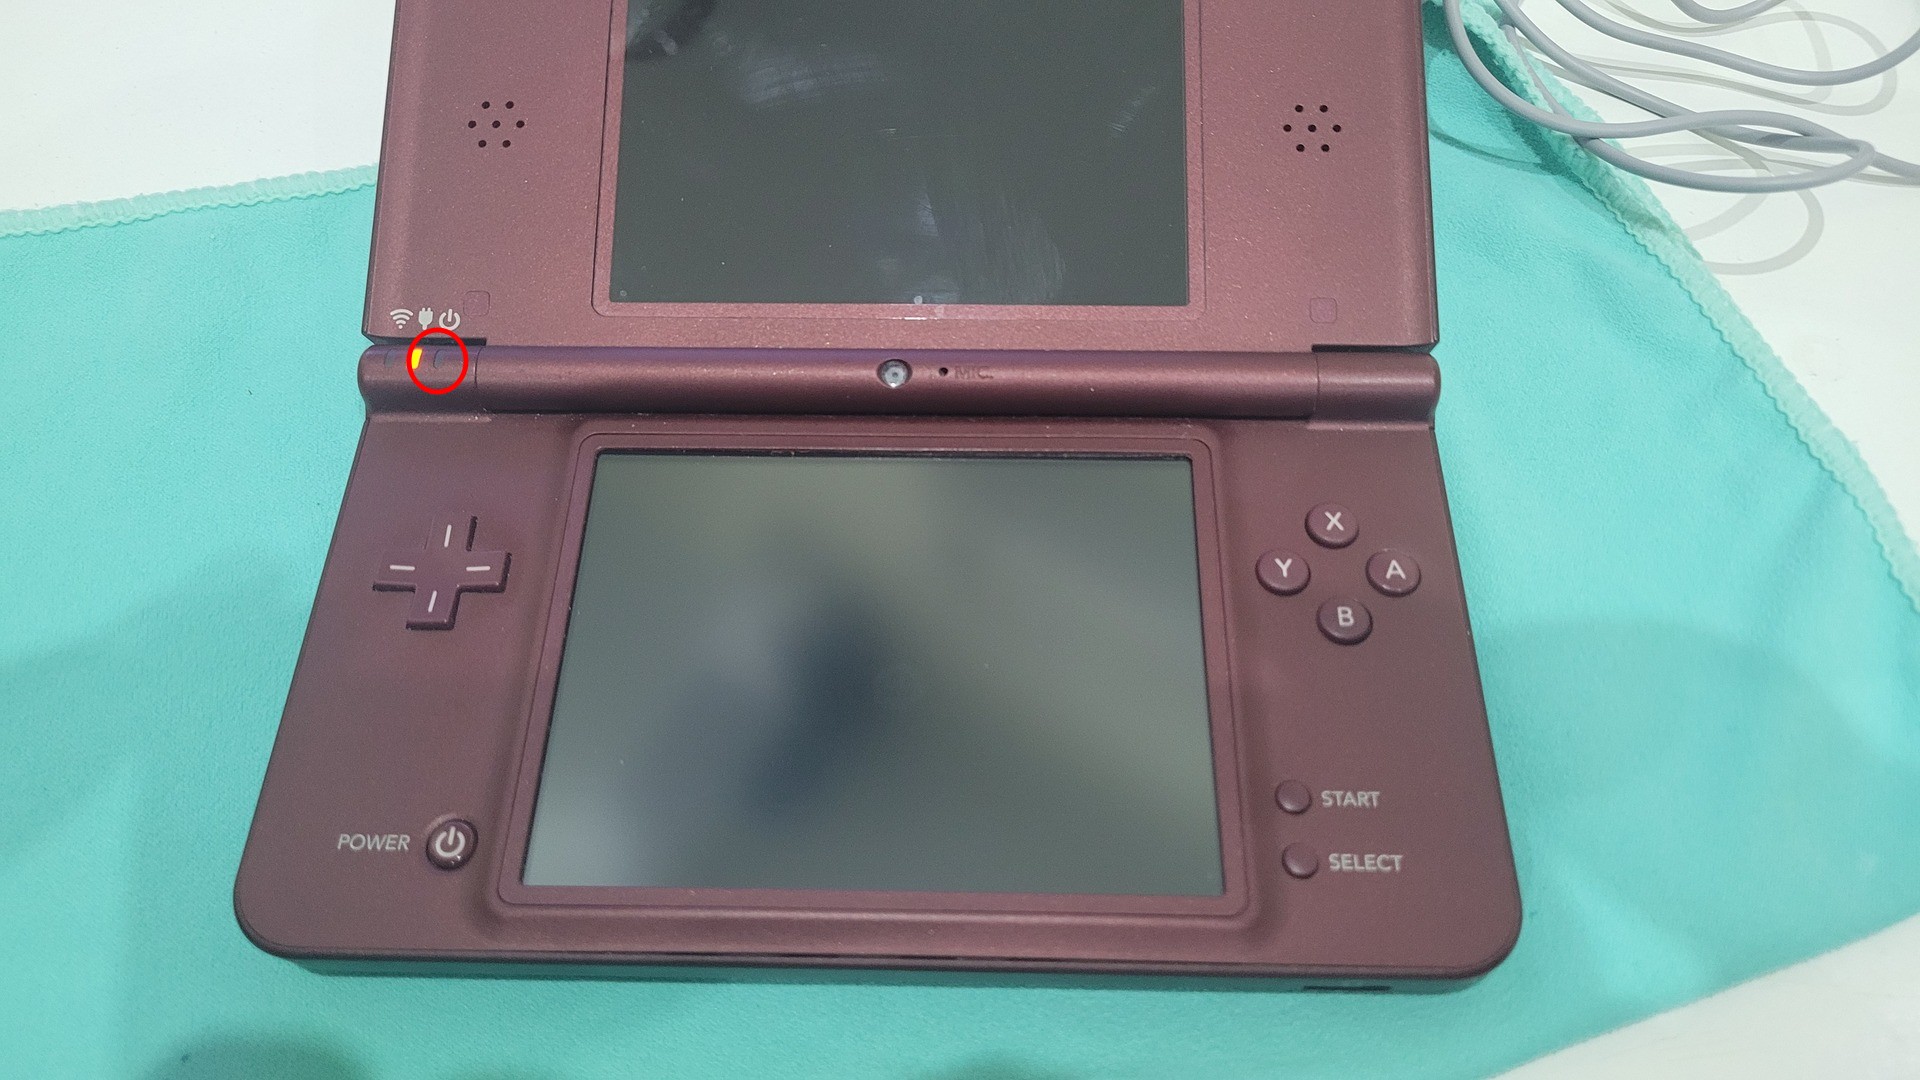
When I first switched back on the console, the power led was just blinking a few seconds, the console stayed off. After a check and all ribbon cables plugged back, it was switching on correctly.
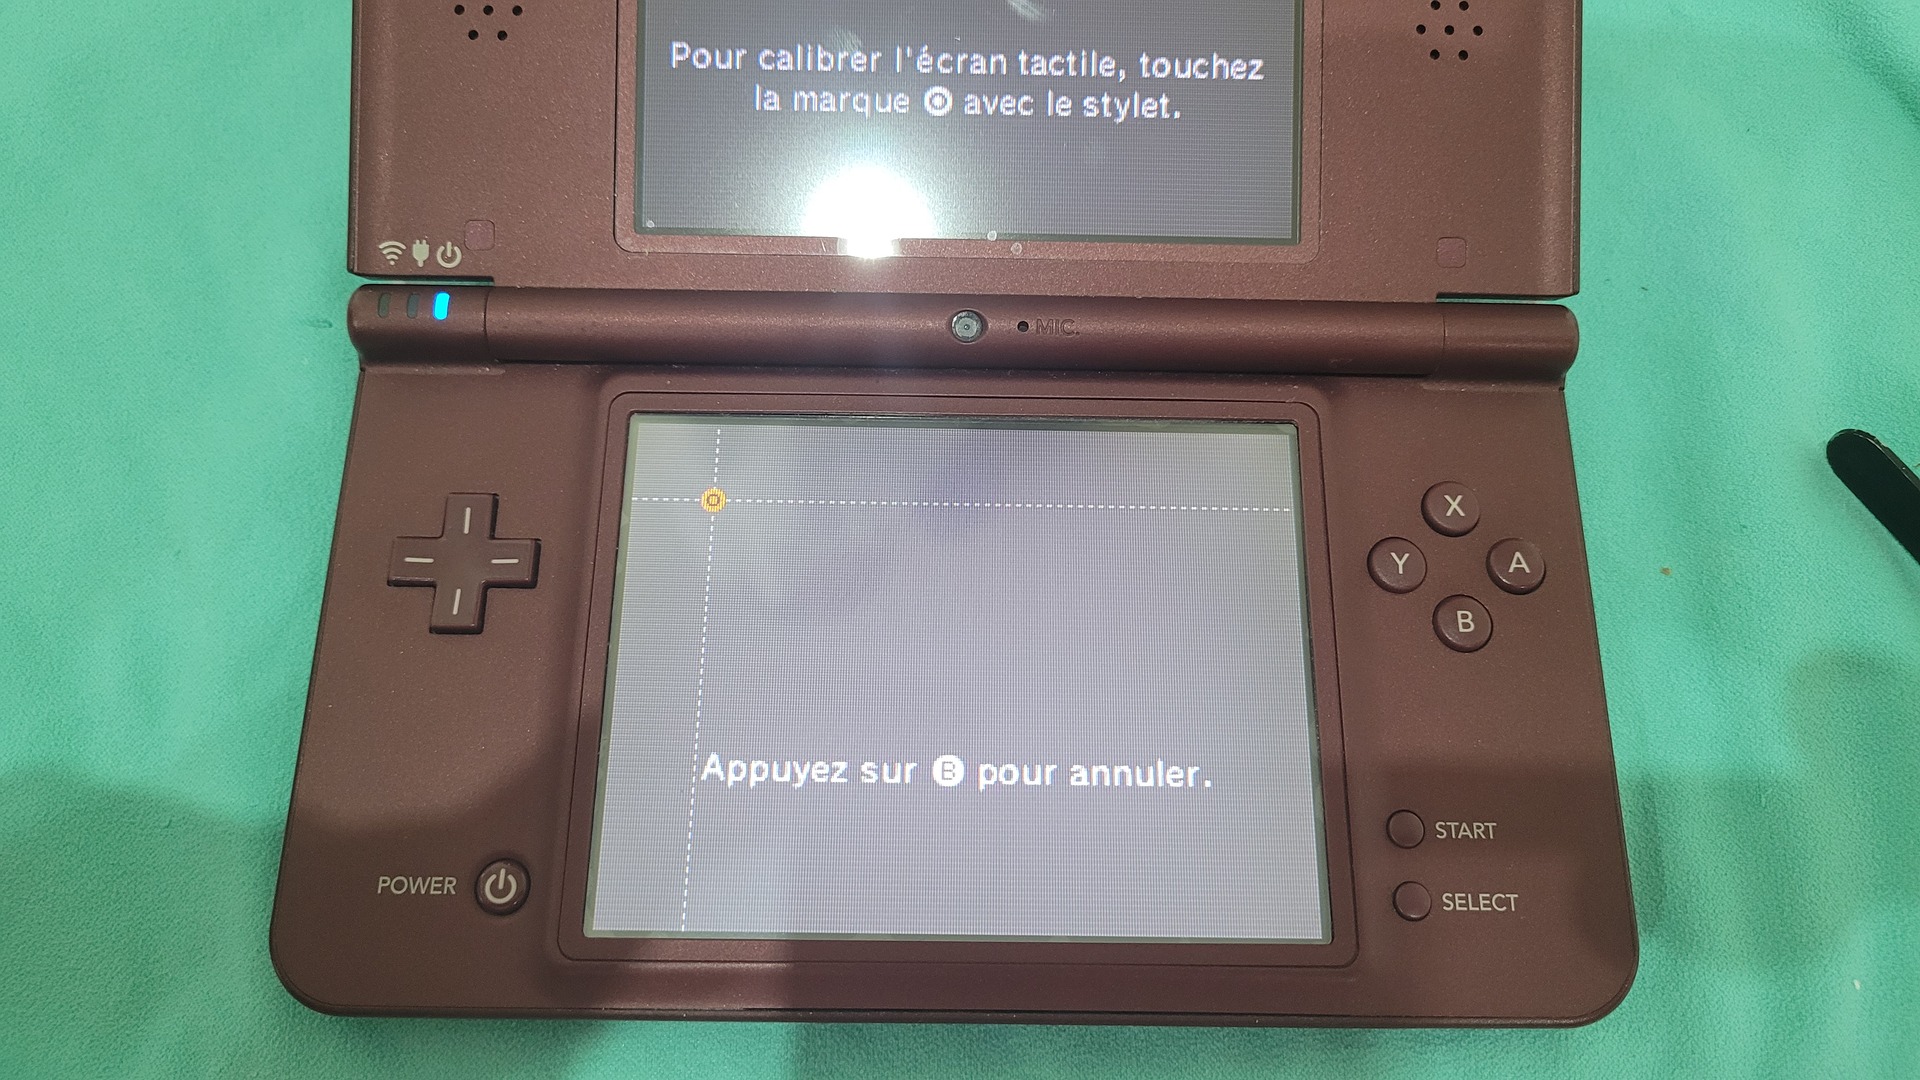
With the new touch panel installed, it it necessary to calibrate it from the settings menu of the DS. Then it works perfectly, no more crash while touching it !