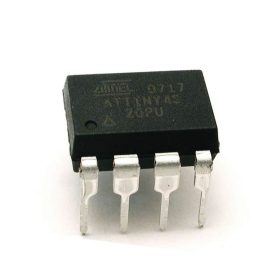
The playstation 1 is not my favourite system, but I have to admit that it has some good games. I got an NTSC PSOne for really cheap and some NTSC games can be difficult to find in Europe (at least at a reasonable price). For such games, the only solution to play them on the original hardware is to use a modchip so the console is able to run backups. For this purpose, I chose to use an opensource solution : PSNee on an Arduino ATtiny45.
Here is the story of my modded PSone with a PSNee modchip…
Requirements
So far here is what I have used:
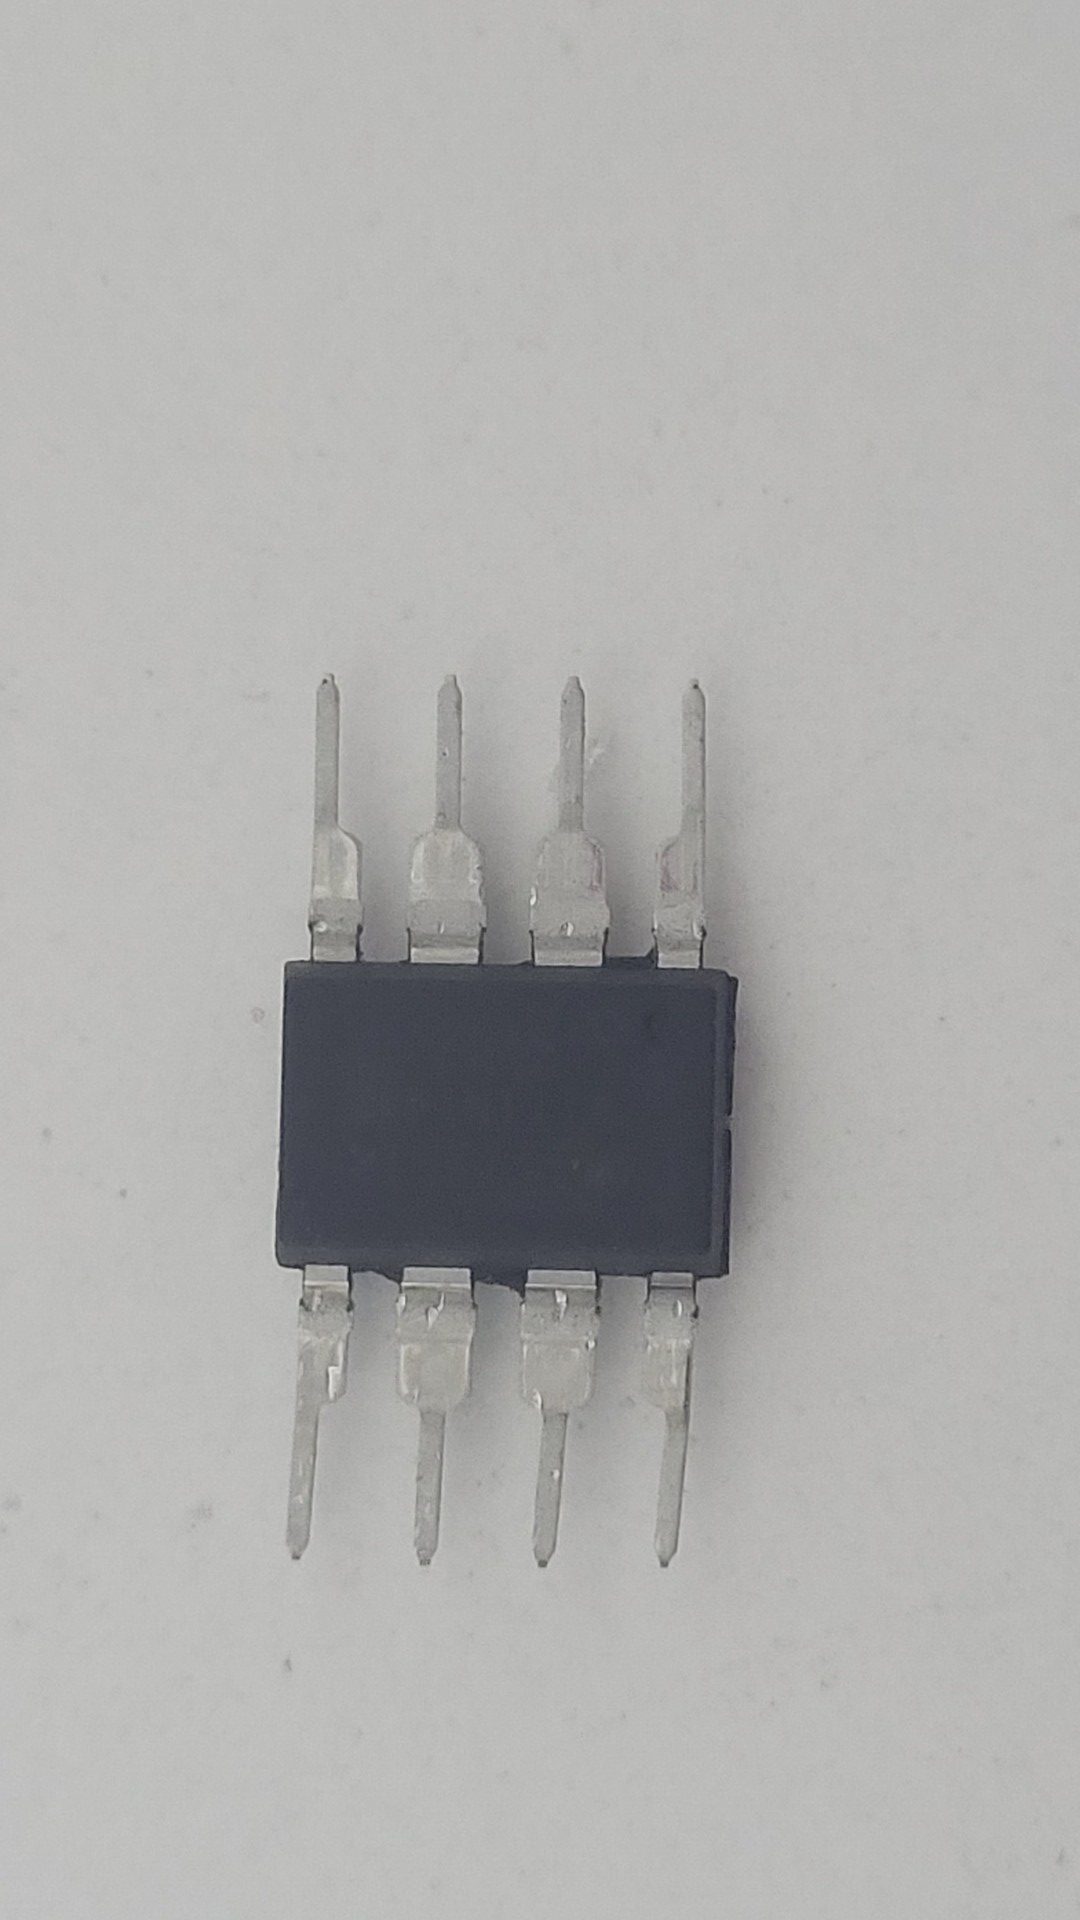
- An ATtiny45 chip (DIP-8)
- An Arduino UNO clone for programming the ATtiny
- Soldering Iron with a 0.15mm tip
- Some thin wires
- Double sided adhesive
- Arduino IDE
- Some dupond cables
- A breadboard

Programming the ATtiny45
Obviously the ATtiny45 can’t be programmed like other Arduino such as the UNO, Mega or mini, because it’s a simple DIP chip with no programmer. An easy way to program it is to use an Arduino UNO.
The first thing to do is to install Attinycore in the ArduinoIDE, from https://github.com/SpenceKonde/megaTinyCore.
Preparing the Arduino UNO
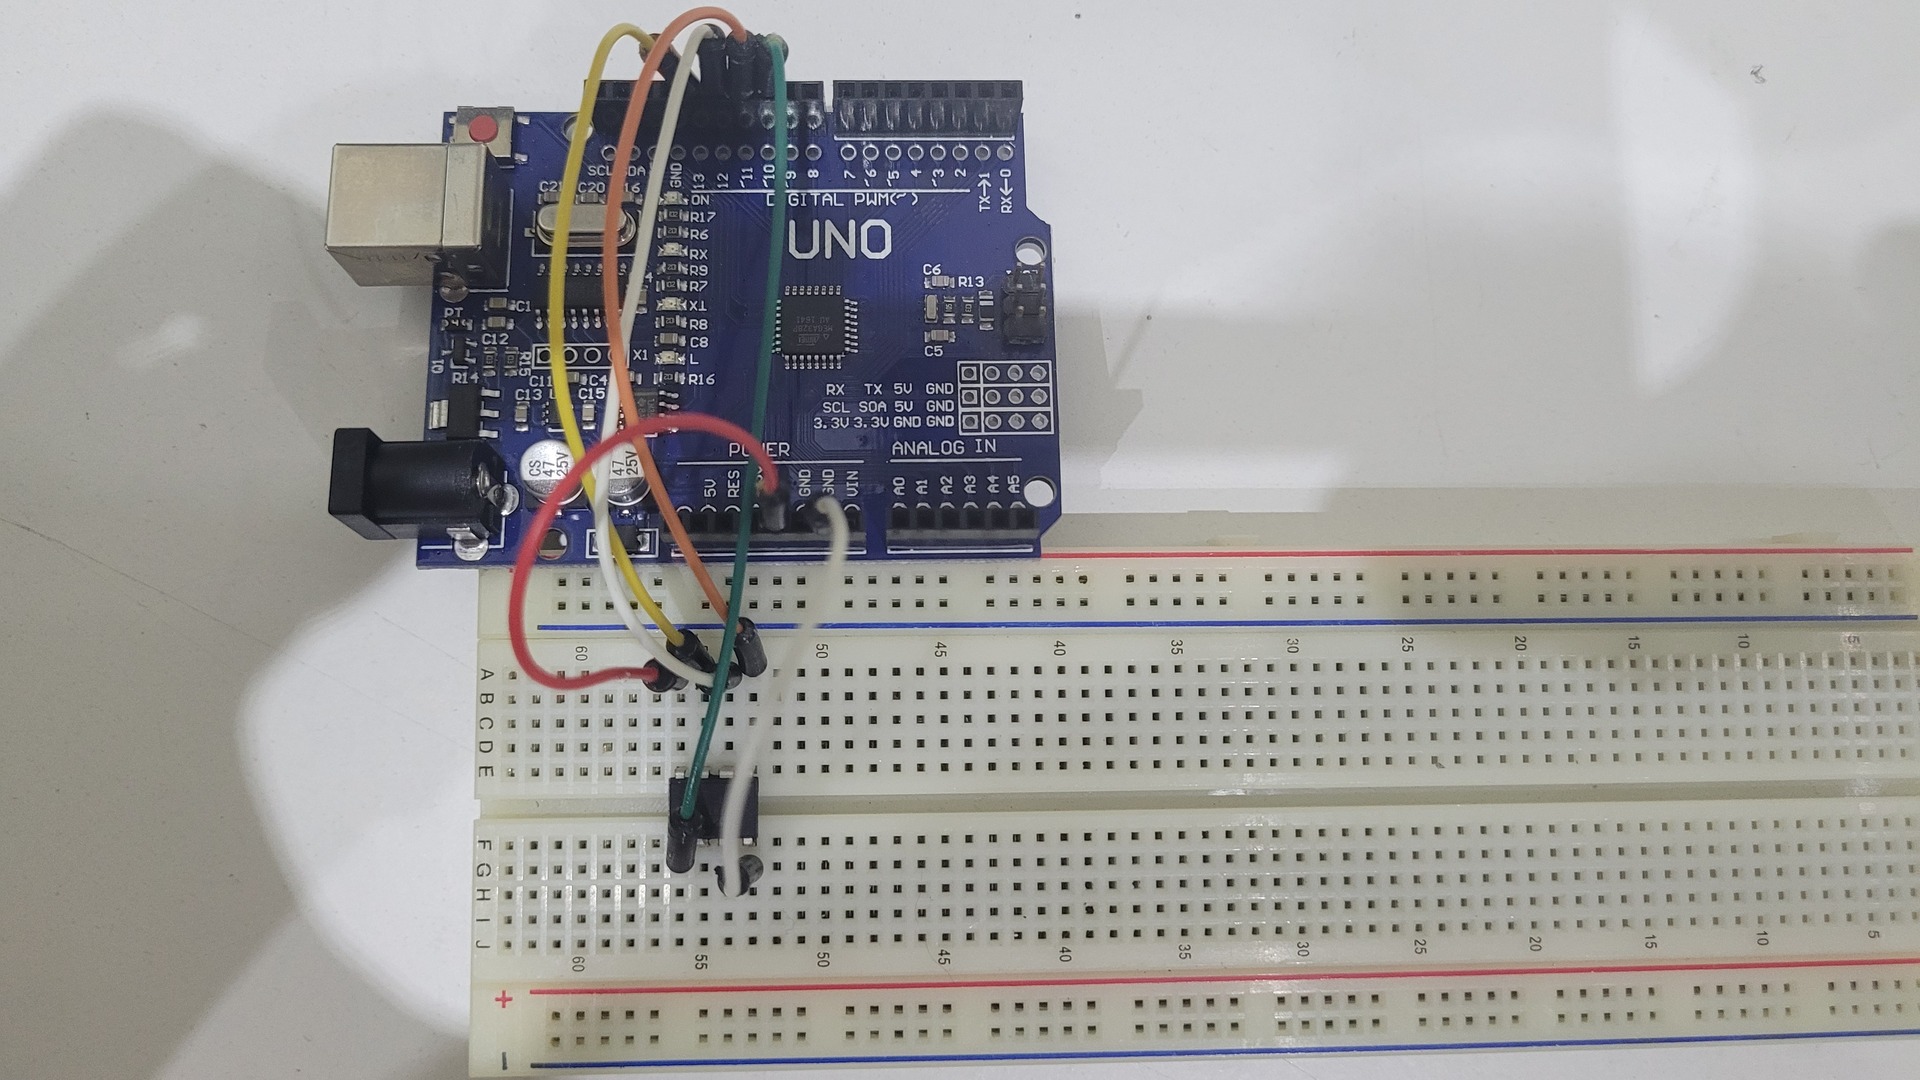
In order to use the Arduino UNO as a programmer for the Attiny45, it must be programmed with the appropriate sketch :
- Open the sketch “11.ARduino as ISP” via the menu File/Examples
- Select the correct Arduino UNO board in the menu Tools/Board/Arduino AVR Boards/ArduinoUNO
- Upload the sketch
Now the UNO can be used a programmer. Put the Attiny45 in a breadboard and wire it to the UNO like the following :
| UNO | ATtiny45 | Comments |
| 10 | pin 1 | Reset signal |
| 11 | pin 5 | MOSI : serial out |
| 12 | pin 6 | MISO : serial in |
| 13 | pin 7 | SCK : serial clock |
| +5V | pin 8 | power supply |
| GND | pin 4 | ground |
More details can be found on the Arduino website : https://docs.arduino.cc/built-in-examples/arduino-isp/ArduinoISP
Programming the ATtiny45
Now that the ATtiny is wired to a programmer, it can be programmed with PSNee code. To do that, open a new file on the Arduino IDE and change the board parameters in the Tools menu as the following :
- board : ATtiny25/45/85 (No bootloader)
- chip : ATtiny45
- clock source : 8mhz
- Programmer : arduino as ISP
If the ATtiny has never been used, the standard Arduino bootloader must be burnt. It’s a mater of seconds via the menu Tools/burn bootloader.
Final step for the software part :
- Get the PSNee source code from https://github.com/kalymos/PsNee (I did a simple copy / paste in Arduino IDE)
- Uncomment the line “//#define ATTINY_X5” (remove “//”)
- Upload the sketch via the menu : Sketch/upload using programmer
Now the ATtiny is a PSNee modchip for any Playstation 1 !
Installing the modchip
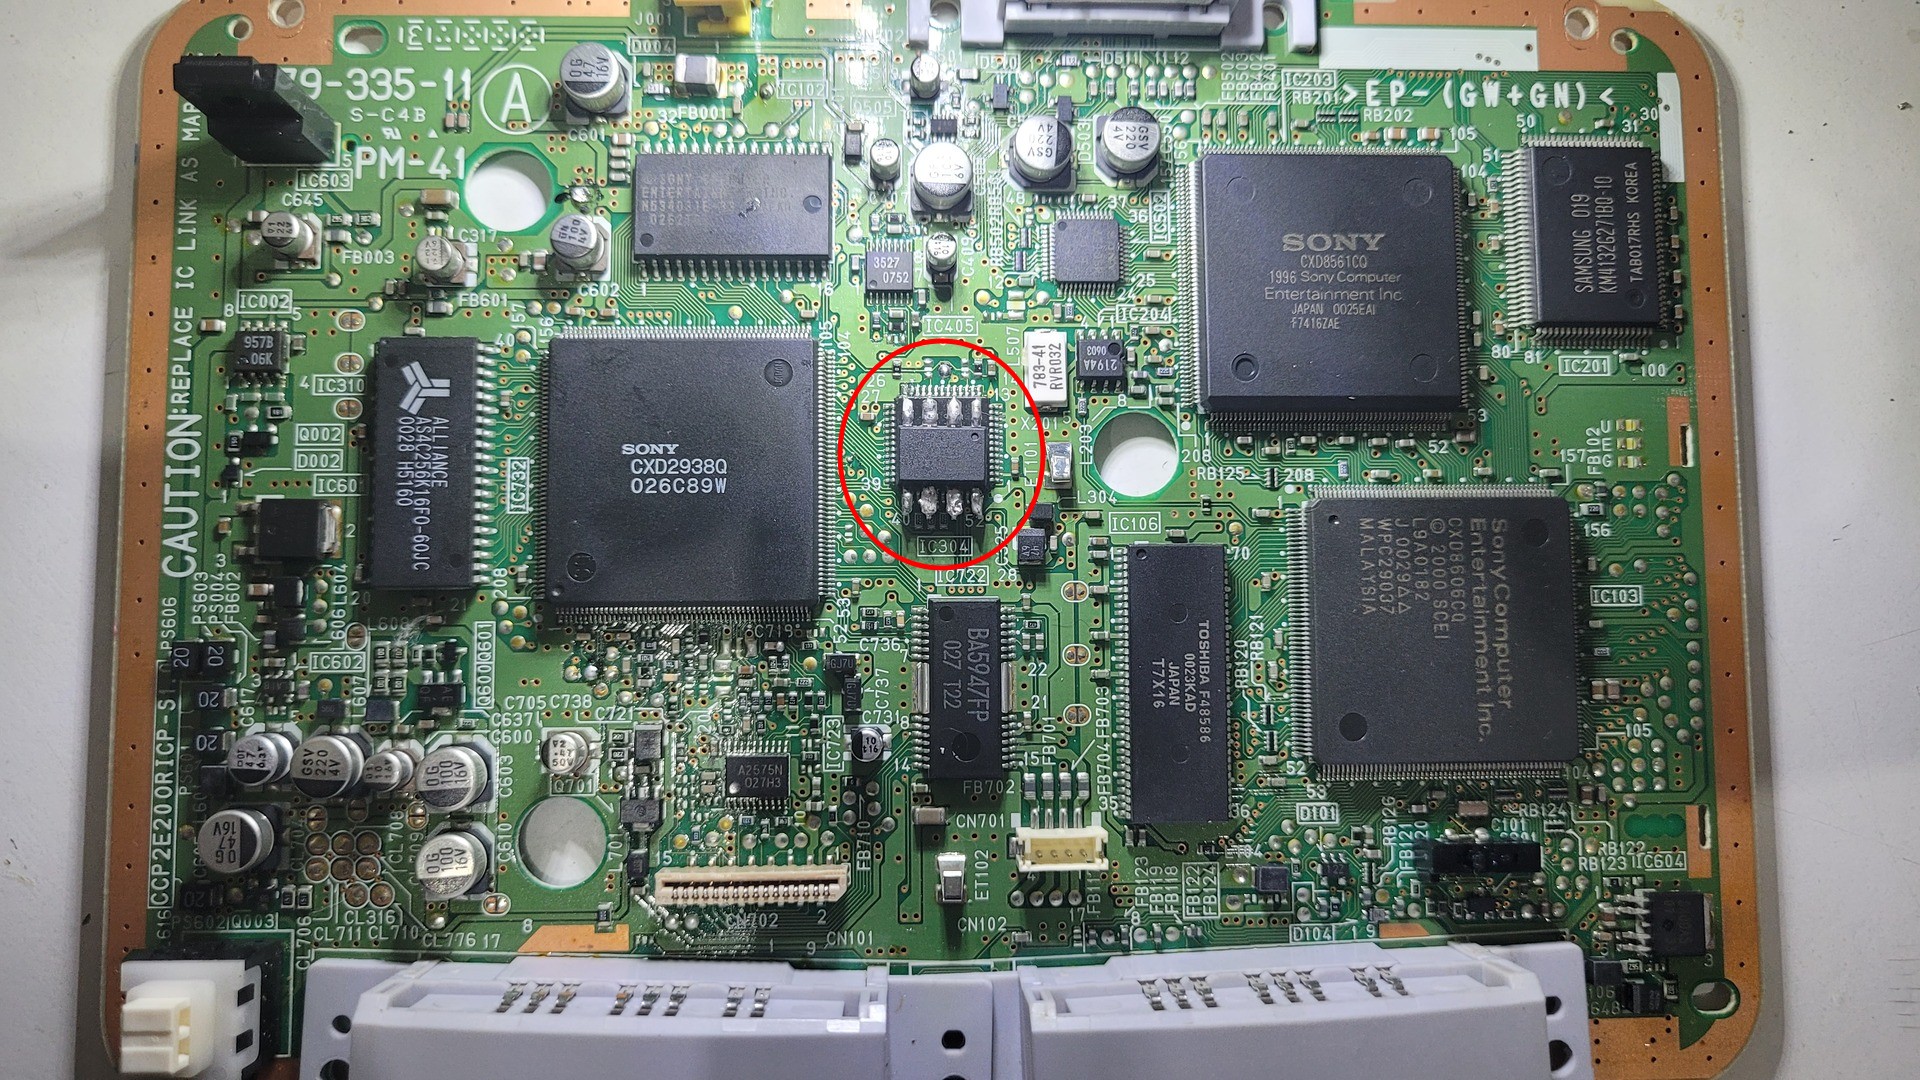
Overview
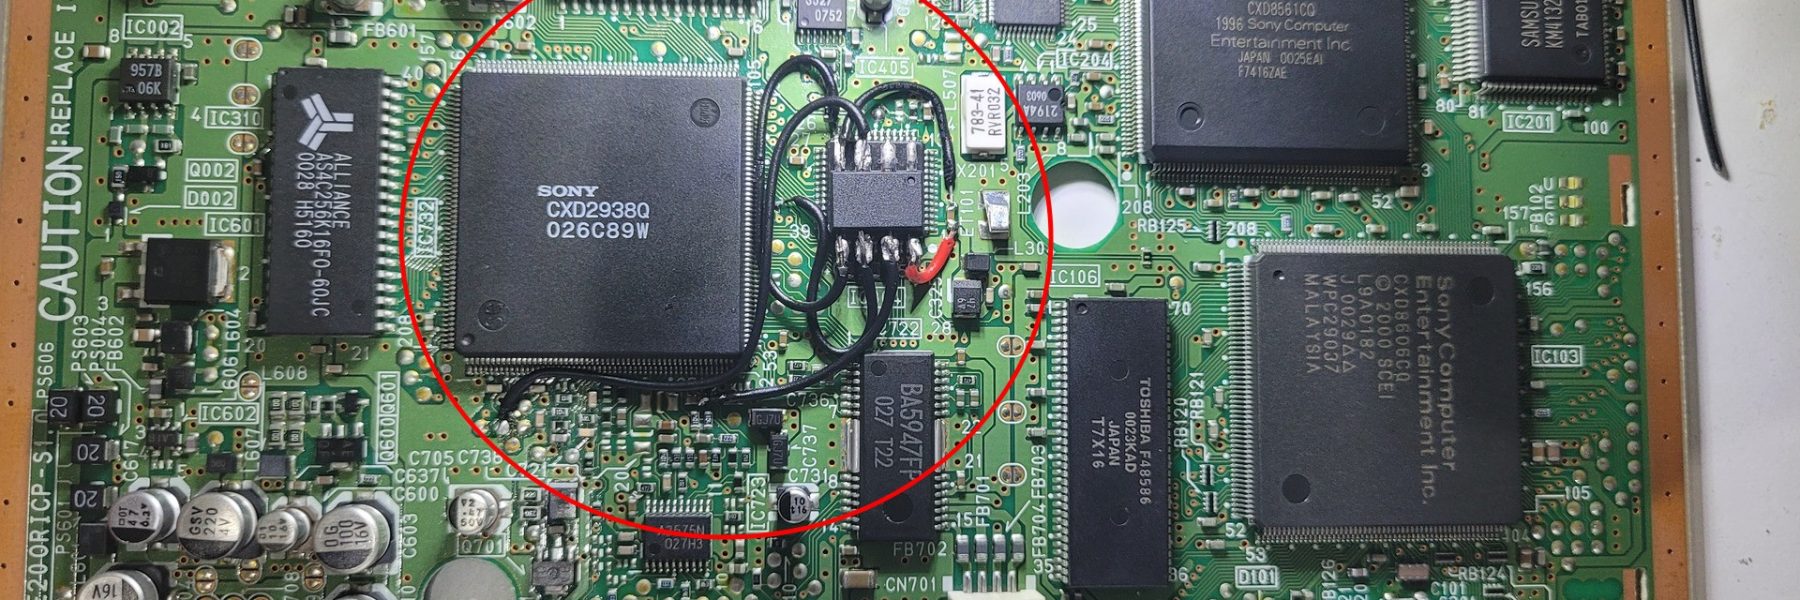
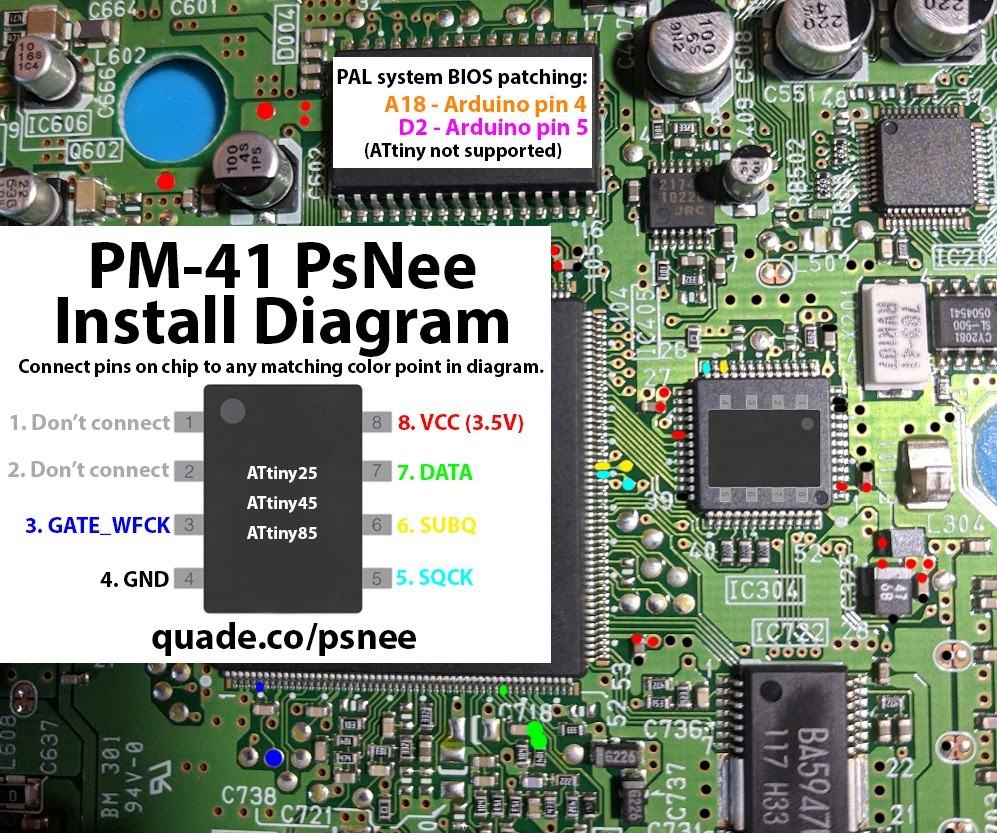
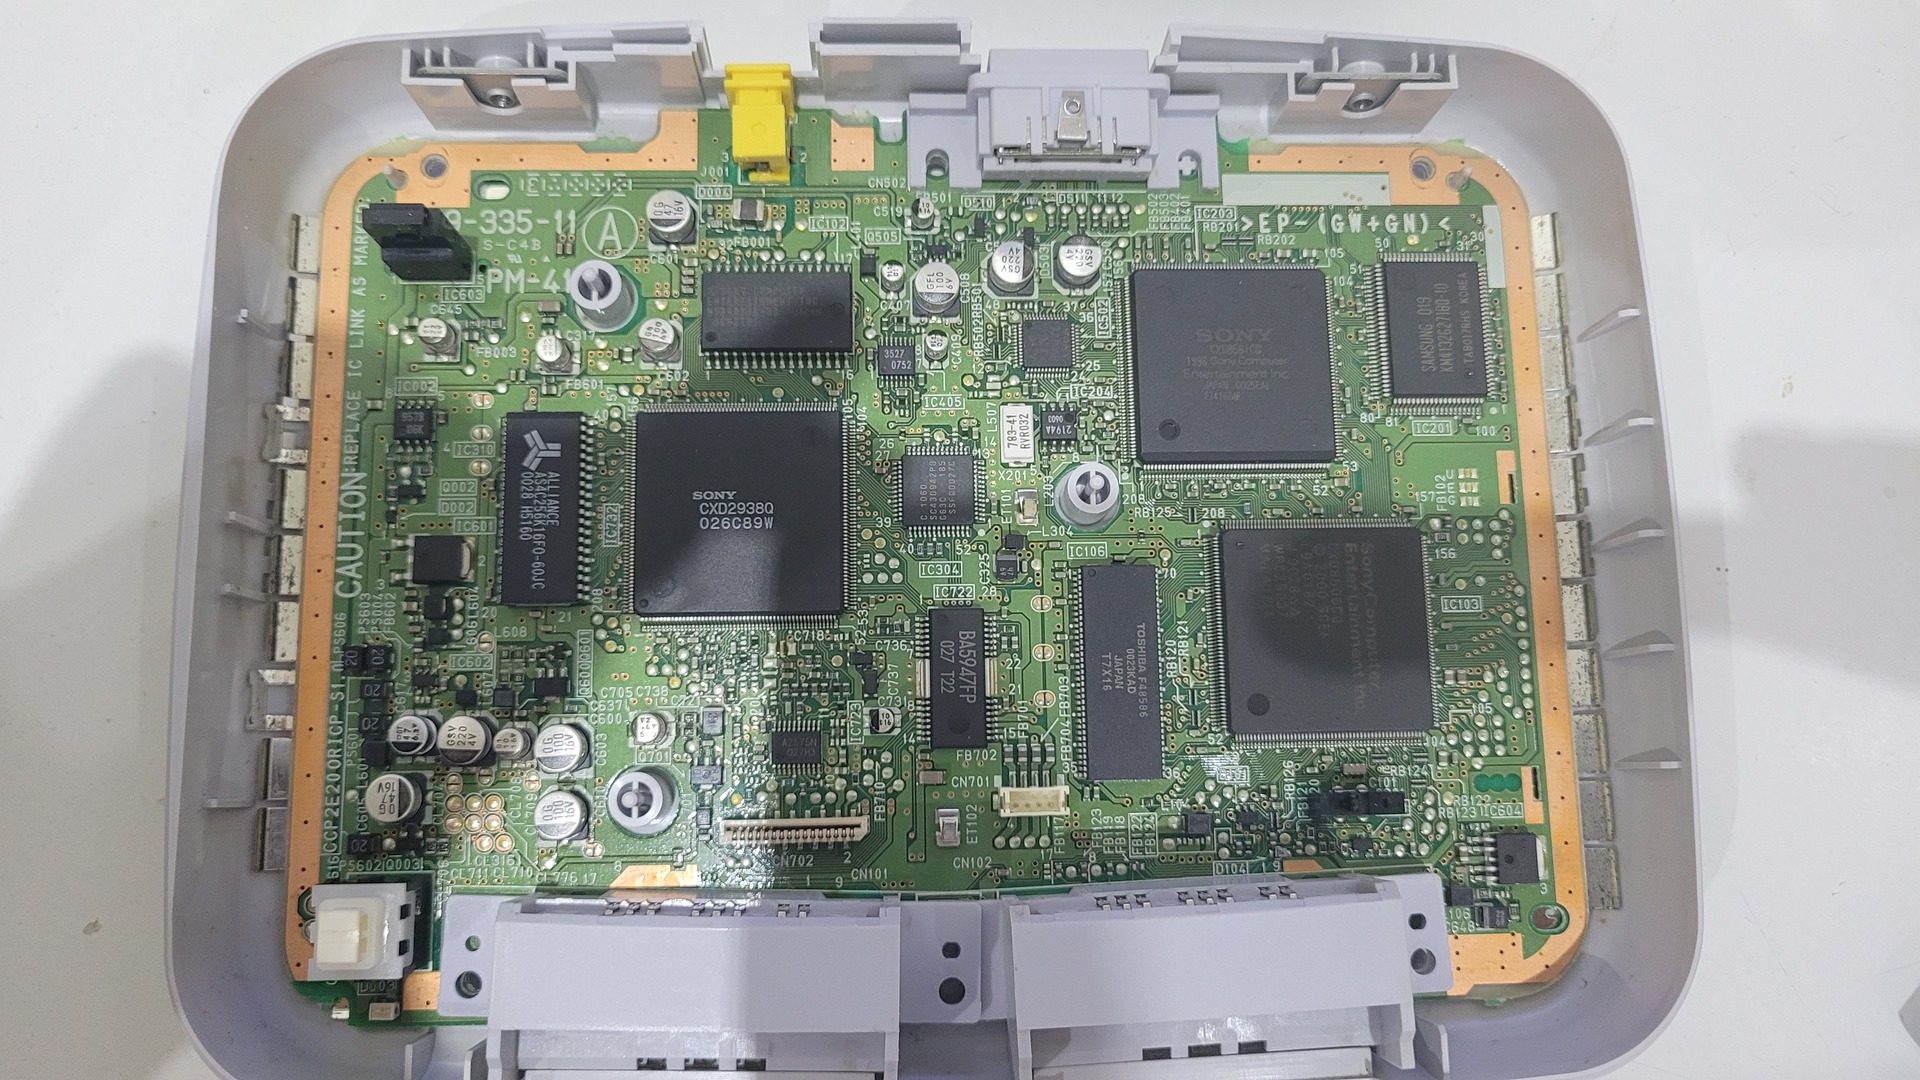
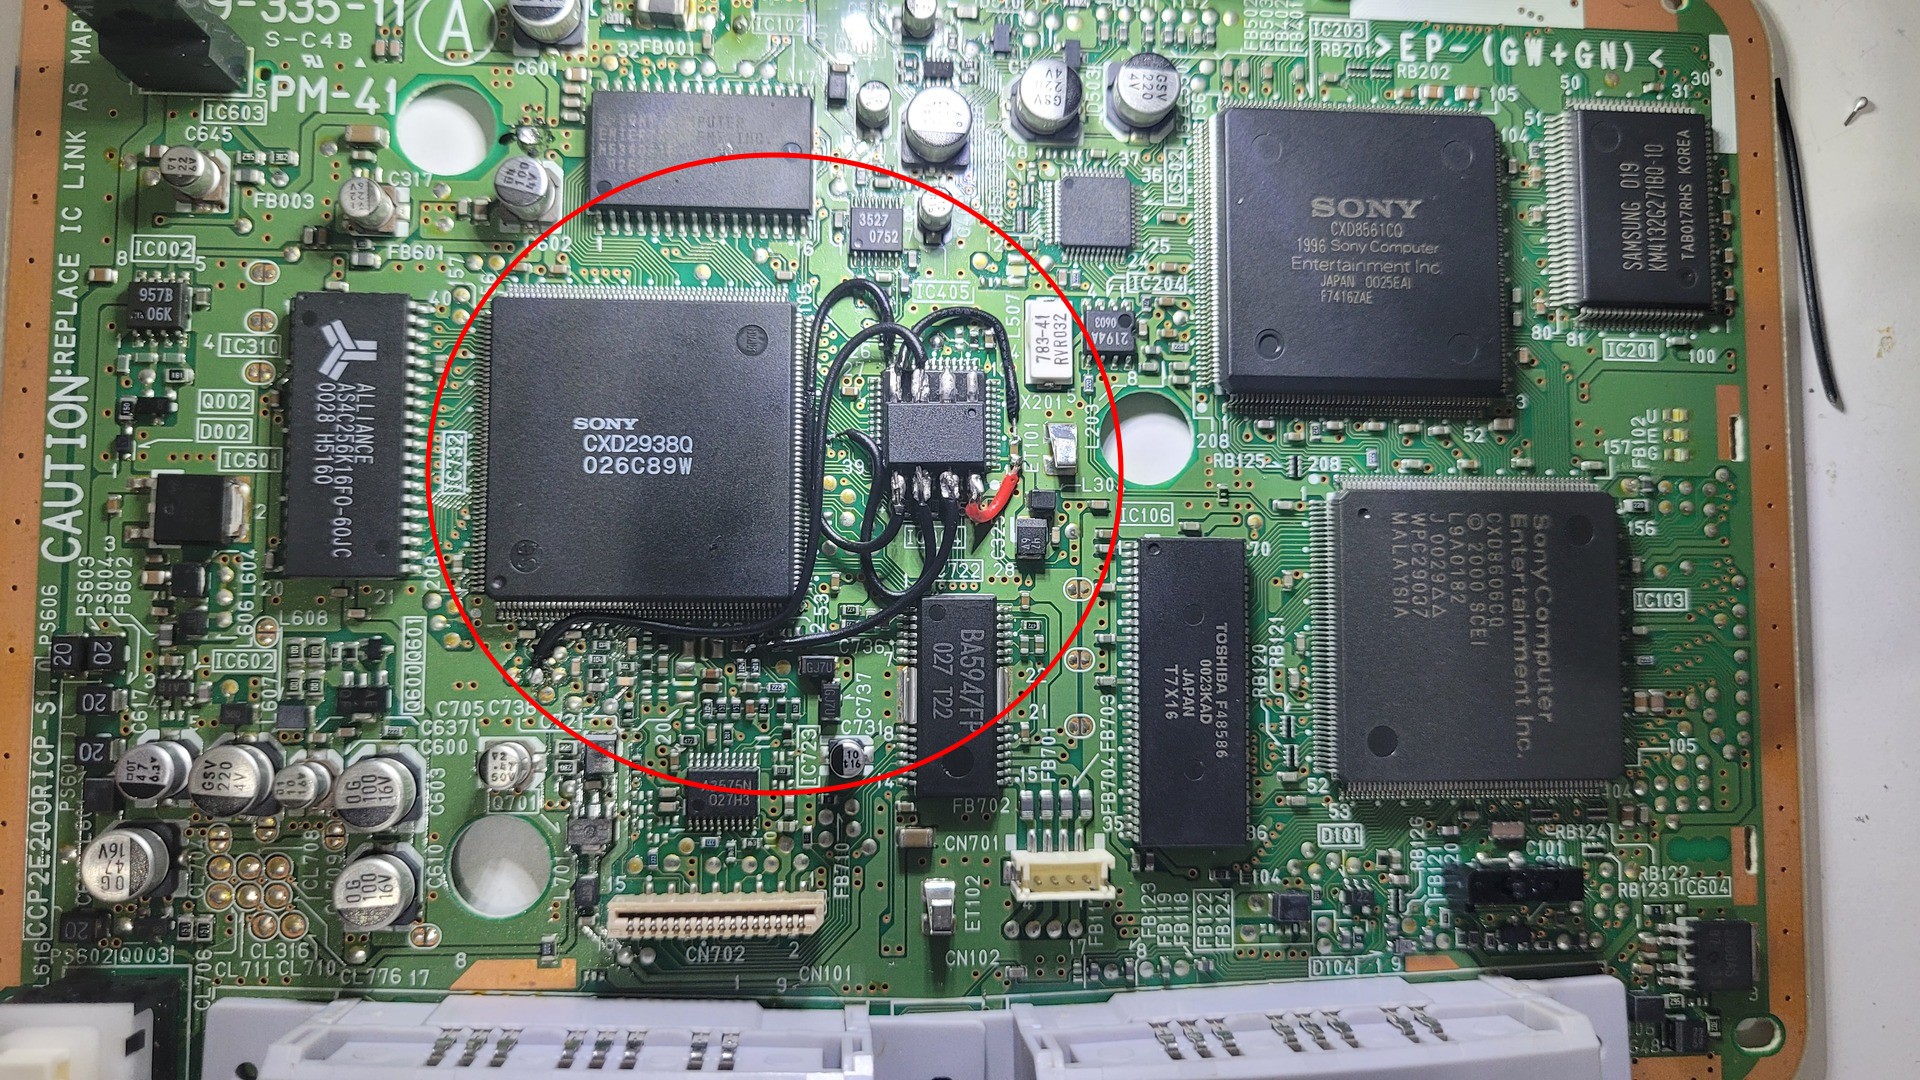
The wiring is explained on a PDF file which is available on the git repository. In my case it was for a PM-41 motherboard (PSOne SPCH 100).
As the guide suggests, I glued the Attiny over the IC304 with some double sided adhesive. This is a good area because it allows for very short wires… And it is very important to keep wires as short as possible, else the mod won’t work (I actually experimented it).
Opening the PSOne
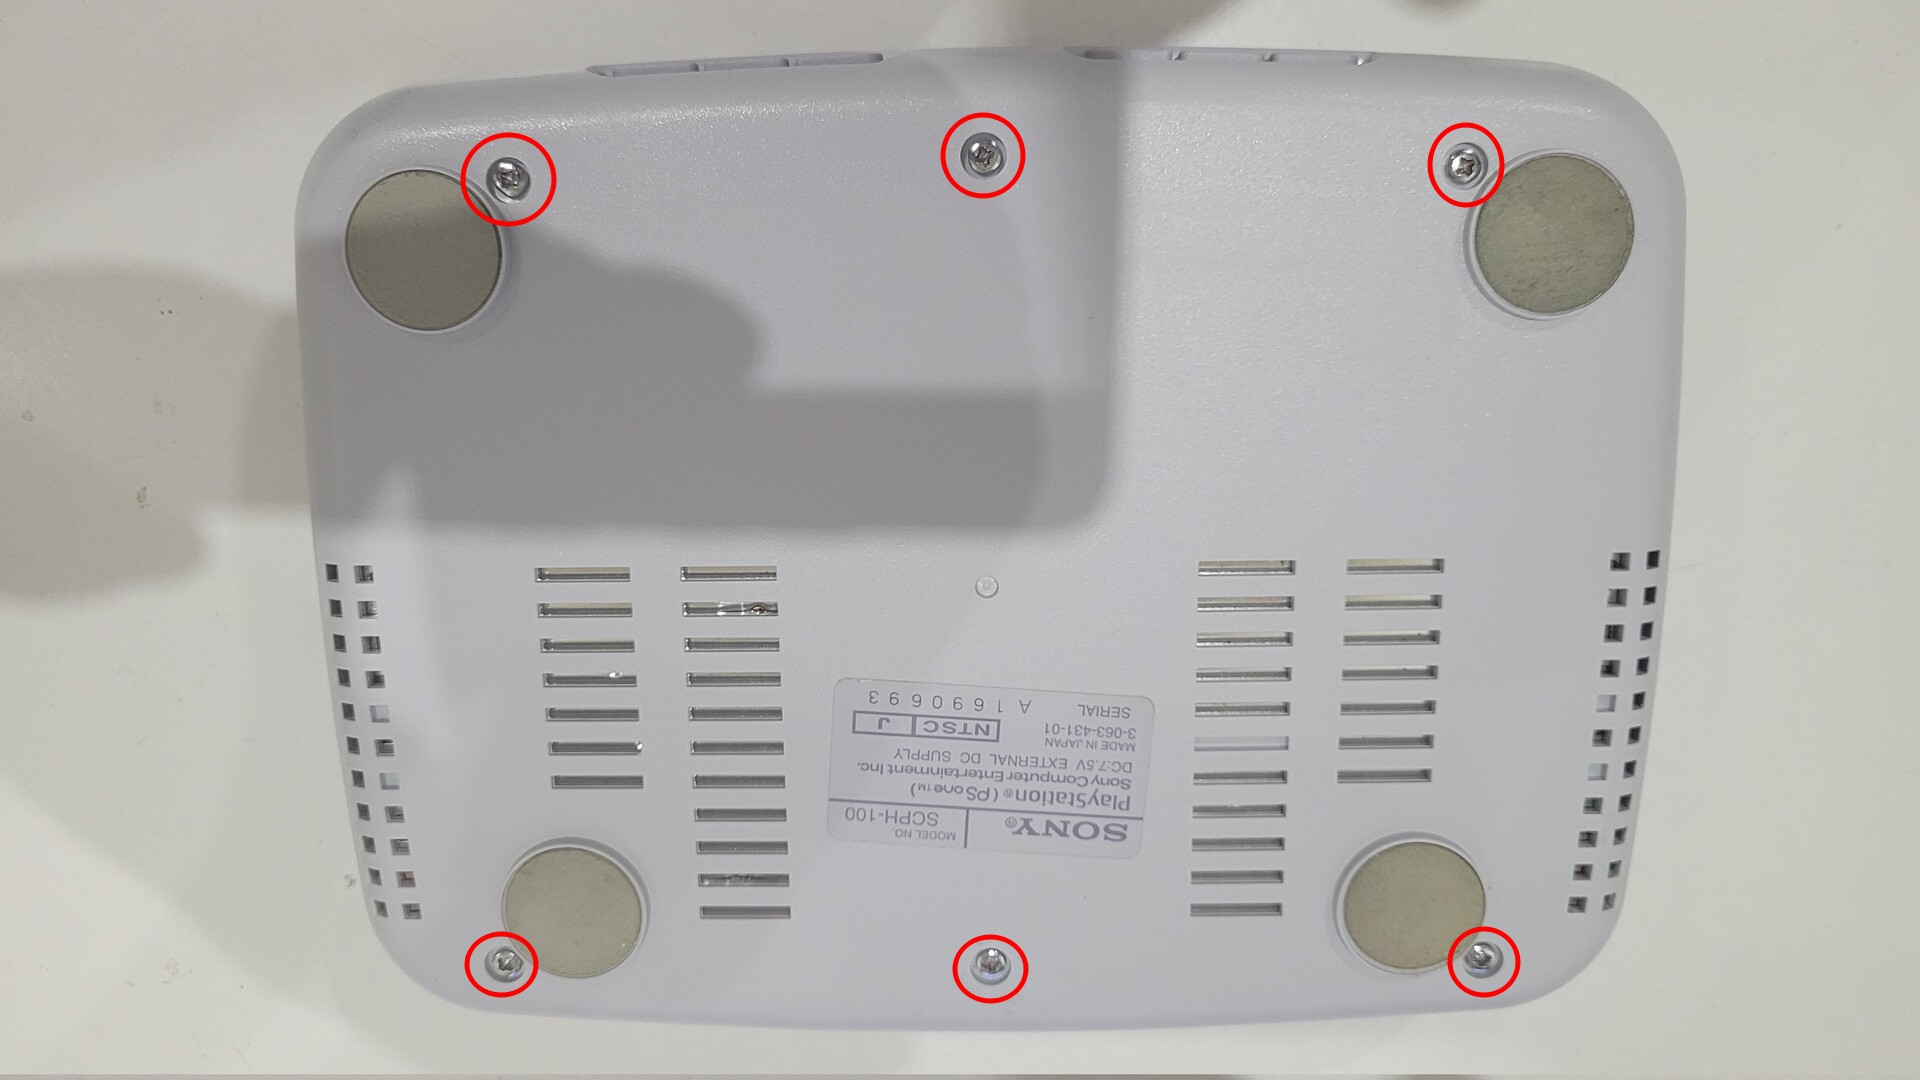
The PsOne motherboard is very easy to extract, there are only 6 screws on the bottom of the enclosure:

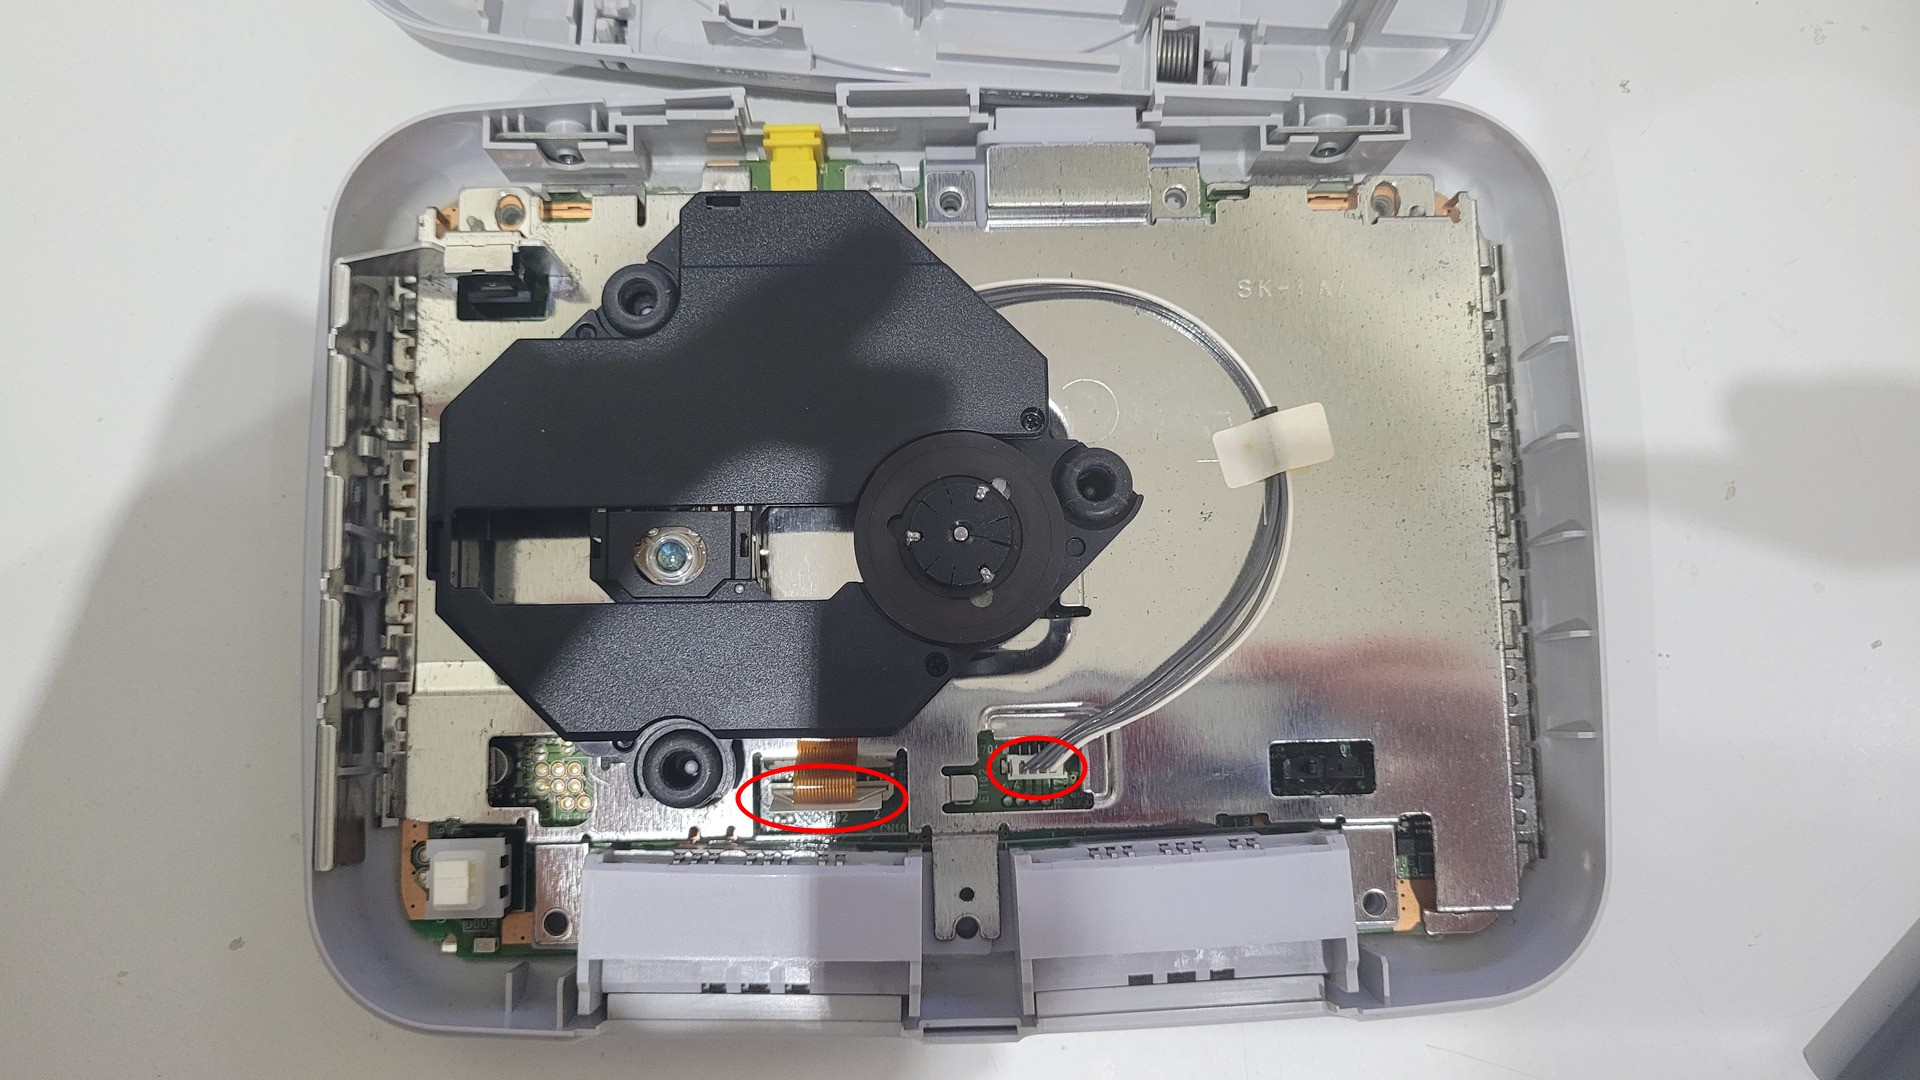
The CD Reader is simply placed on the metal shield. To remove it, it must be unplugged from the motherboard connectors:
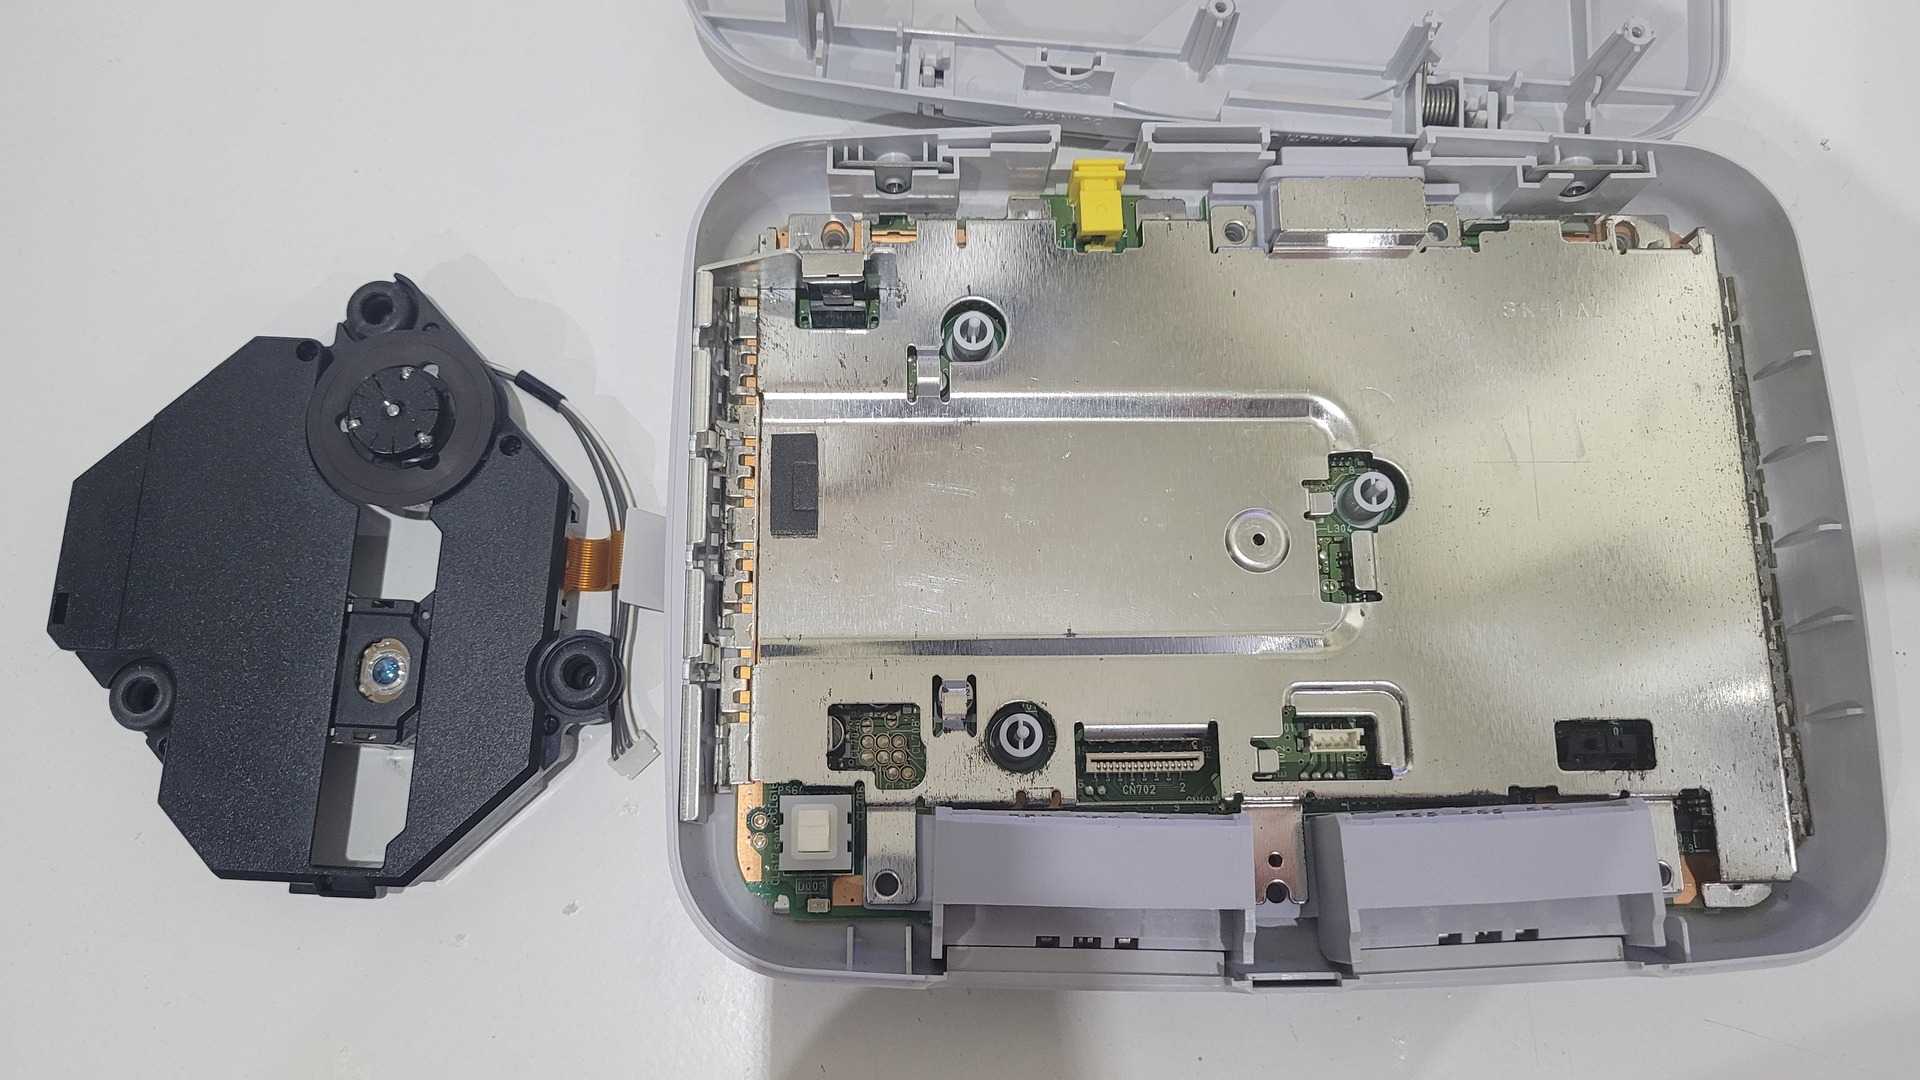
The Metal shield is not screwed, nor the motherboard, it can be removed directly:

Placing the ATtiny45
Before placing the ATtiny45 over the IC304 chip, I unfolded the legs to cut them to make the chip fits correctly:
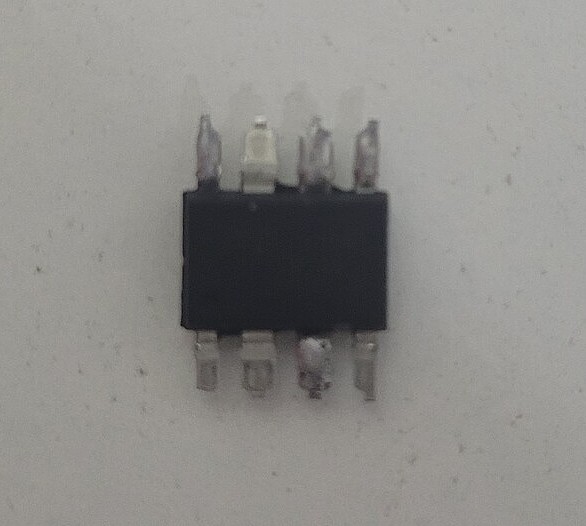
I fixed the ATtiny45 with a small piece of double sided adhesive over the IC304 chip:
Wiring
With the ATTiny45 fixed, I wired each leg one by one:
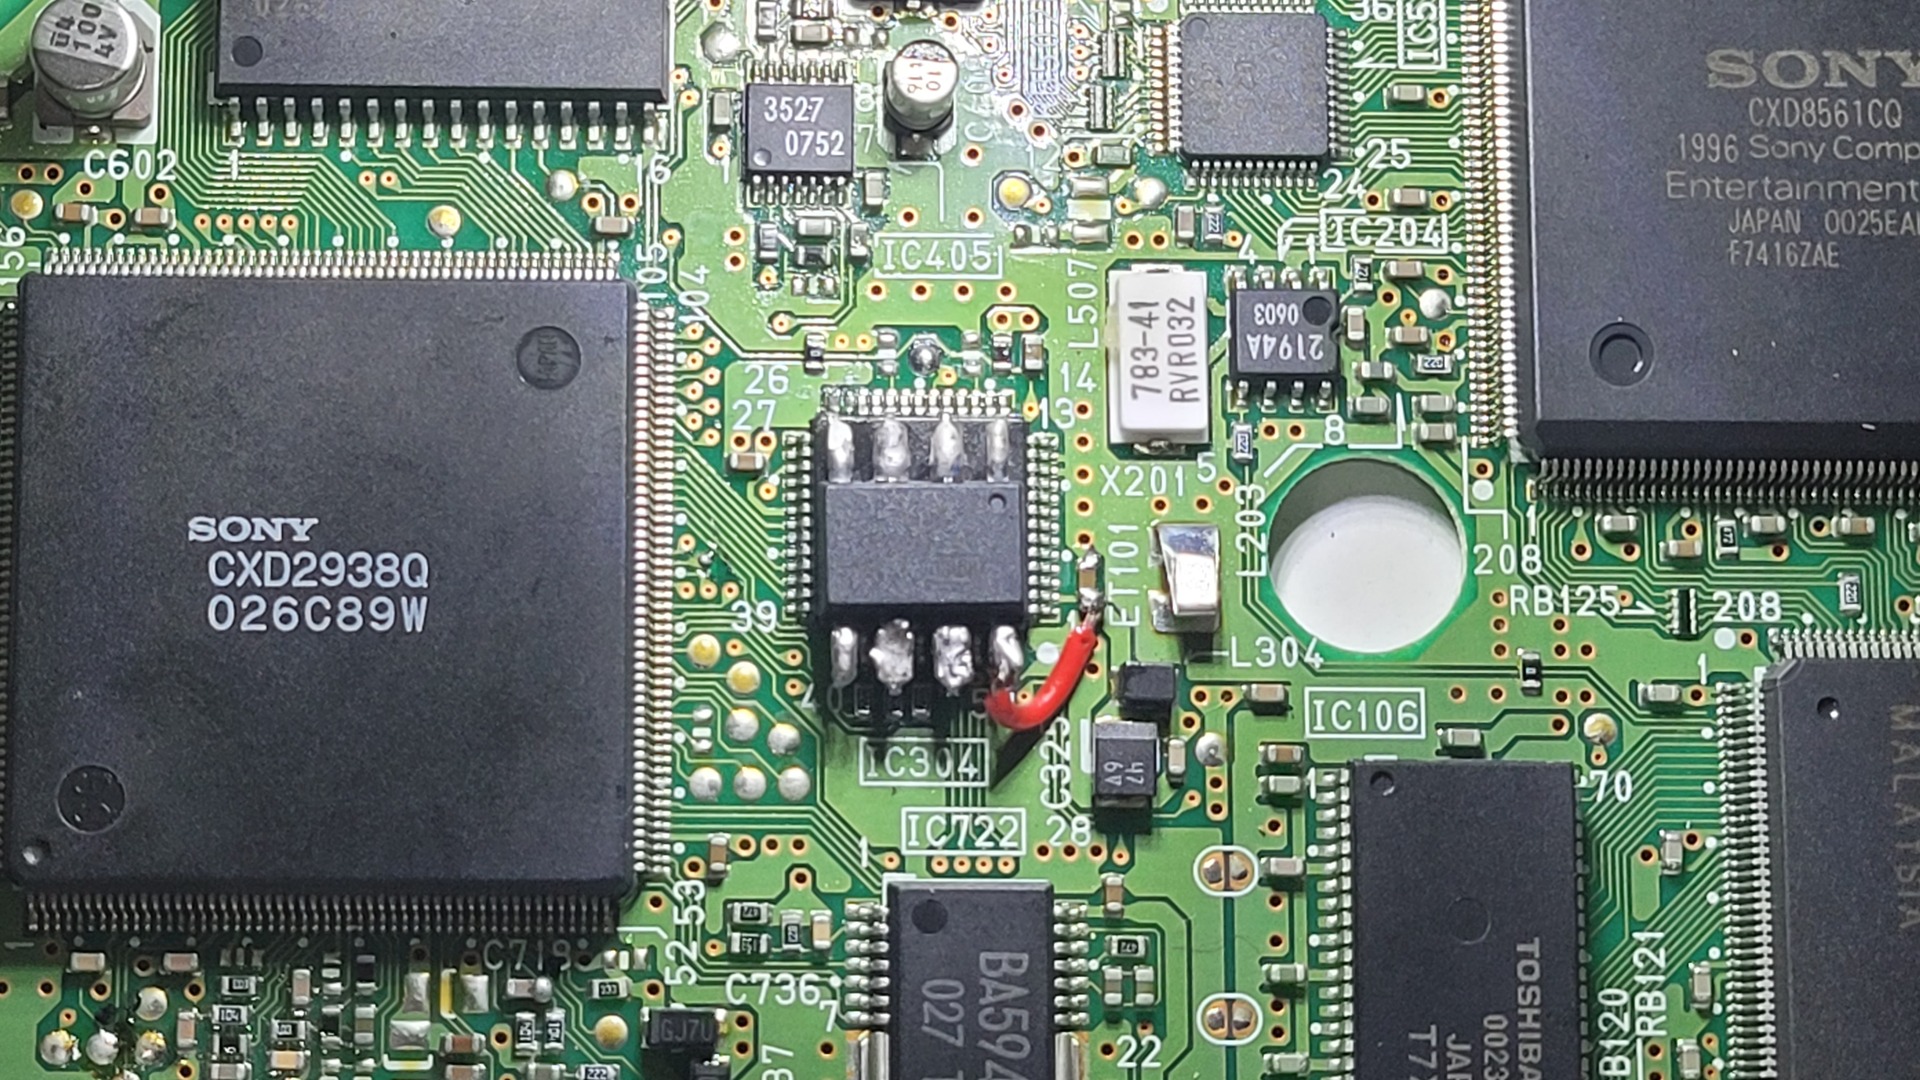
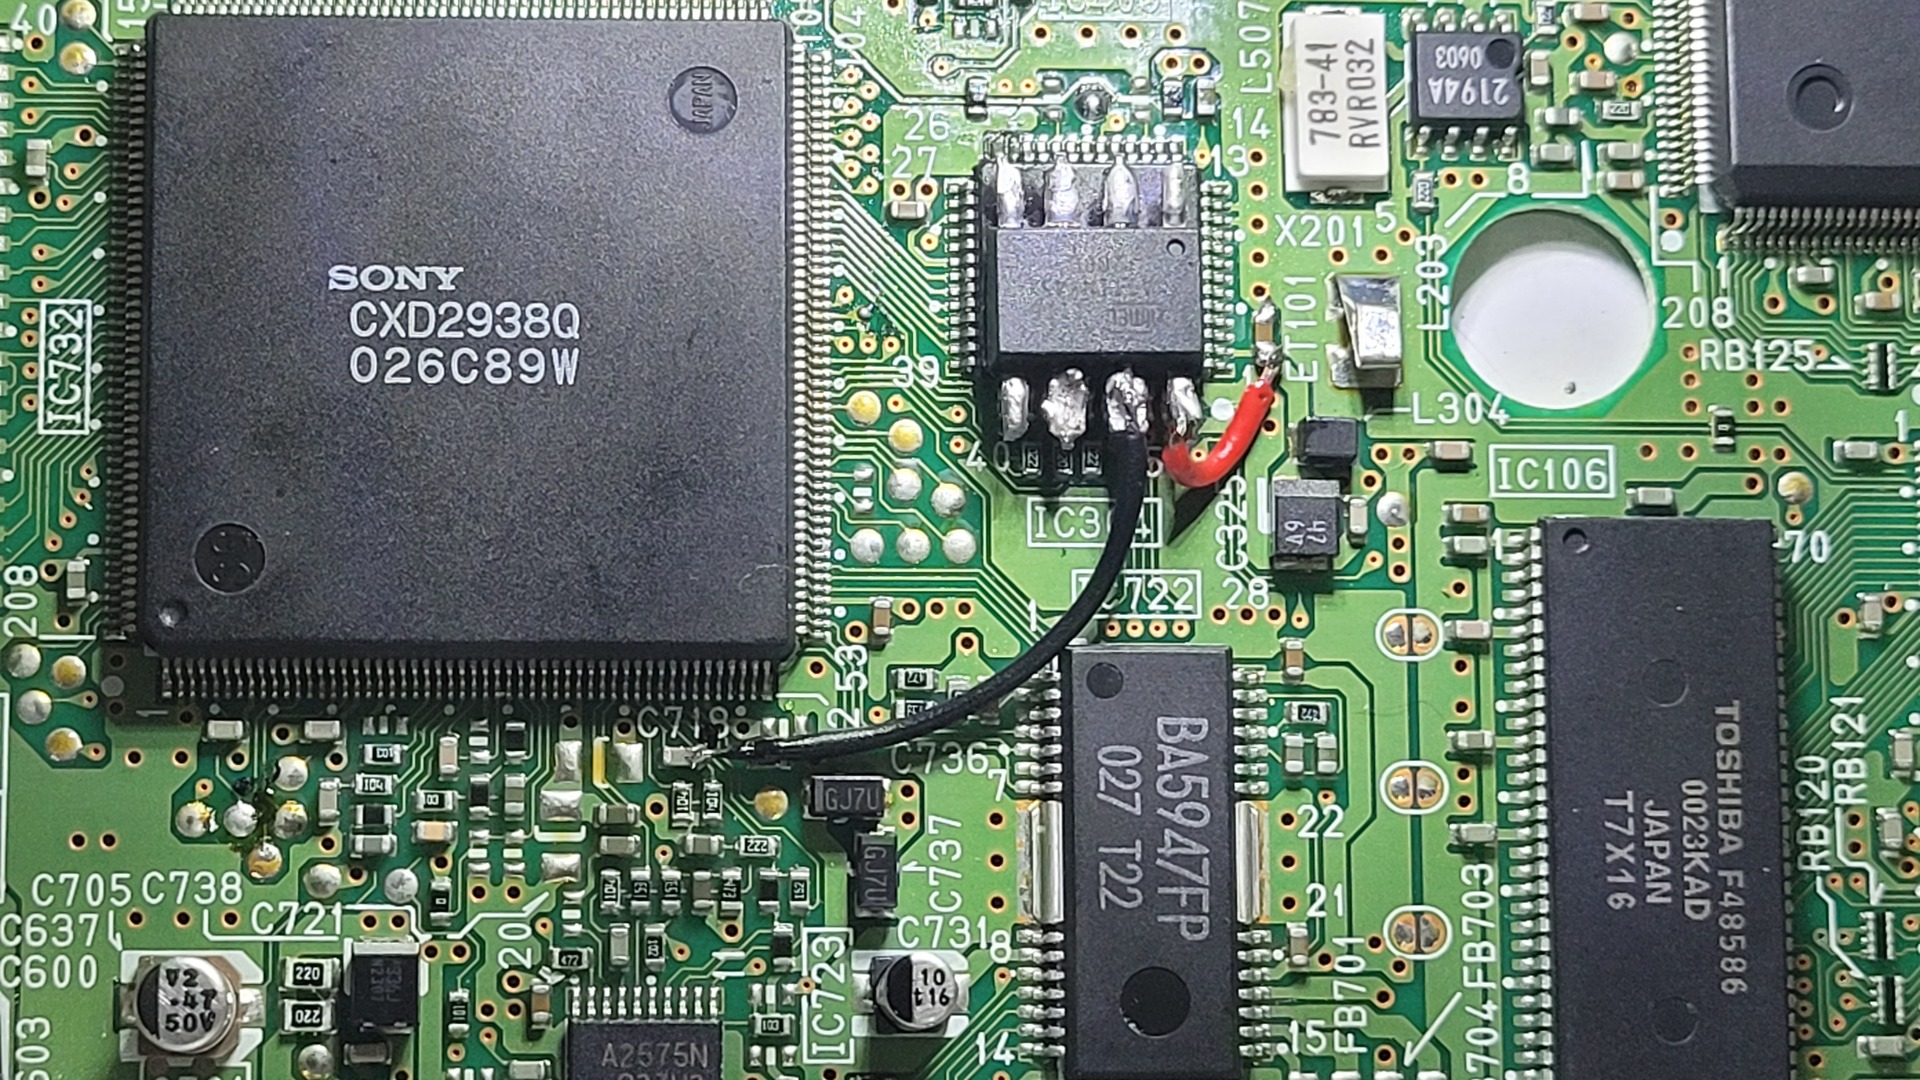
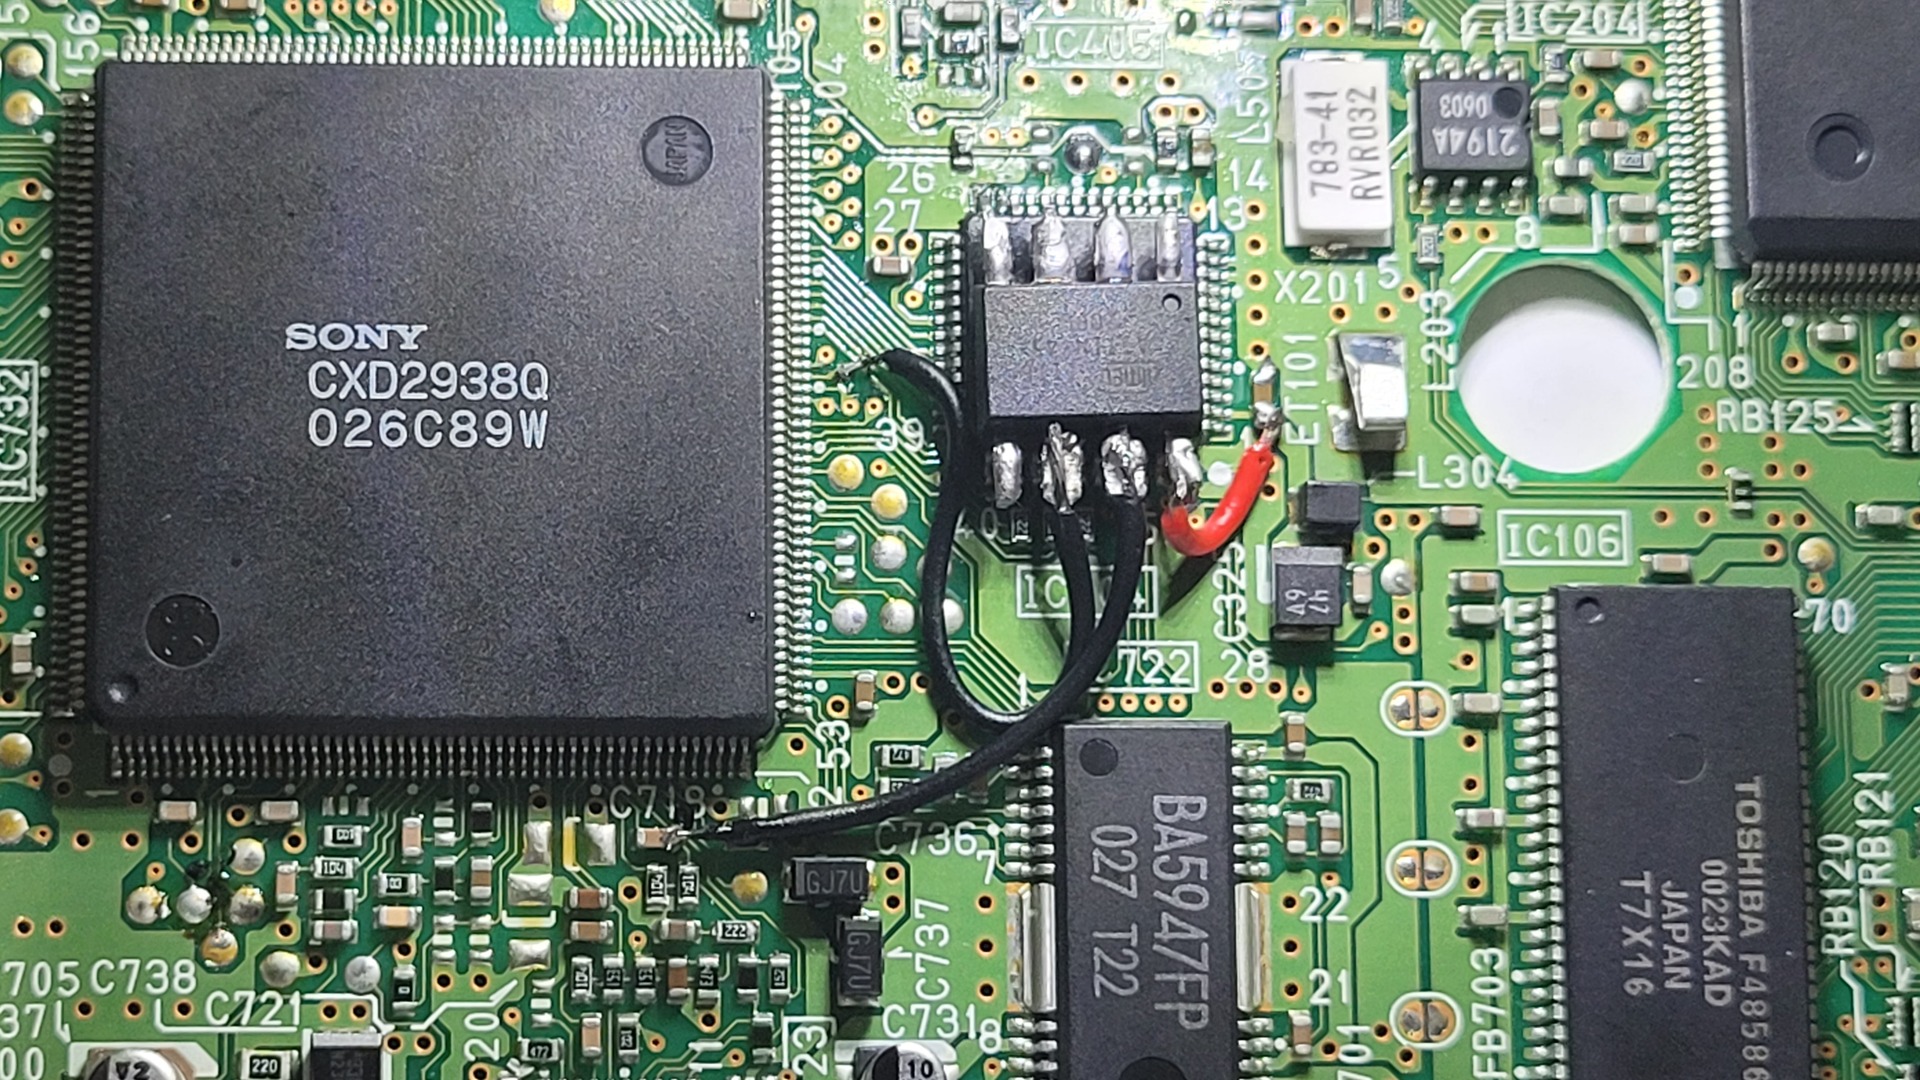
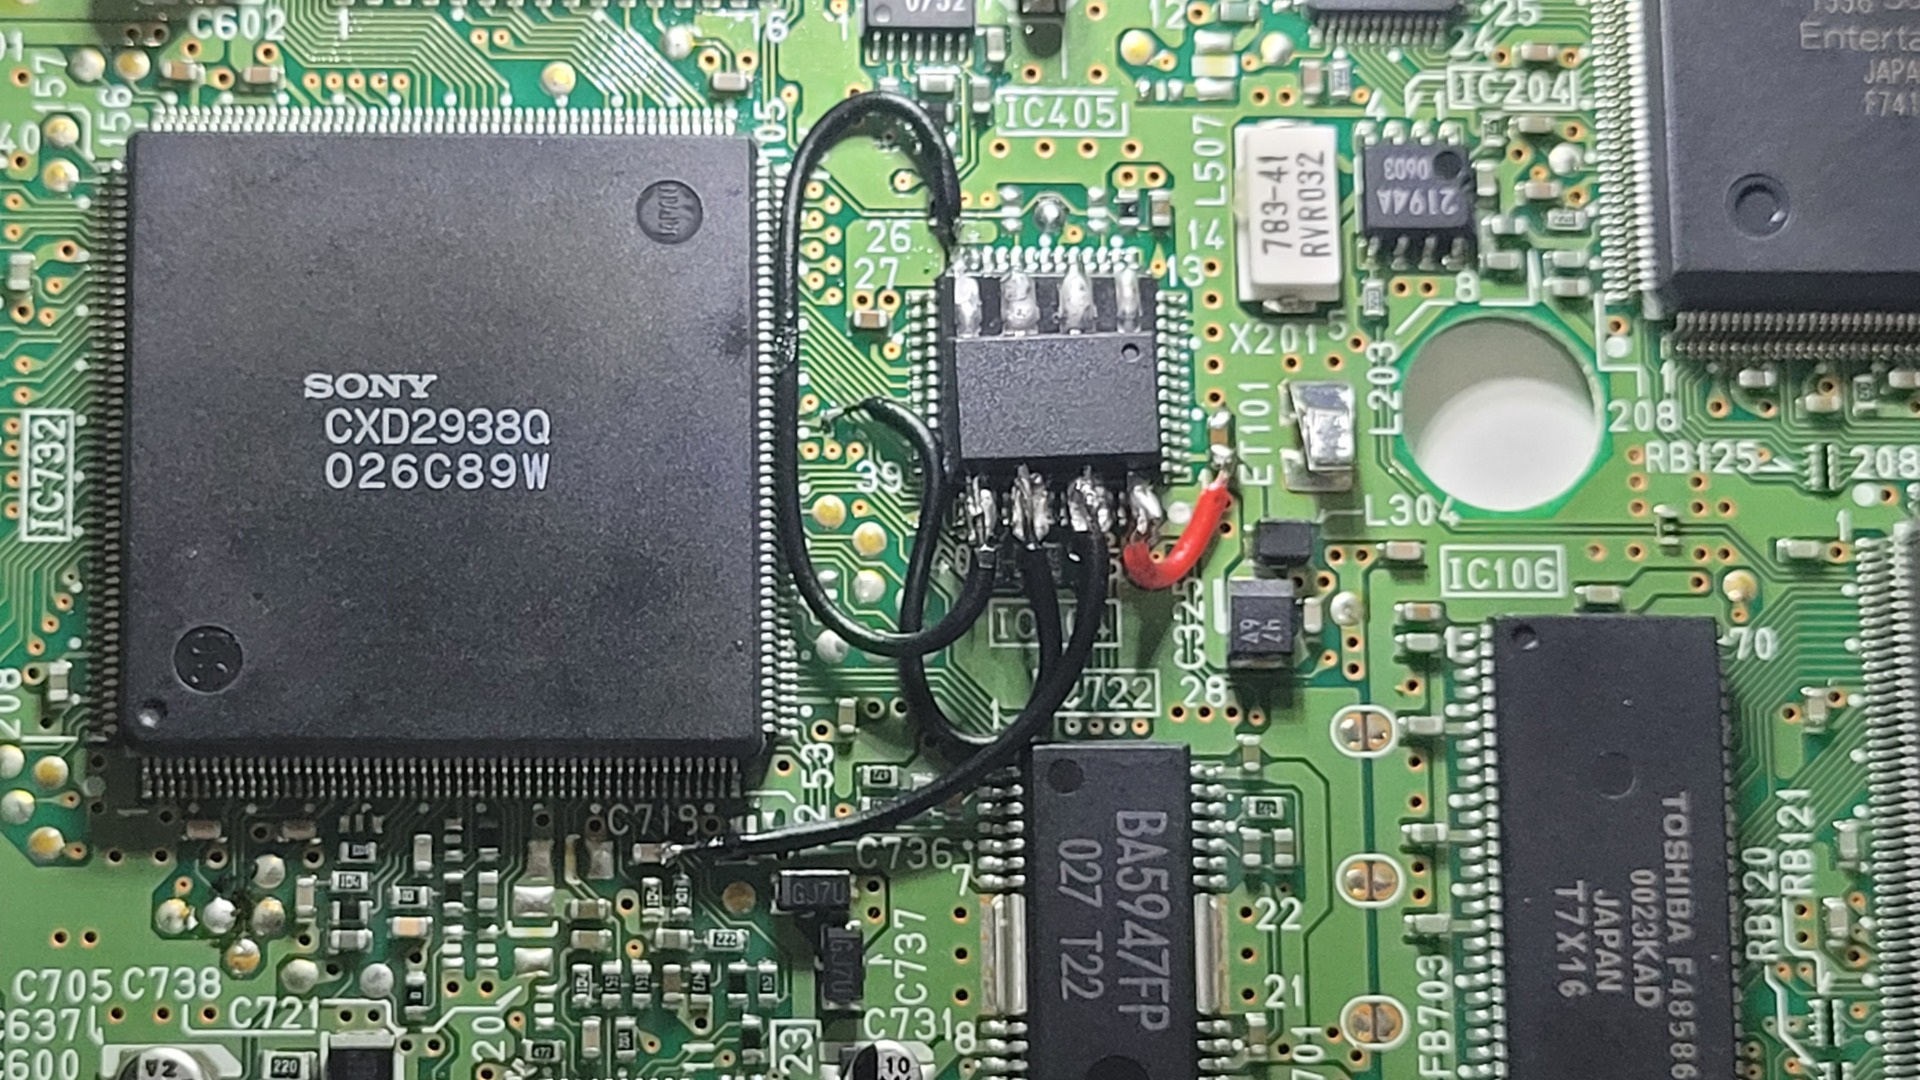
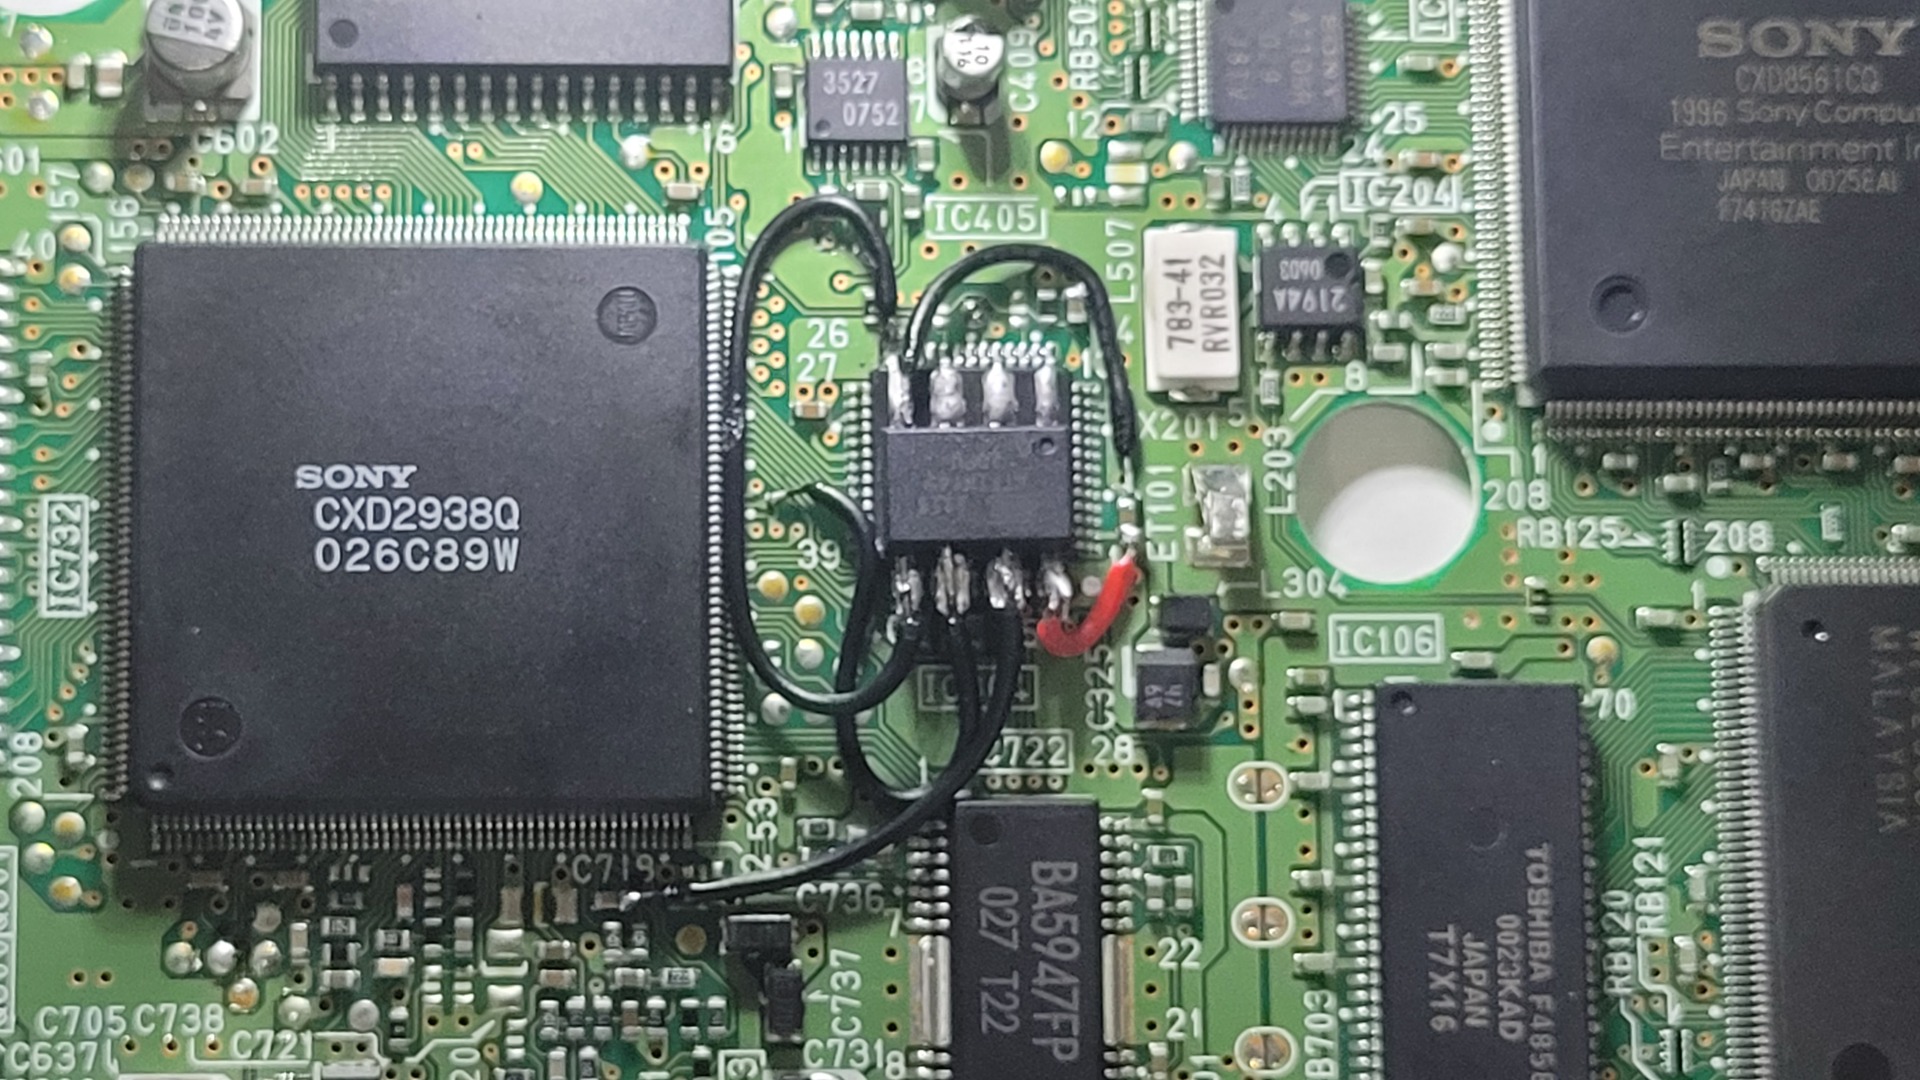
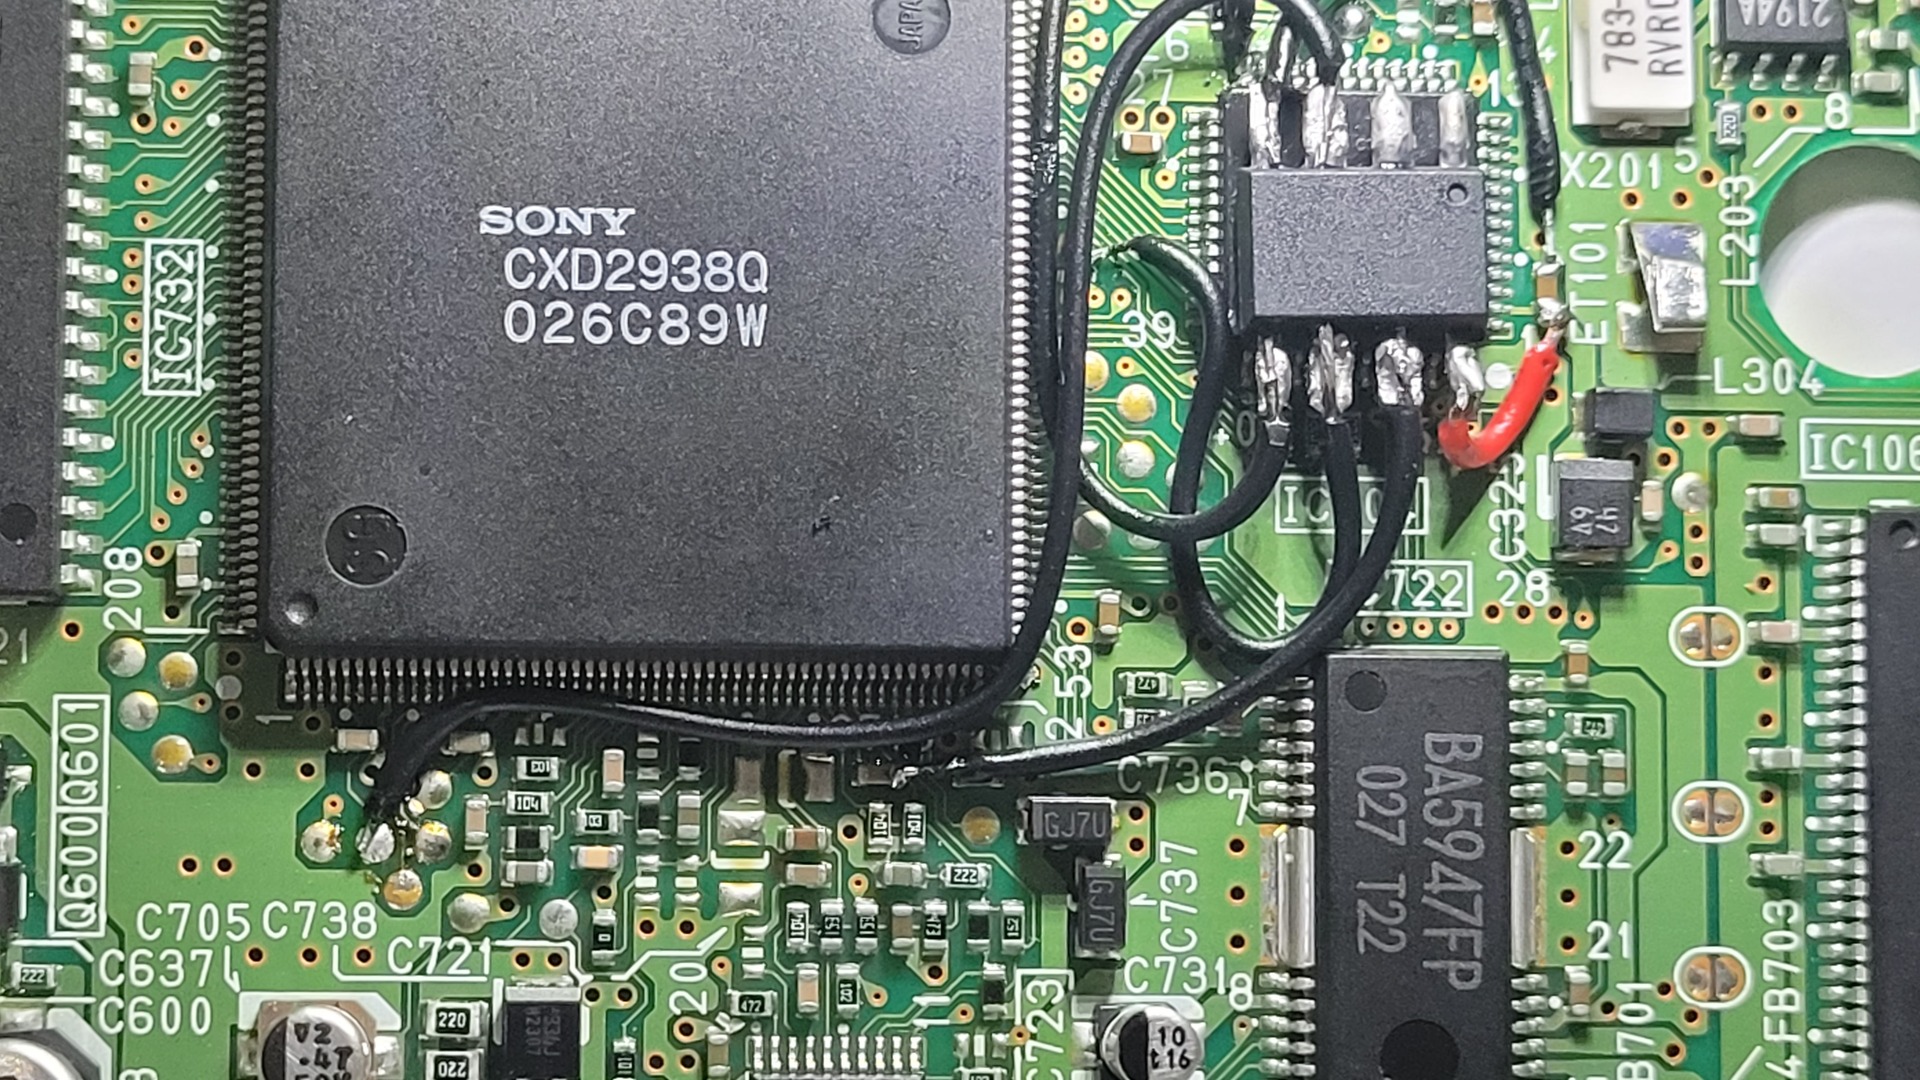
Final result :
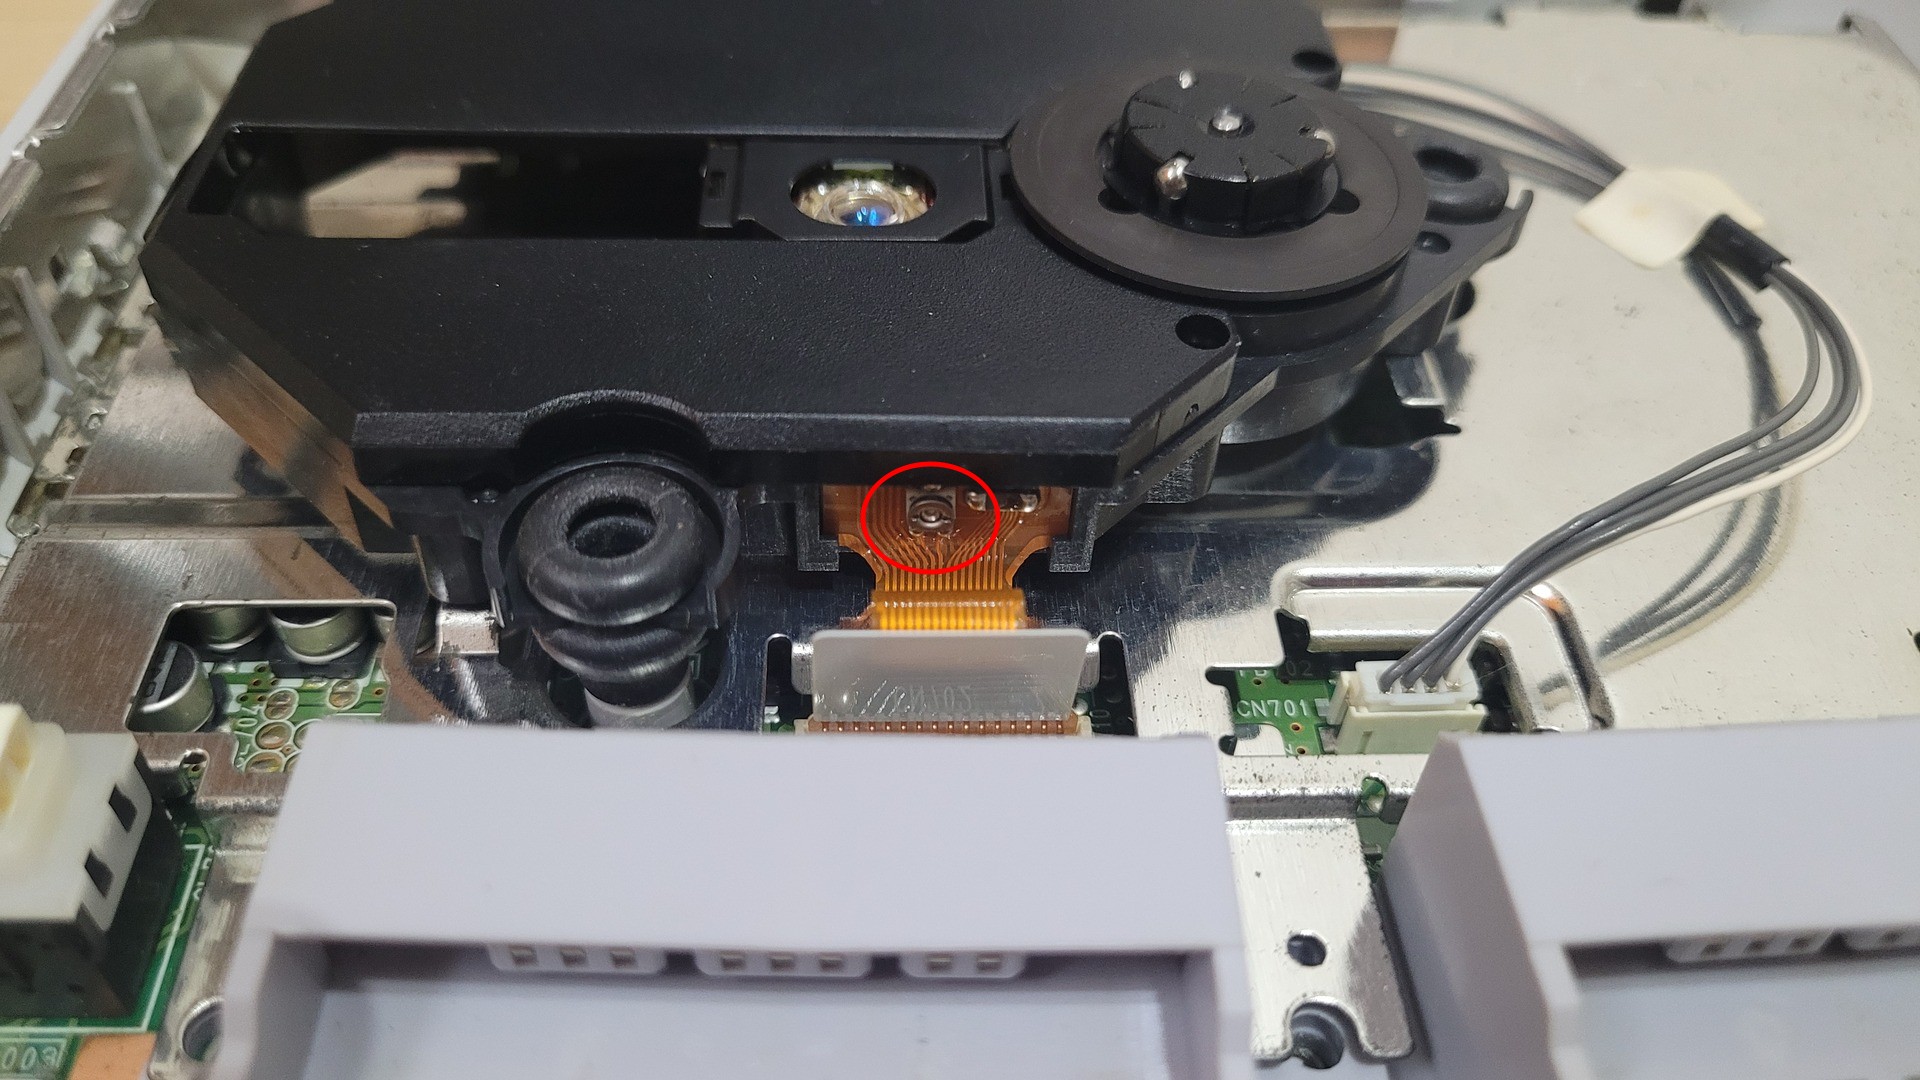
Laser lens adjustment
Now the mod should work correctly and backup should boot fine. However, I had to adjust the laser lens signal as some videos and audio tracks was stuttering a bit. The adjustment is done via a small potentiometer on the CD reader ribbon cable.
I adjusted it by very small changes as it is very sensitive. I personally had to turn it clockwise a tiny bit.

[…] the BIOS of a Playstation 1 may sound weird. As explained in a previous article, my console is a Japanese model thus it has an additional region check in its bios. So even with a […]
[…] already have a modded PSOne with a custom BIOS, so I only installed some PS1 games on my PS2 for fun. However, games launched […]