The Game Boy Advance is a marvelous console, even today in 2021, games are still fun to play on this handheld. Chance is that the console is still very affordable and replacement parts like shell or even a brand new IPs display are pretty cheap. The cherry on the cake is that some manufacturers sell near drop-in replacements ! Cheap, easy, beautiful : there is no reason not to pimp a GBA, unless you want an orignal one as a collectible 😉
This is the short story of my two GBA transformations…
Needed materials
Except fo the console itself, all needed parts can be easily found on Aliexpress or Ebay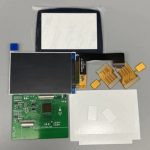
- A Game Boy Advance, preferably in more or less bad shape to get it for cheap 😉
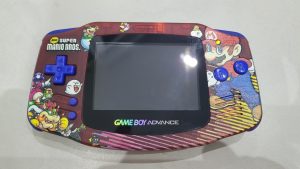
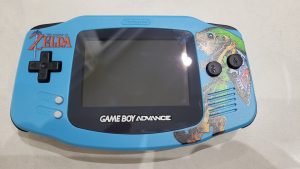
- UV printed replacement shell (15-20 euros)
- A solder less IPS kit V3 with a new lens (35-45 euros)
- A 2.5mm Triwing Screwdriver : there are often included with either the display kit or the replacement shell
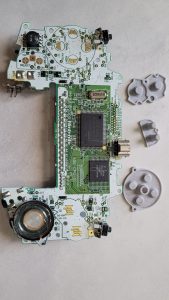
Take the motherboard out
As previously said, it’s an easy job. Moreover, it’s one of the first console I pimped and I took very few photos.
There are basicaly 4 steps to take the motherboard out. There is a good guide on ifixit.com:
- Open the shell by removing the 7 screws on the back : 6 Triwing and one in the battery compartment.
- Remove the 3 more screws to free the motherboard from the front part of the shell.
- Take the shoulder buttons and on/off switch out
- Remove the screen’s ribbon cable
Most of replacement shells come with buttons and rubber pads. So the only thing to keep is the motherboard.
New Shell and new screen
The display comes with a double sided adhesive tape. Before using it, I personnaly used some isopropyl alcohol to clean up the part where the display will be glued. This ensures a better grip.
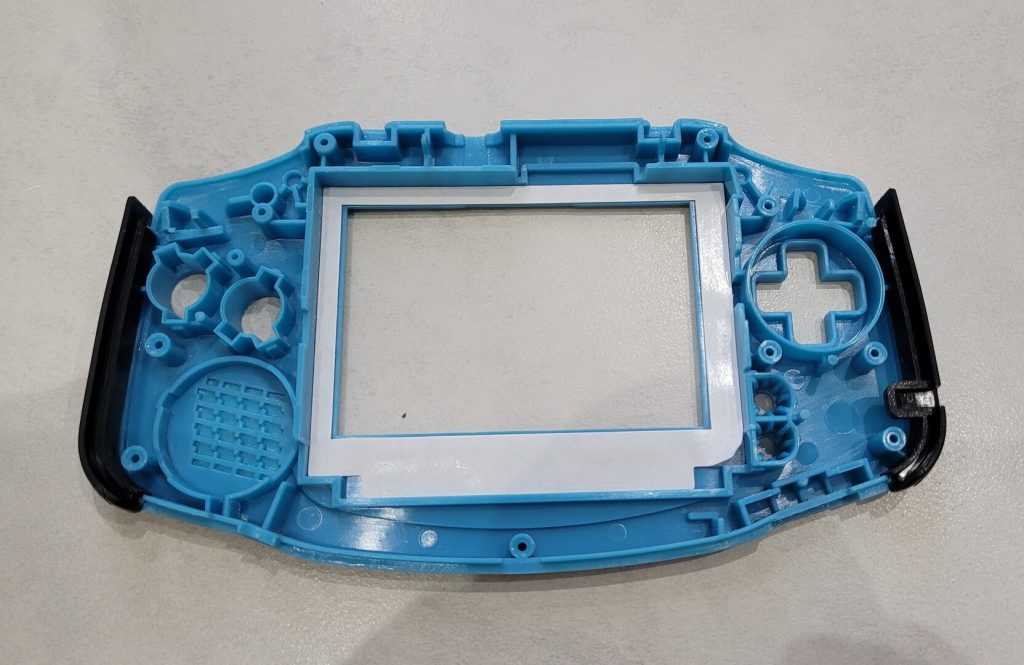
The screen also comes with two small plastic parts to help aligning verticaly. However there is mothing to align properly on the horizontal axis: be sure to push it to the right. There should be little to no gap with the border.
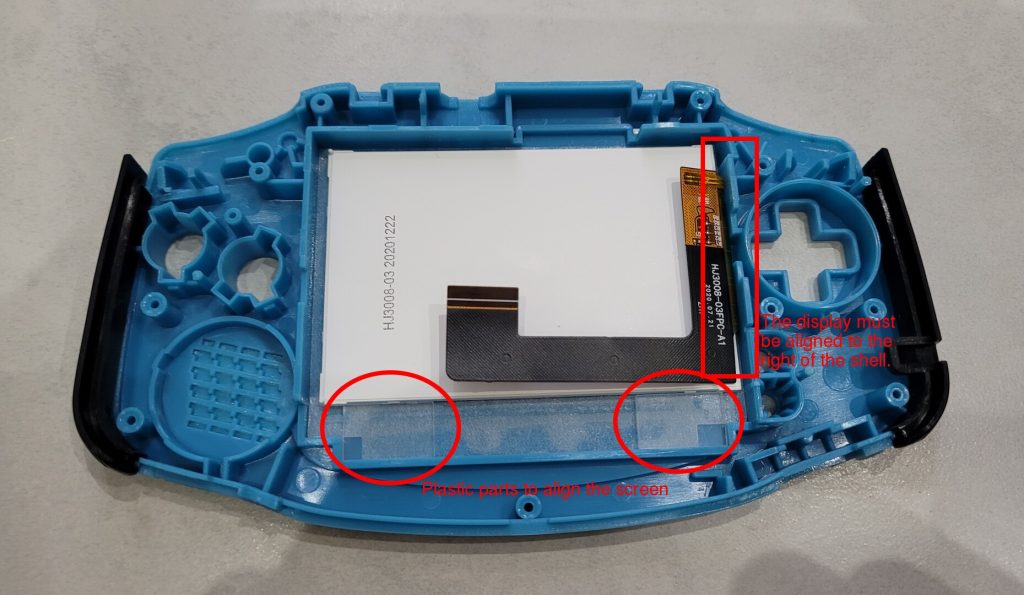
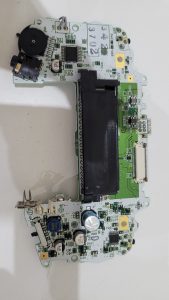
You can then put the display’s controller board and the motherboard. The display kit comes with 2 ribbon cables : a 36 wires (the smallest) and a 40 wires. Be sure to use the same size as the original GBA display. Don’t forget the buttons, dpad and rubbers !
.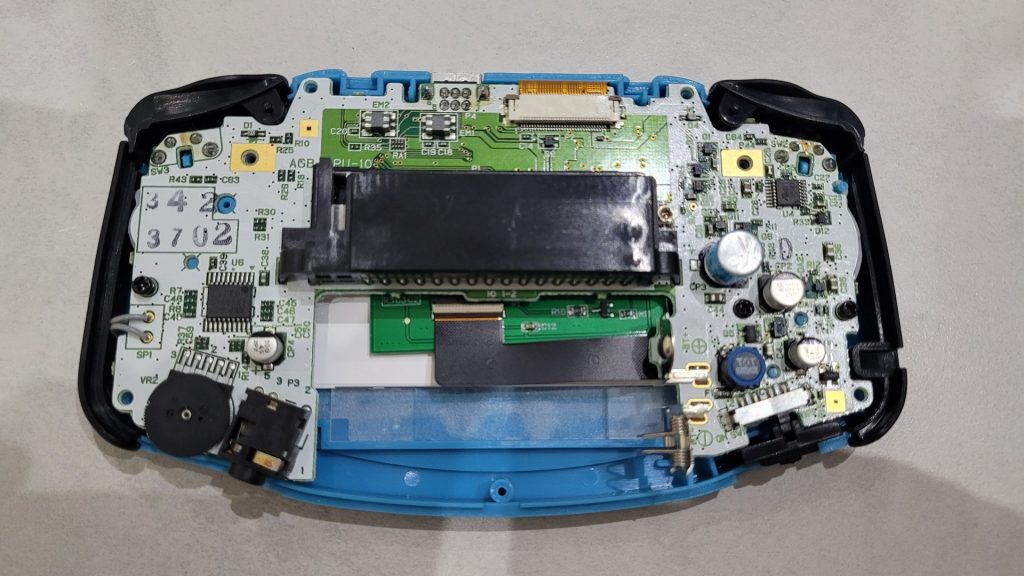
It’s now time to put screws back and close the case:
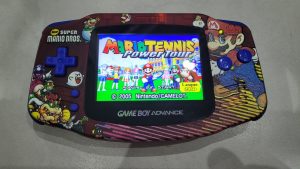
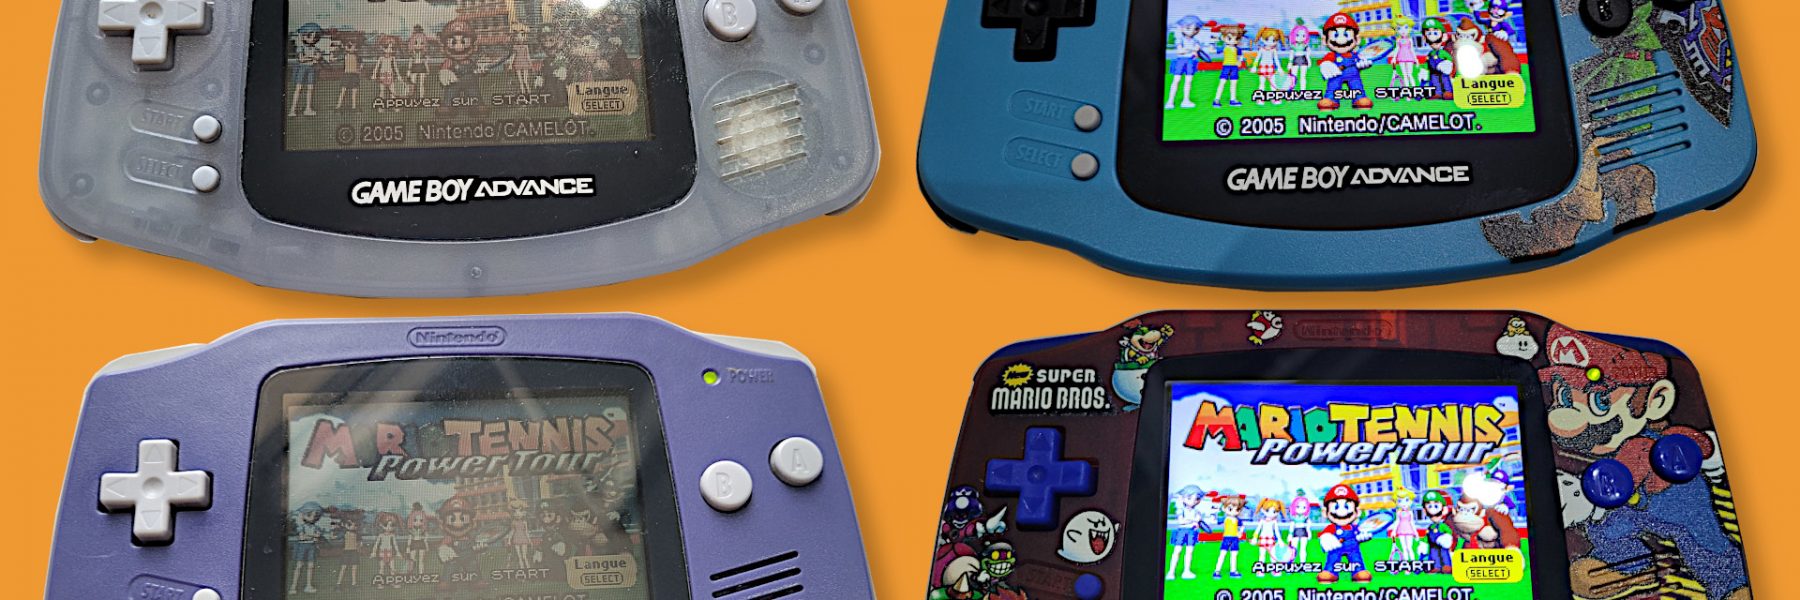
Final Results
As the title suggest, I did this two times with two different GBAs. The IPS display is beautifull and is, IMHO, a must have to really enjoy the console. It’s even better that an GBA SP AGB101 !