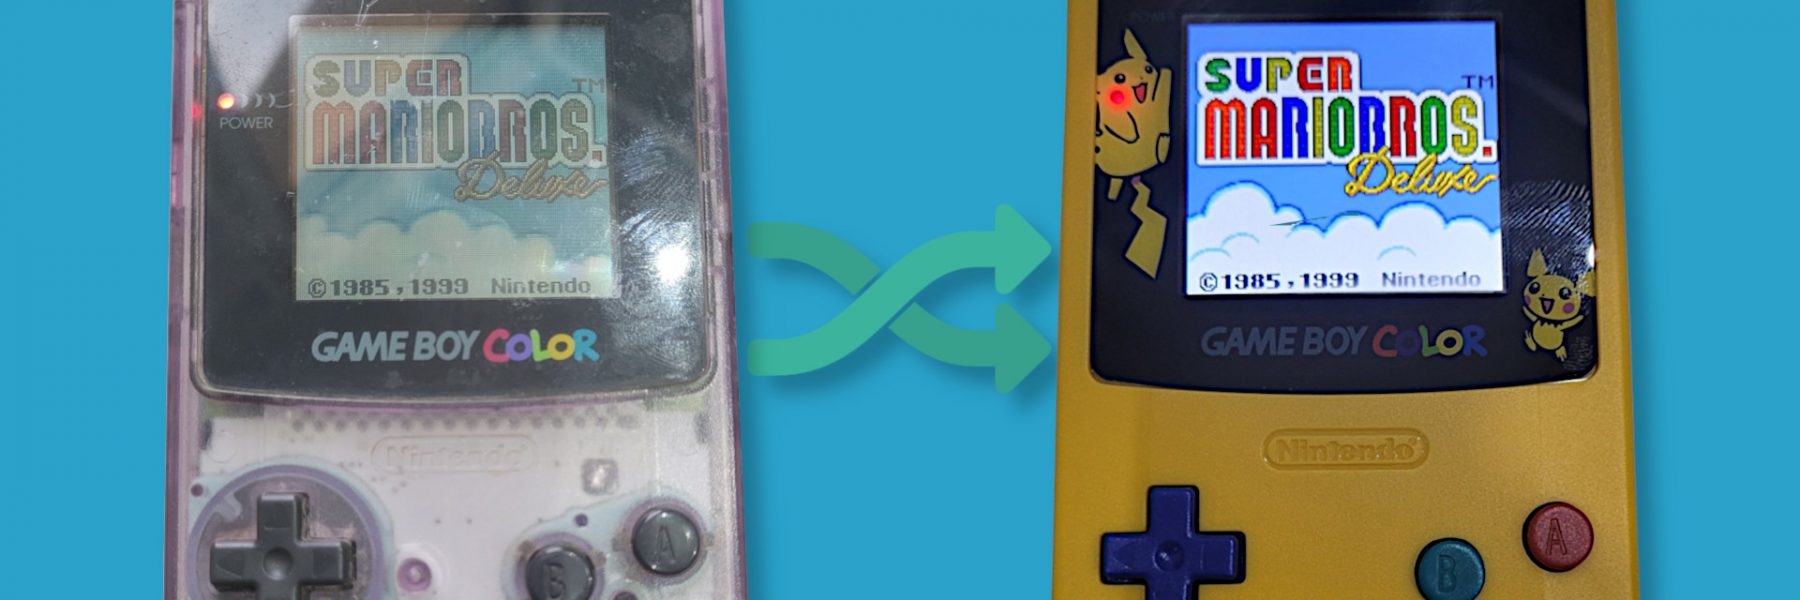
The Game Boy Color is a pretty good portable console with some funny games (e.g. Wario land 3, Motoross maniac 2). Unlike others handhelds, the screen has not a big ghosting effect like the Sega Game Gear or the Atari Lynx. But even if the Game Boy Color’s display is brighter than the one found on the Game Boy Advance, it is not always easy to see as it is not backlit. In addition, over the time the console may have been scratched and often lacks its battery cover. Chance is that we can easily find custom replacement shell and backlit IPS display.
This is the (short) story of my pimped Game Boy Color…
Required materials
- A Game Boy Color, with or without it’s shell

- A brand new shell from Aliexpress, Ebay or any other market place you like
- A tri-wing screw driver, which is classic to open Nintendo consoles
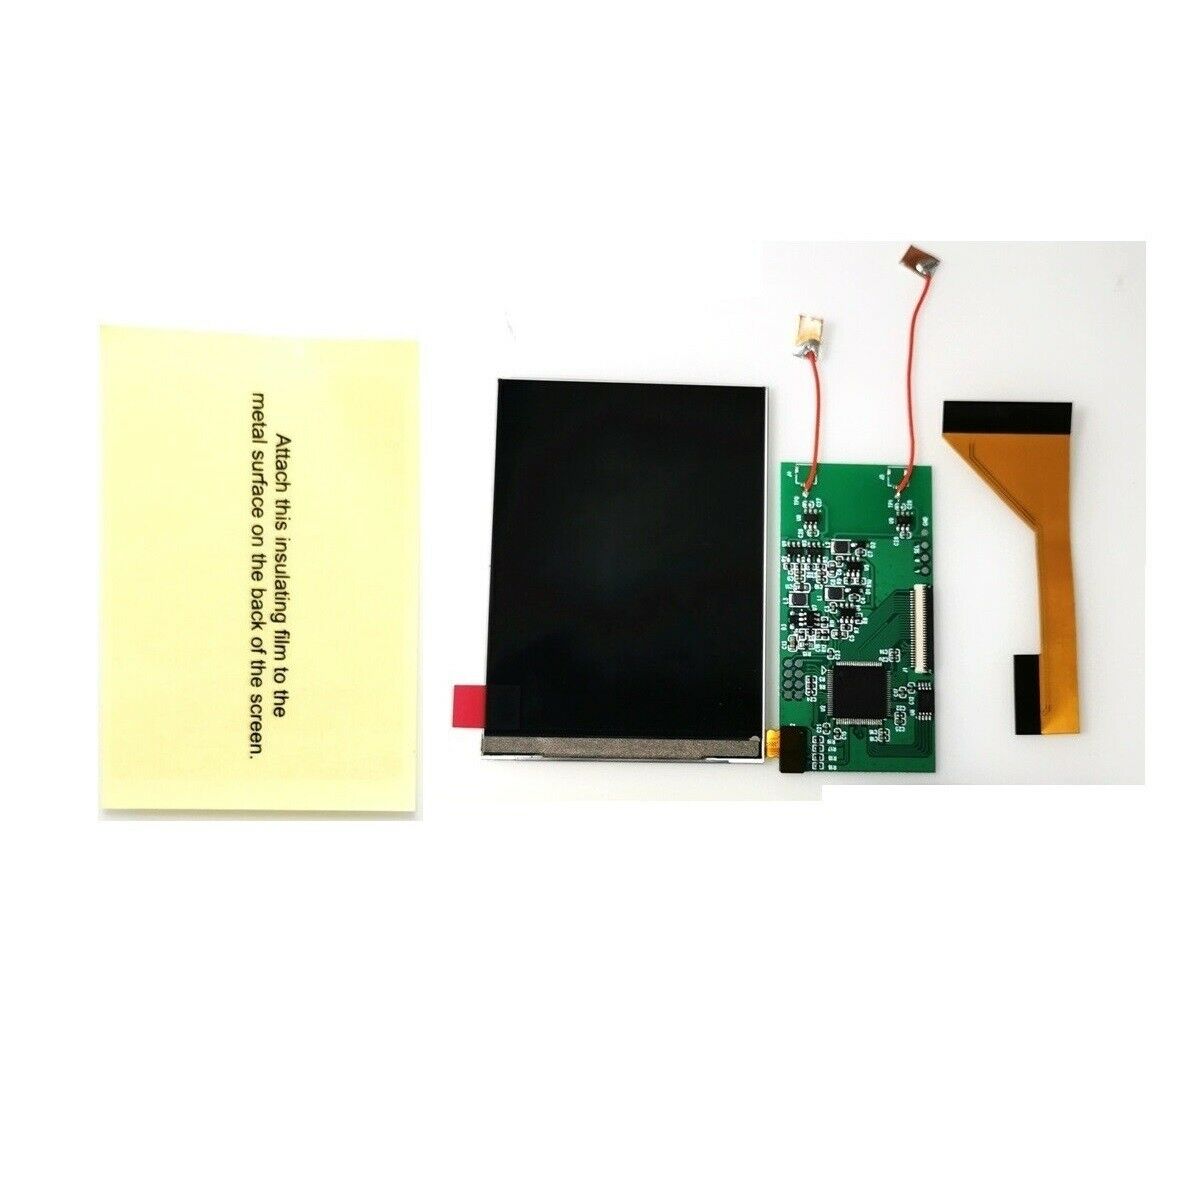
- An IPS display kit. I personnaly chose one named “Full Size 8 Colorful Back Light Backlight LCD Kit For Game Boy Color GBC Console“
- A Soldering iron
- A cutter and a pair of cutting pliers
- A dremel (optional but it’s a good tool to polish the cut parts of the shell)
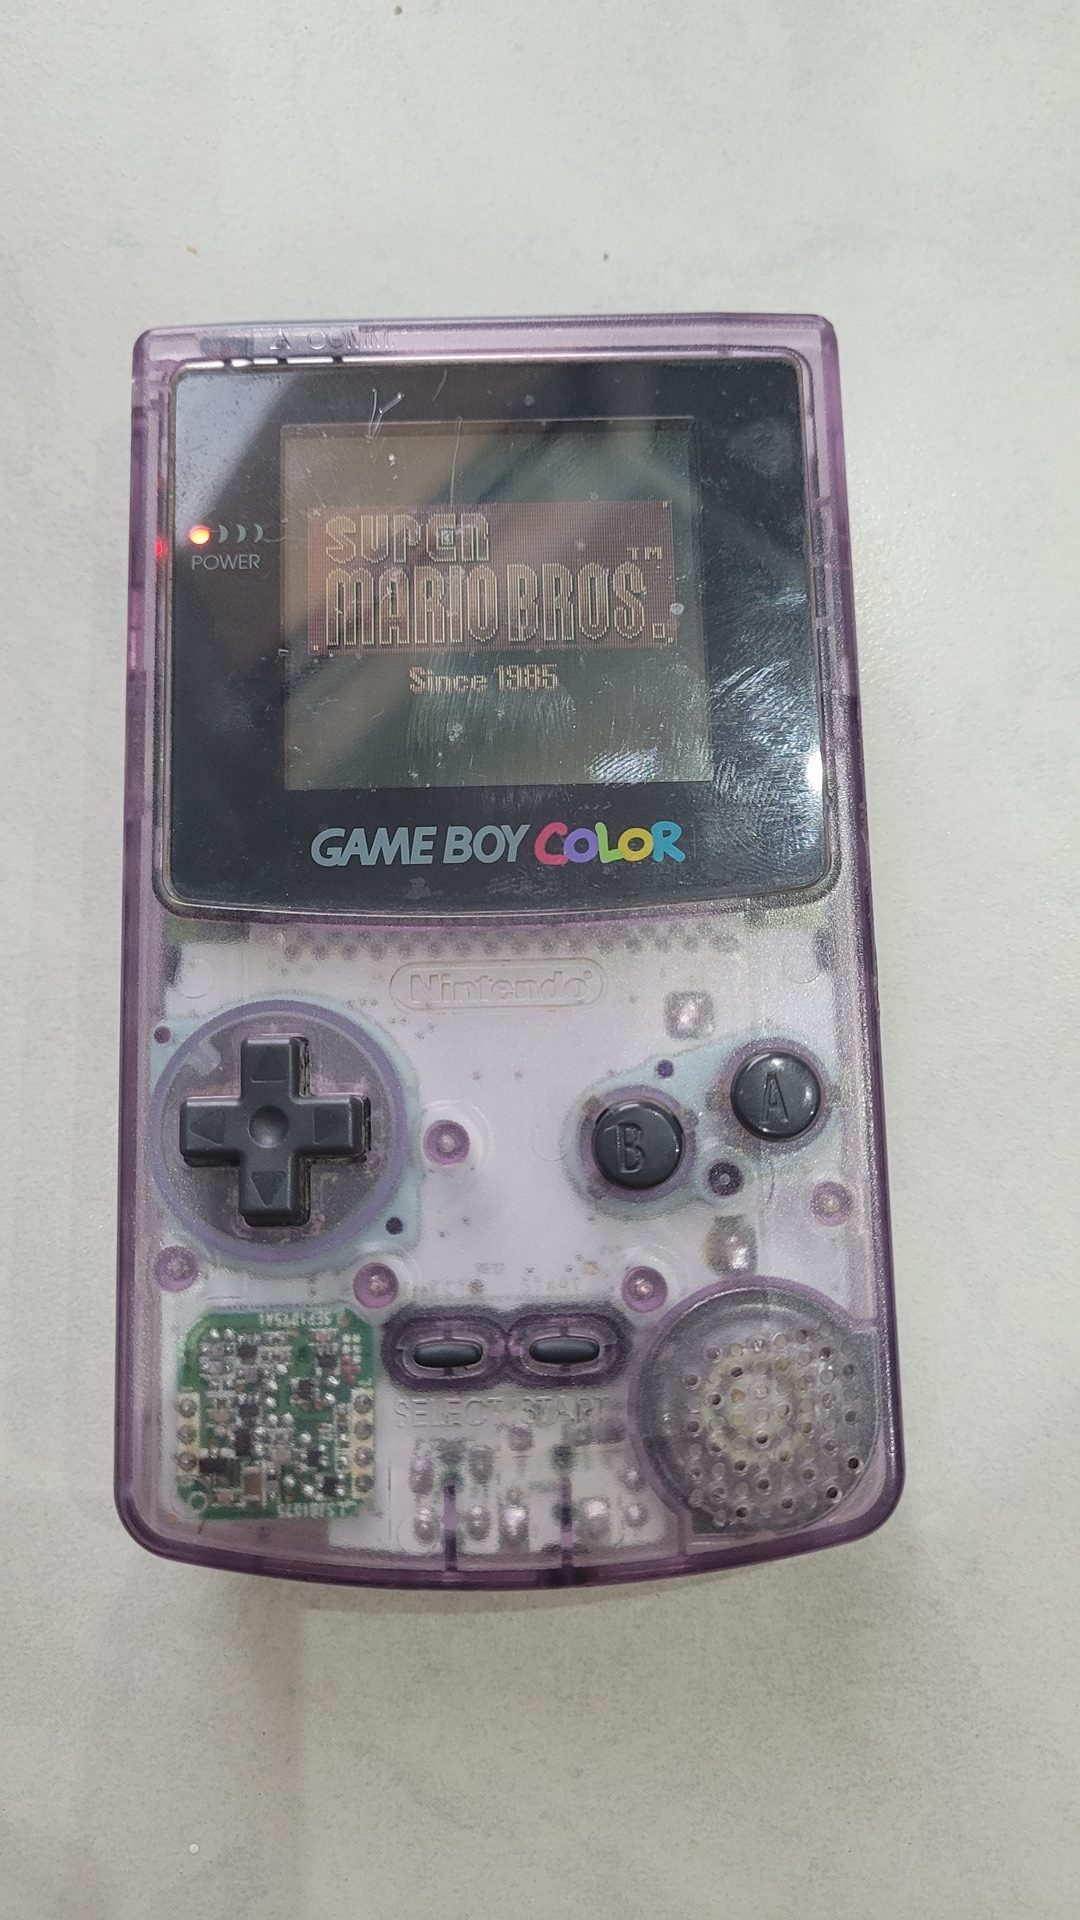
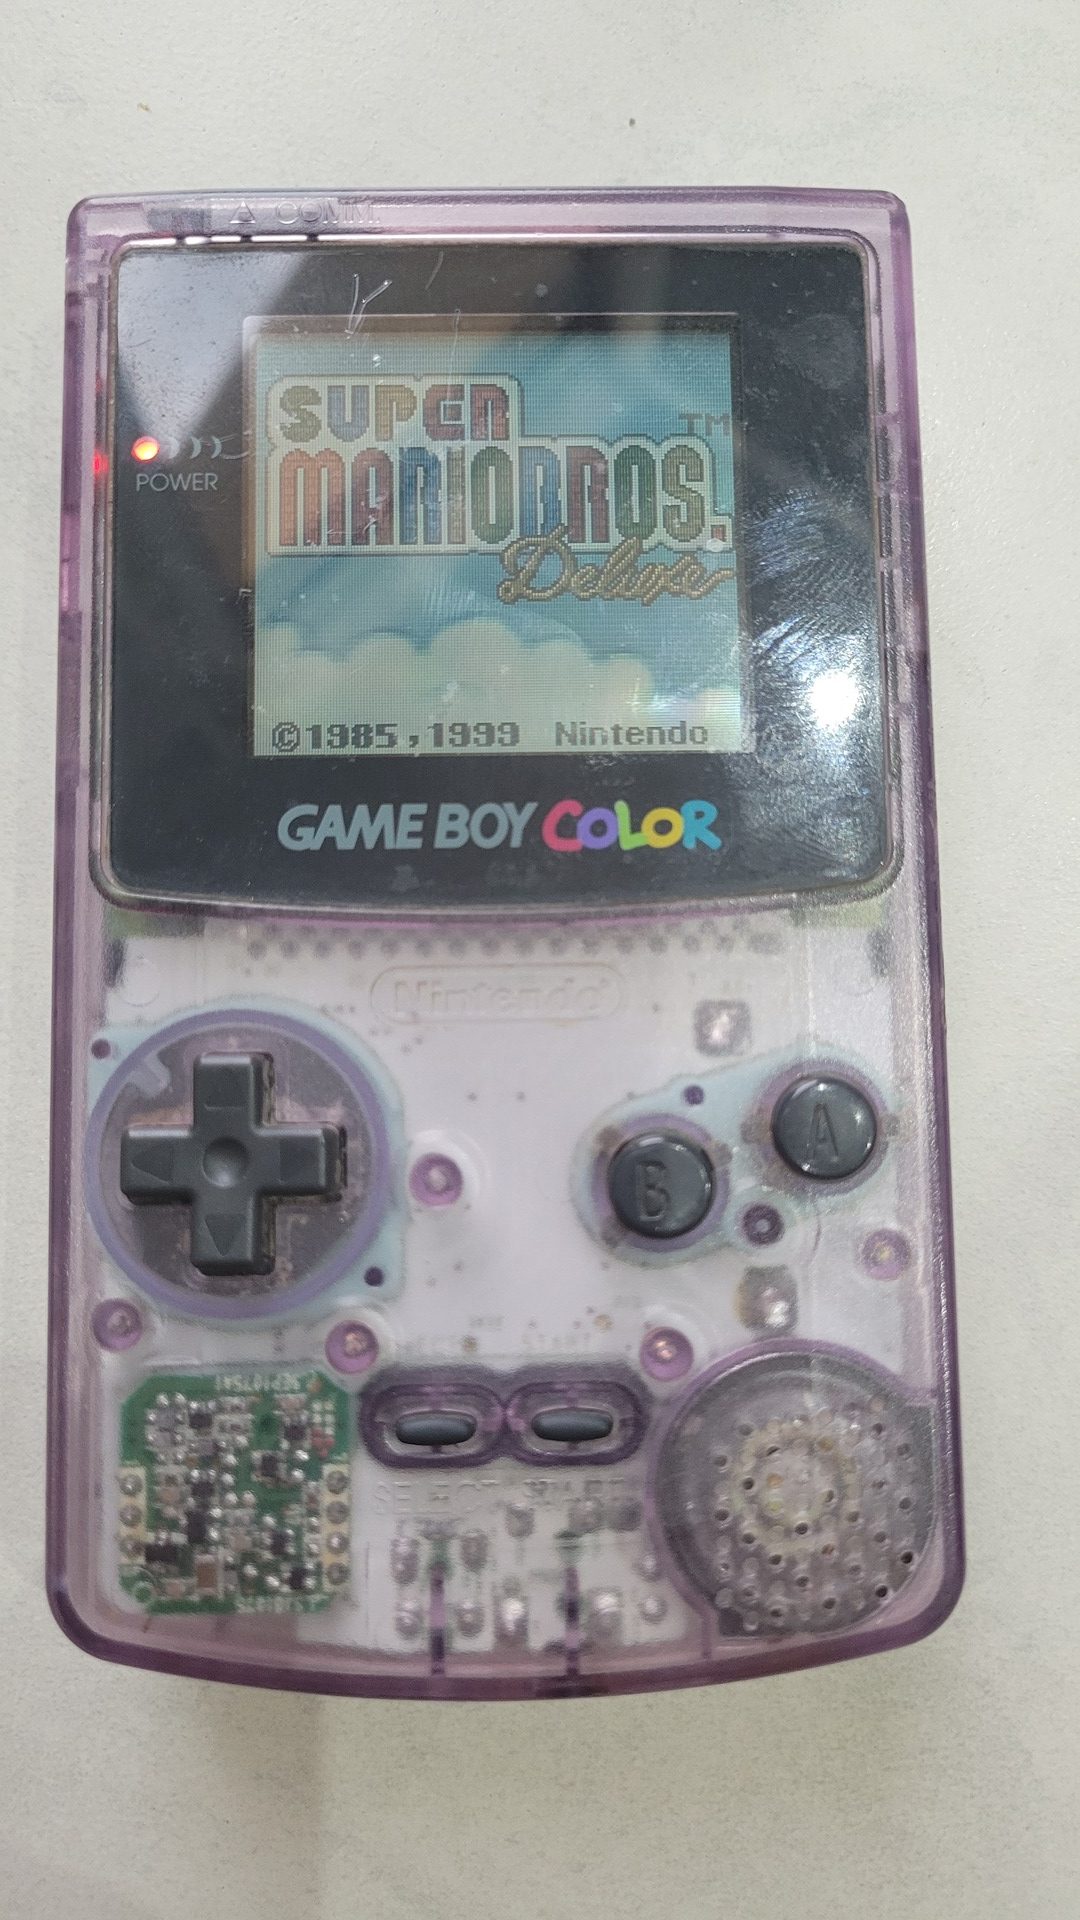
The original console
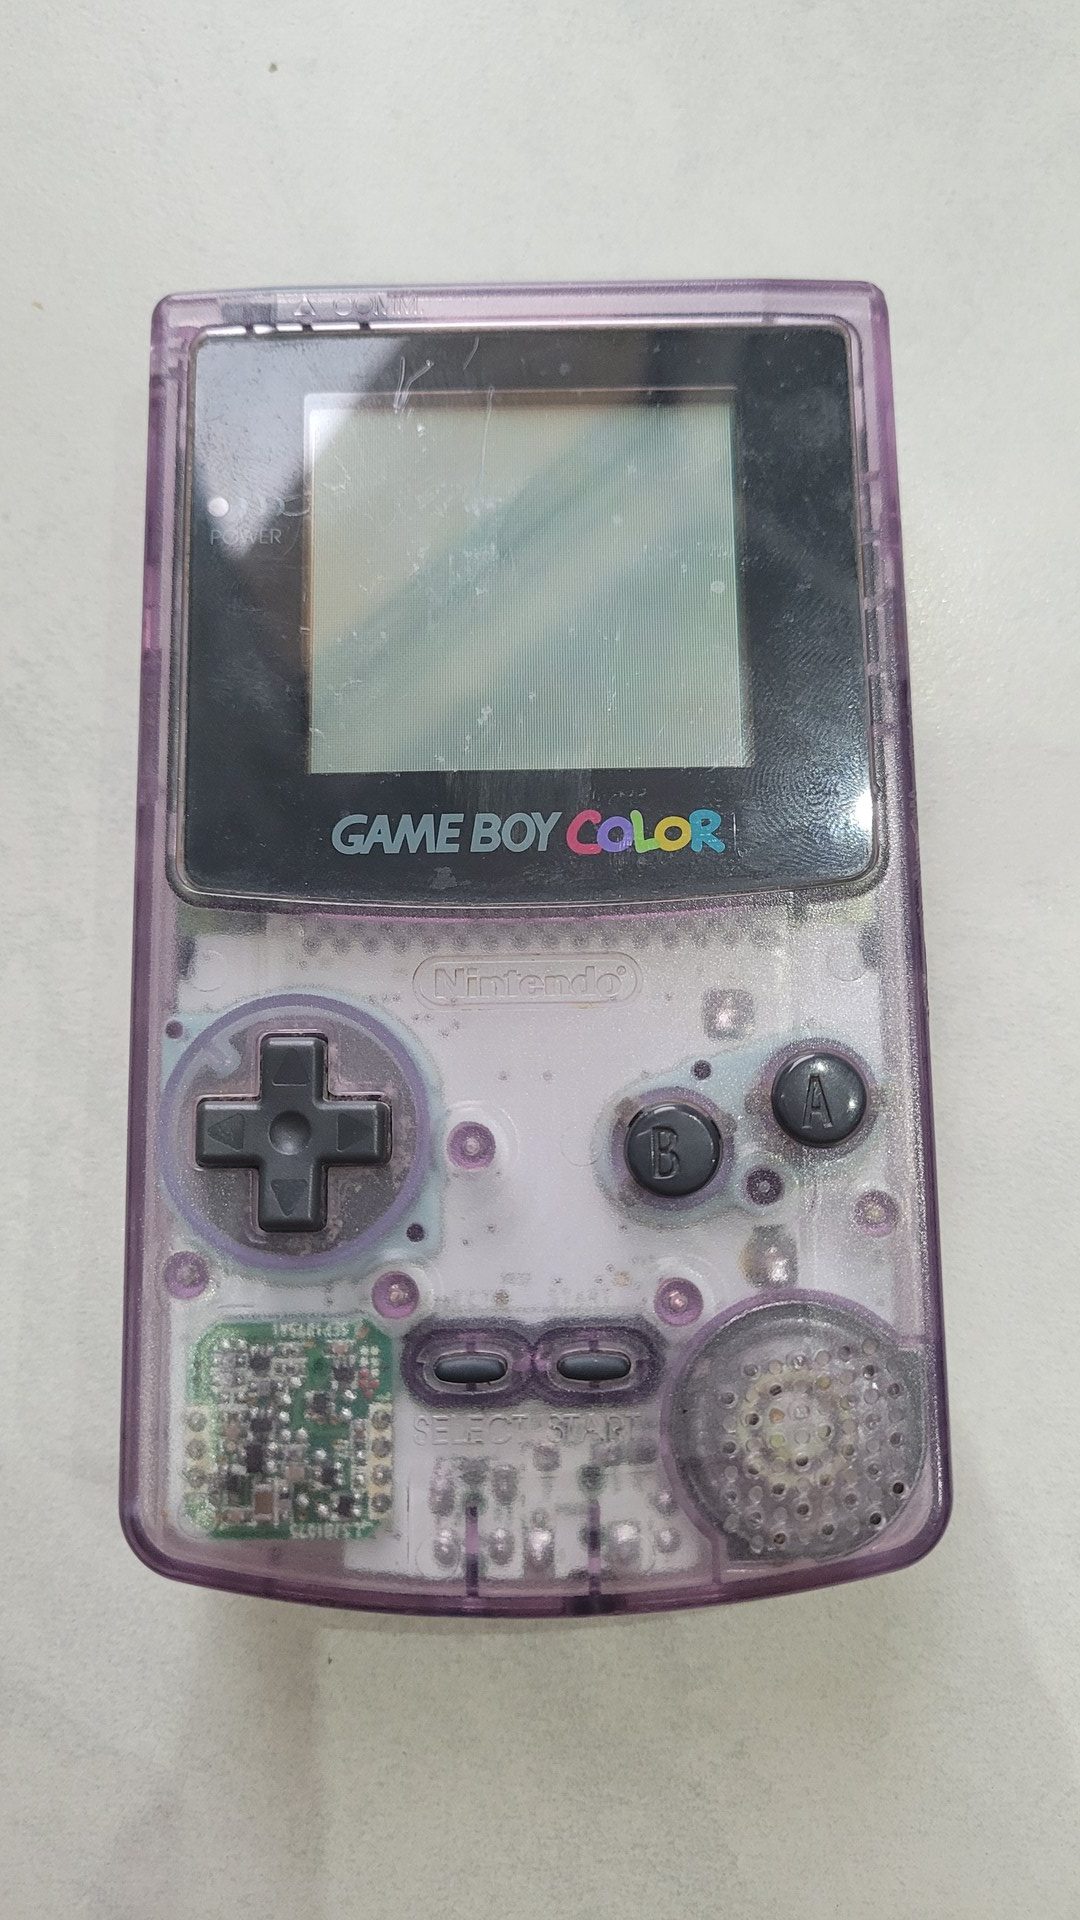
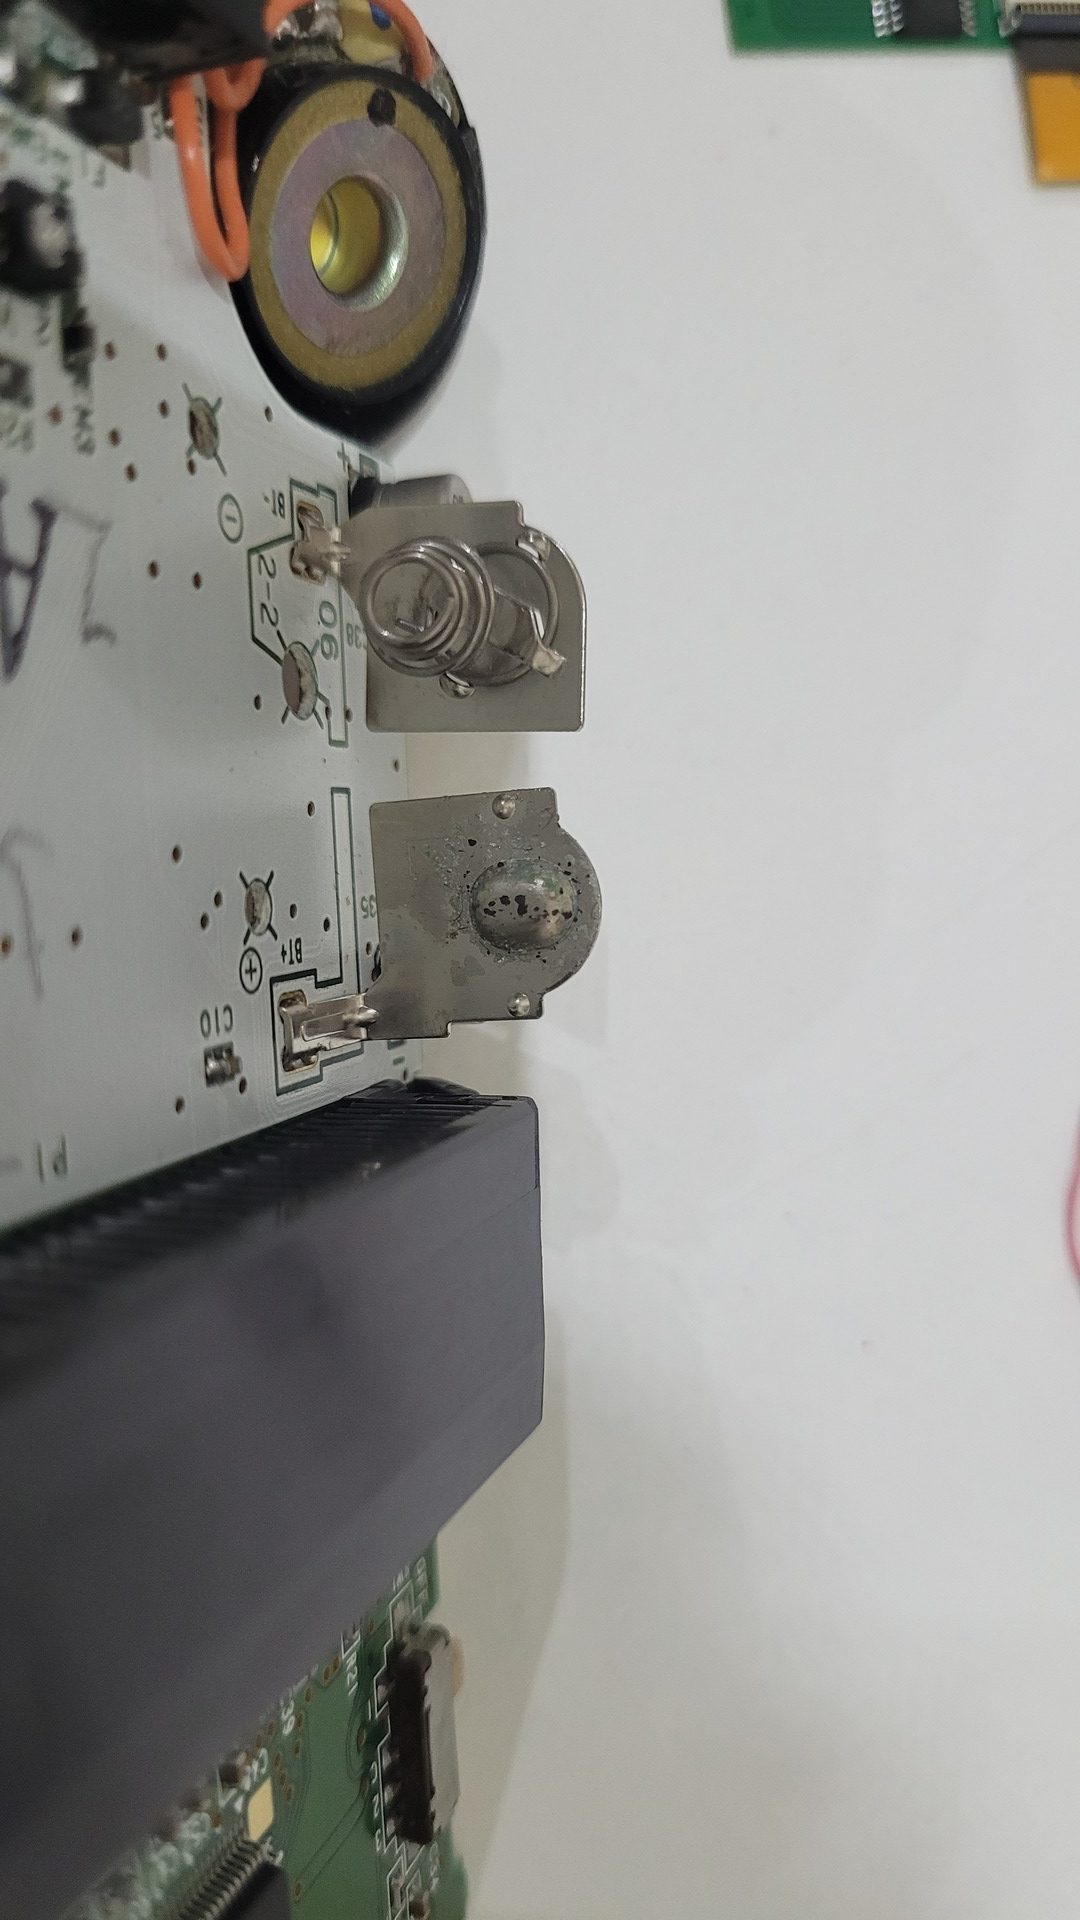
I got this Game Boy Color for cheap because of it’s bad aspect and because it was “not working”. In fact, the problem was simple : the batteries contactors had oxidation, probably due to some batteries that leaked inside.
Replacing batteries contactors
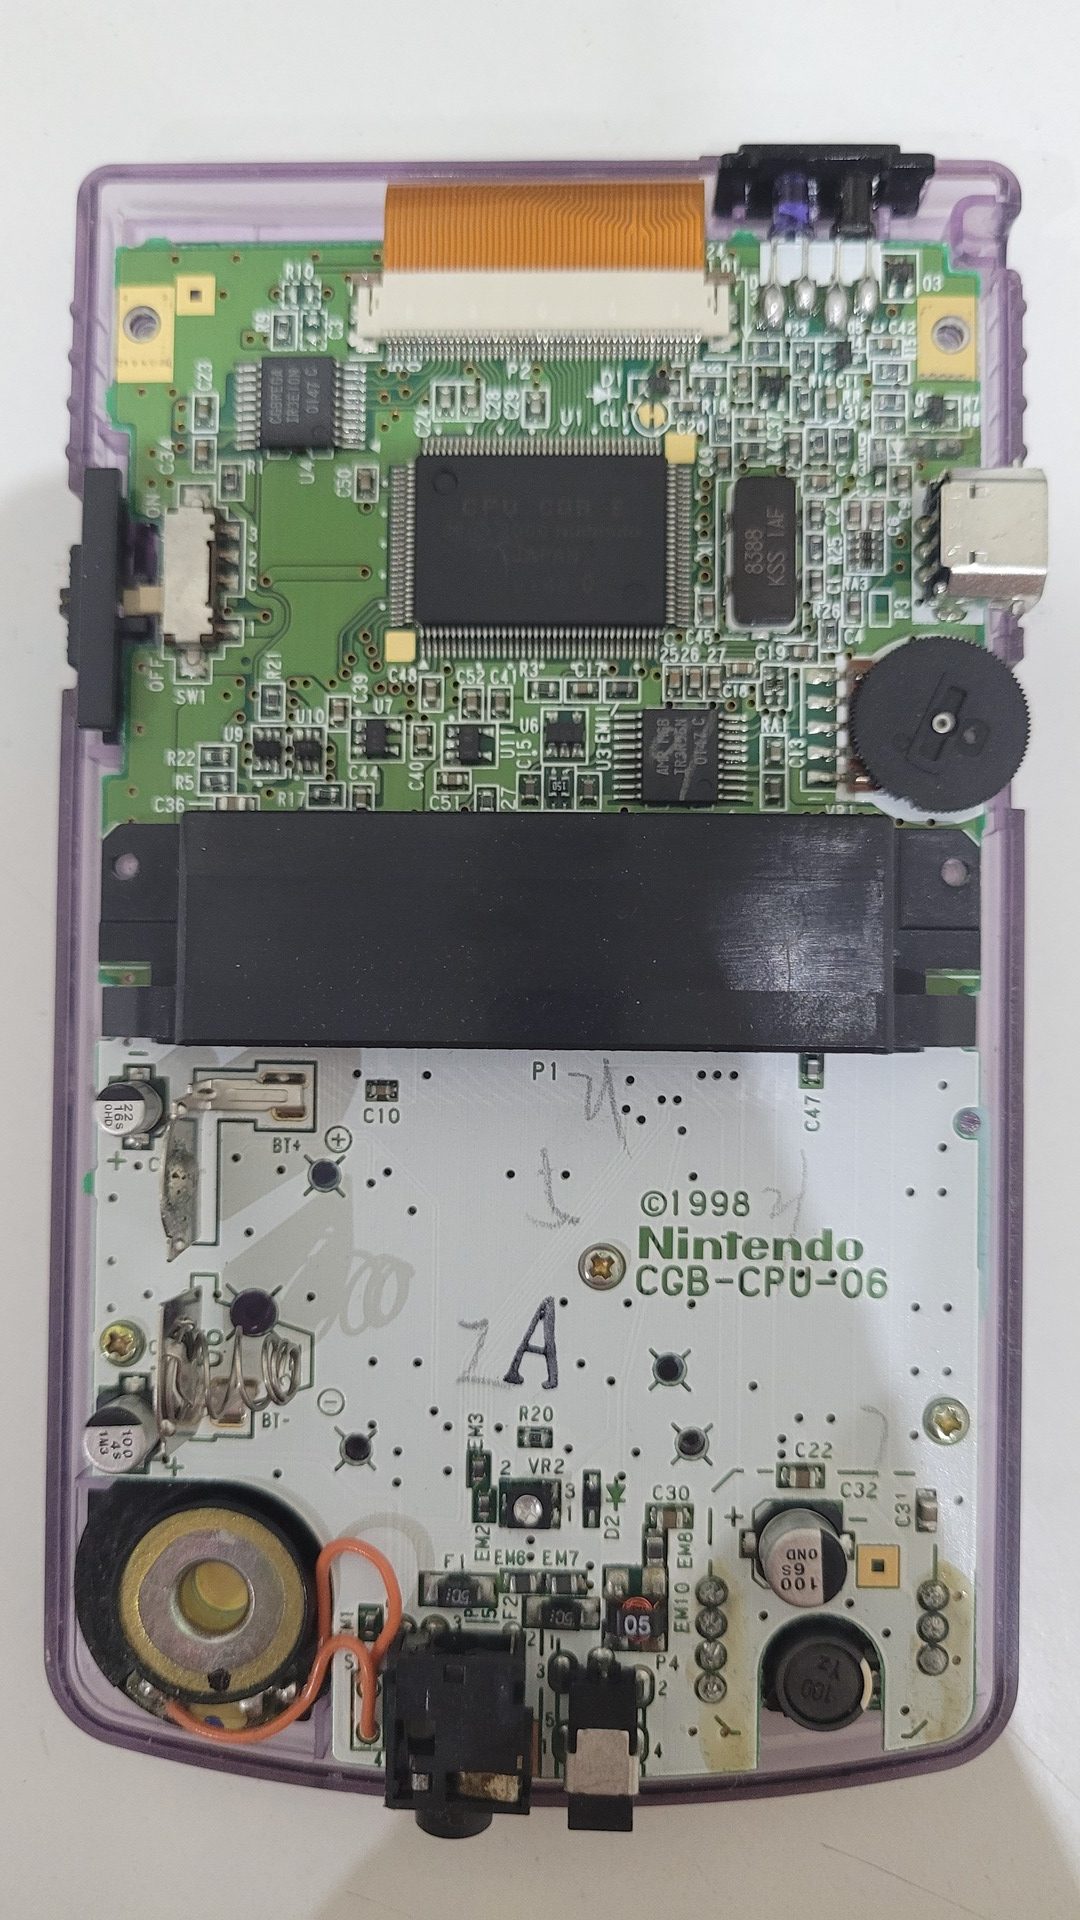
This is the first thing I did : replacing the batteries contactors to test weither the console could work as is. The Game Boy Color is easy to open. You just need a tri-wing screwdriver.
Below is the opened GBC:
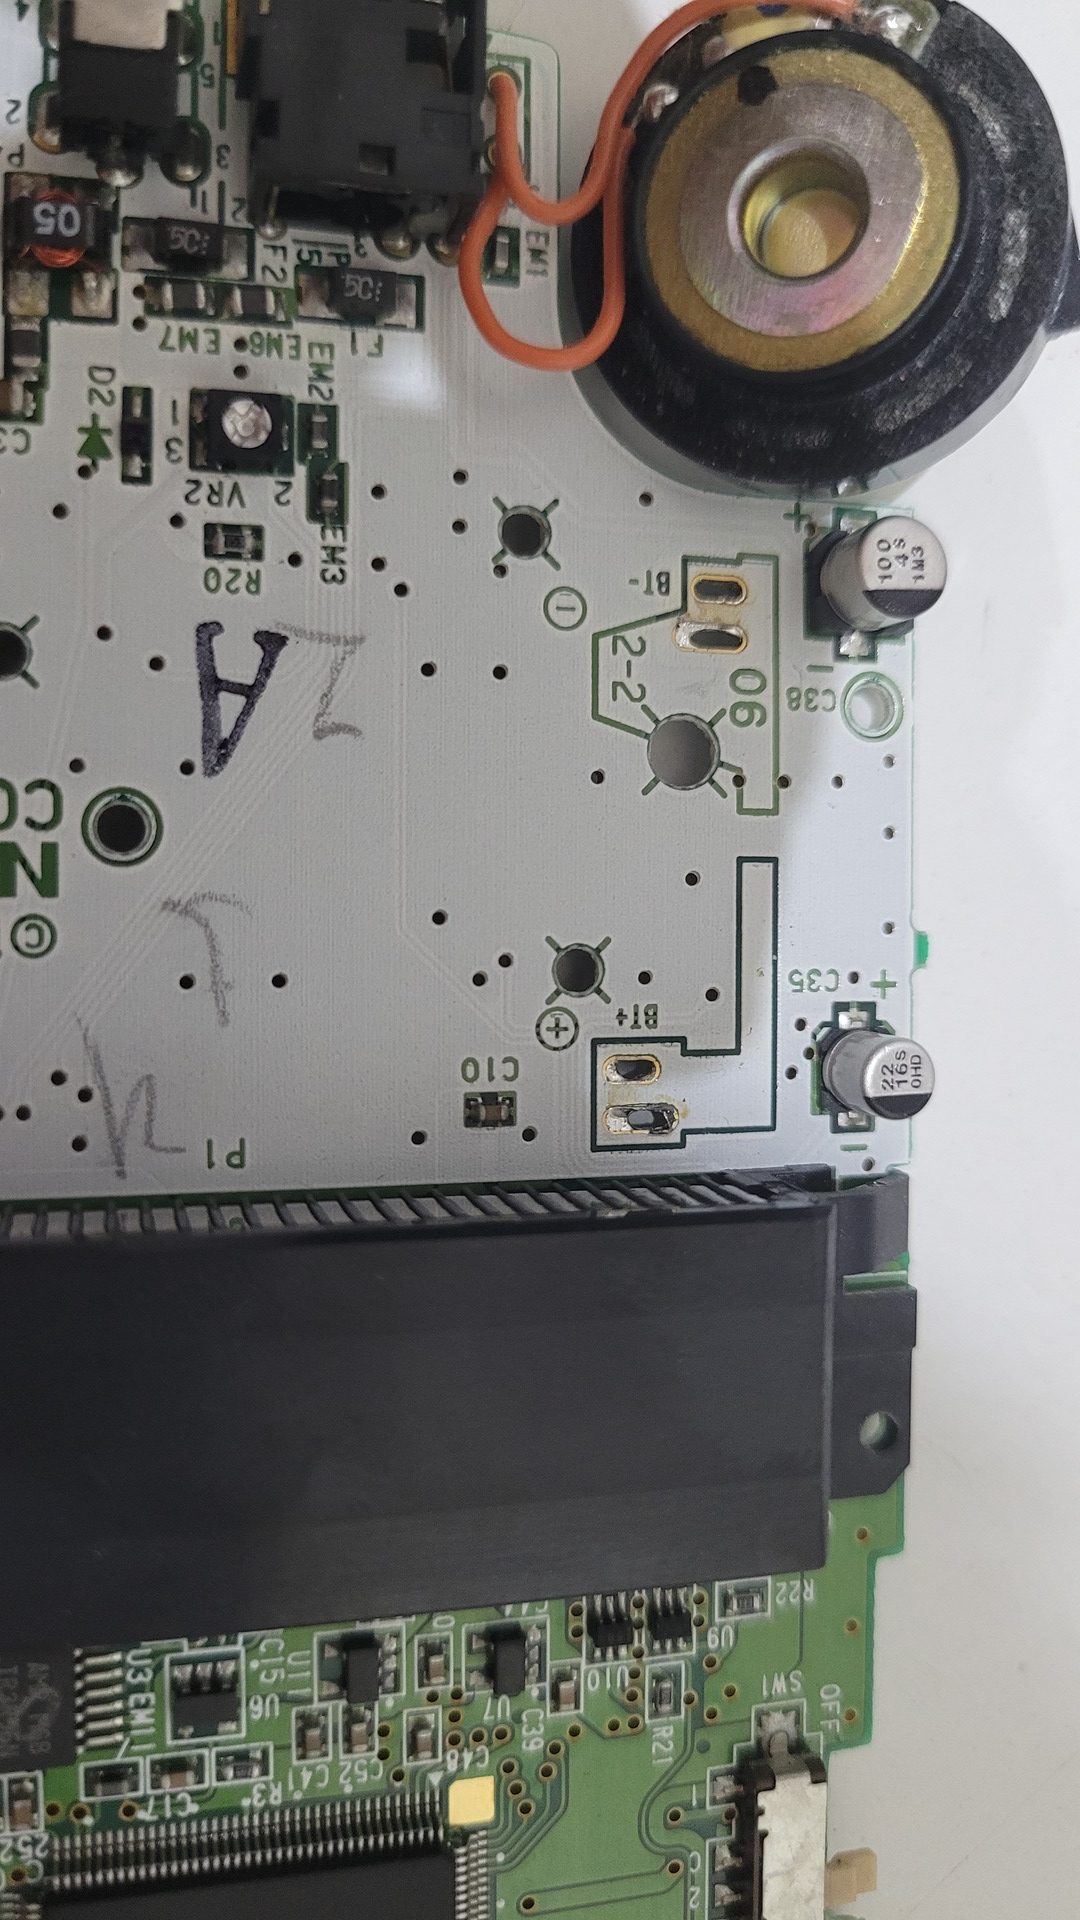
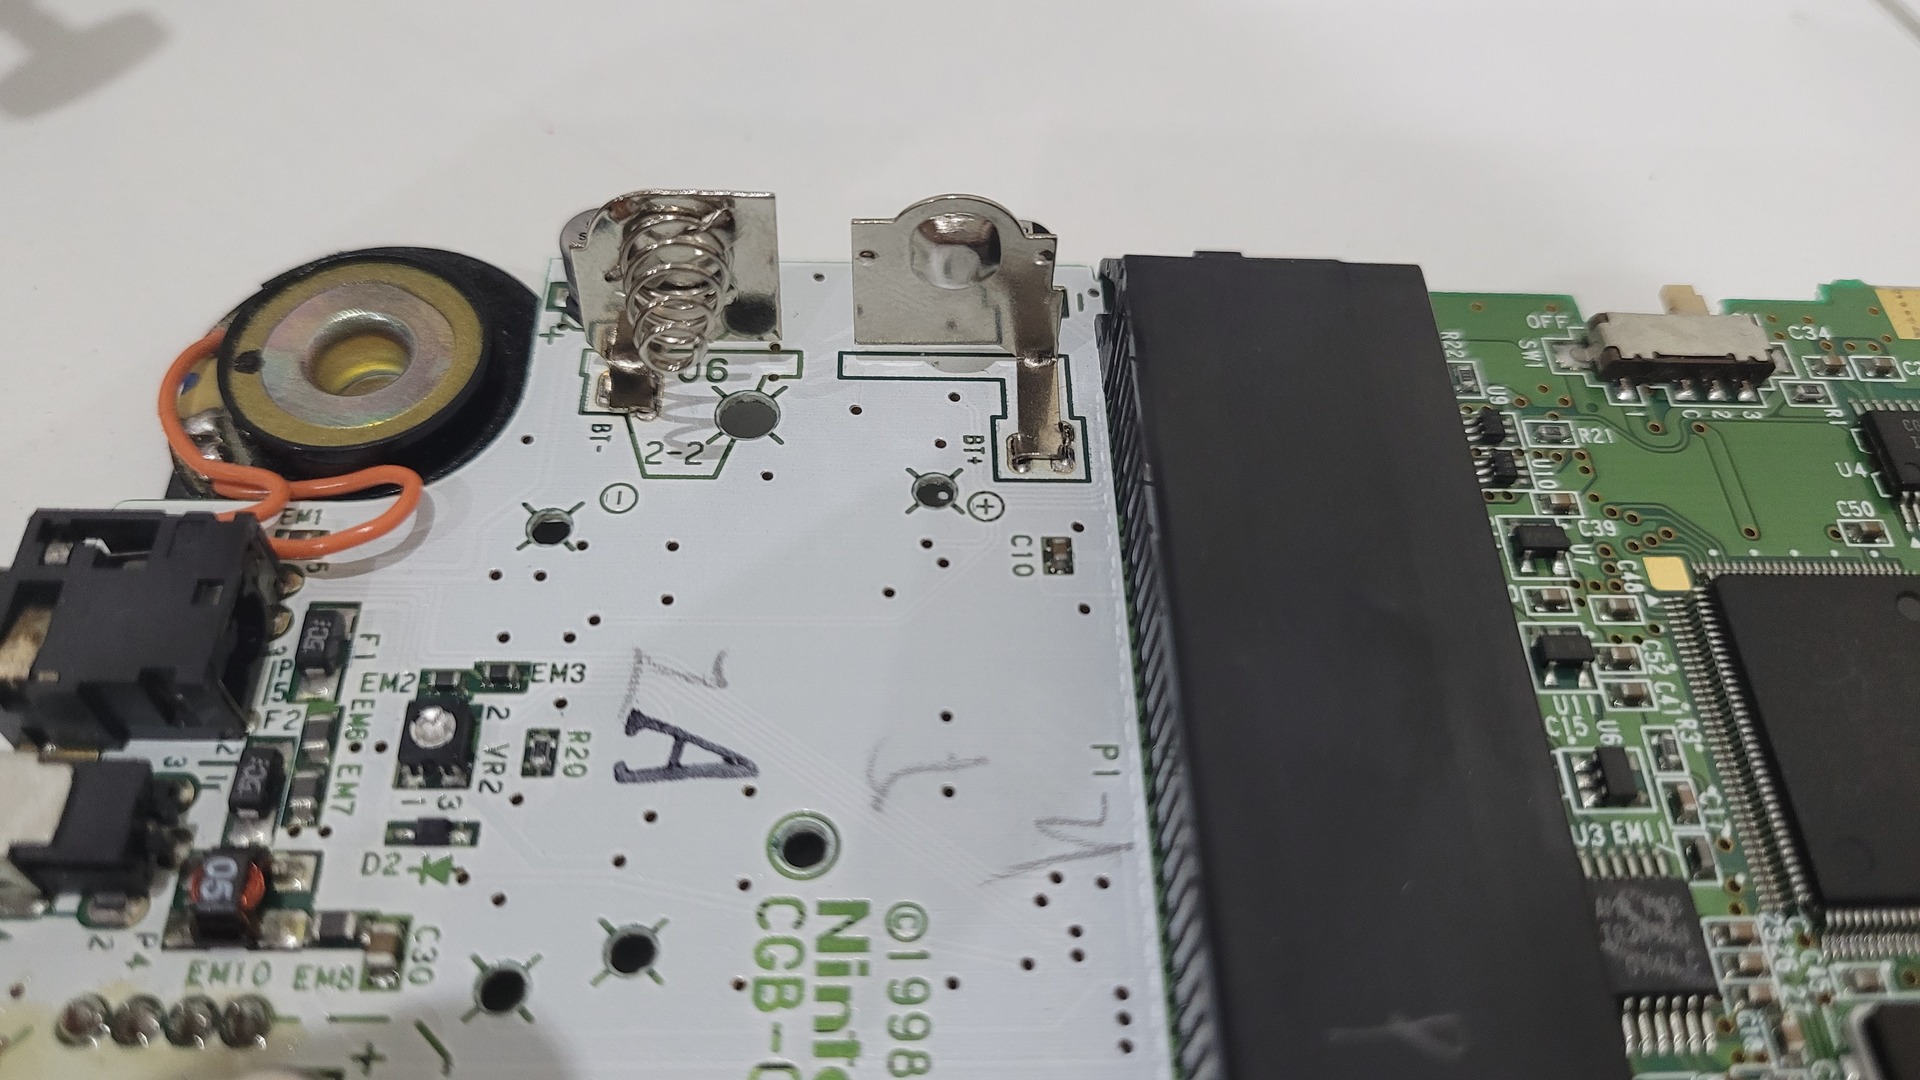
And here is from left to right : the corroded batteries contactors, in ther center the contactors had been removed and the new ones solred on the right photo. Desoldering is easier if you have a large soldering iron pan, because the contactors are pretty large. Fortunately, the console was working after this simple mod.
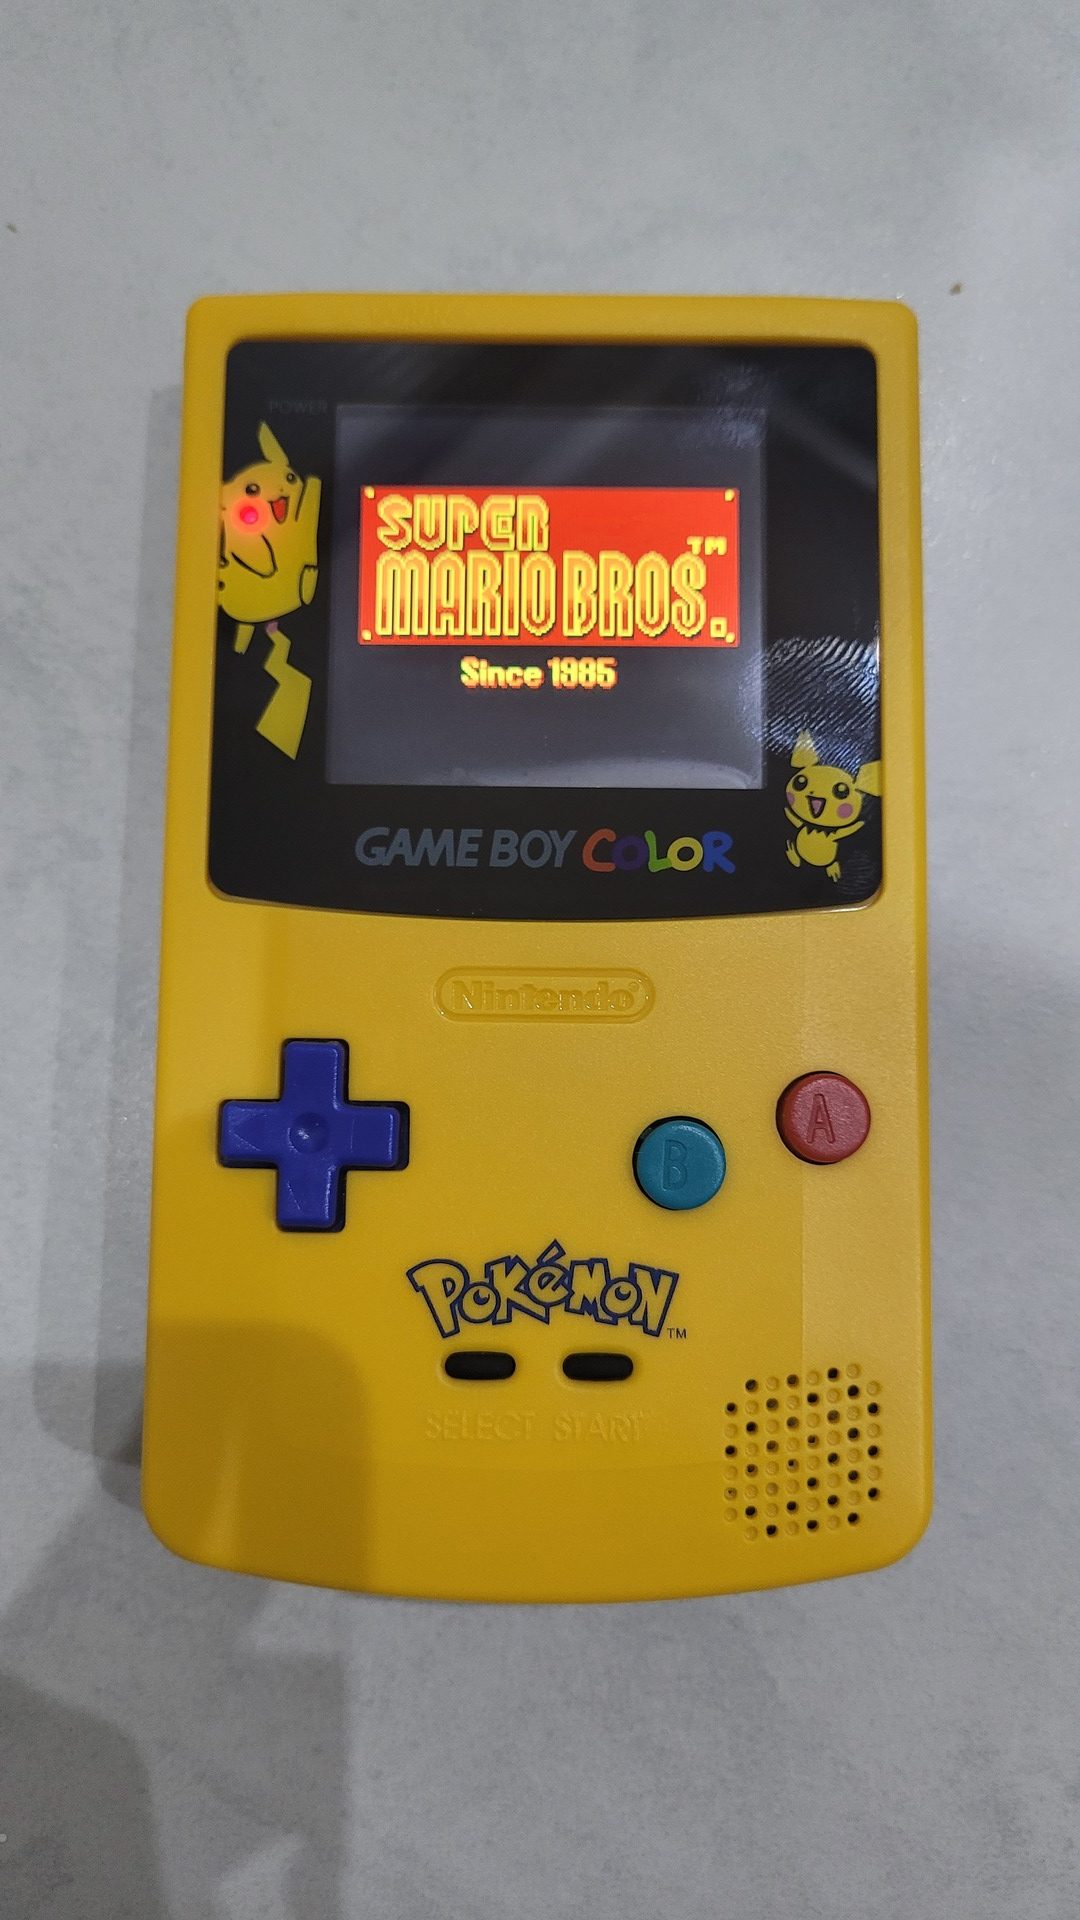
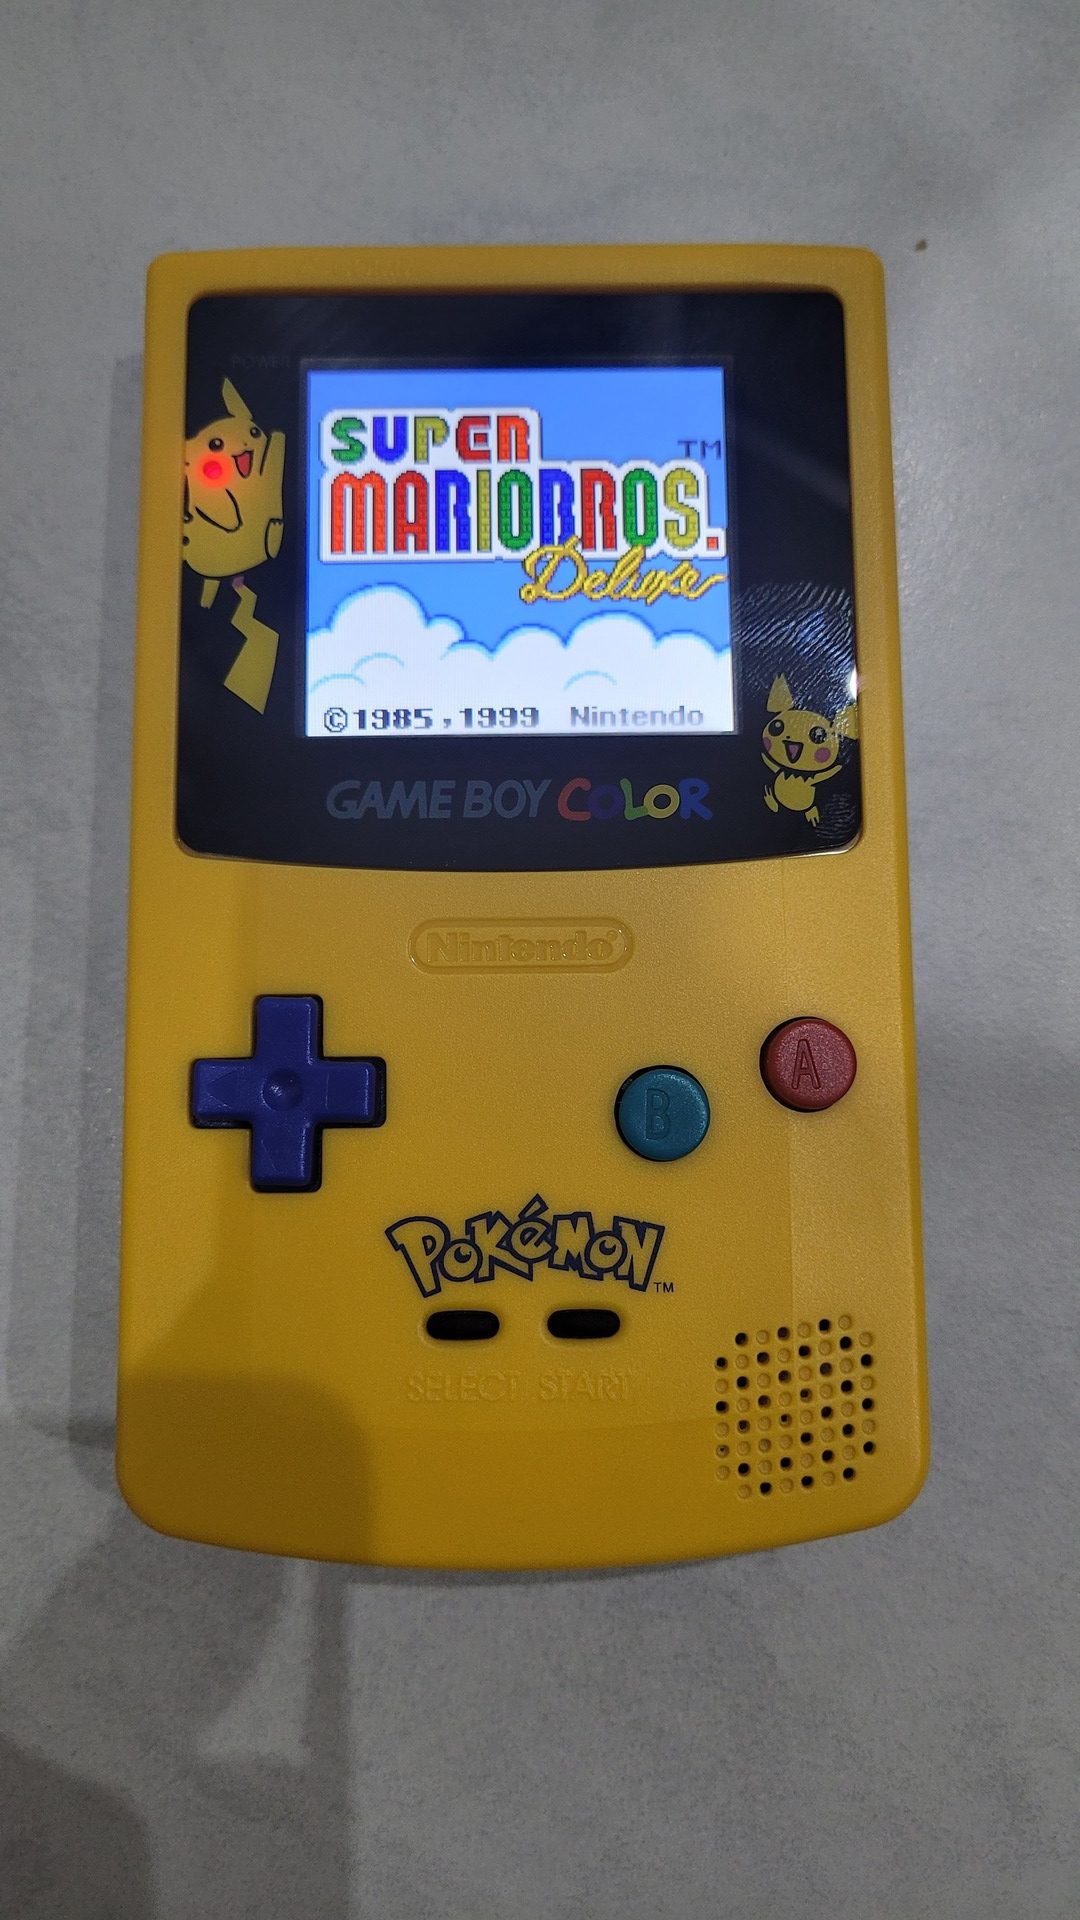
IPS Display in a new shell
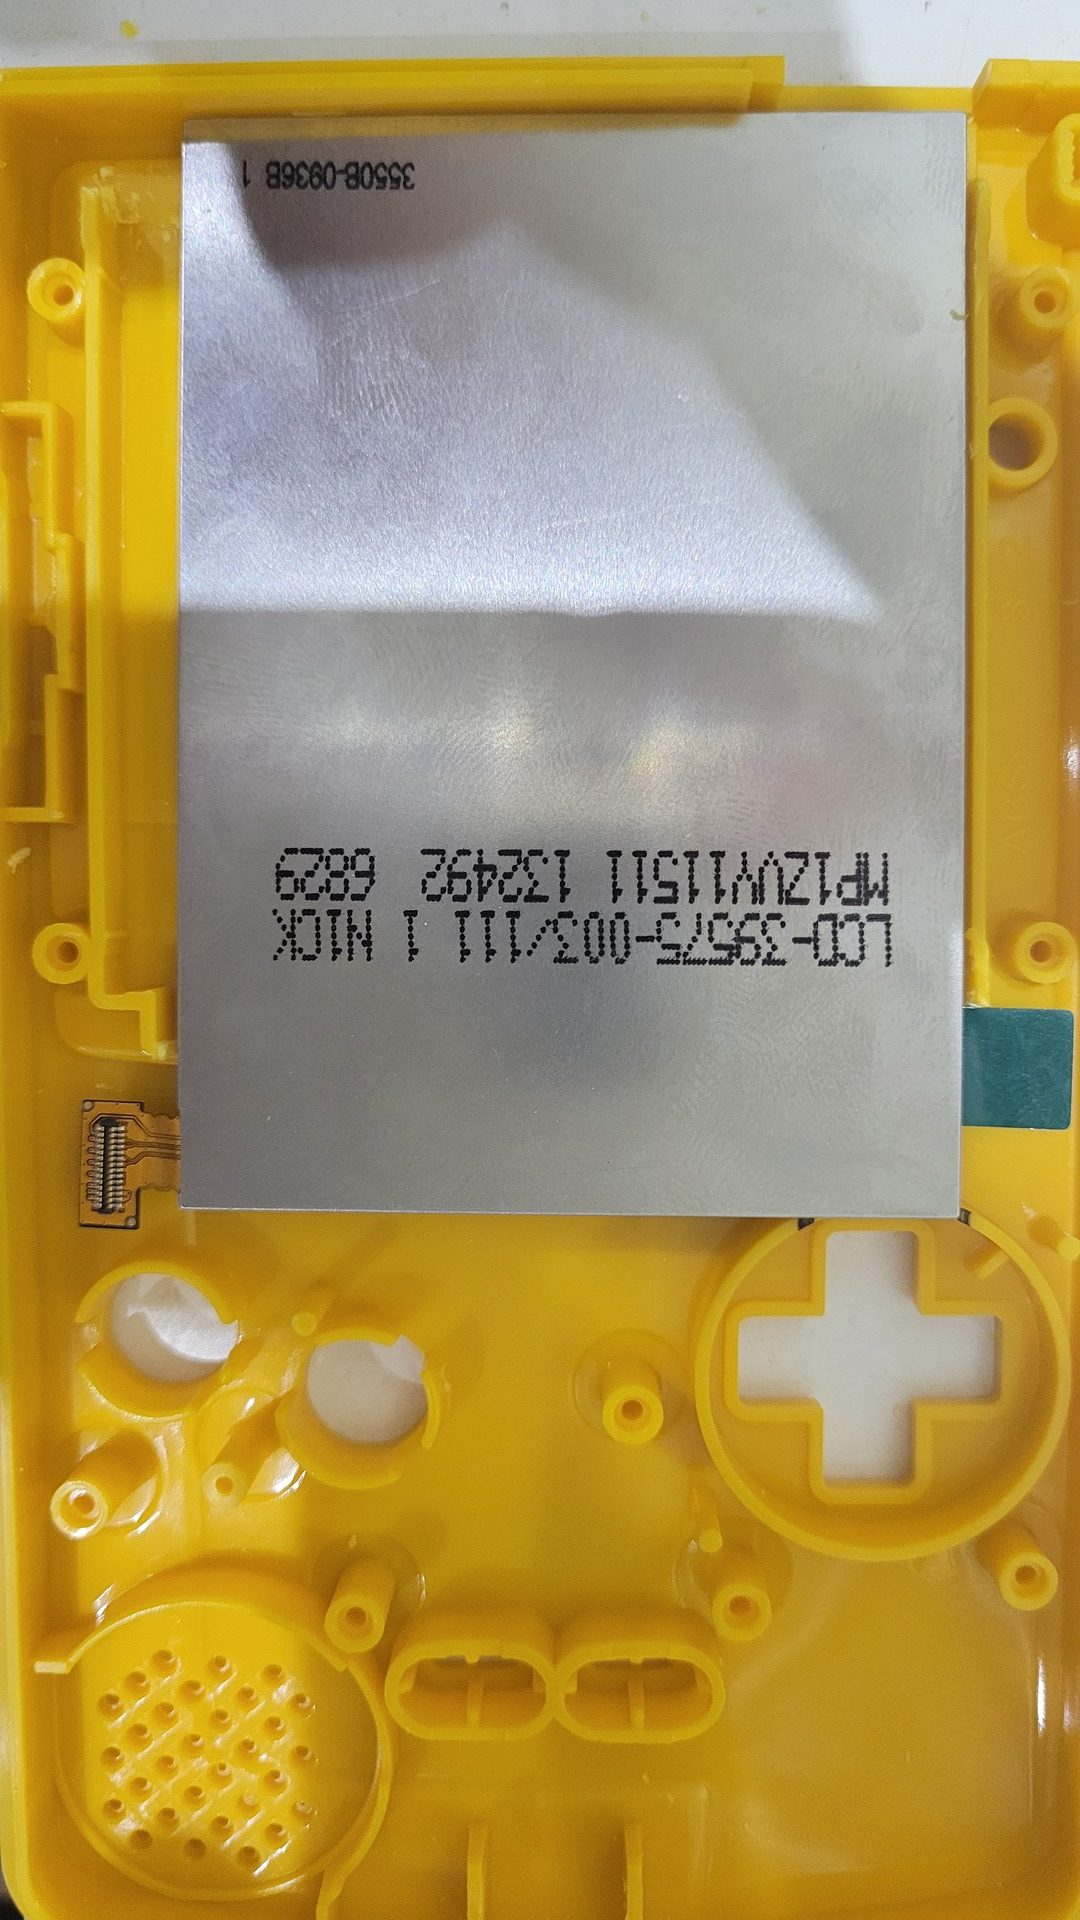
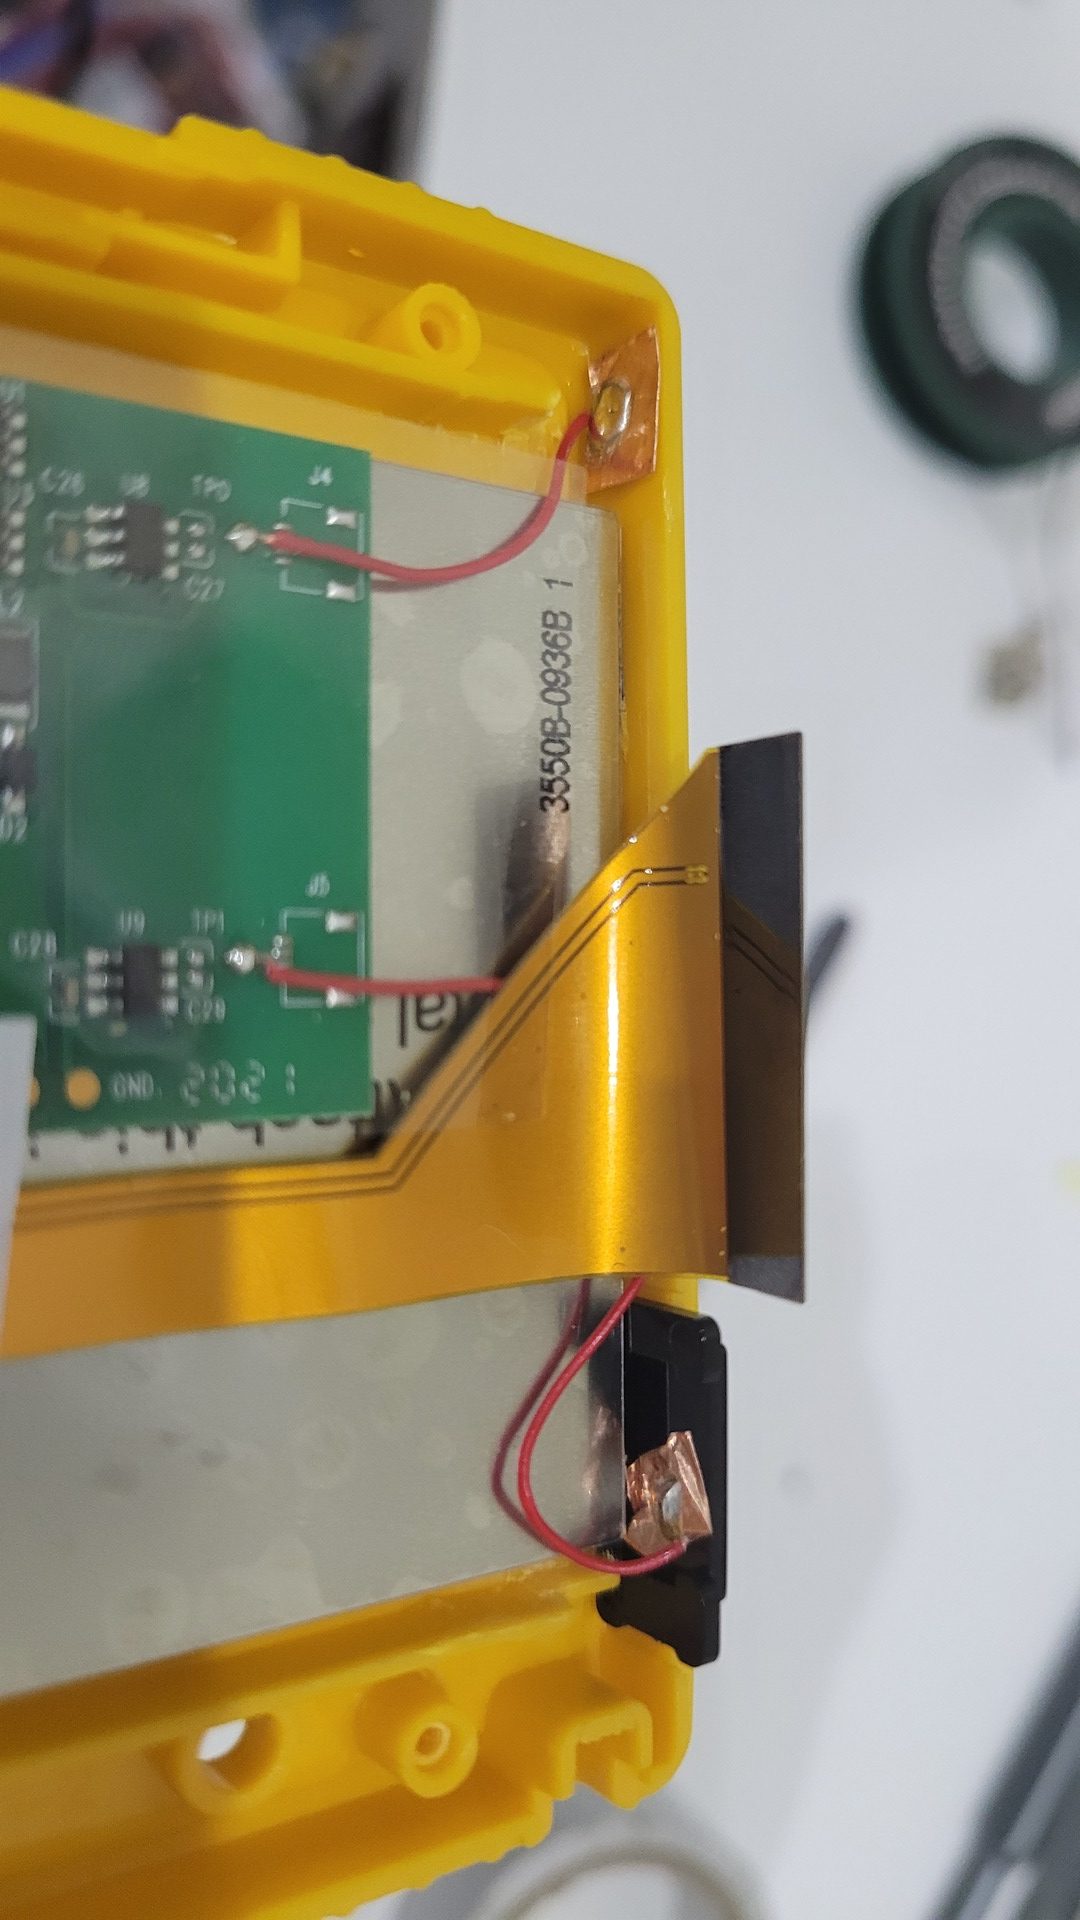
There are multiple IPS or backlit LCD display kits for the Game Boy Color. But at the time I took mine, there where either smaller than the orignal screen or same size but required some shell modifications. In fact, to get the exact same size as the original screen, the display I found use a taller display than needed. It is mounted vertically in the console, thus, the top and bottom part of the original screen bed must be removed (circled in red below).
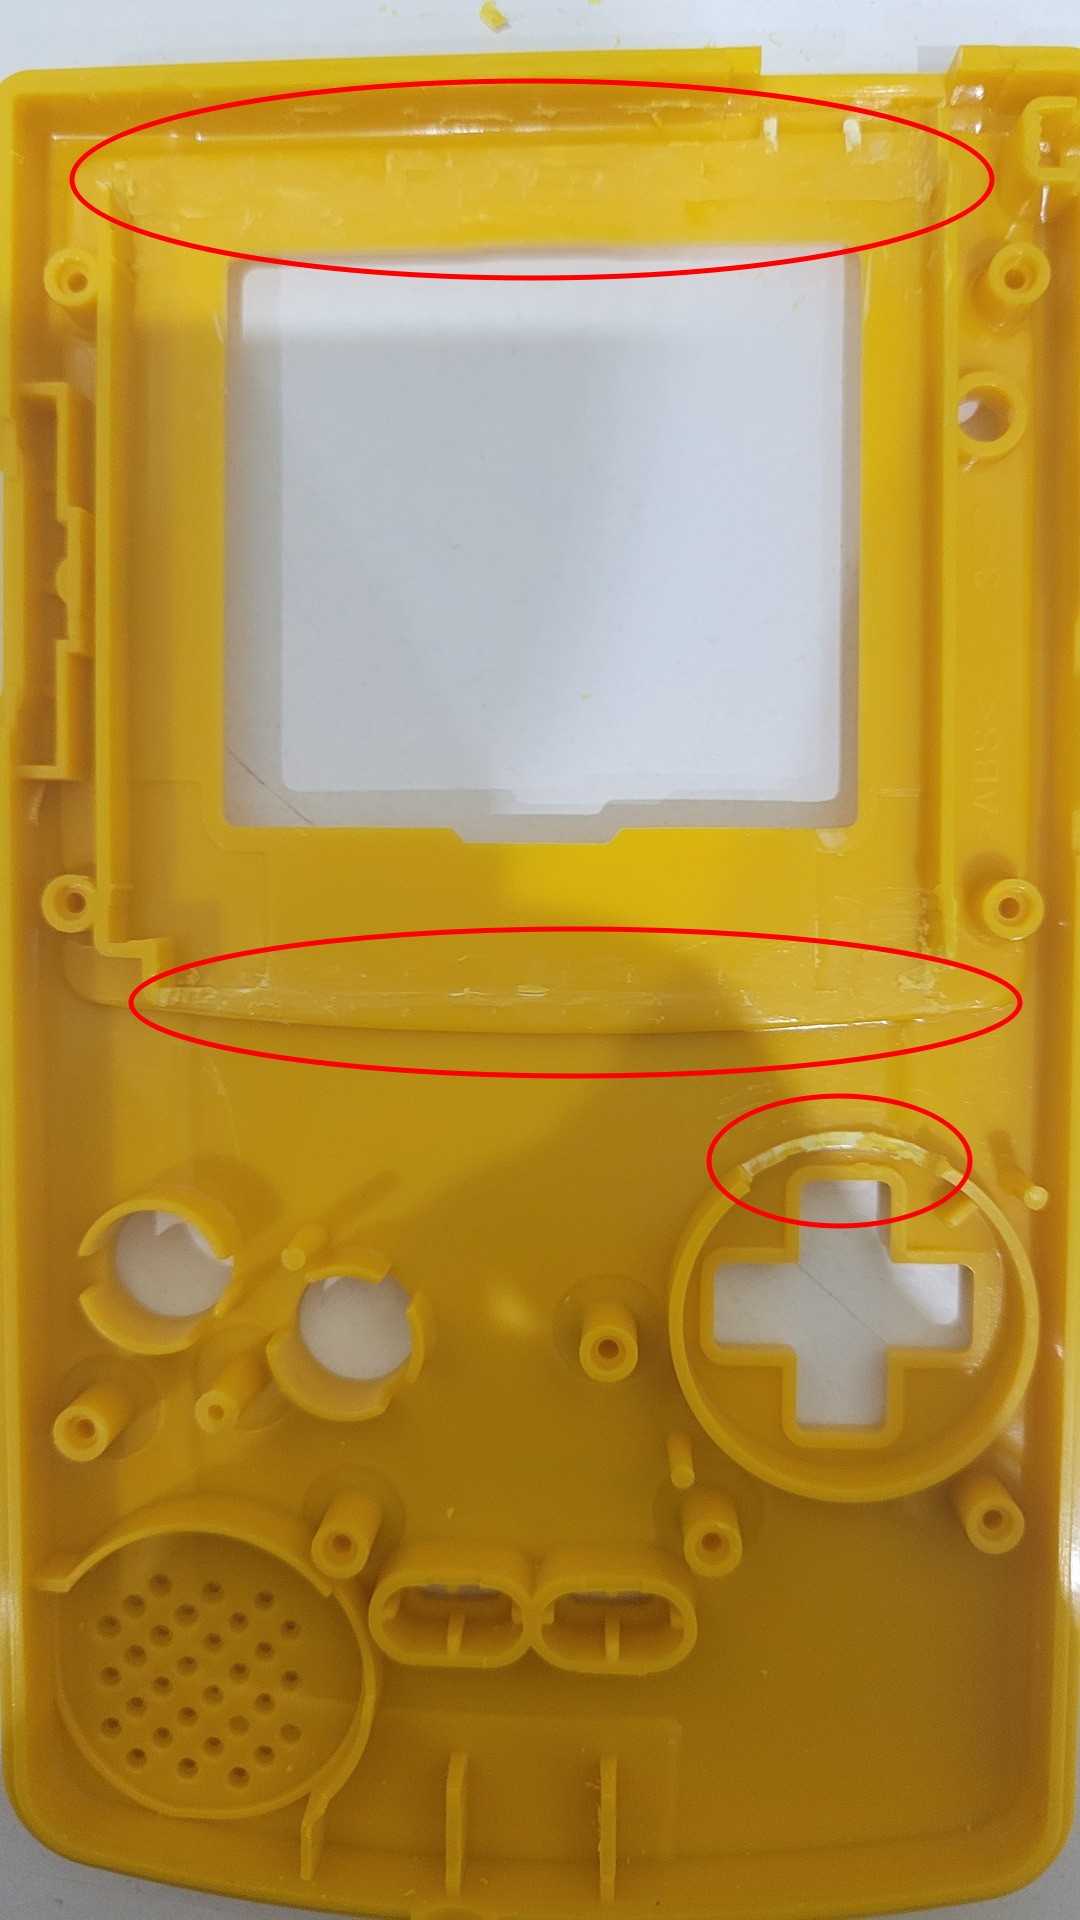
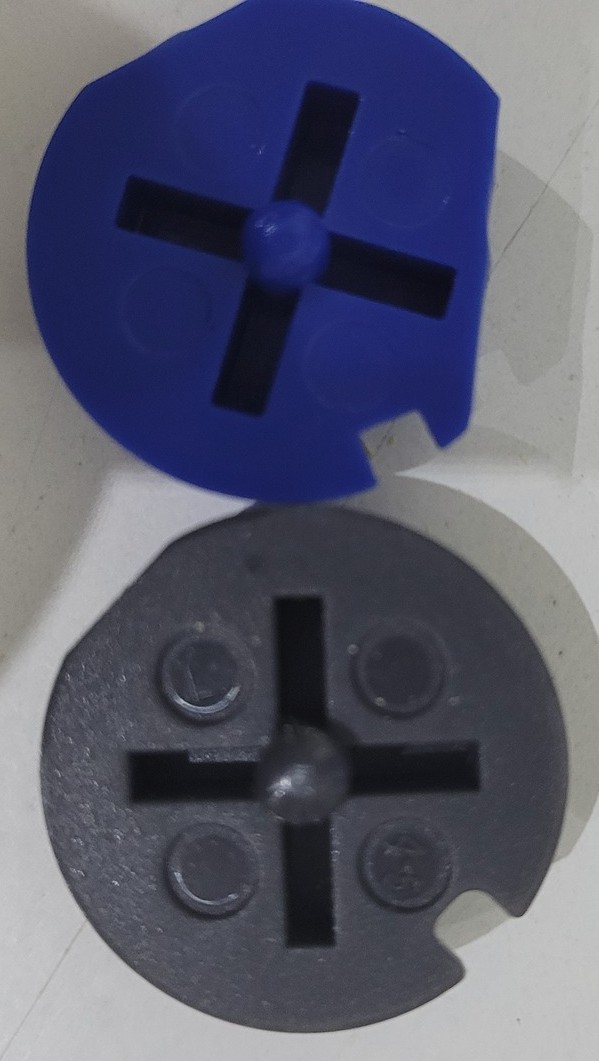
As you can see, the upper part of the D-PAD bed must also be removed, and the D-PAD have also to be be adapted. The gray one it the orignal and the blue is the modified one.
As soon as the display has been correctly aligned (I used some pieces of papers as wedges), I mounted the controler board over the back of the display. The kit provided a small plastic film to isolate the circuit board. As you can see below, I also used some adhesive tape to make the board and ribbon cable stay in place during the remount phase.
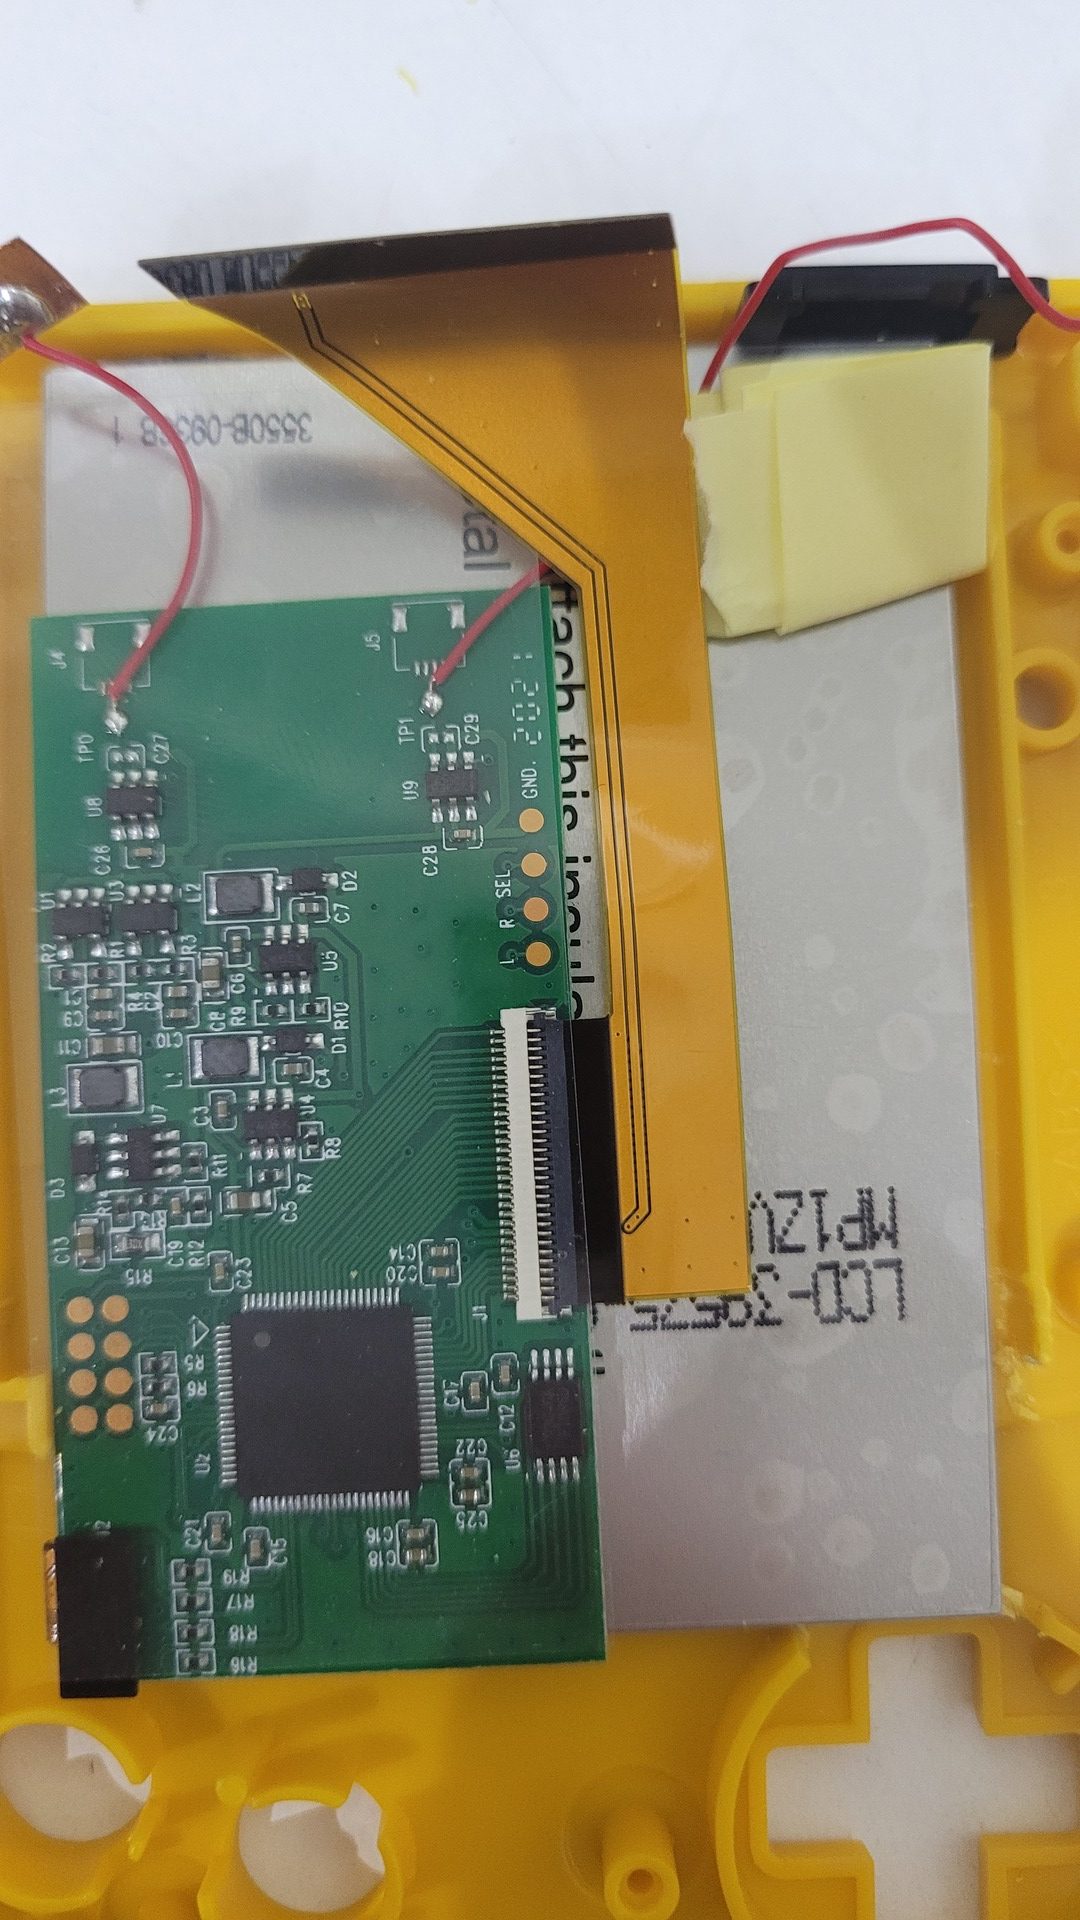
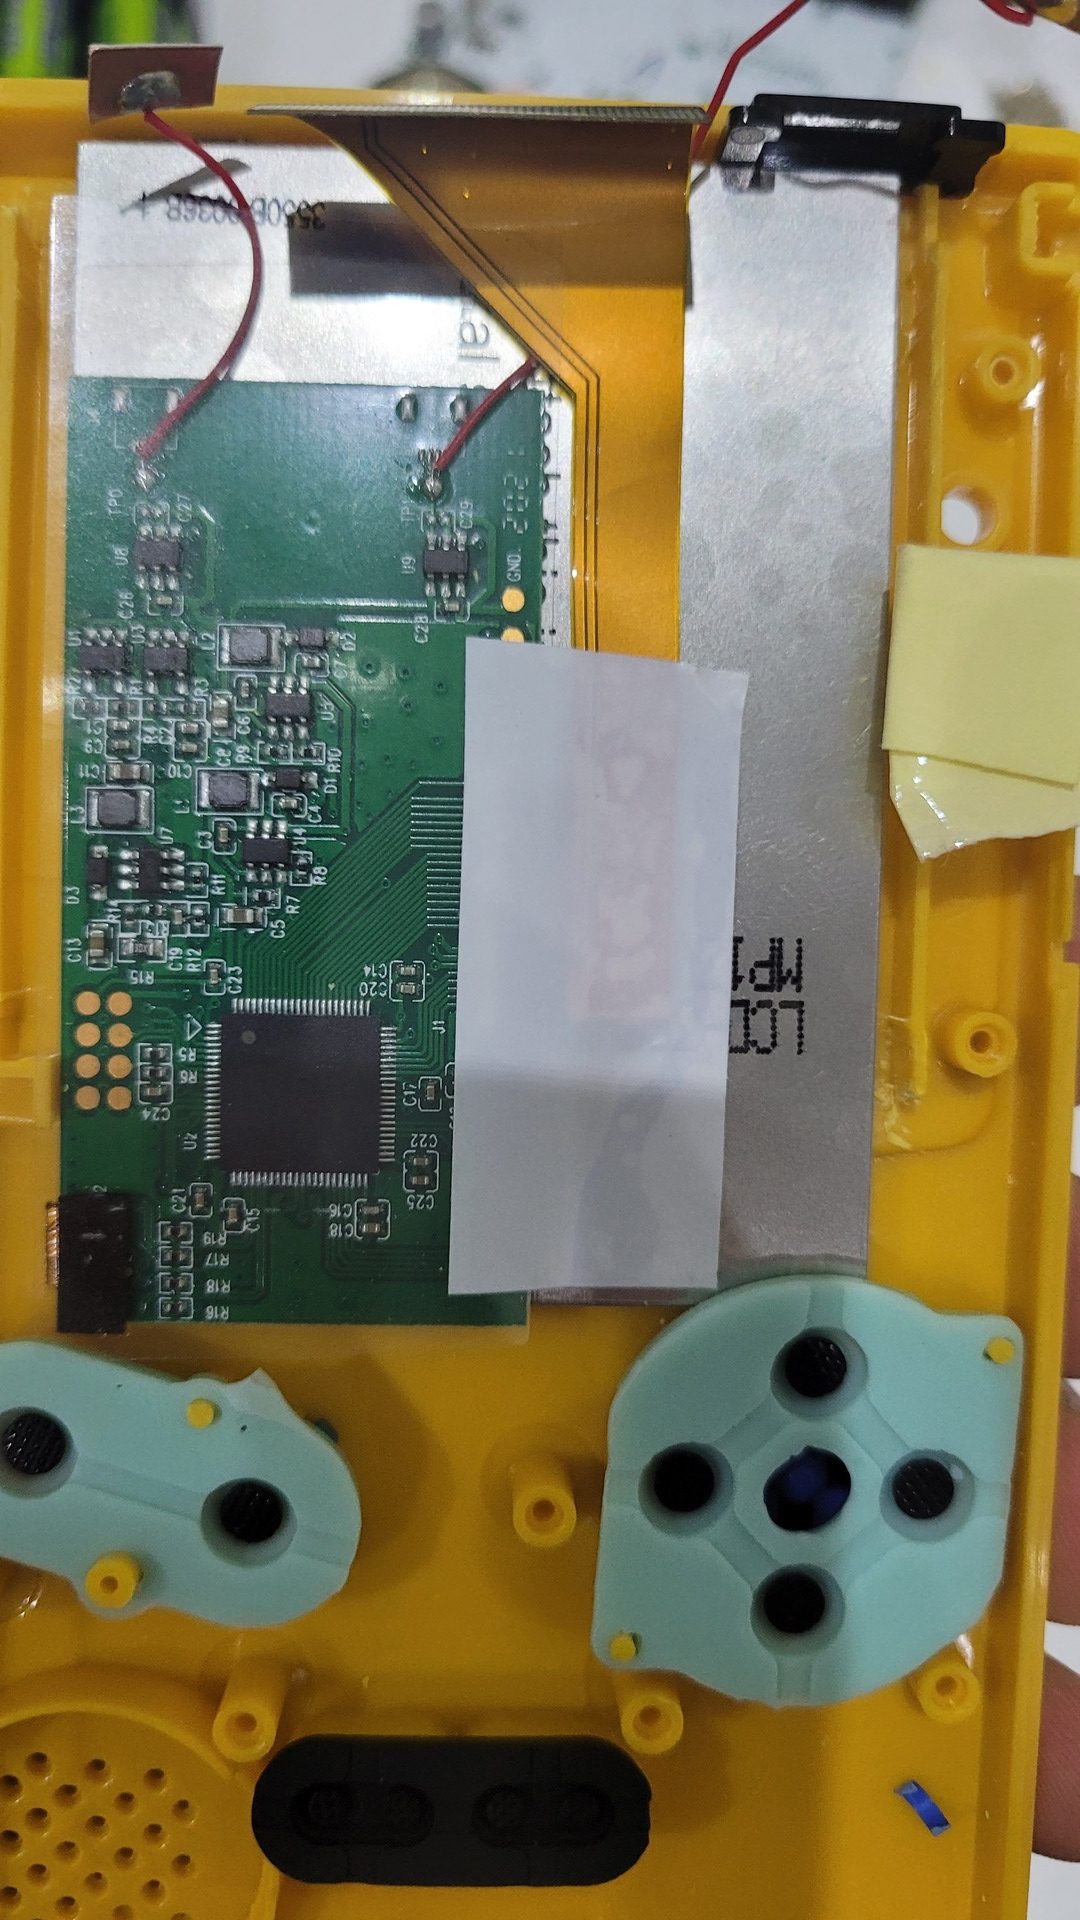
The kit also comes with two already soldered touch pads that should be attached to the upper inner part of the bottom shell. They have some adhesive to stay in place. Theses touch pads allow to change brighness and color scheme for monochrome games. As you can see, one of the touch pad is placed on the IR led window. You may want to place it elsewhere if you plan to use IR features (really ?).
Finaly, I remounted the motherboard and connected the new display like the old one.
Before / after