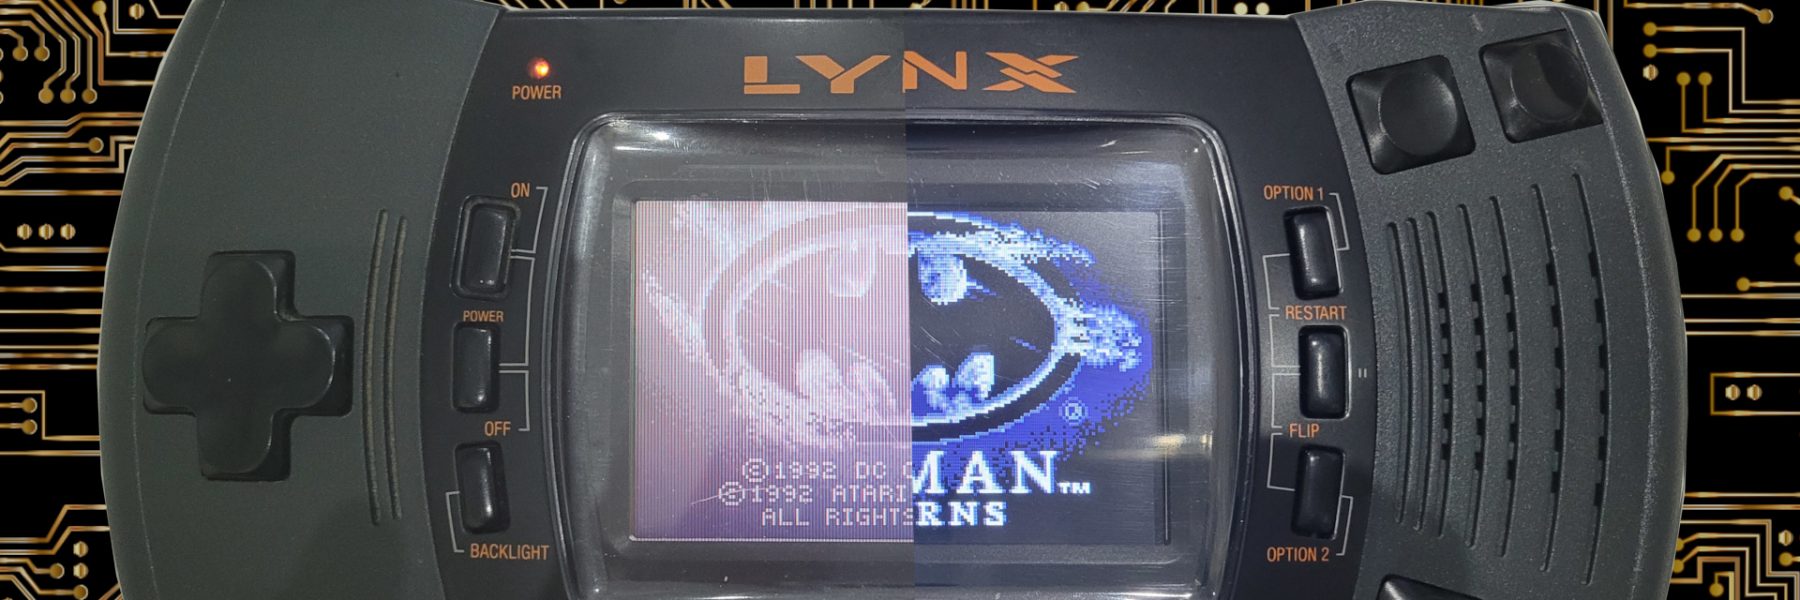
As you probably know, the Atari Lynx is the world first color handheld console. Back in 1989, when the console was released, LCD technology was not as mature and not as cheap as today. The original Atari Lynx display is not only barely visible with still images, but has also a terrible ghosting effect, like other handheld consoles of its generation. Fortunately, the screen can be replaced by a brand new one which offers a very crisp display, no ghosting and it is a drop-in replacement ! Cherry on the cake, the mod is pretty easy to do. Ok, there is a (major ?) drawback : this new screen is pretty expensive.
This is the story of my modded Atari Lynx 2. A detailed guide can be found on Atari Gamer website
Needed materials
- An Atari lynx 2 console (a screen exists for the first model too)
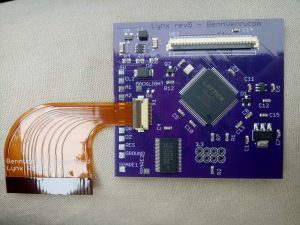
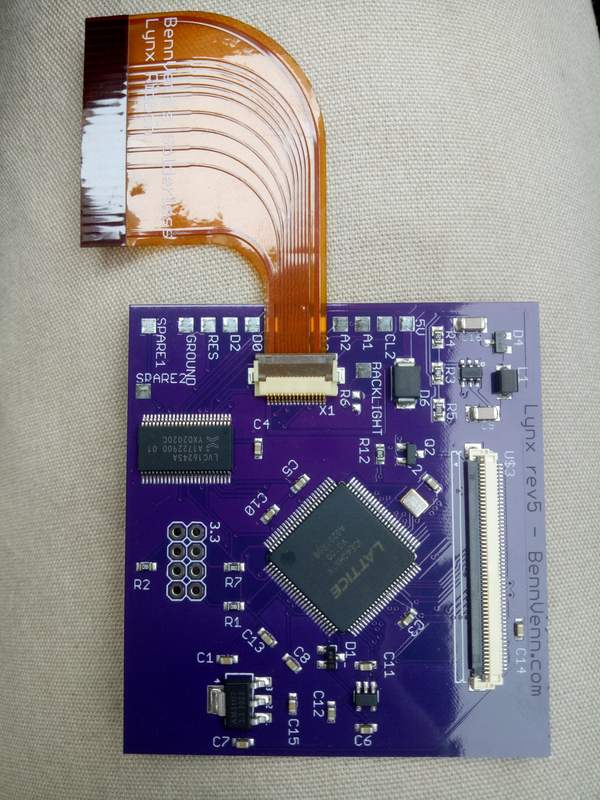
- A Bennvenn solderless drop-in LCD kit
- A soldering iron together with some solder wire and a thin wire (optional but I highly recommend it)
Prepare the console
Open the console and remove the motherboard
Unlike today’s smartphone, the Atari Lynx 2 is really easy to dismount. All parts are just screwed. It’s clear that back in 90′, the hardware was made to be repairable 😉
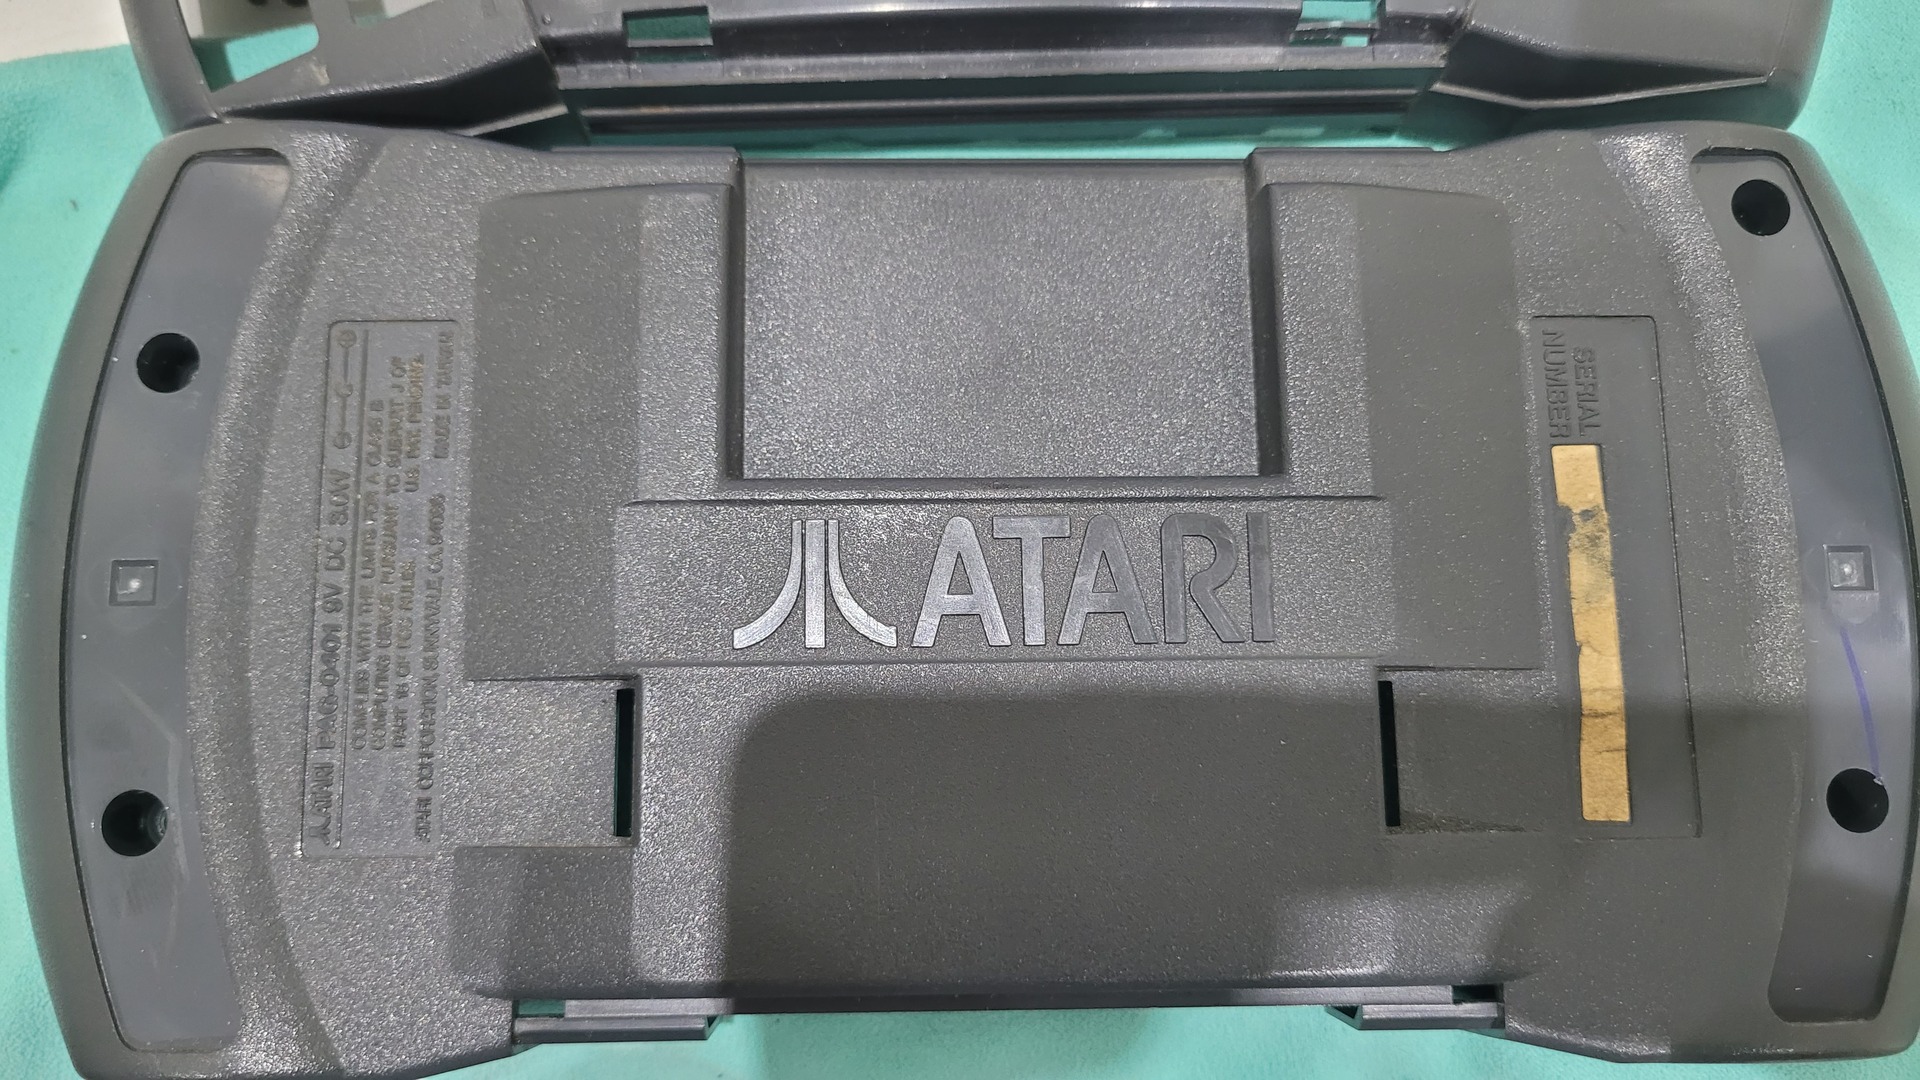
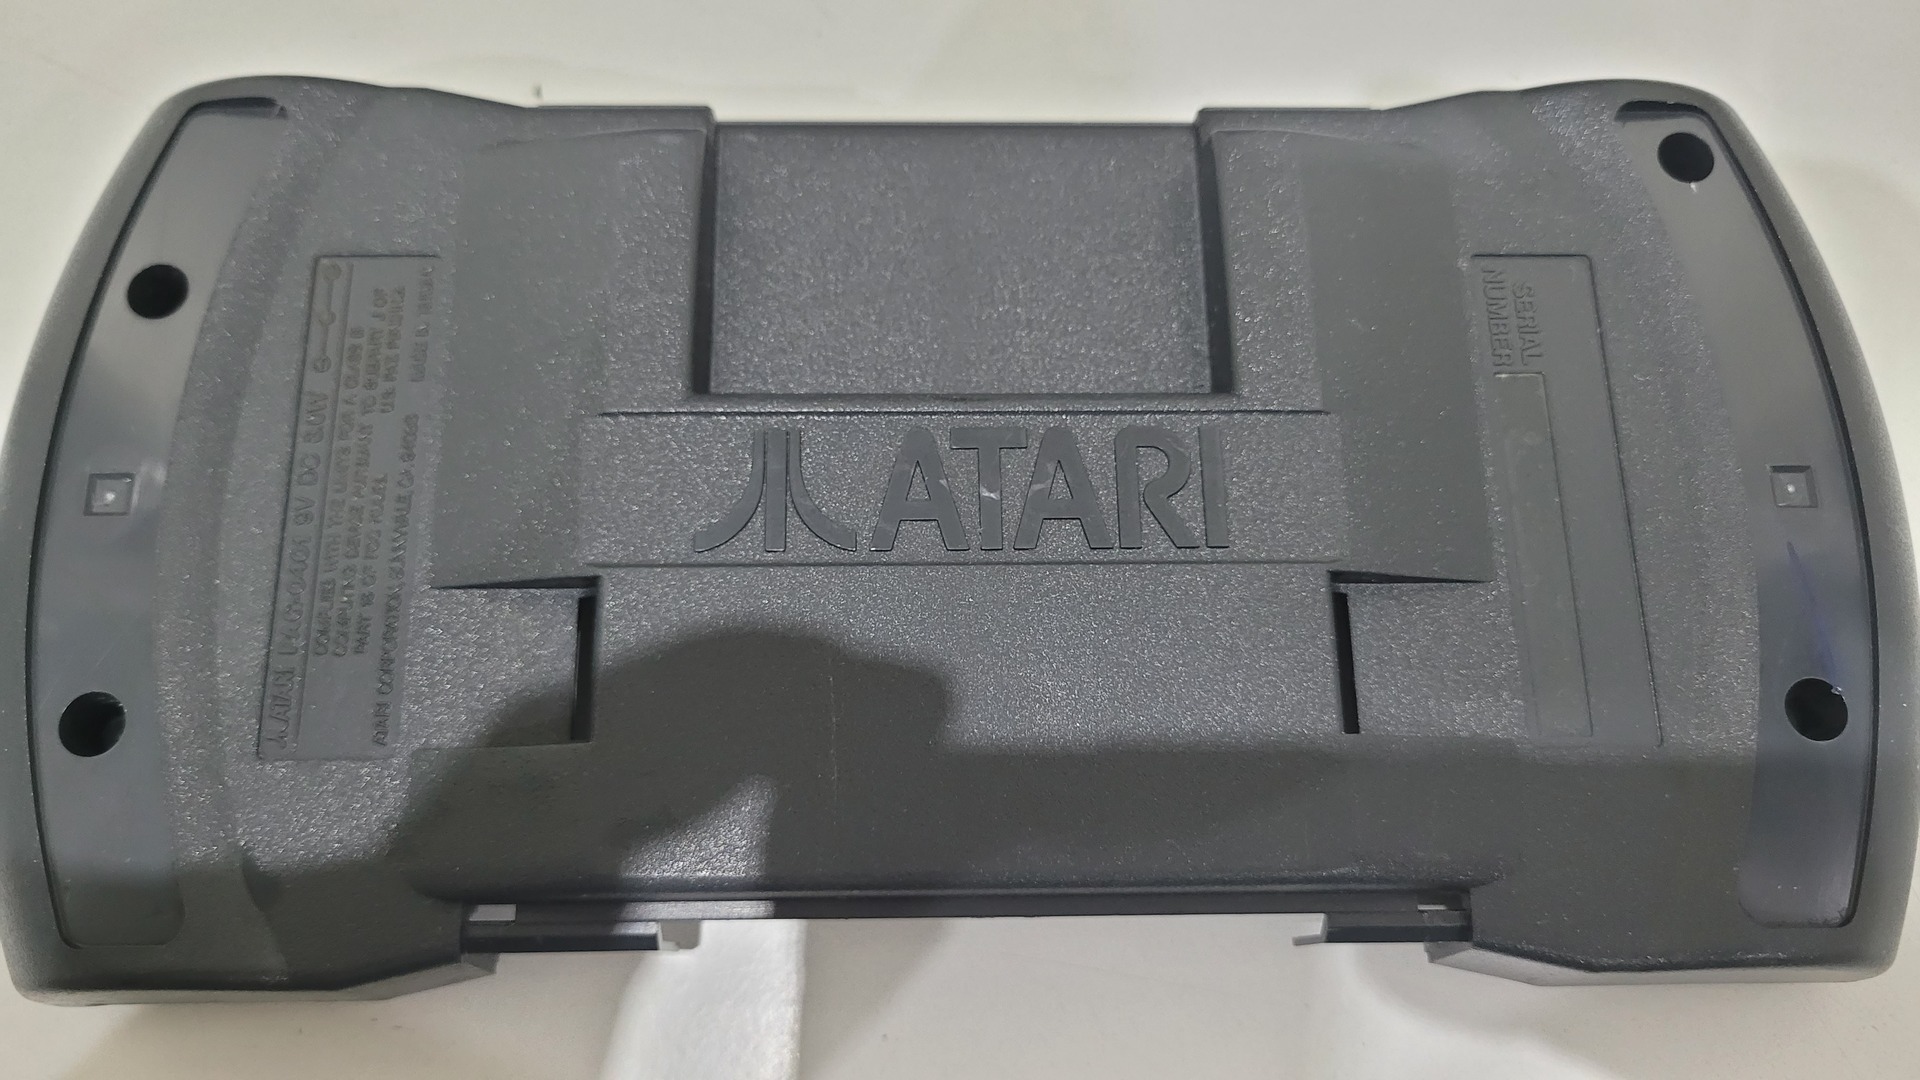
They are 4 screews to remove from the back of the console:
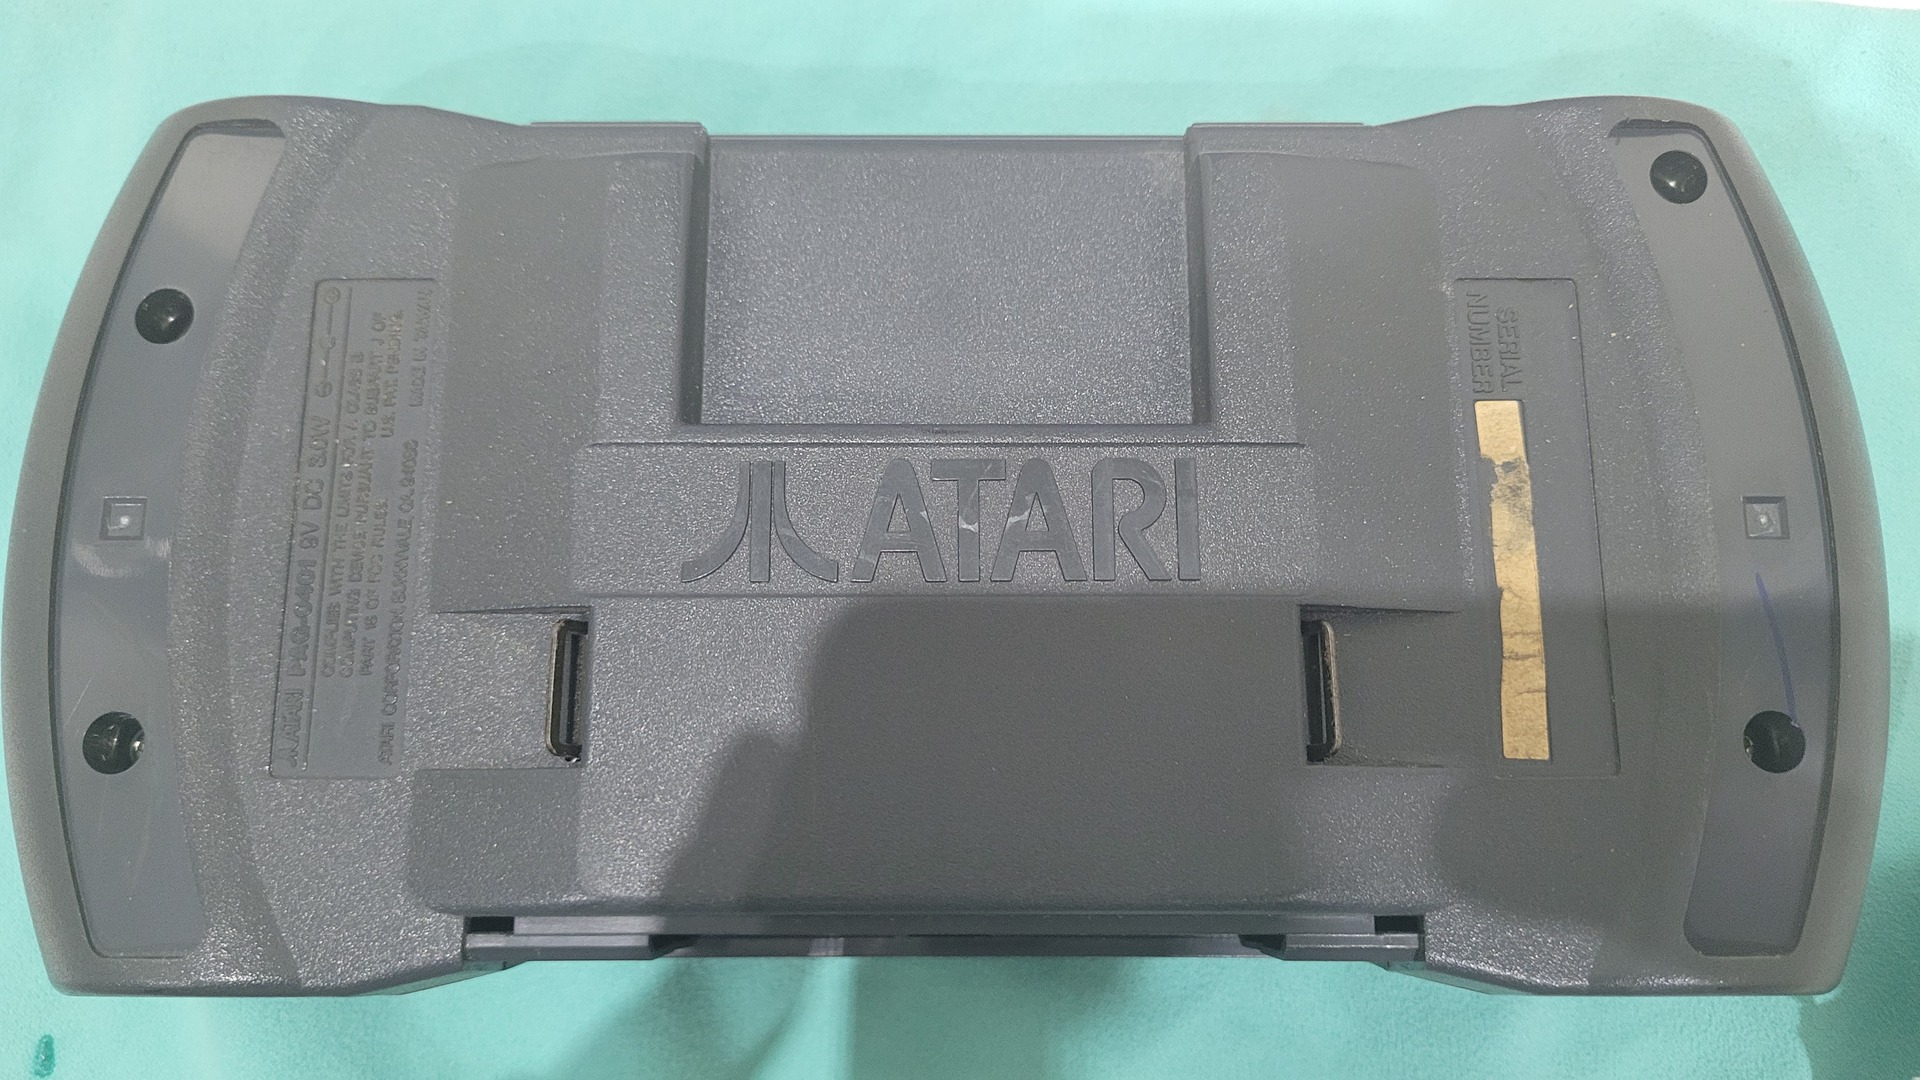
After removing the back cover, the battery holder has to be removed too. It is fixed with one screw on the center:
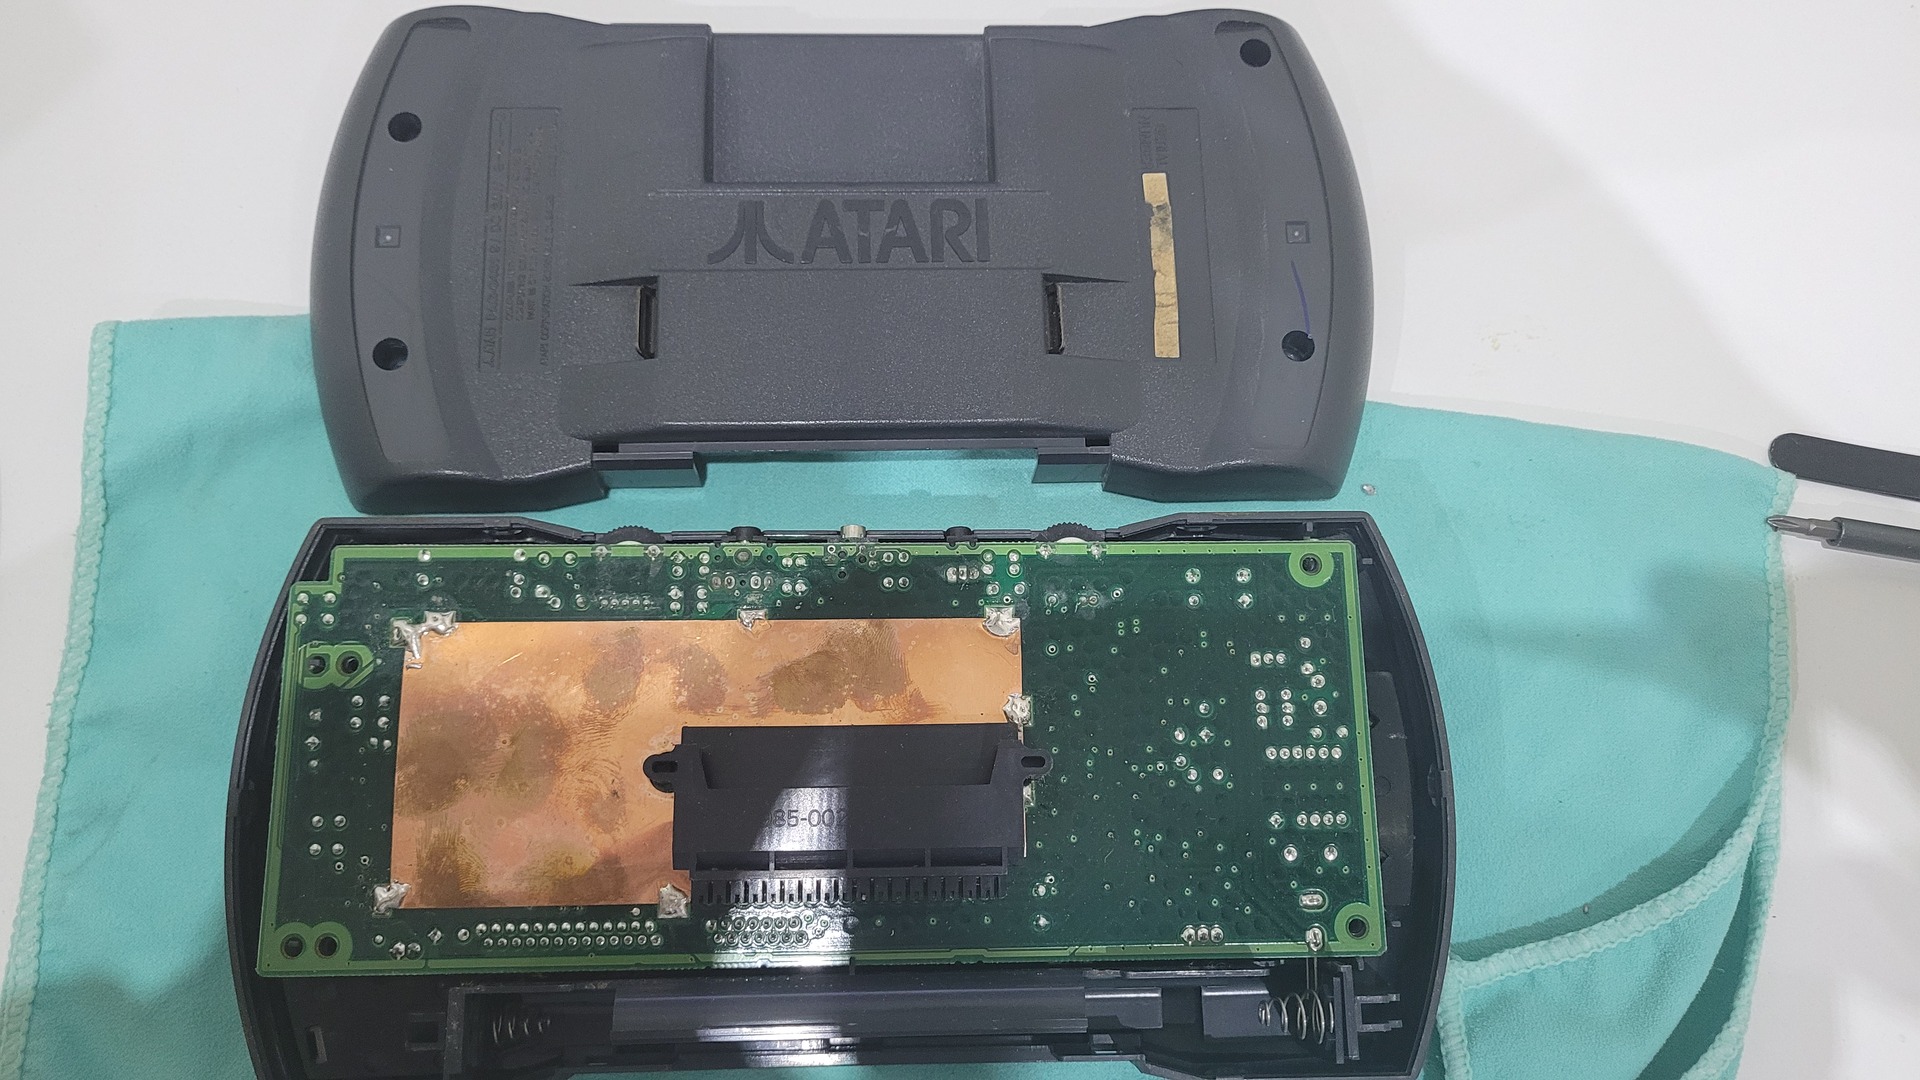

With the battery holder removed, we can see some ribbon cables attached to the motherboards (these are for the controls and the display). Before removing them, unscrew the mother board.
The ribbon clip must be unlocked by gently pushing each side of the connector in the opposite side of the motherboard. There is also the speaker connector to unplug (brown connector on the right of the following photo).
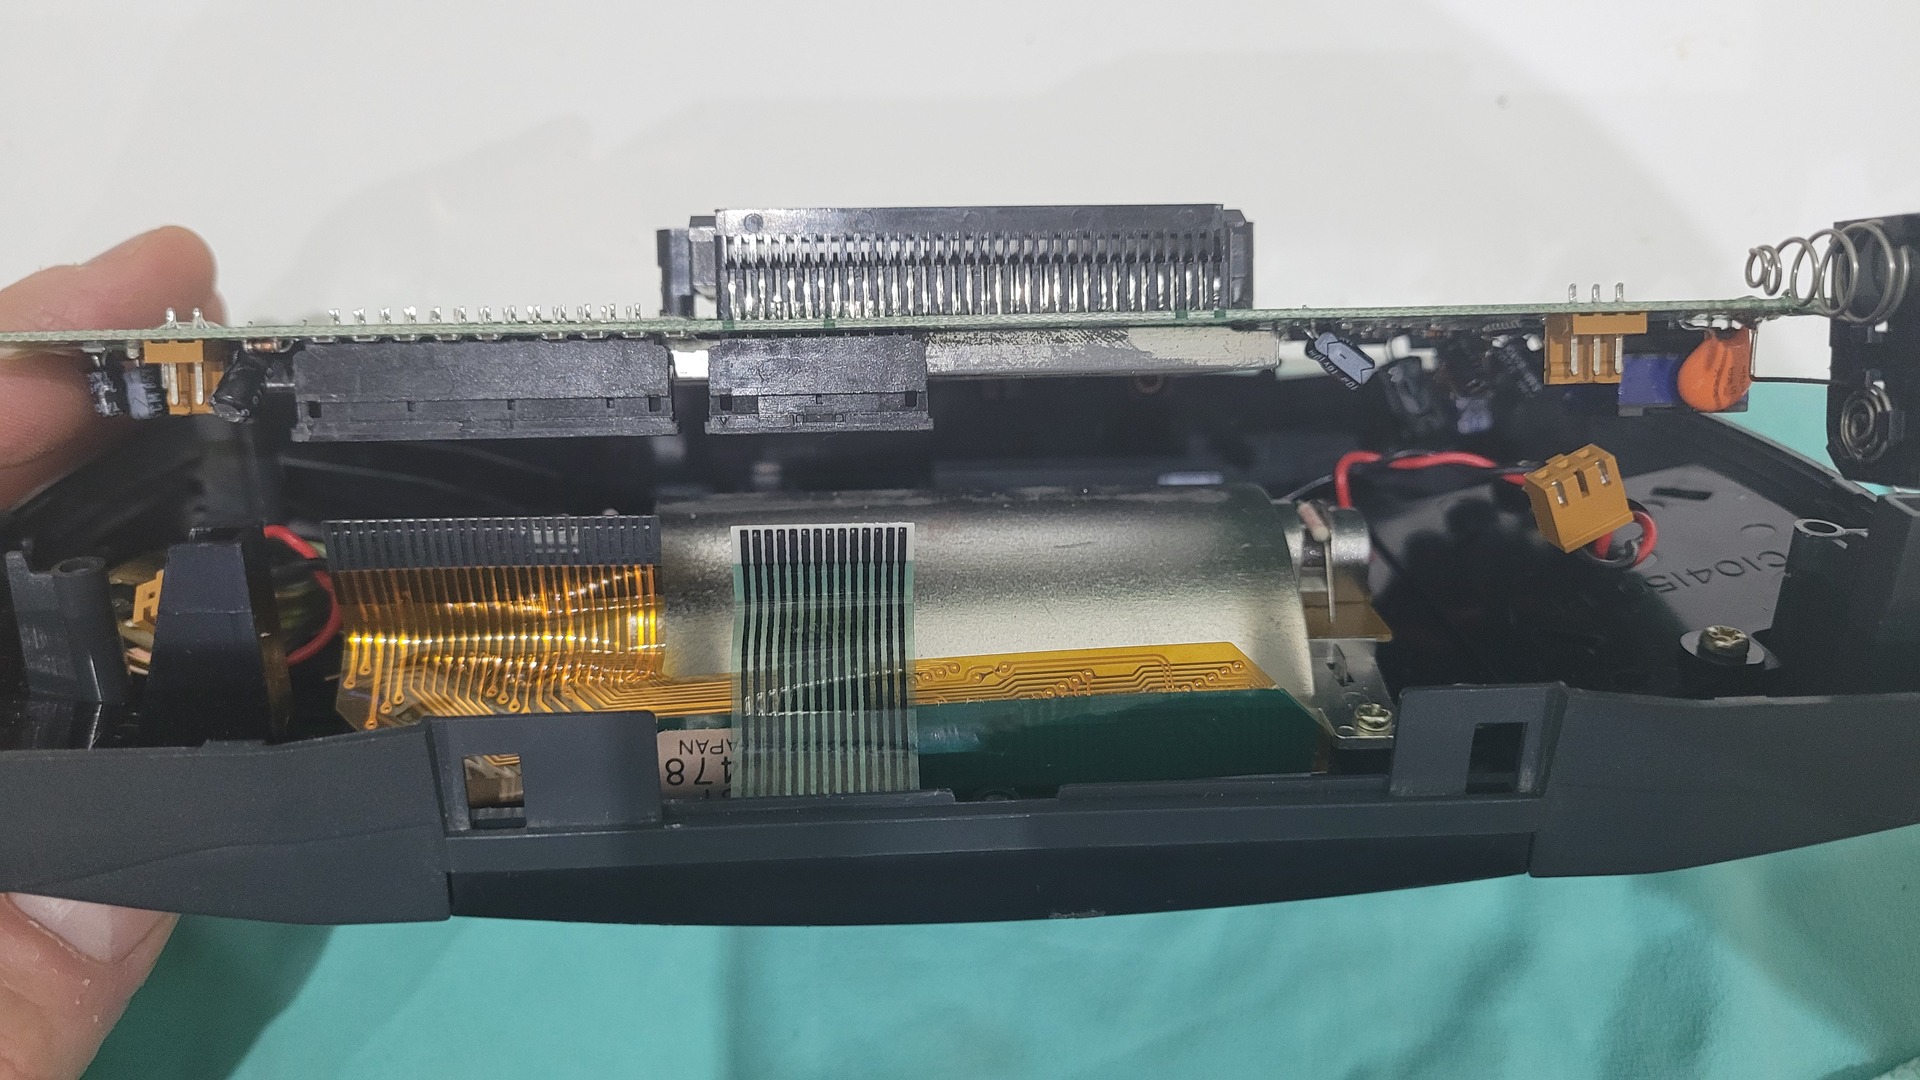
The motherobard can be removed now. The display can then be unscrewed as well as well as the control board:
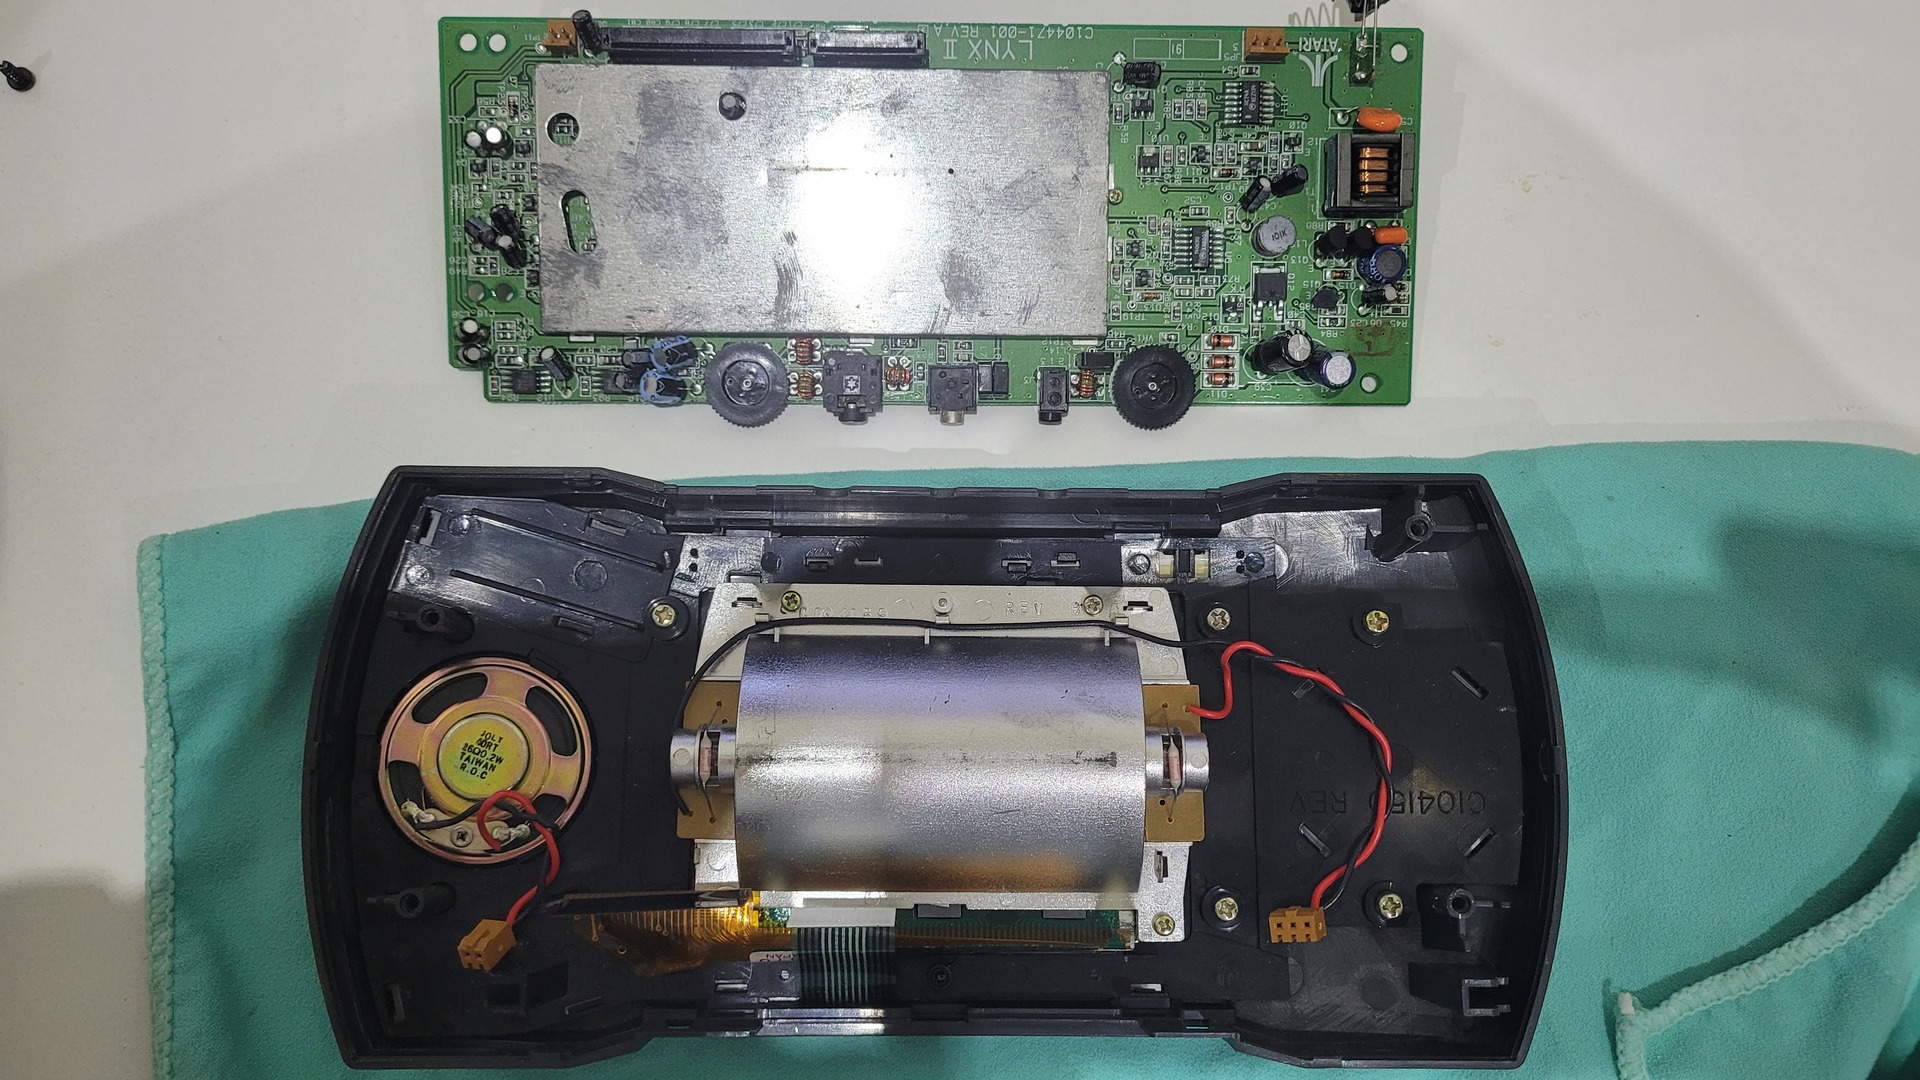
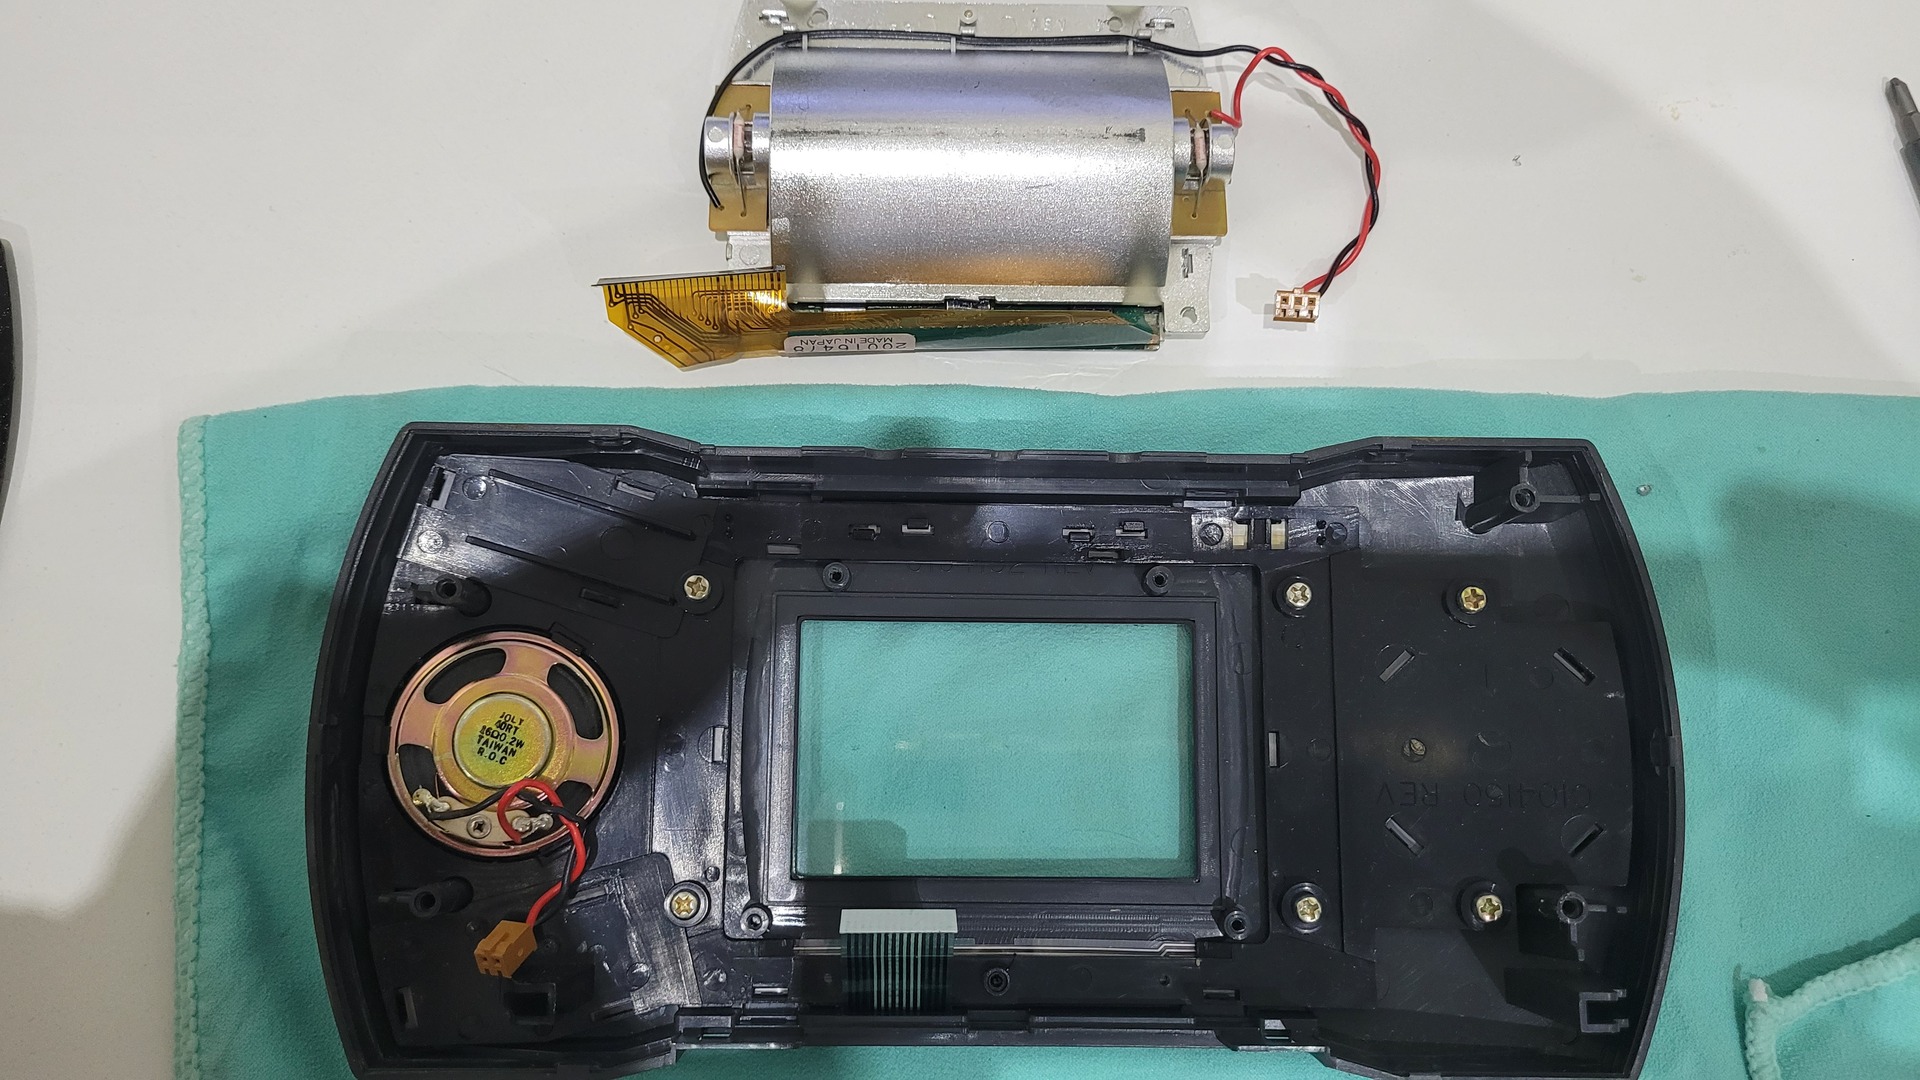
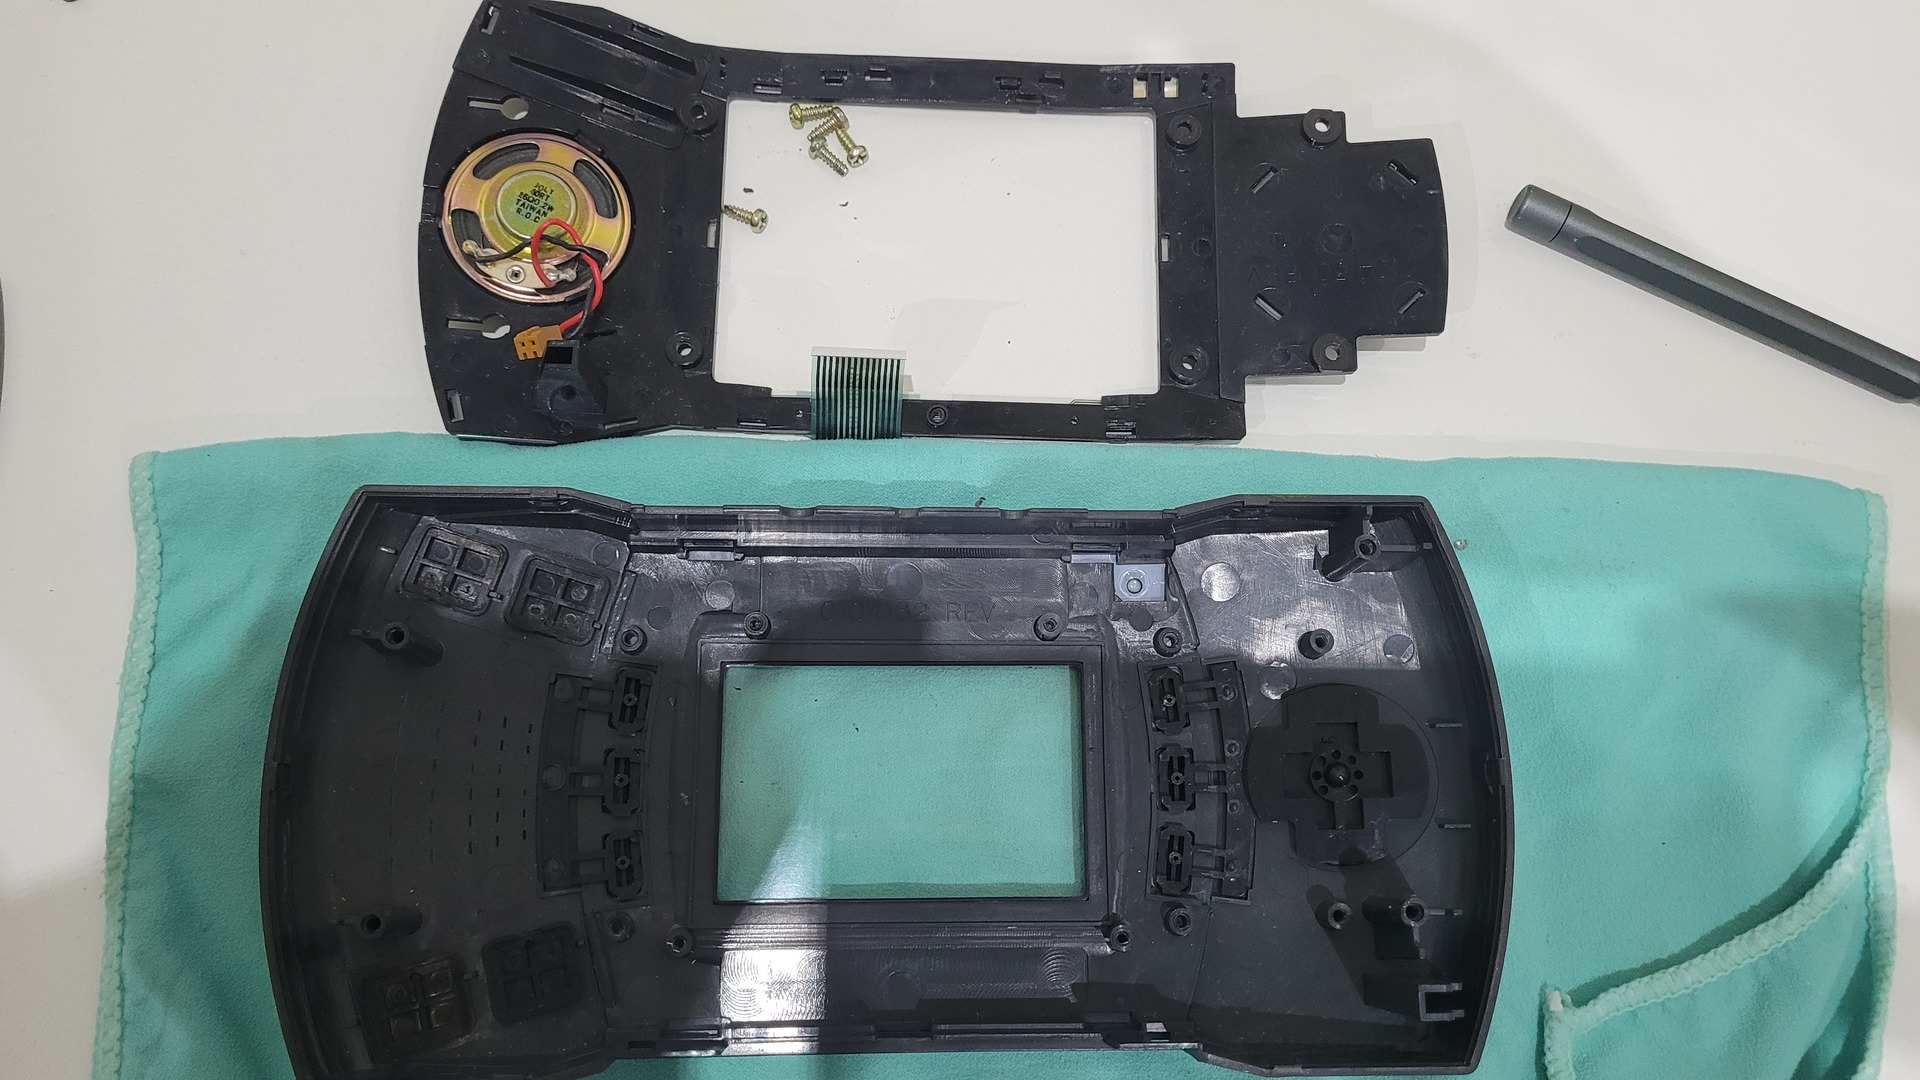
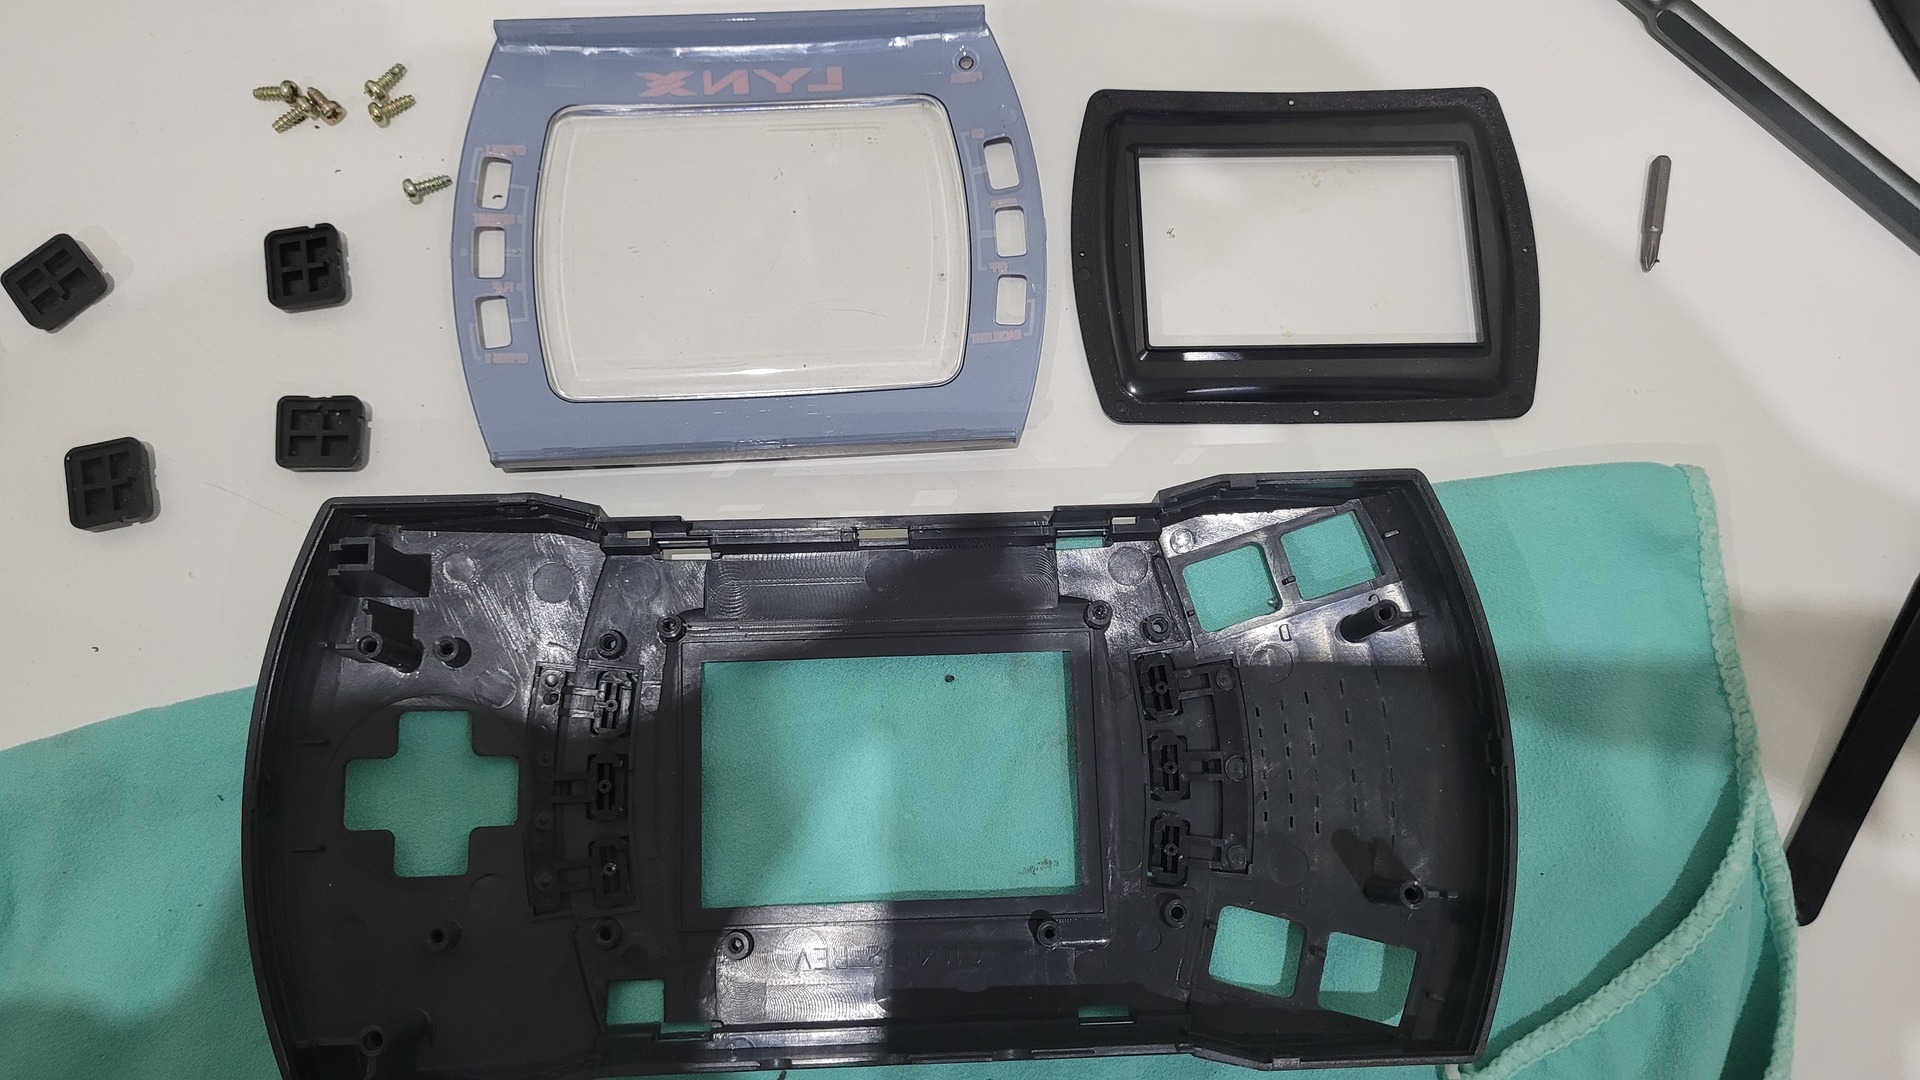
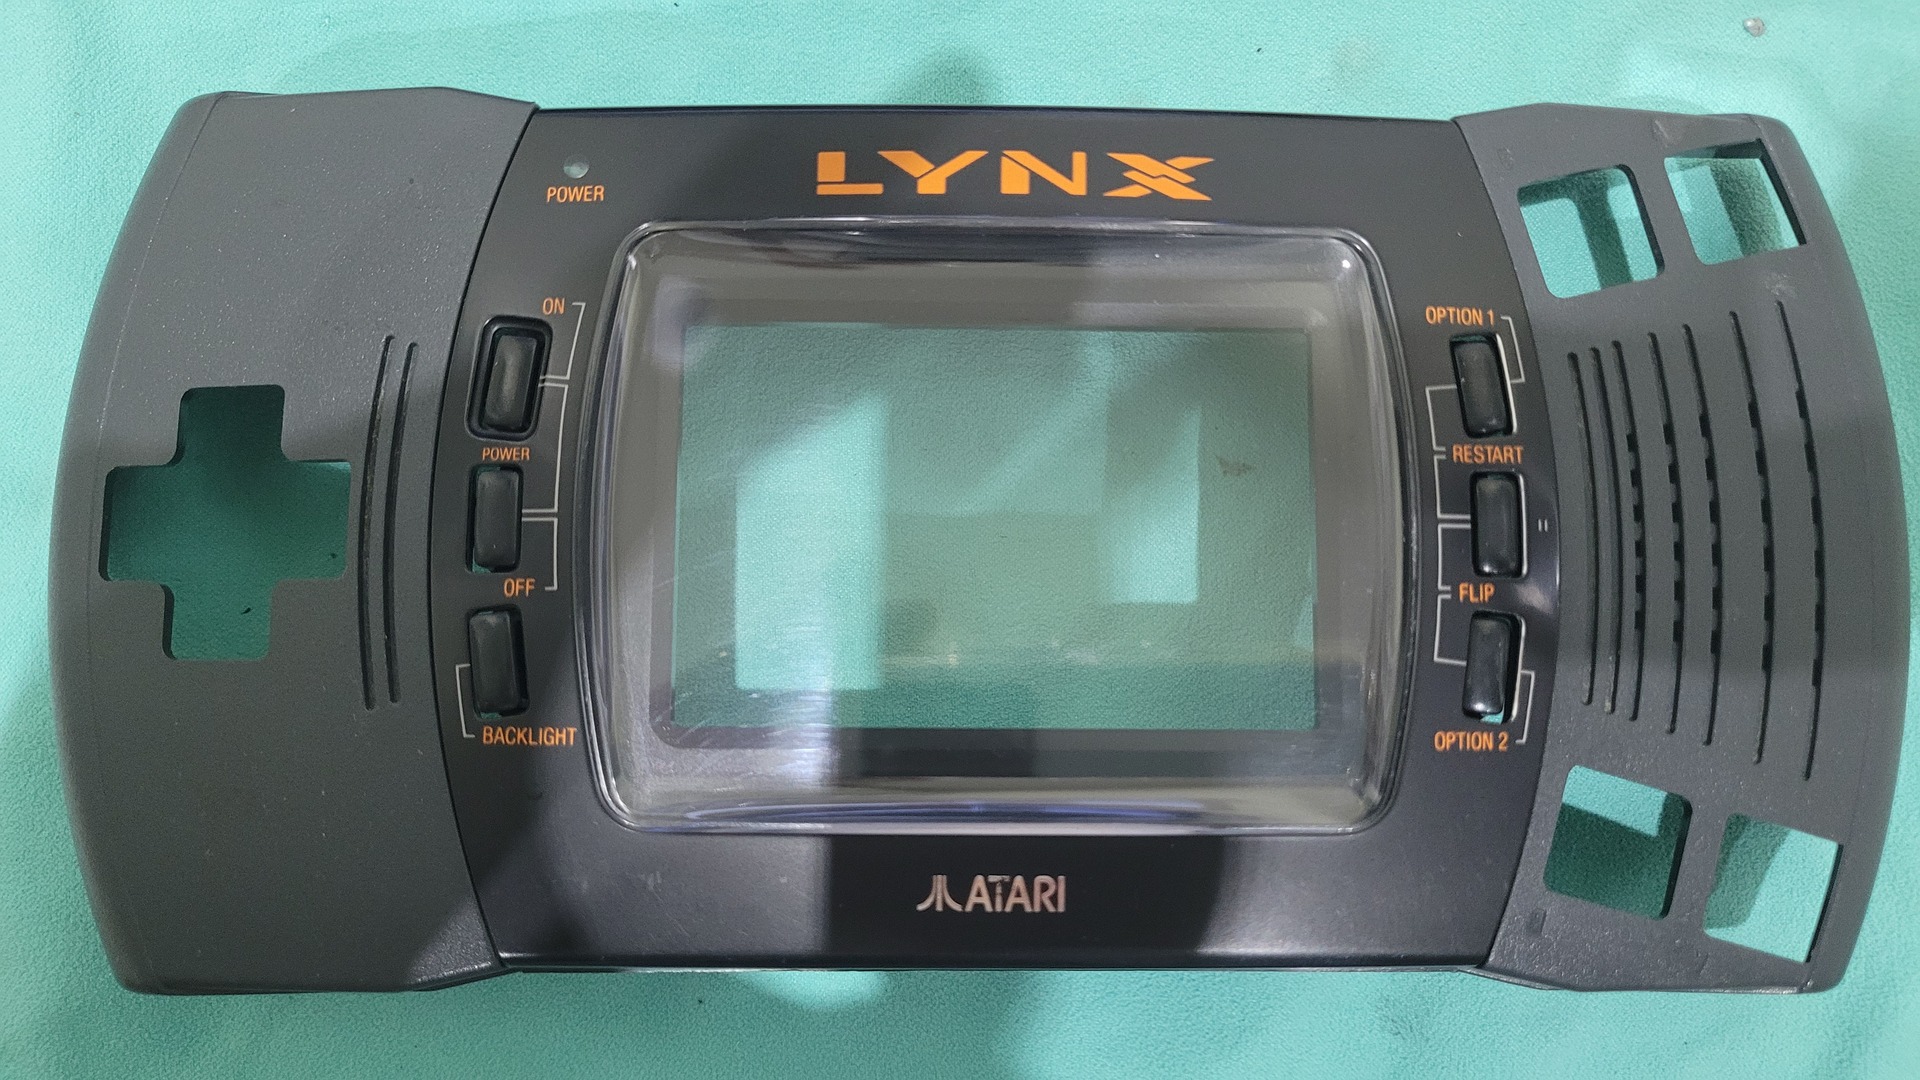
Finally, we can remove the buttons and the dpad. I also removed the front glass by gently pushing it forward as I had another one in better condition.
I also cleaned the back part of the glass with some alcool to remove glue residus :
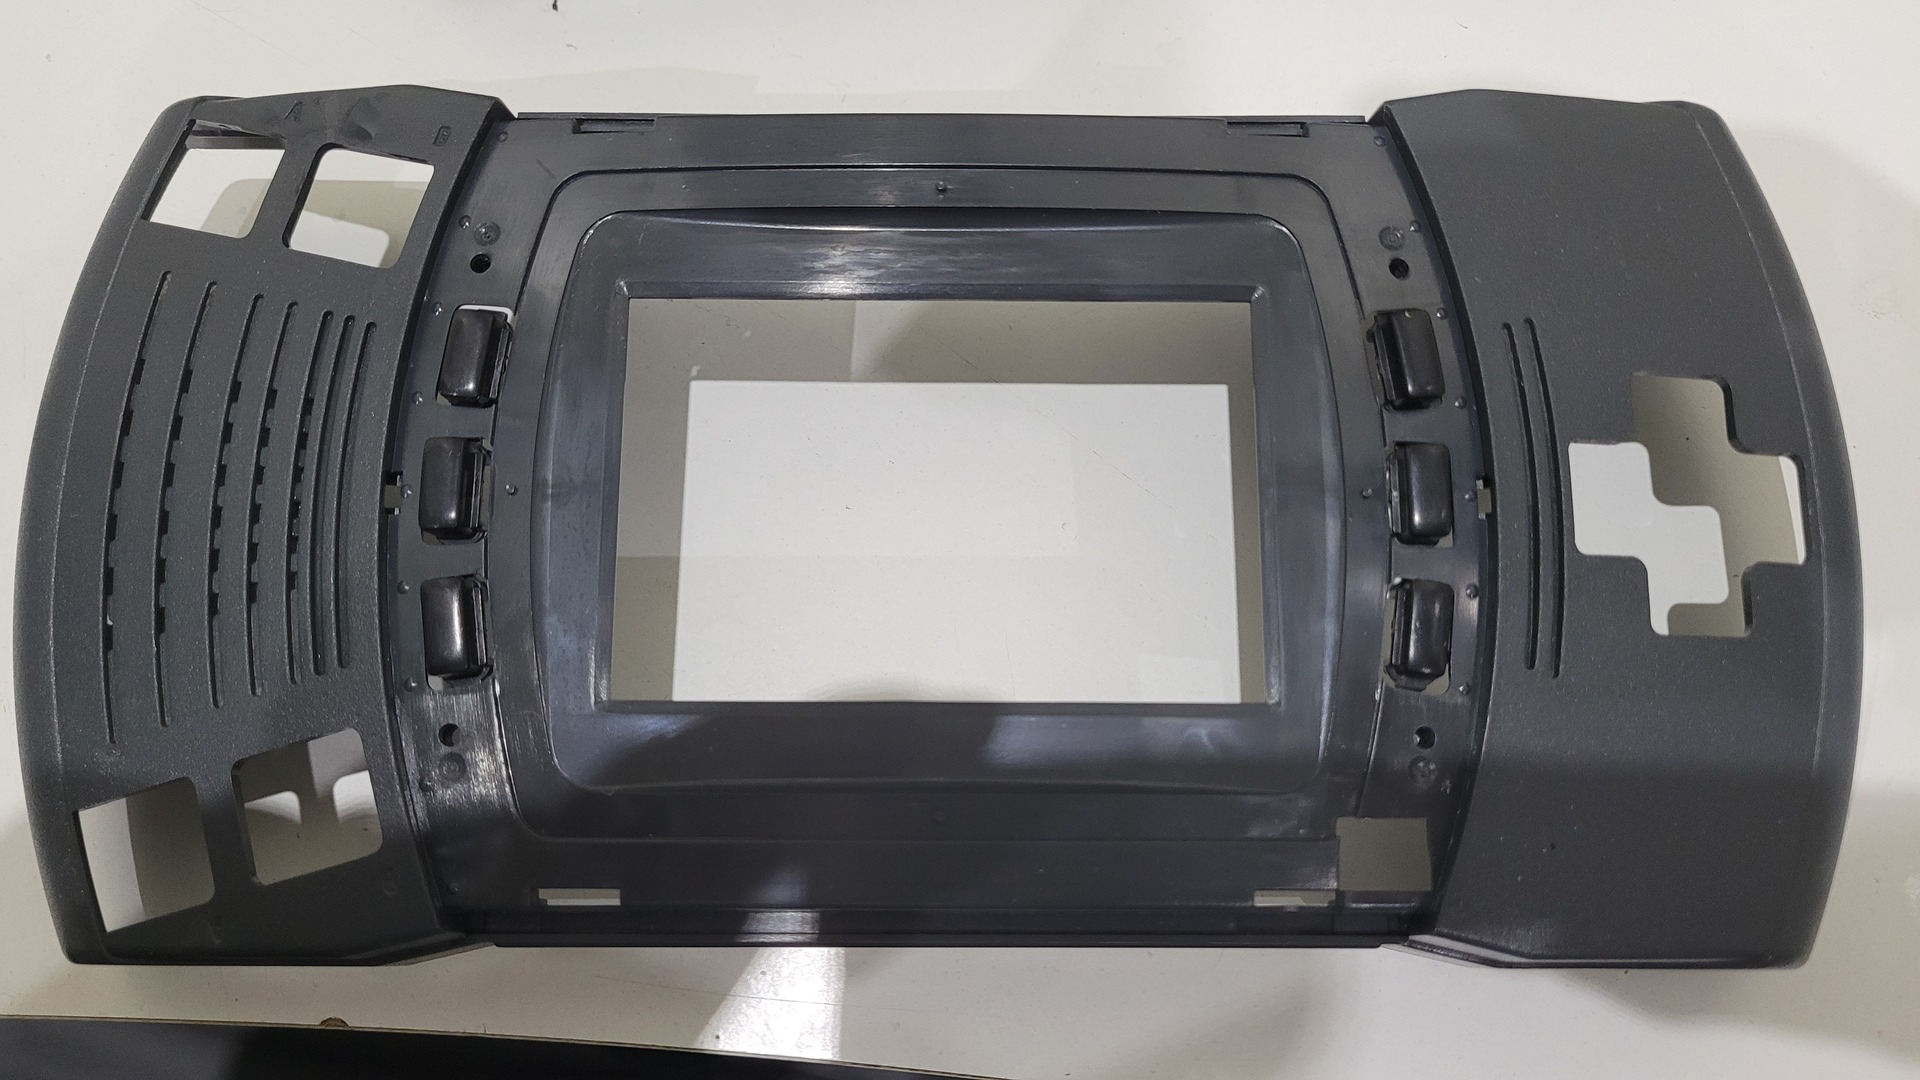
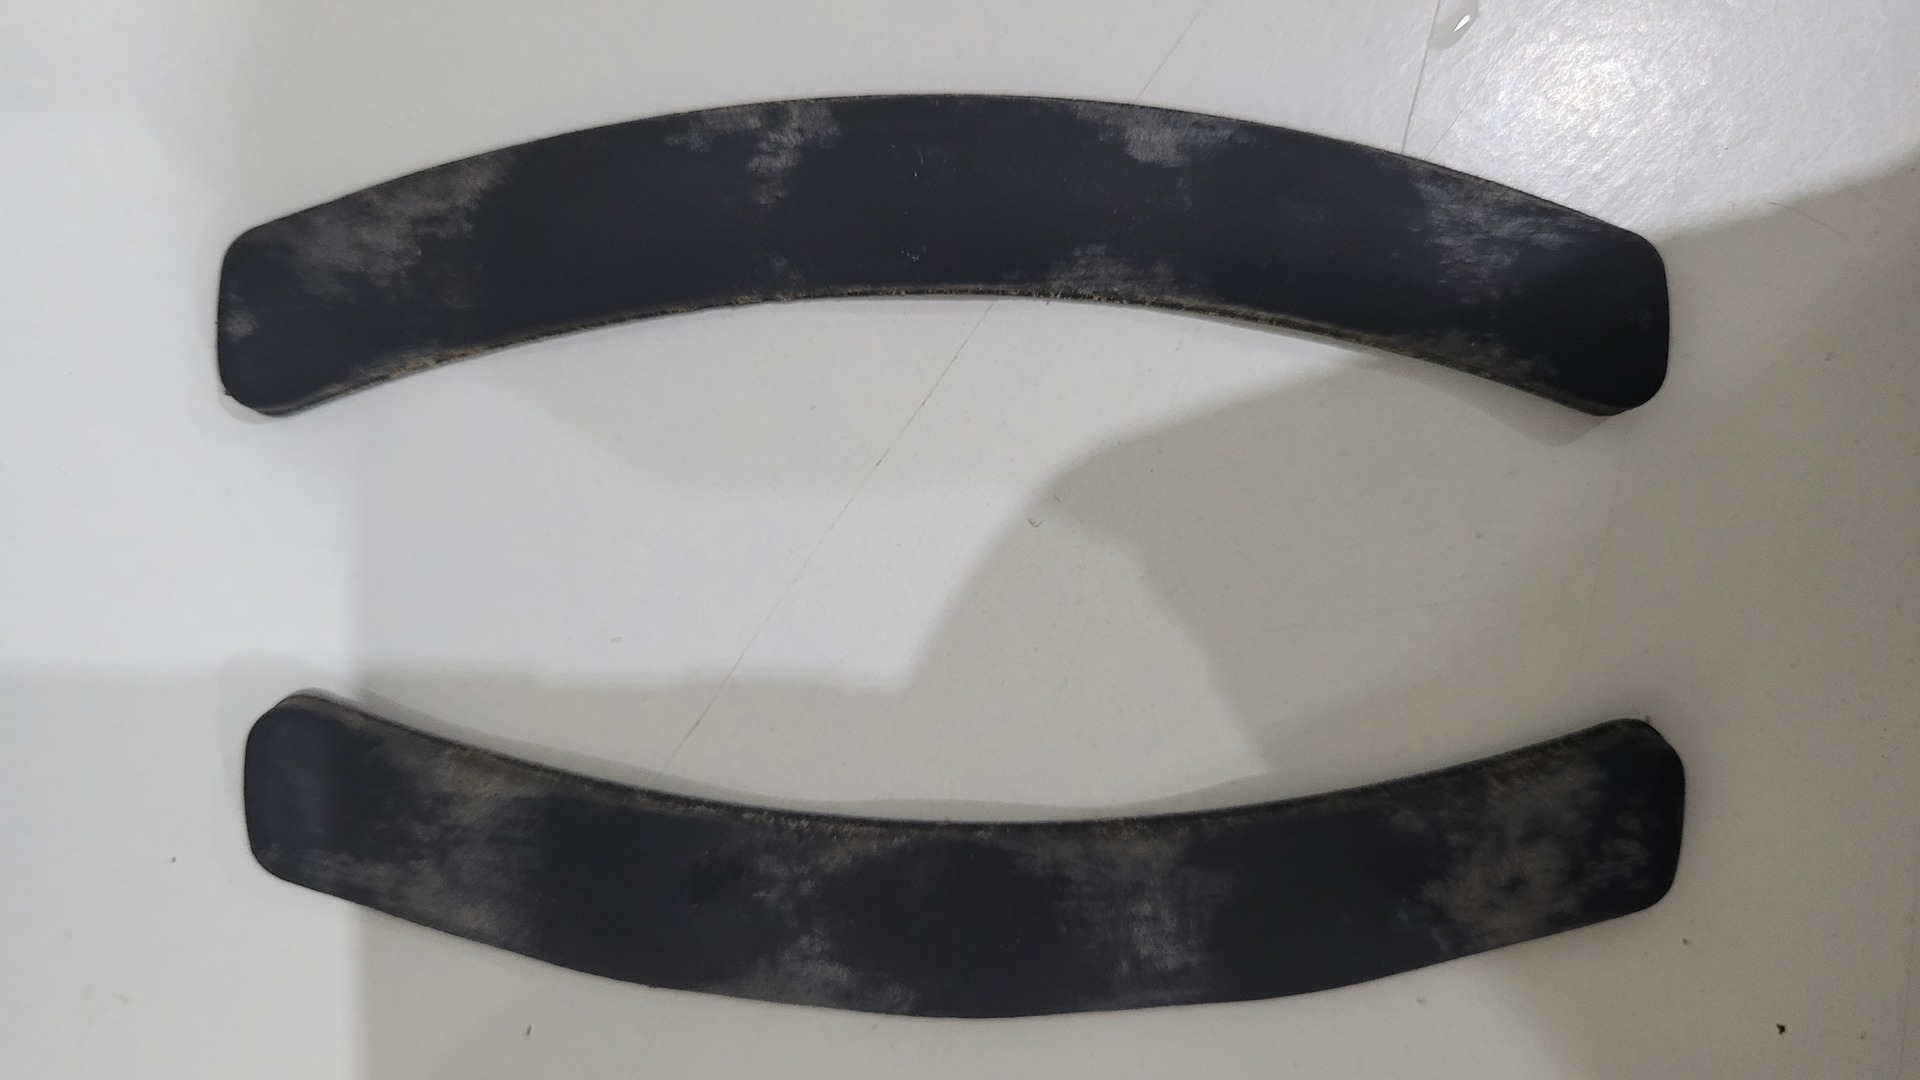
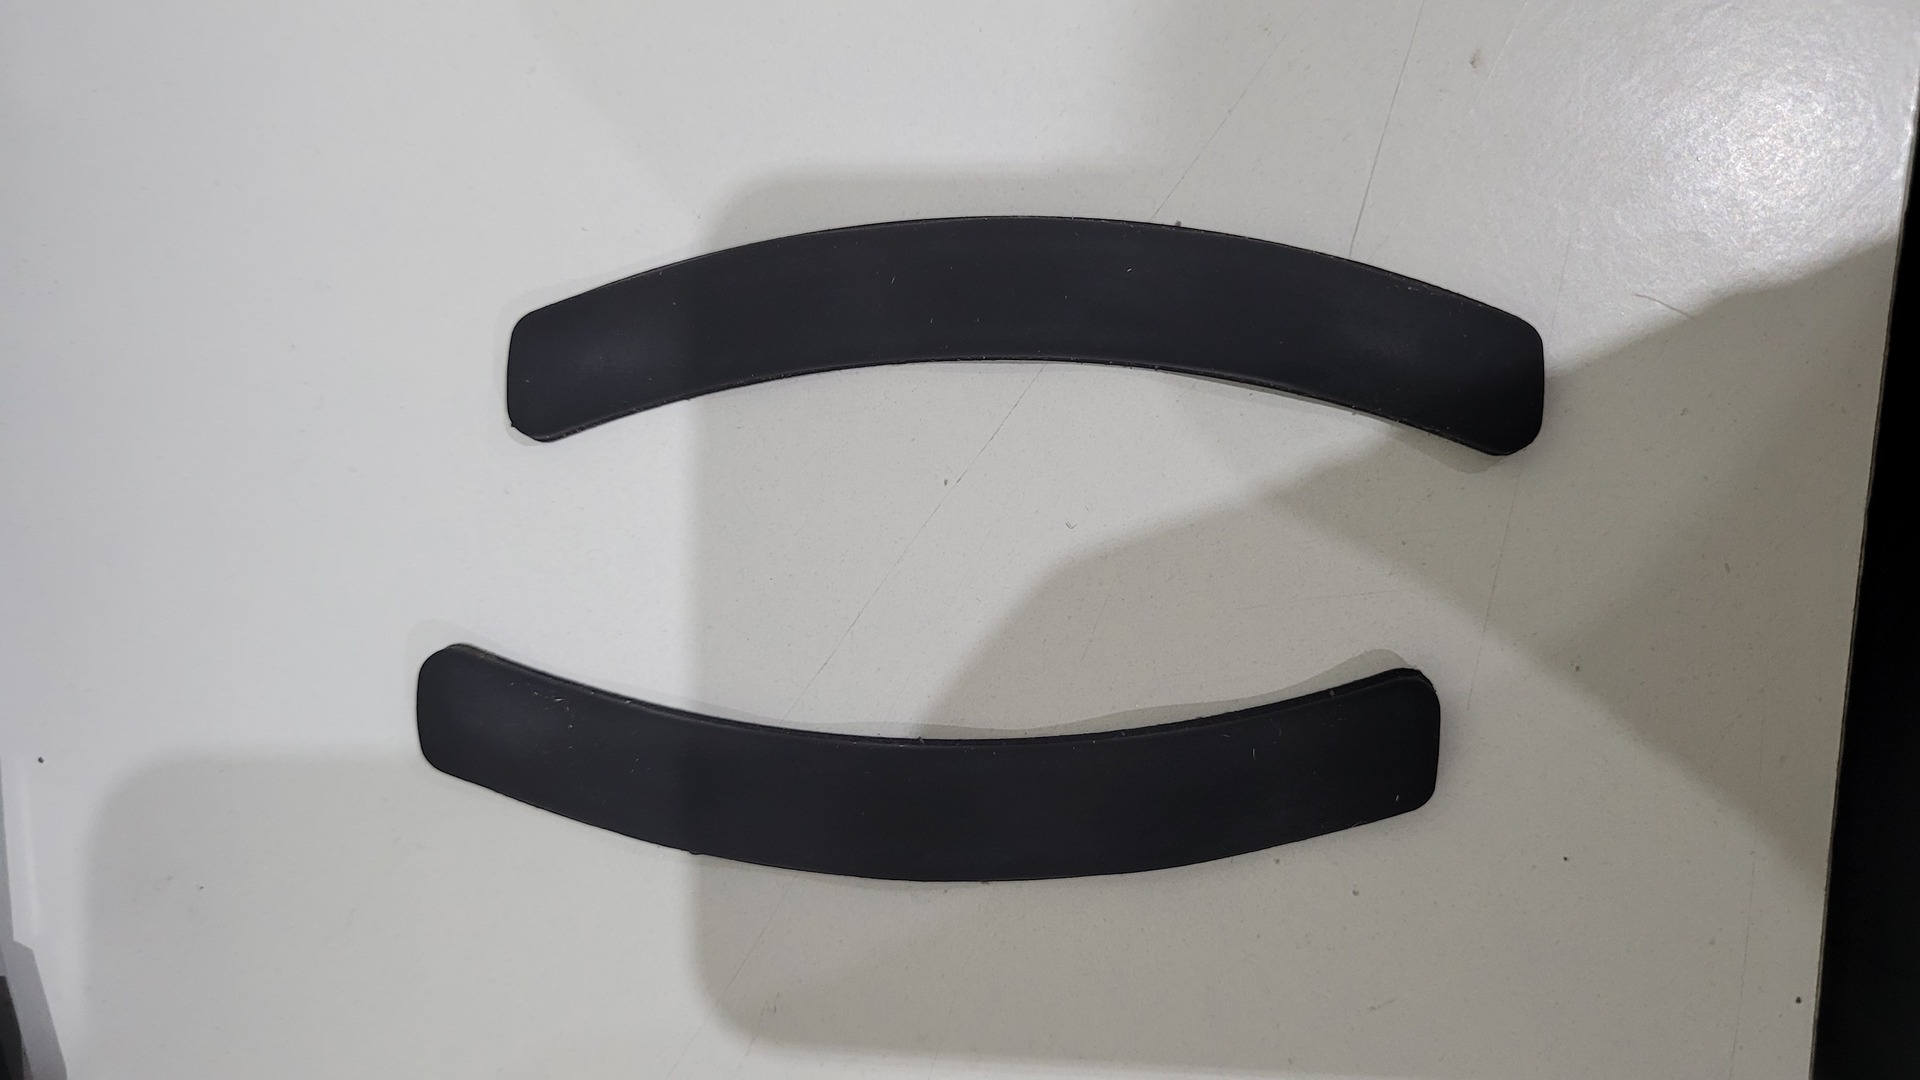
Cleaning the shell
I put all parts in hot water with some soap and I used a toothbrush to clean all corners
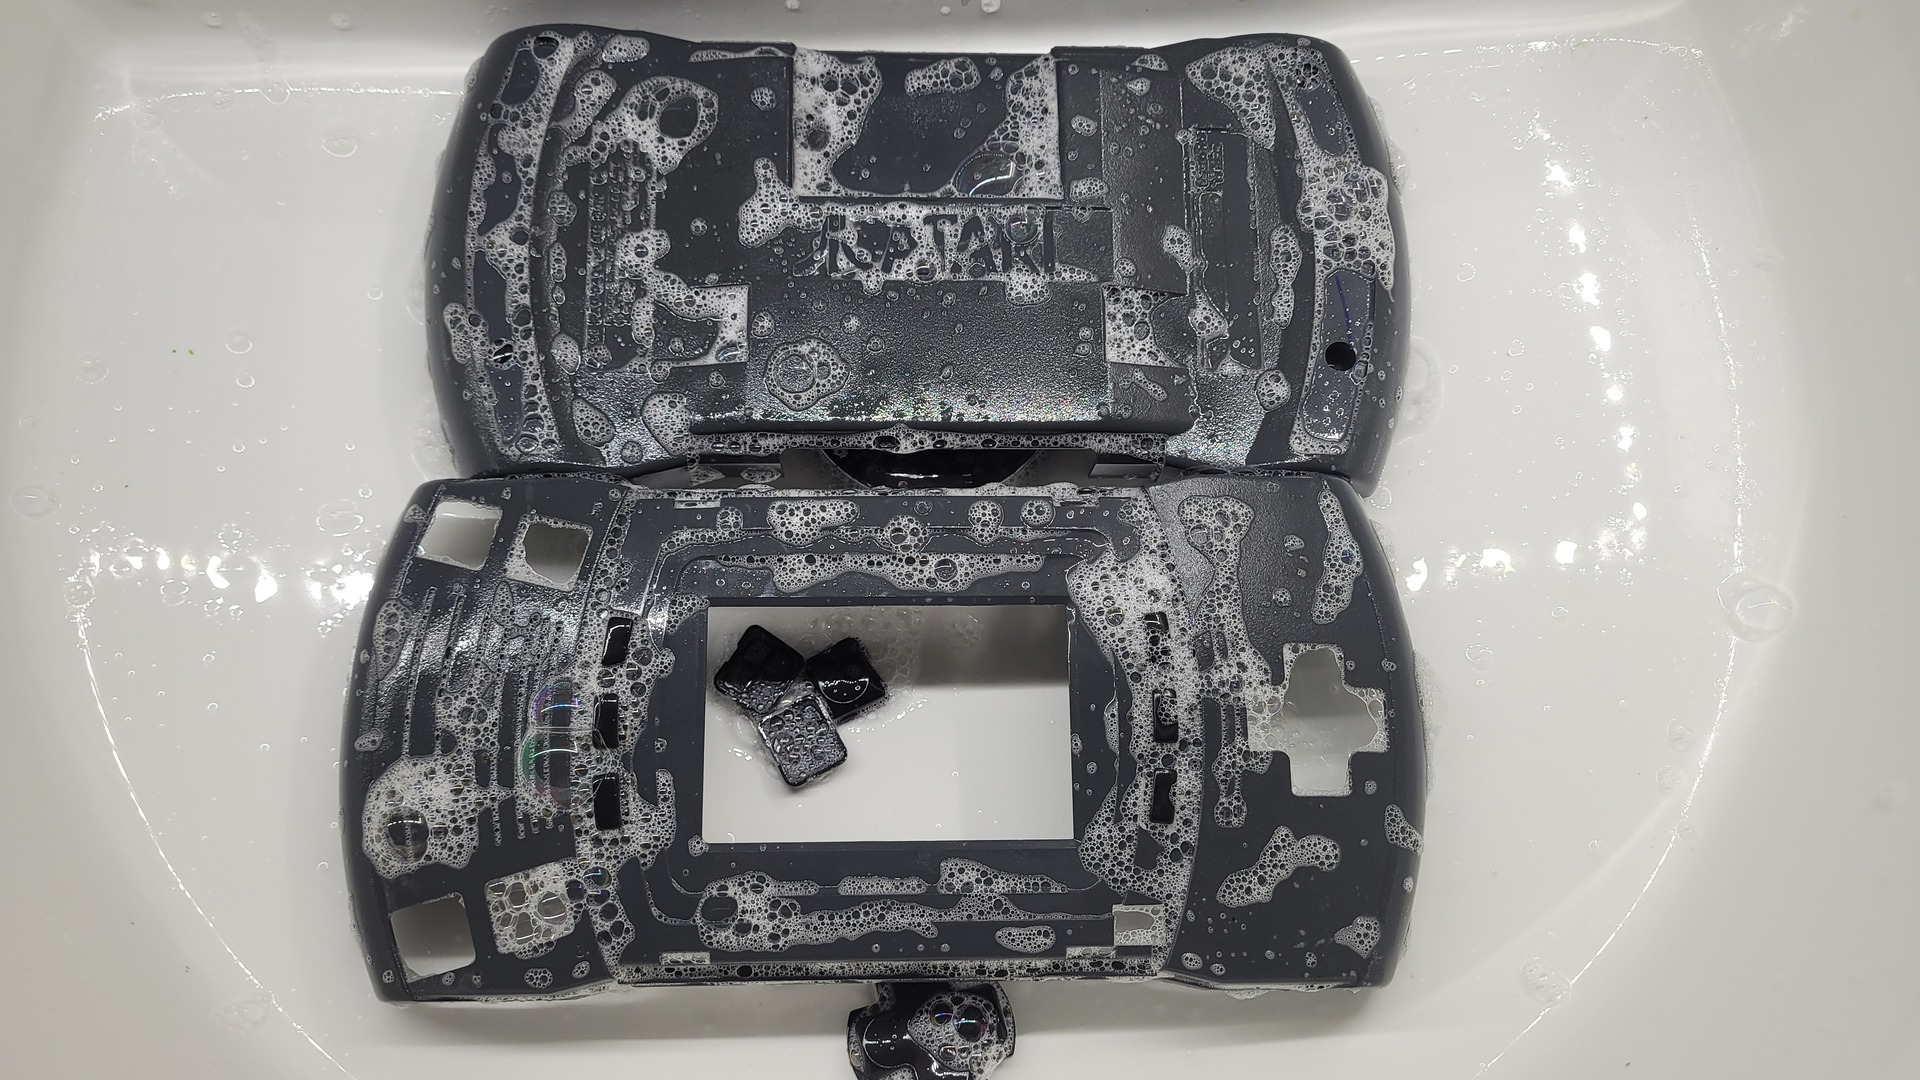
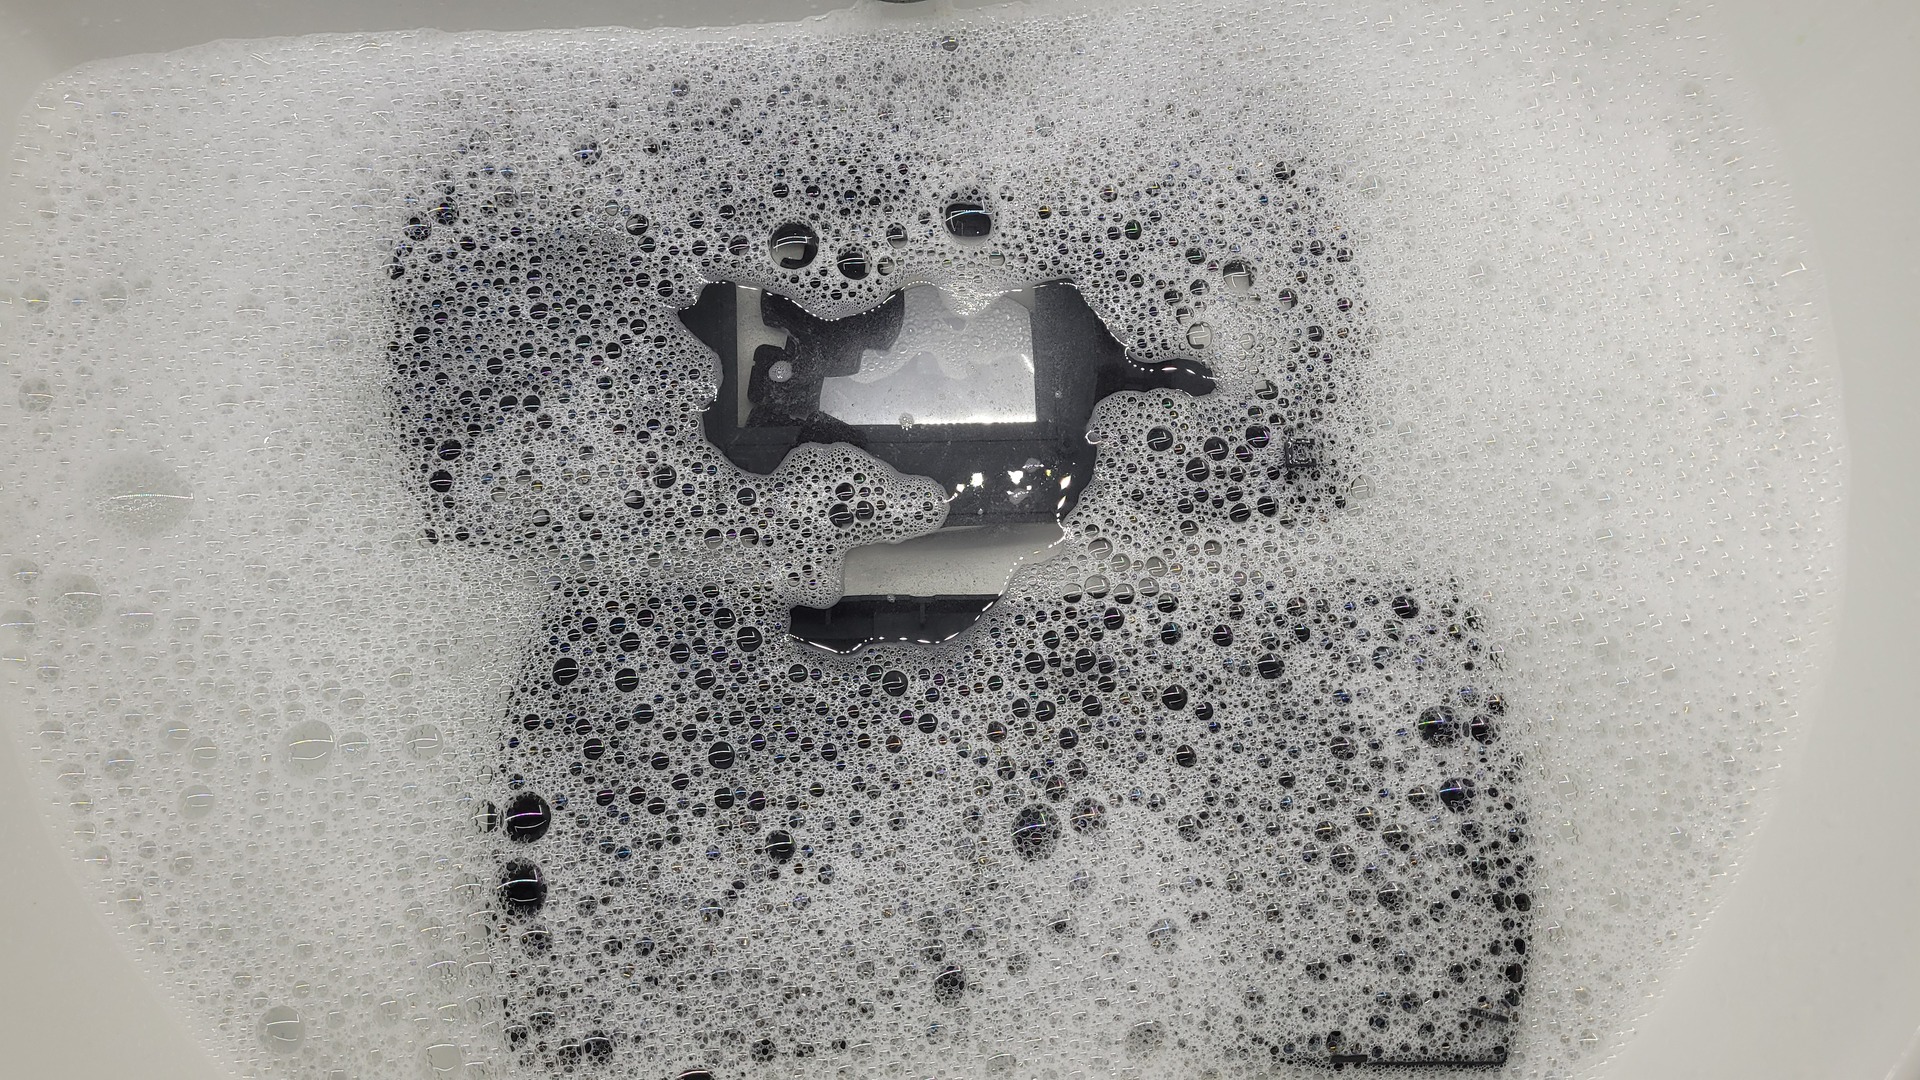
Here are some comparison of parts before and after they have been washed

And finaly I my near brand new the screen protector (I found one in pretty good condition on ebay, but again, not for cheap !).
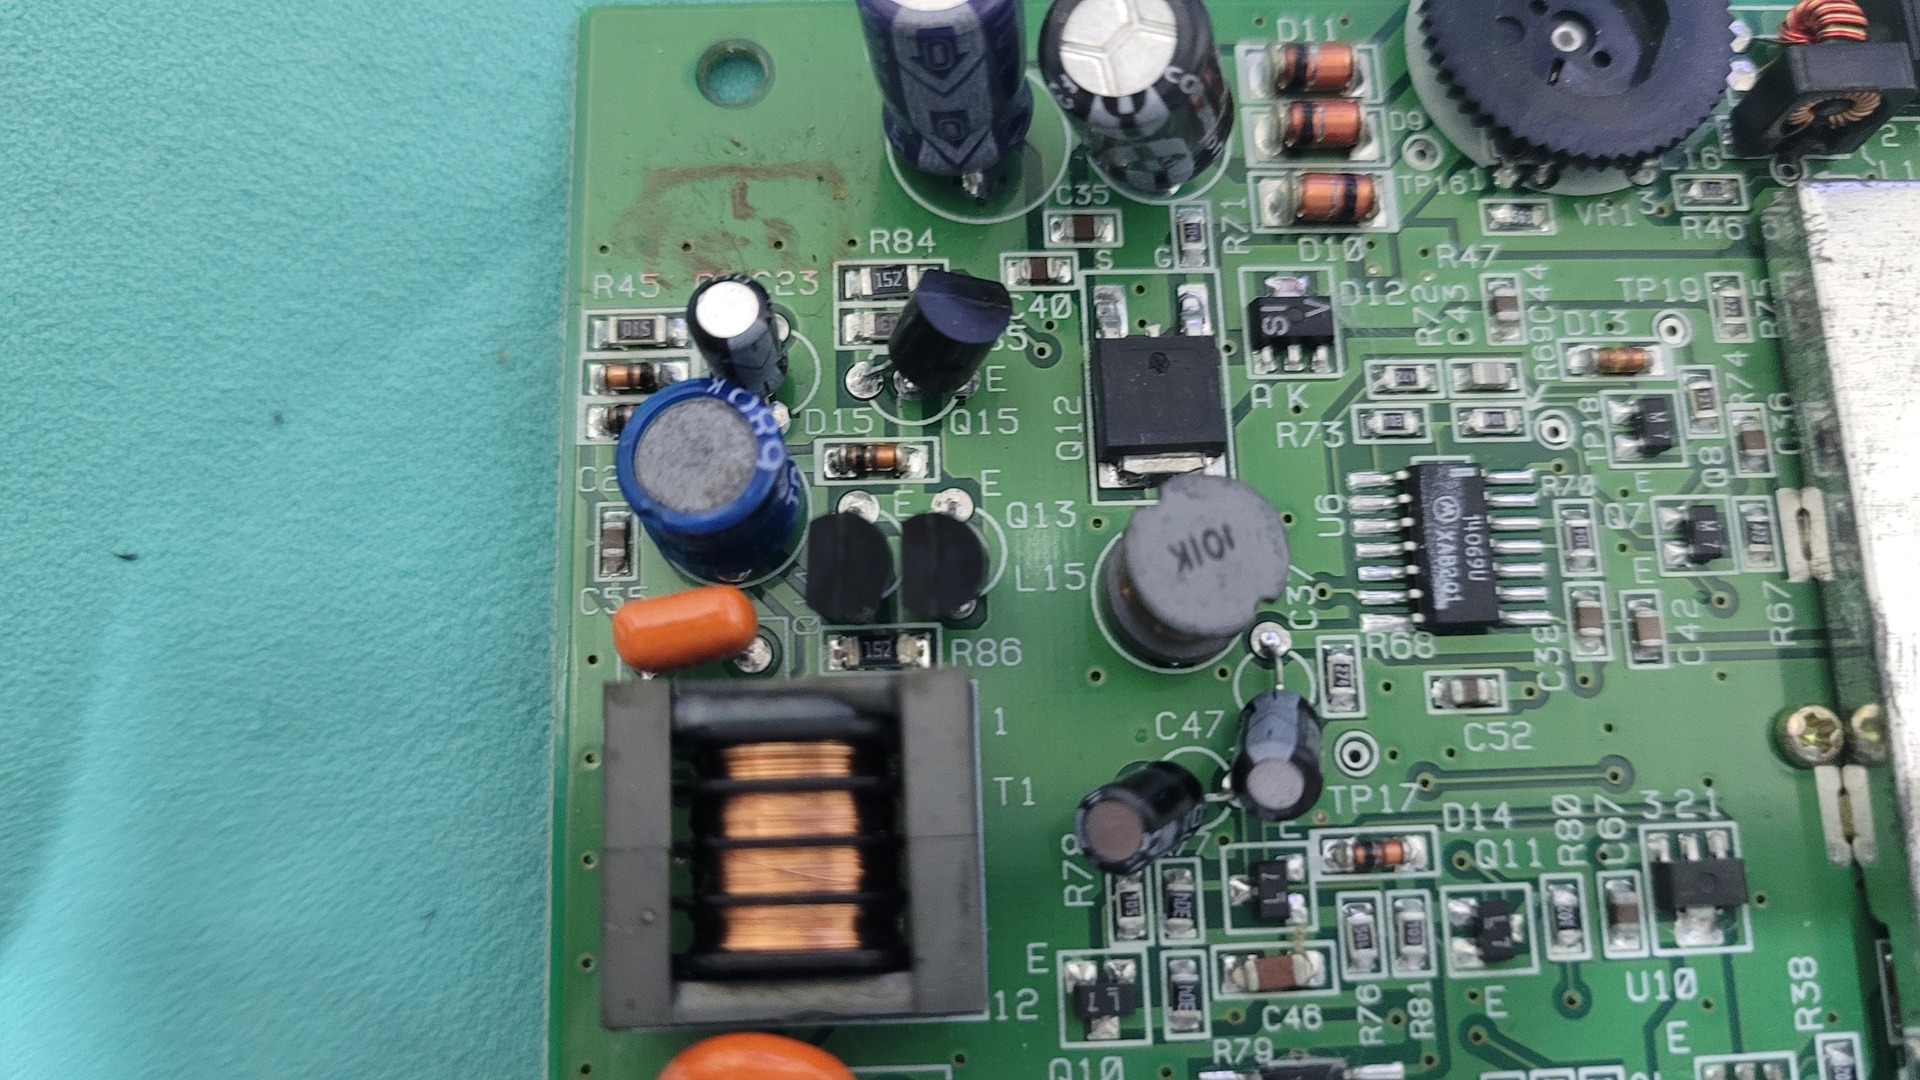
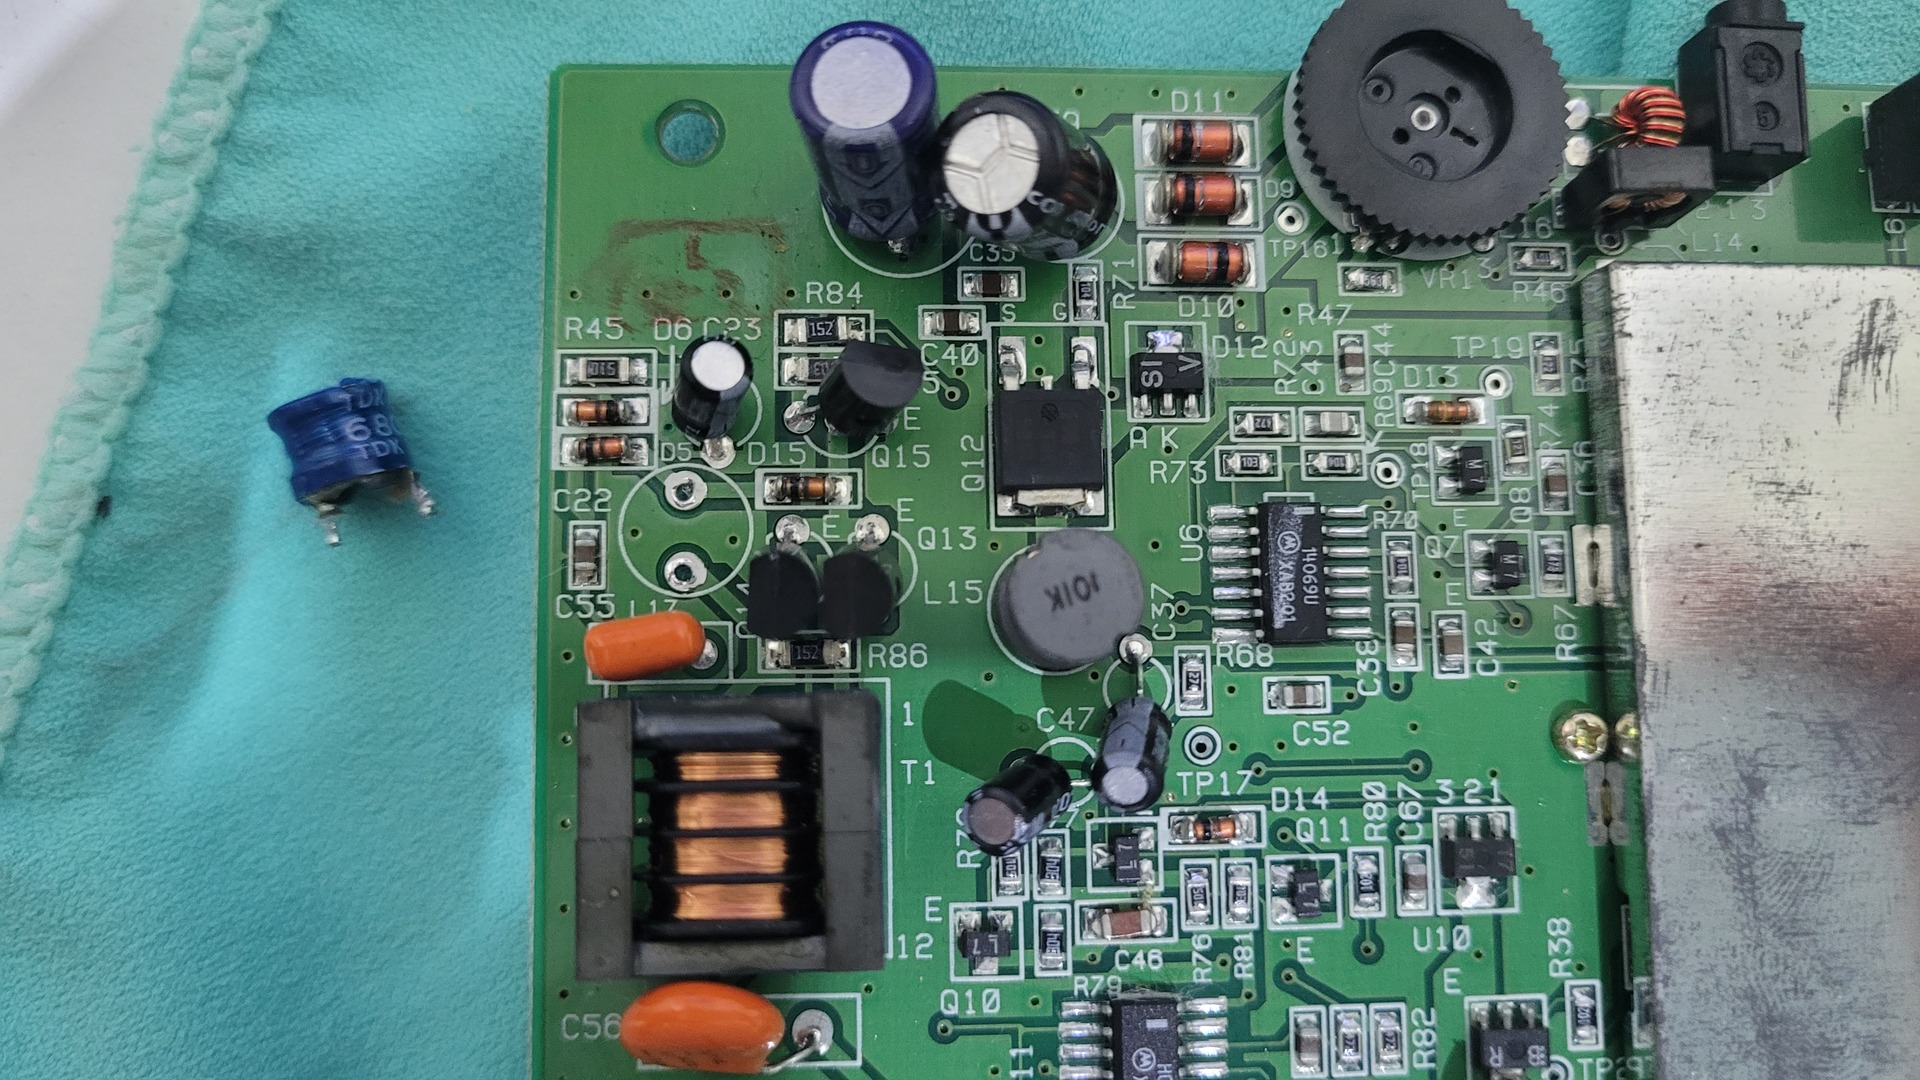
Removing L17 inductor
The inductor must be removed to make the new LCD screen works. You can keep the inductor for future usage if you want to put the old screen back (really ?).
The easiest way to remove it is to bend it multiple times until the legs break- If you plan to reuse it, you’d better desolder it properly.
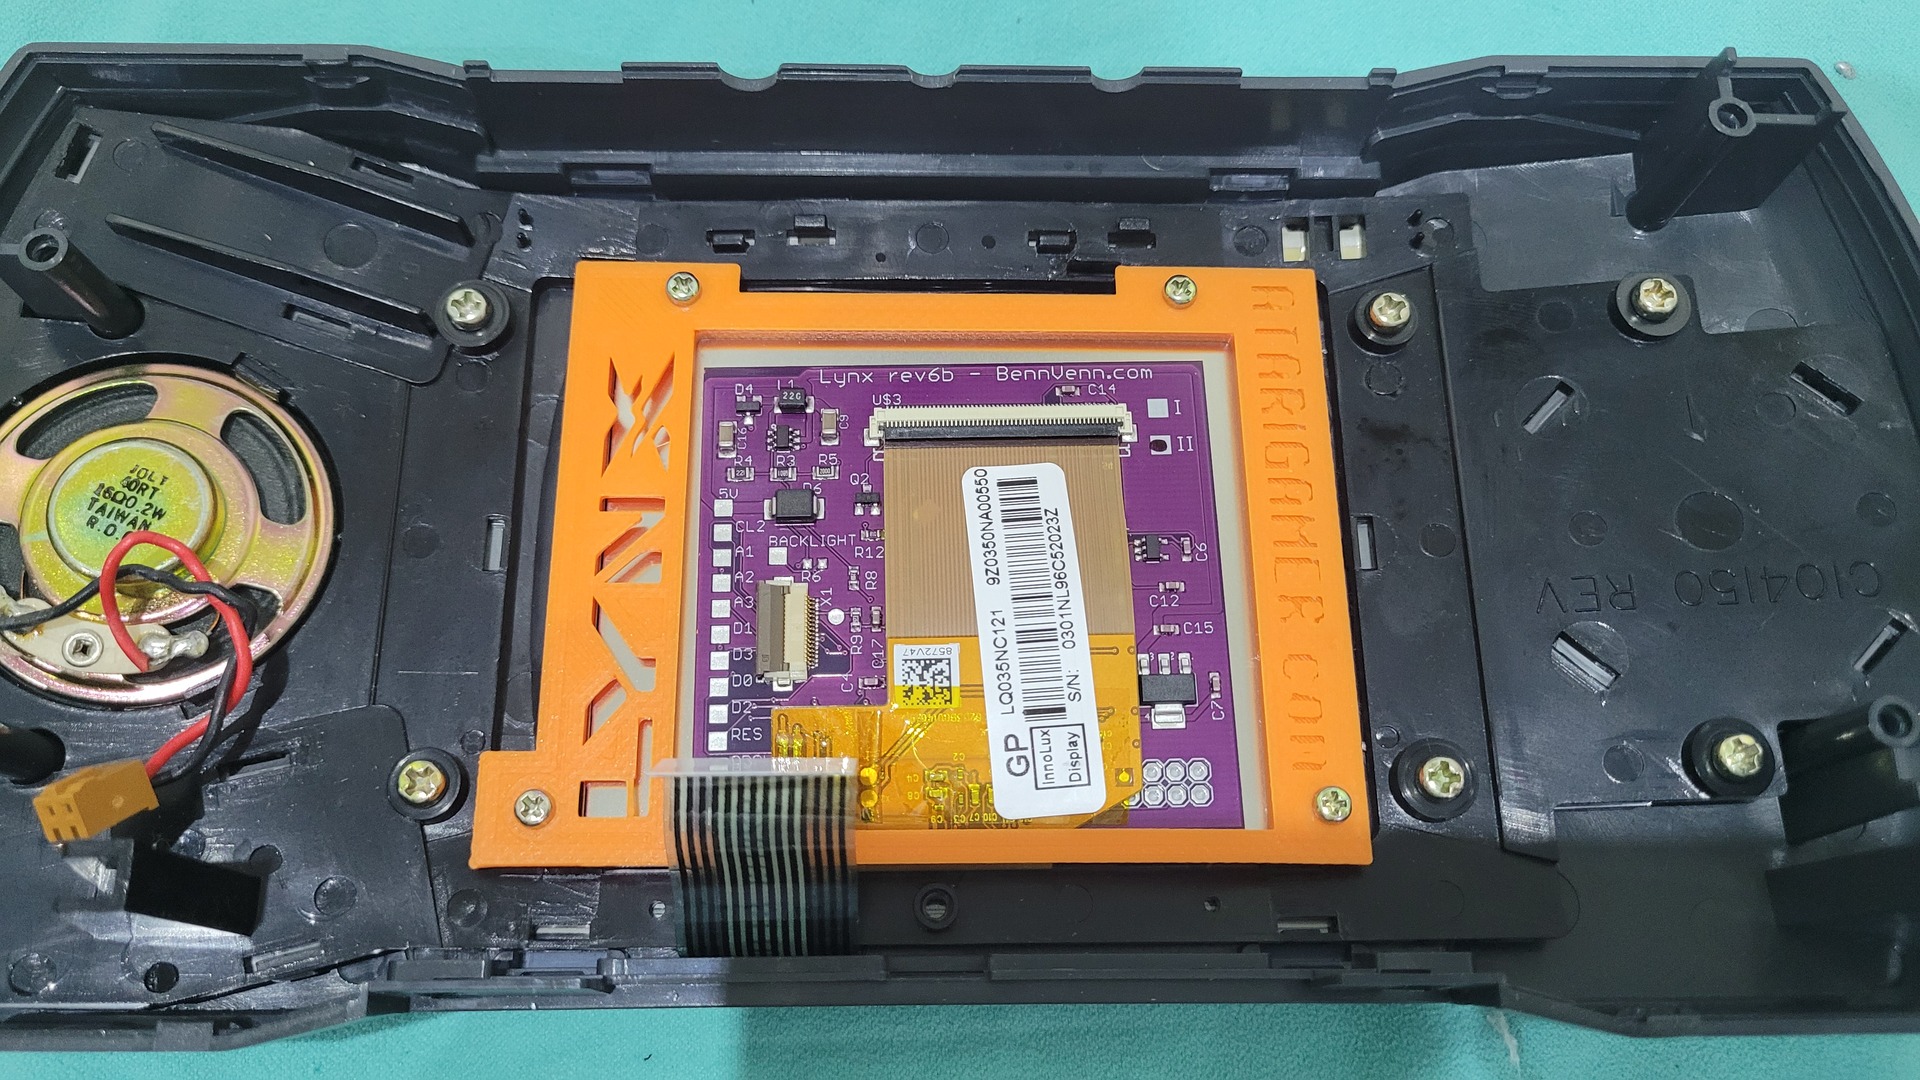
Installing the new LCD display
Before installing, buttons and speaker have to be remounted.
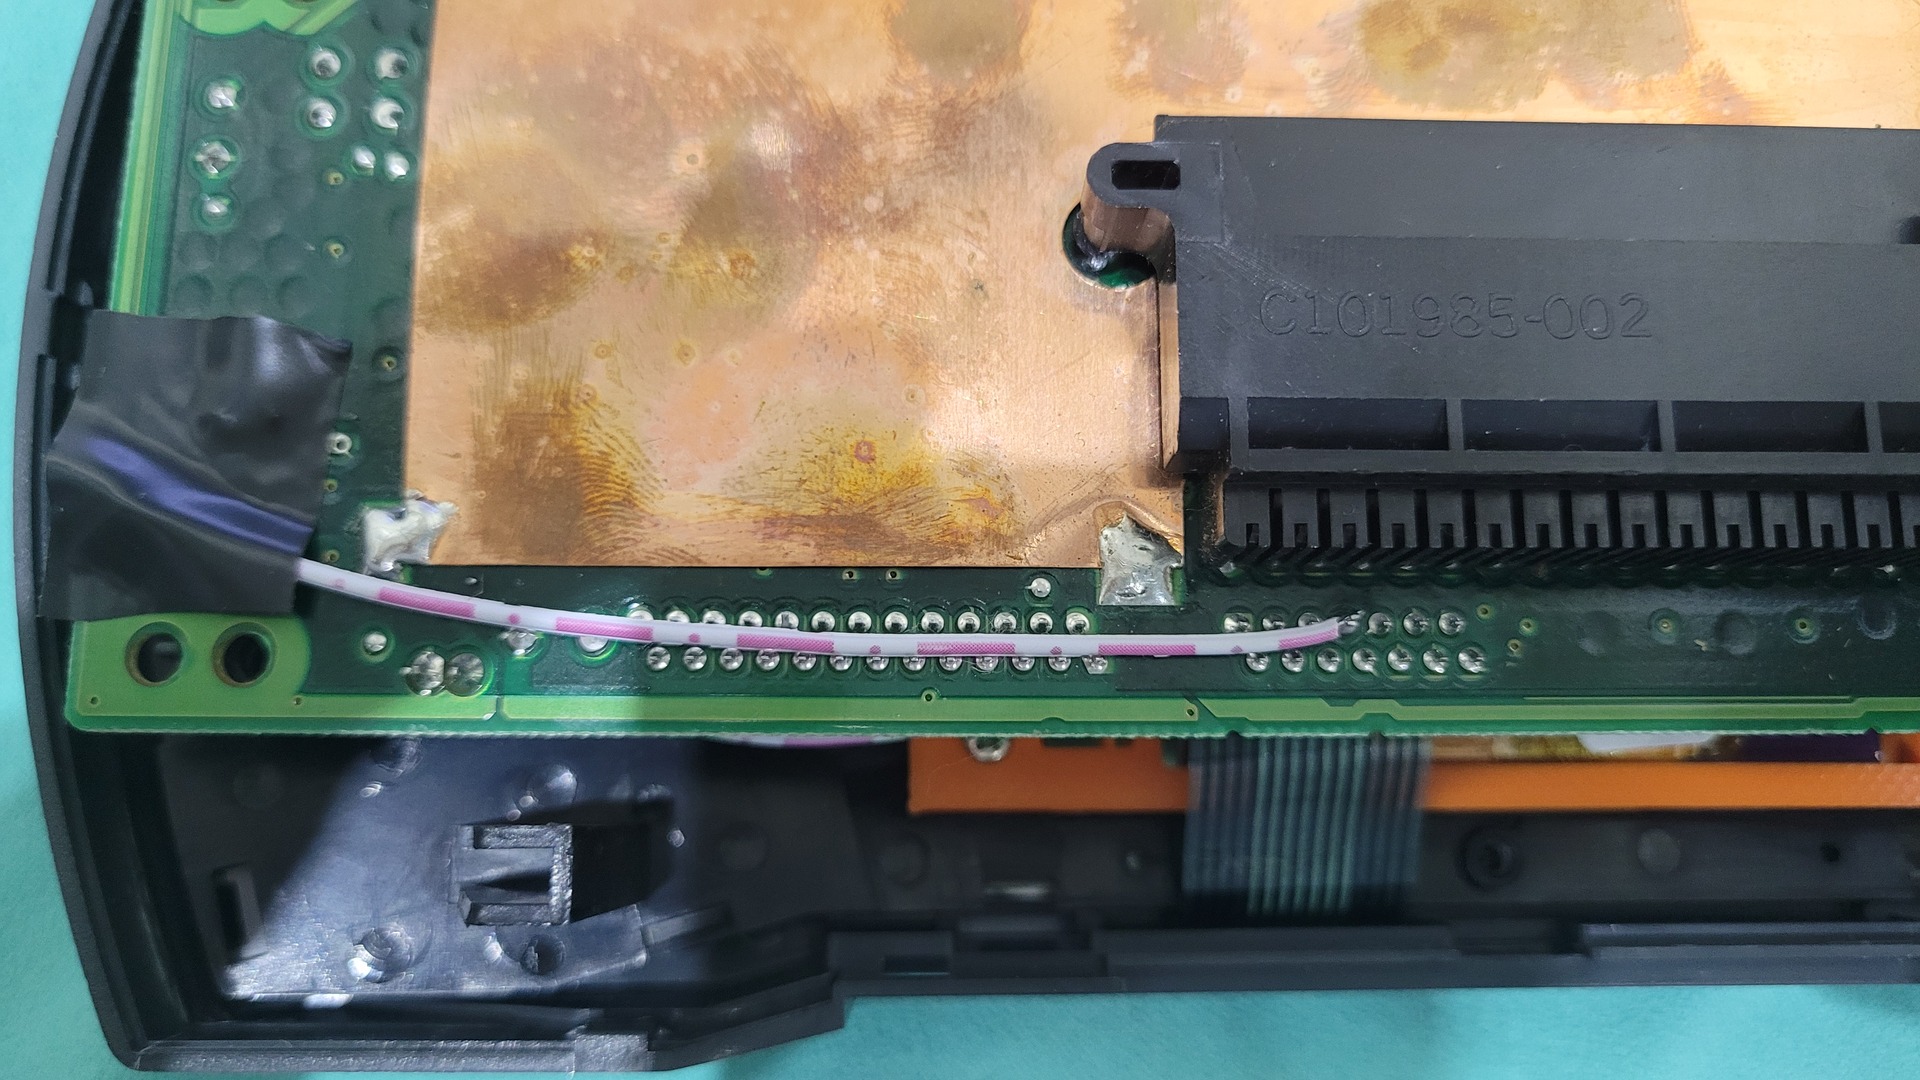
The Benvenn’s LCD display comes with a 3d printed panel that allows to place the new screen and screw it on the front part of the Lynx ‘s shell. I also added a wire in order to be able to control the brightness (this is the optionnal part).
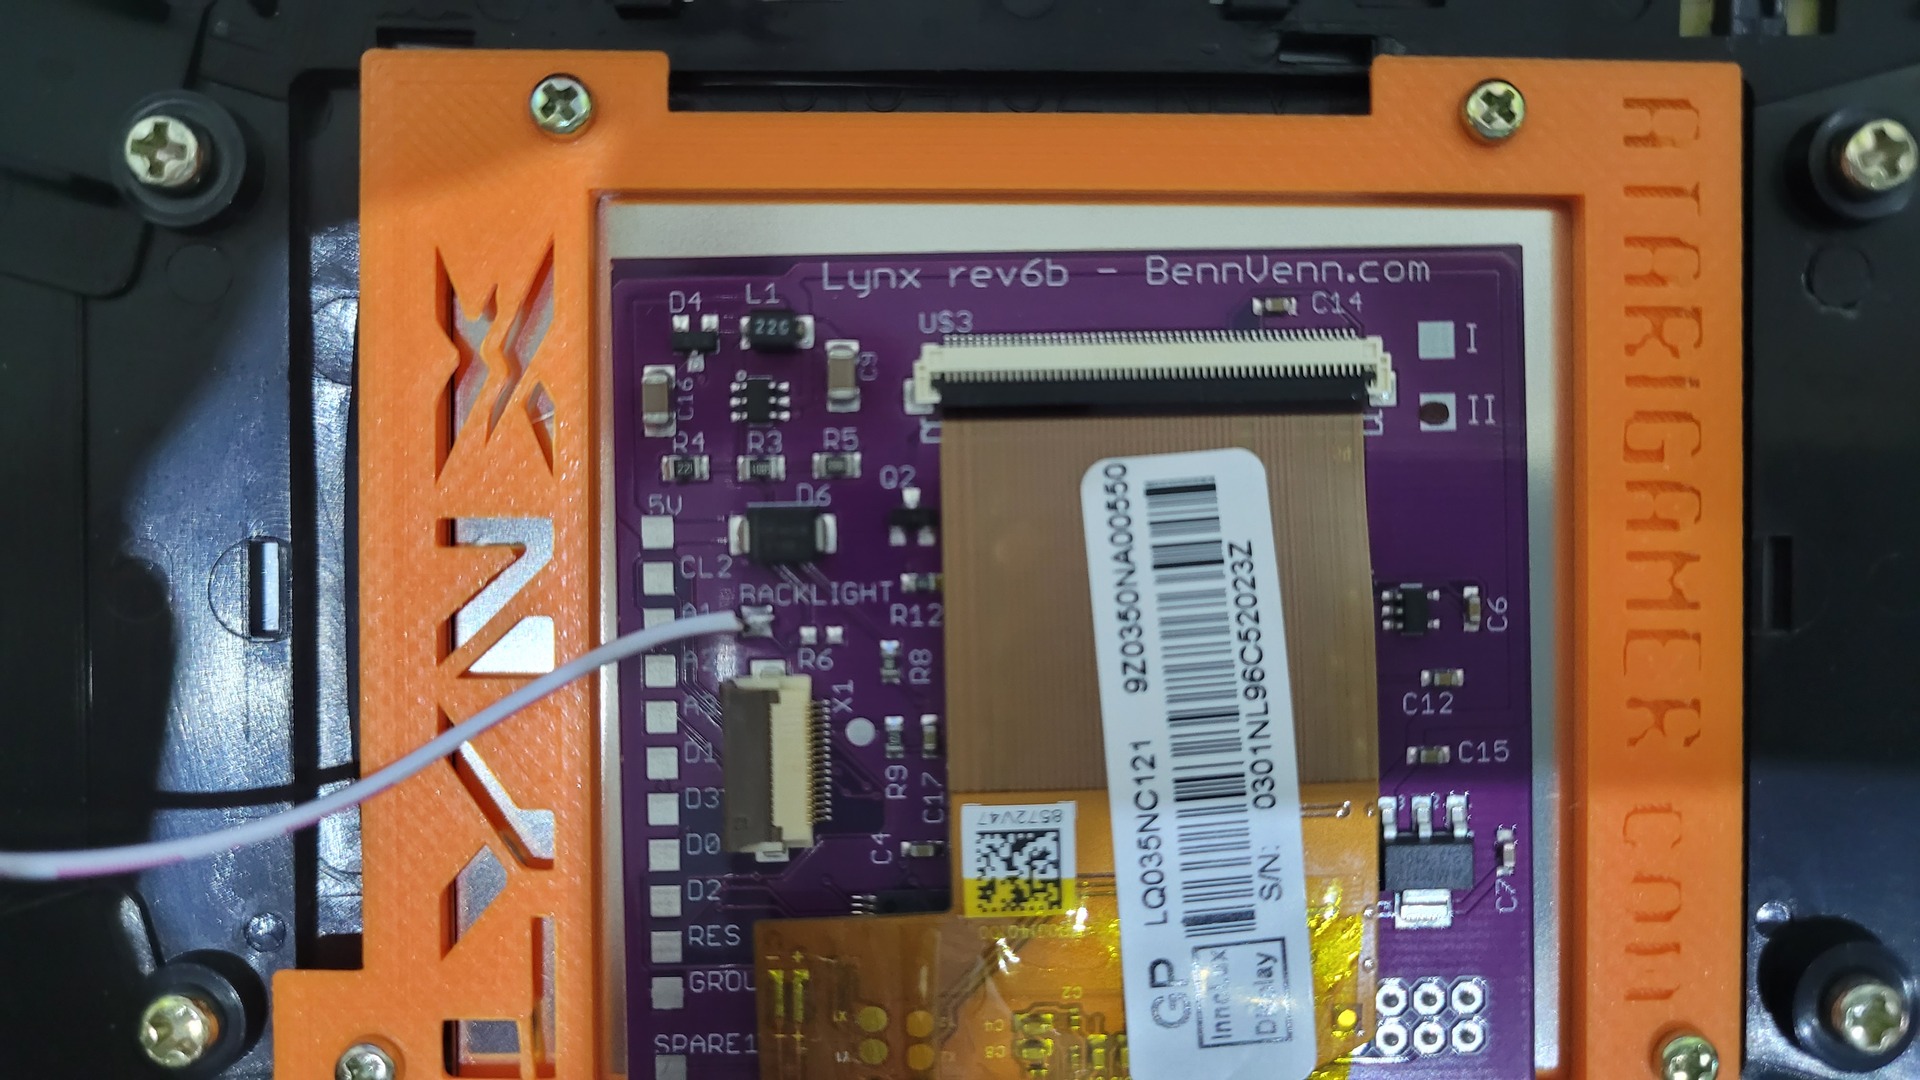
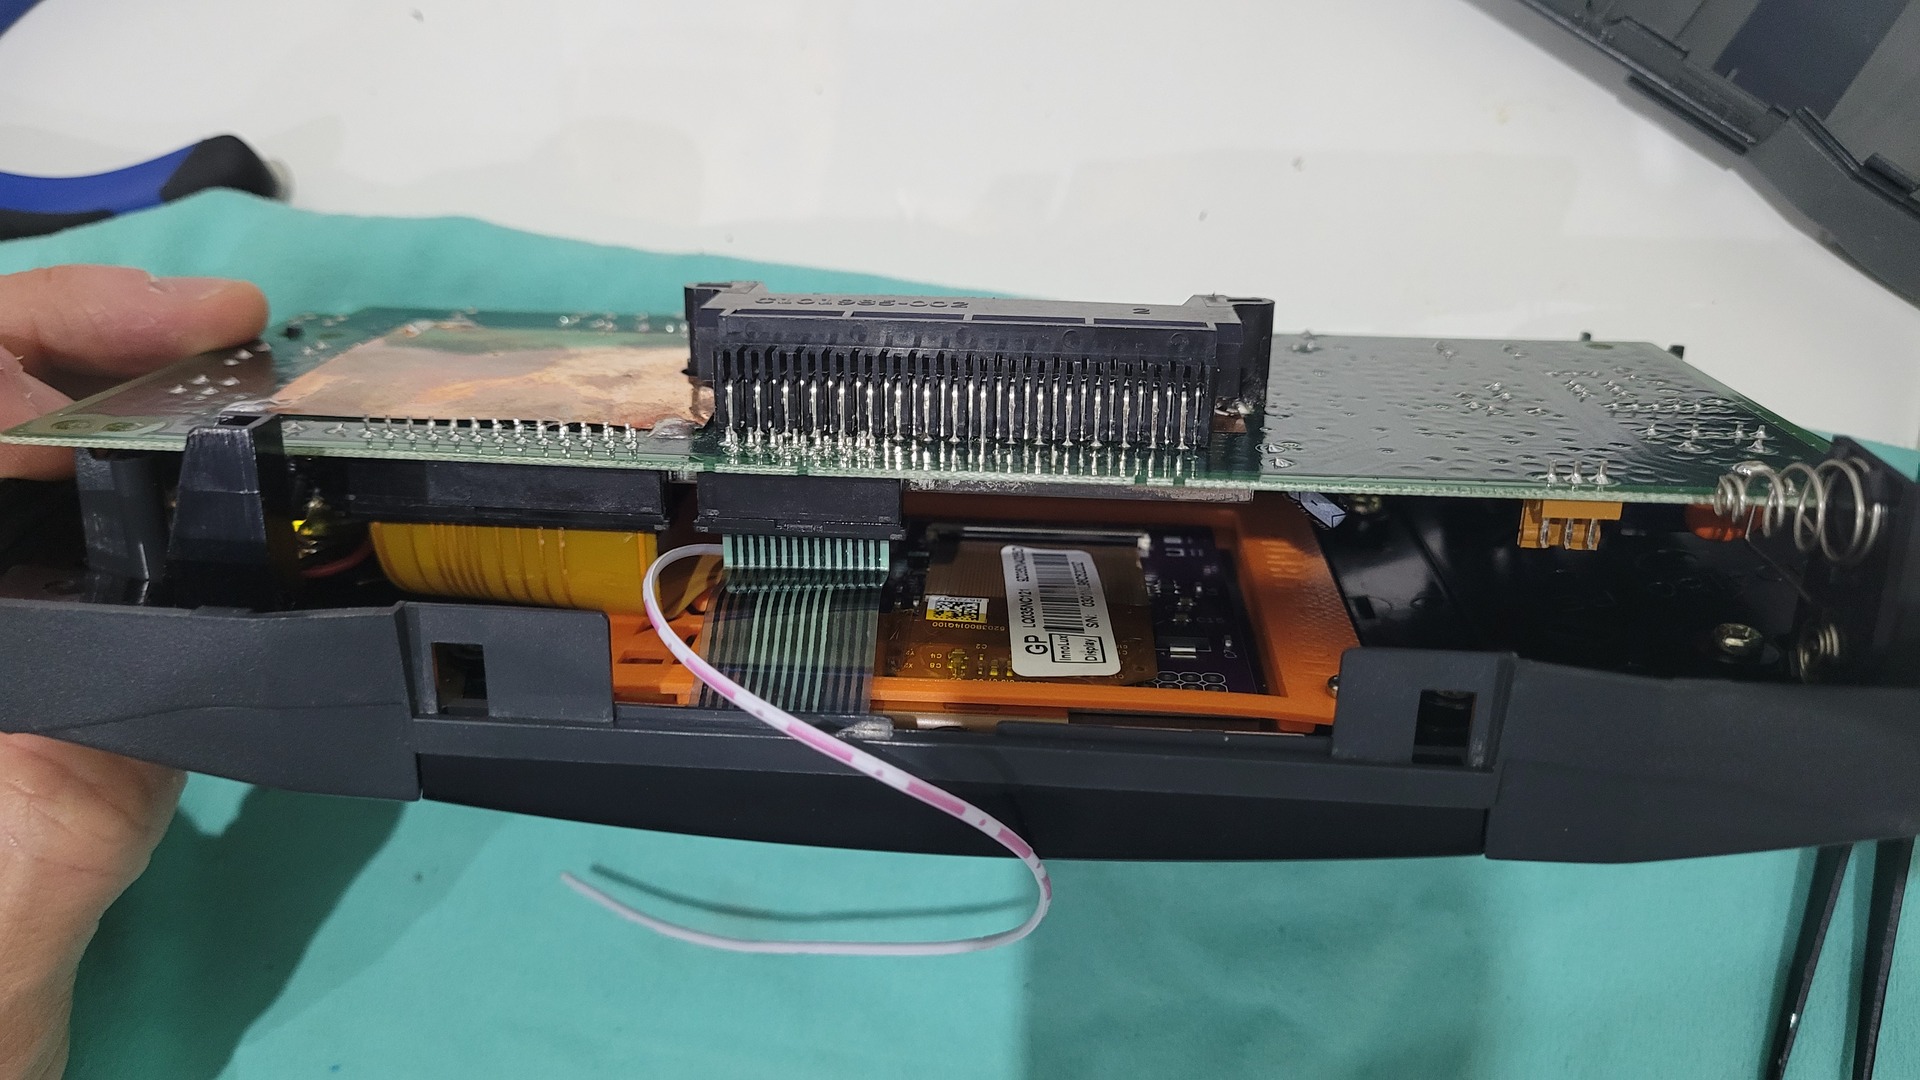
You can now put the ribbon cable on the Lynx’s motherboard and then on the display’s connector before screwing back the motherboard.
Next, the backlight wire can be soldered to the “backlight” button solder point and… It’s over, the console can be closed !

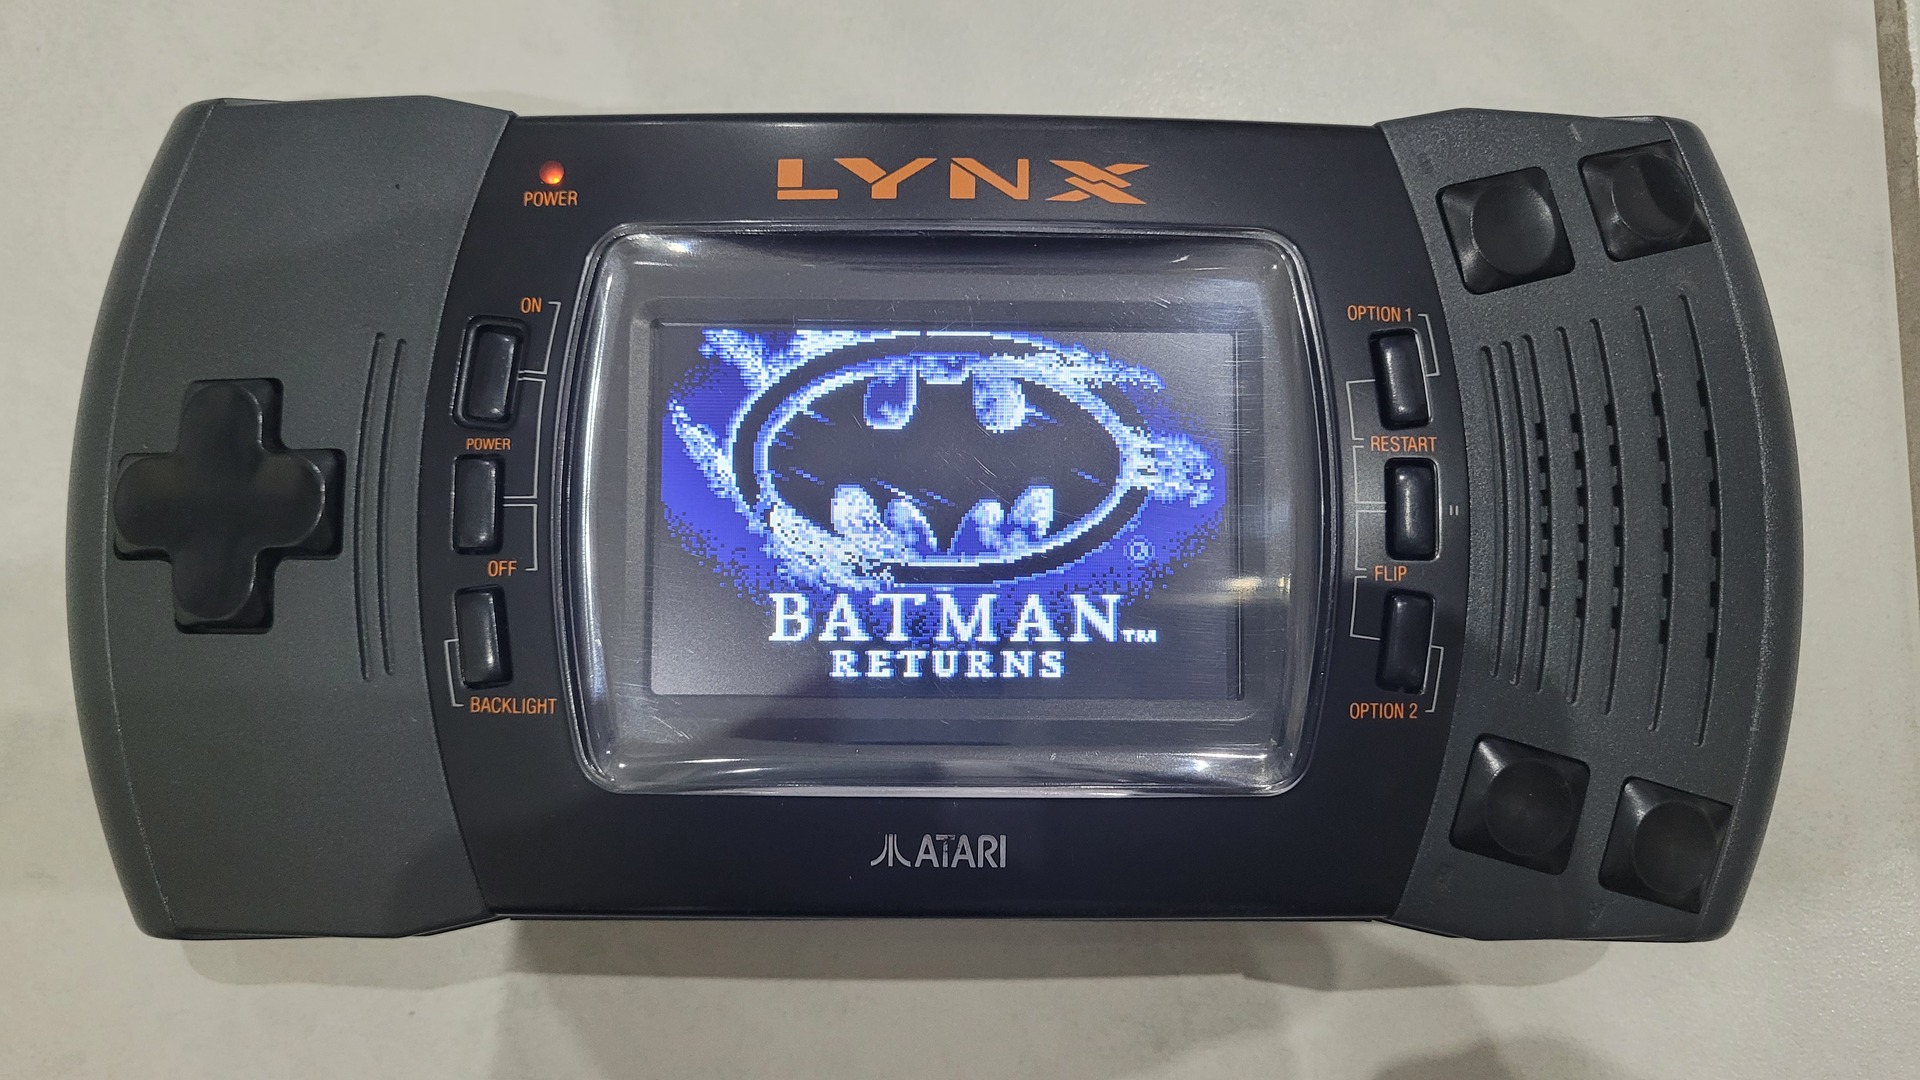
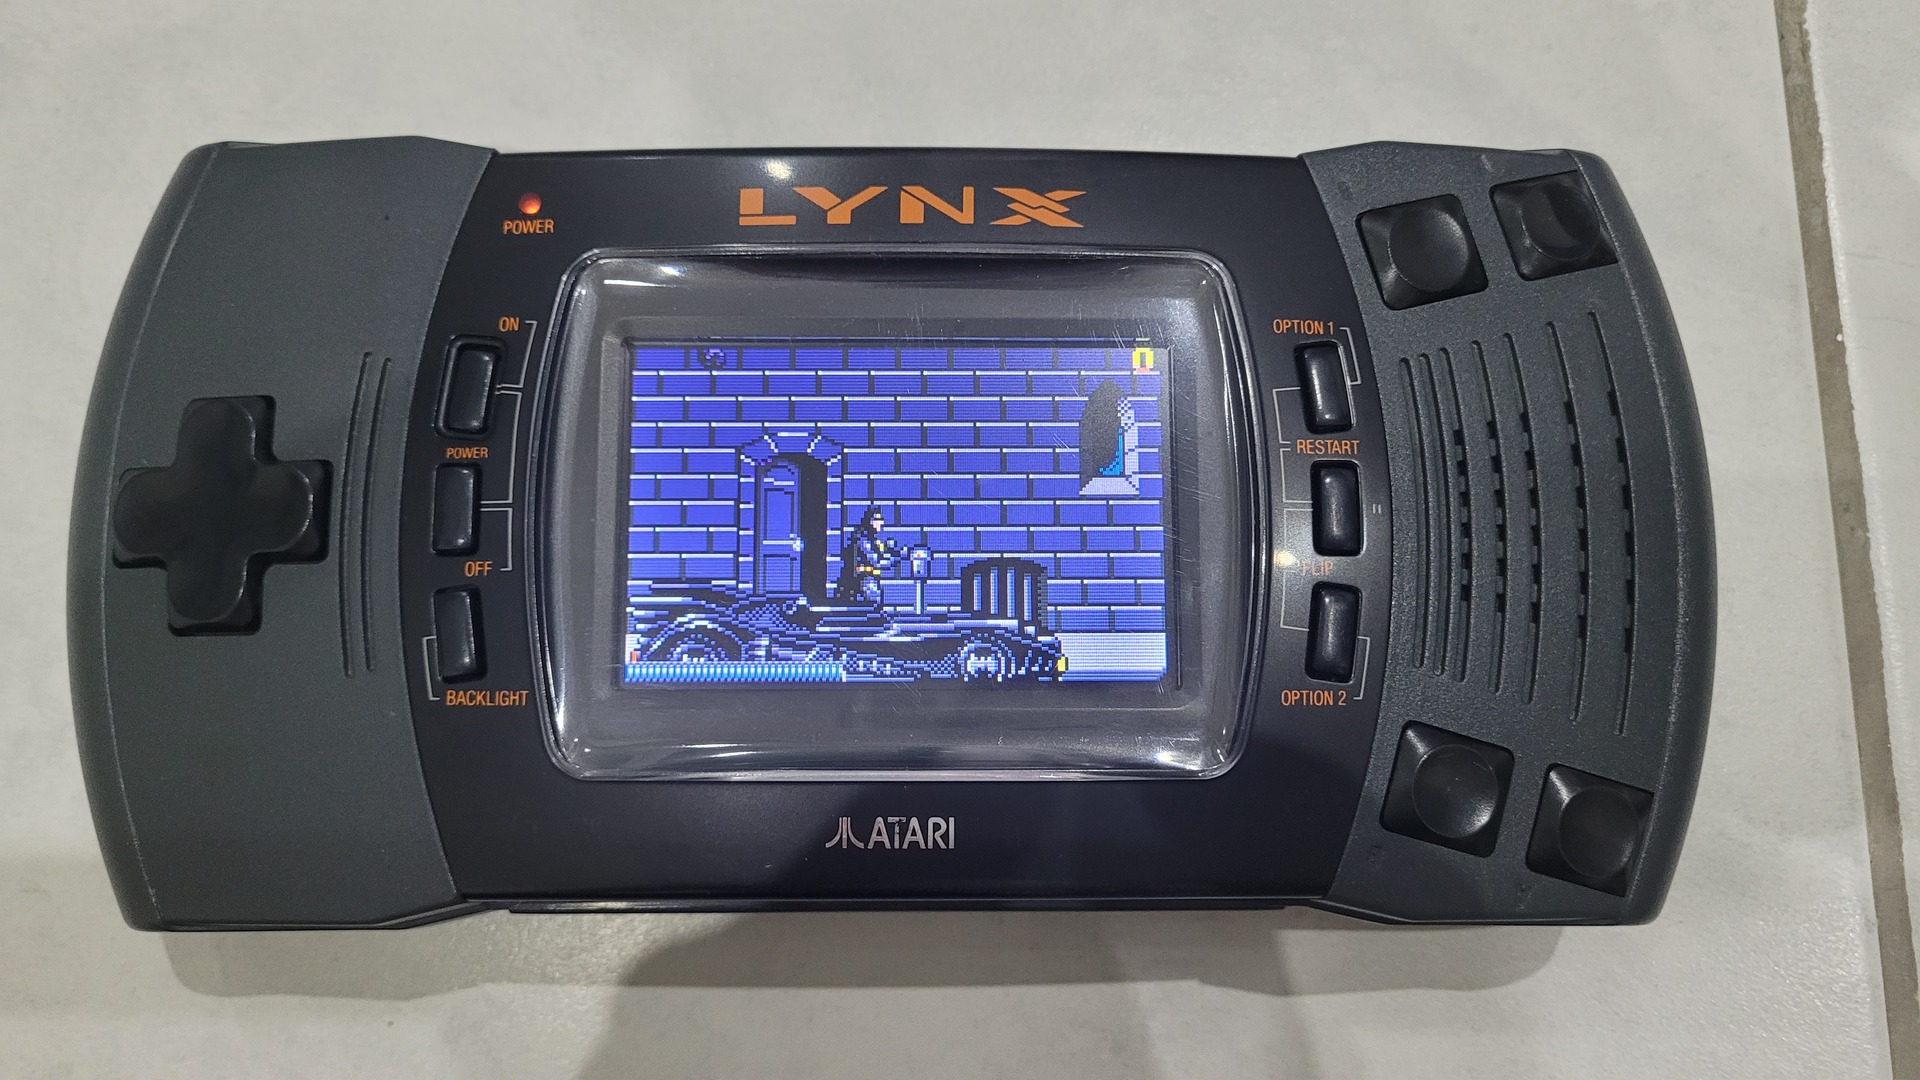
You can now admire how games look crysp 😉

[…] already opened the console to change the screen as explained in a previous post, so I did’t took new photos of theses […]