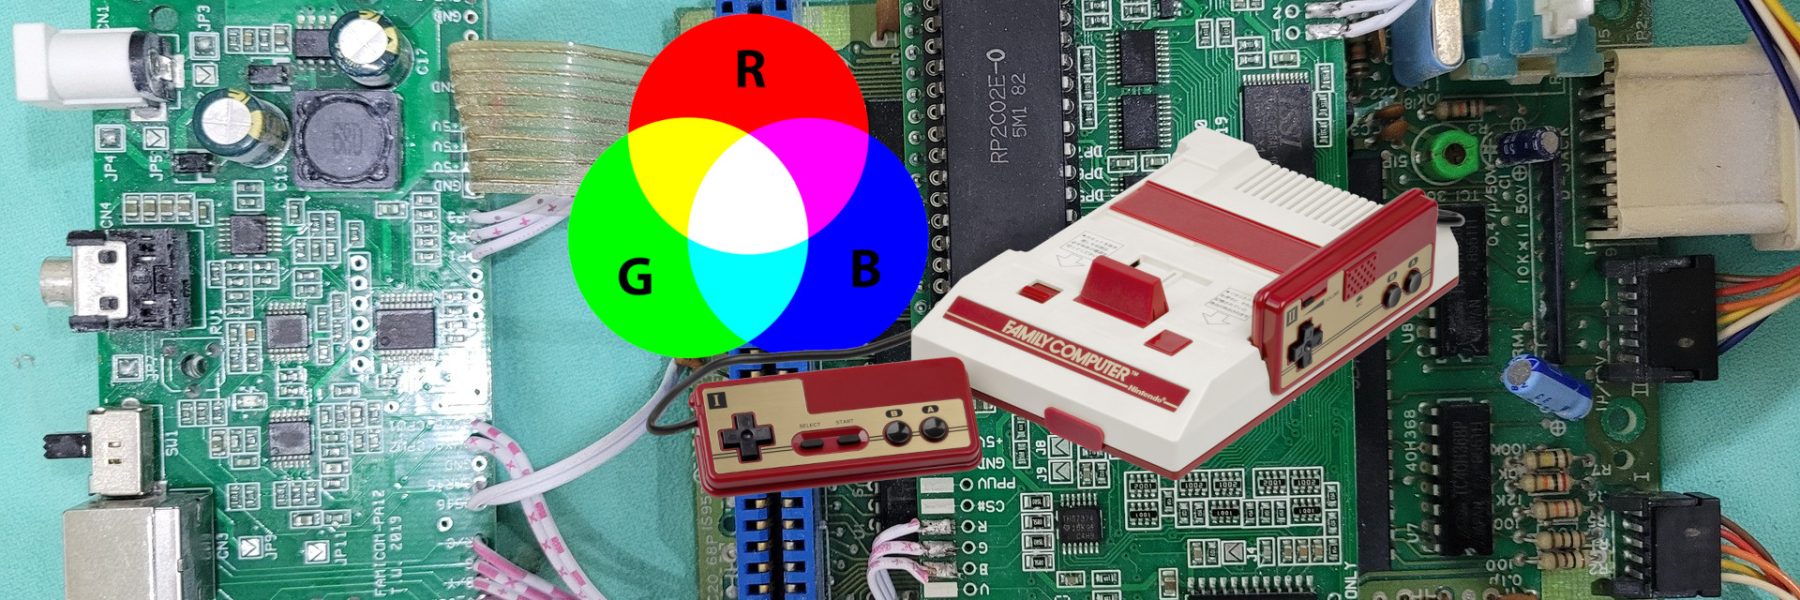
The Nintendo Famicom is my prefered NES system. It has a small formfactor unlike the oversized US/EU model, has a simple top loading mecanism for games and I find japanese cartridges design much more fun and colorful ! However, this console has a major drawback : it ouputs japanese RF signal which is only usable with old japaneses TVs. A simple hack allows to get a composite video output, but again, this hack provides only a NTSC-J signal which is not compatible with all display. Fortunately, a (not cheap at all) RGB mod exists for this console !
This is the story of my modded Famicom following the exellent guide from the author : Tim Worthington
Materials
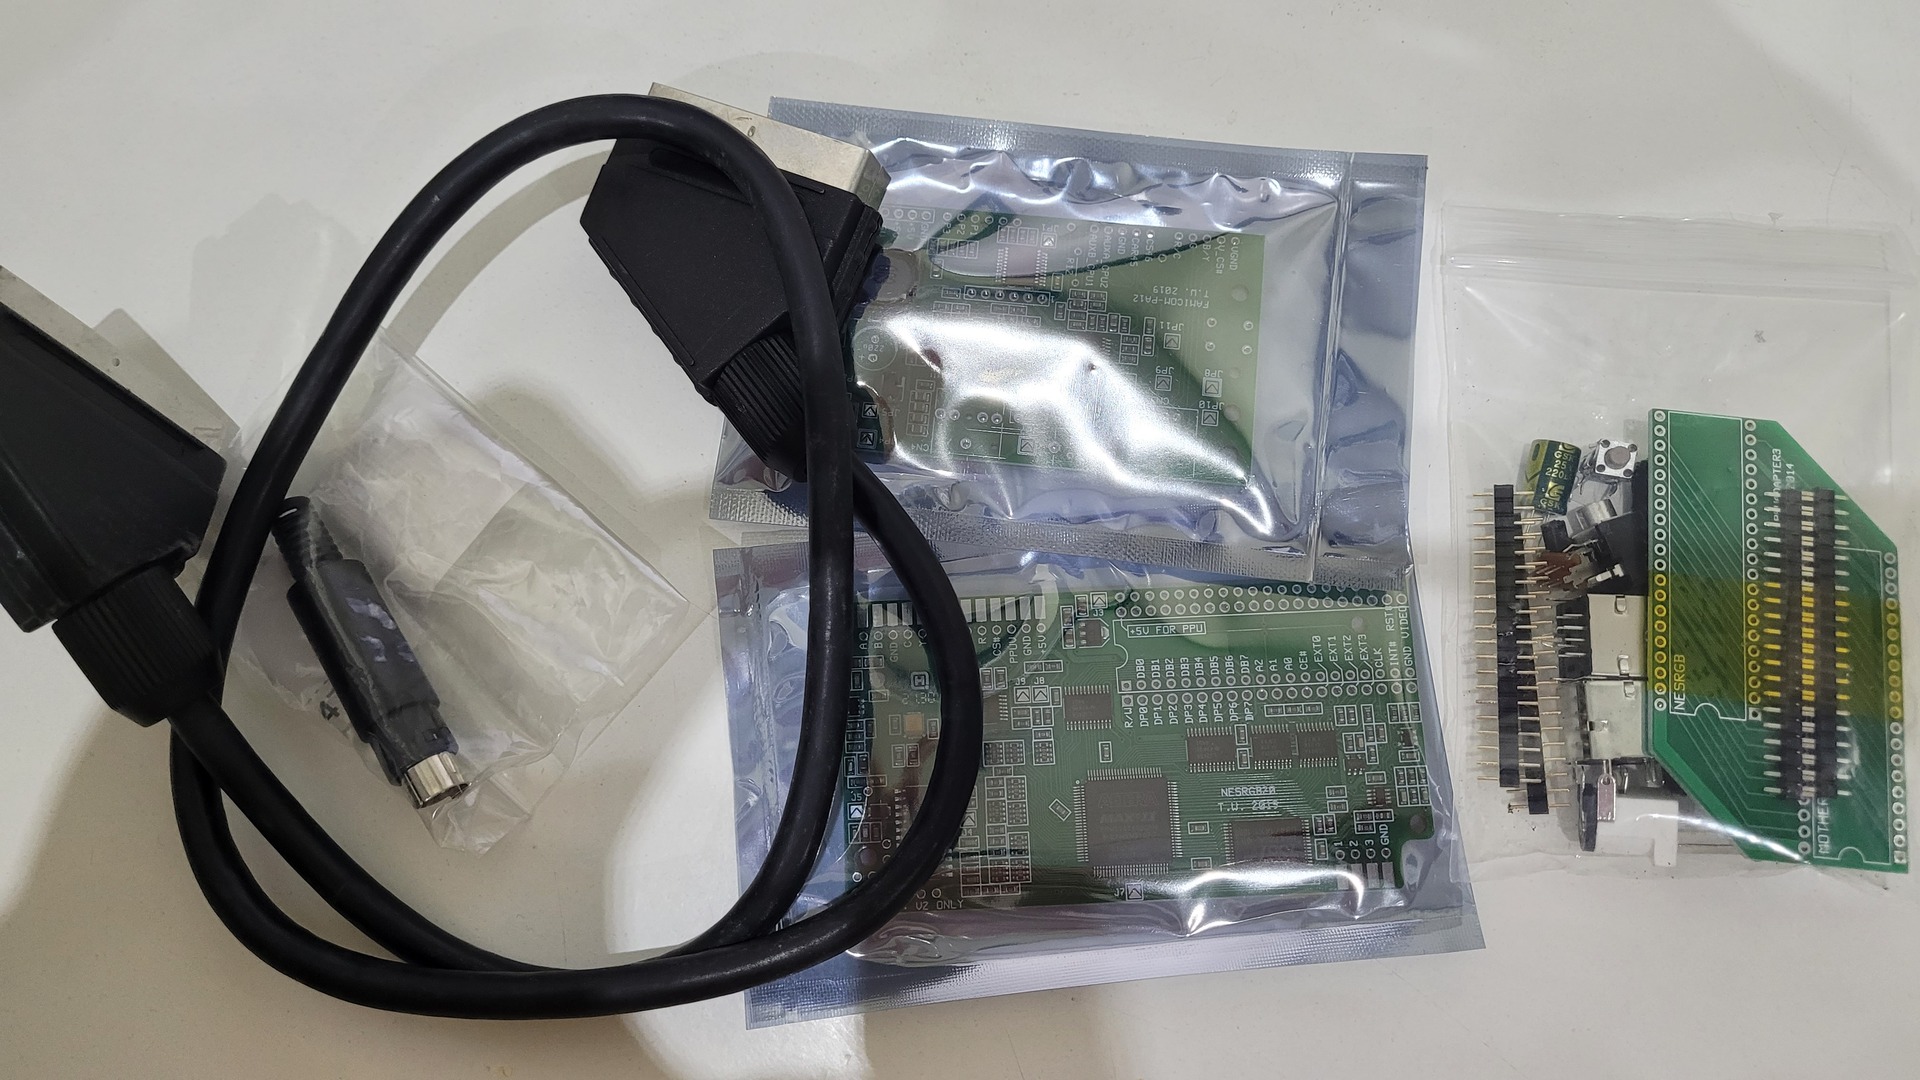
The console and the NesRGB package has I received them. Forget about the SCART cable, I did not use it.
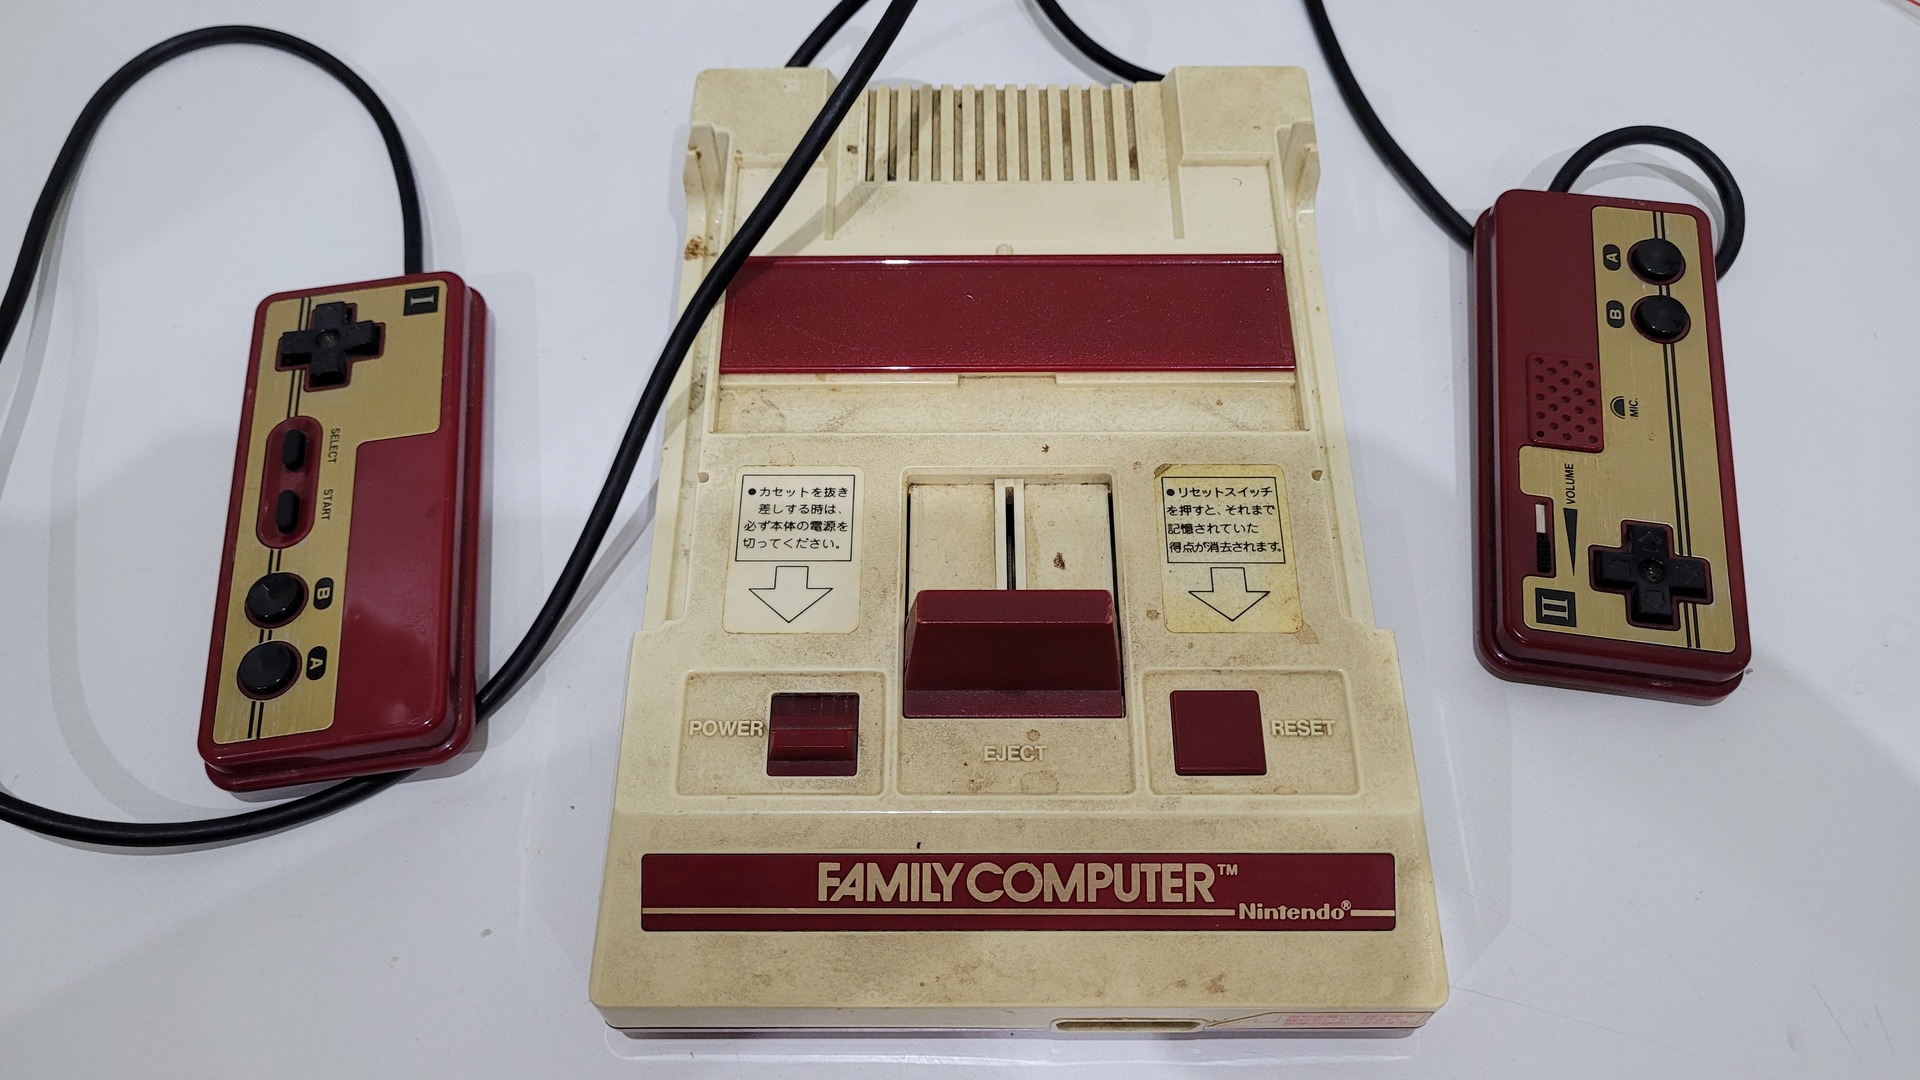
As you can see, the Famicom is really dirty, but the clean-up and repaint will be another story…
Opening the console
Umount the boards
The older the console, the easier to open : 6 skrews for the shell, 4 skrews for the motherboard, 4 skrews for the power / video board and 2 skrews for the power on switch.
I also removed the joypads to make manipulation easier.
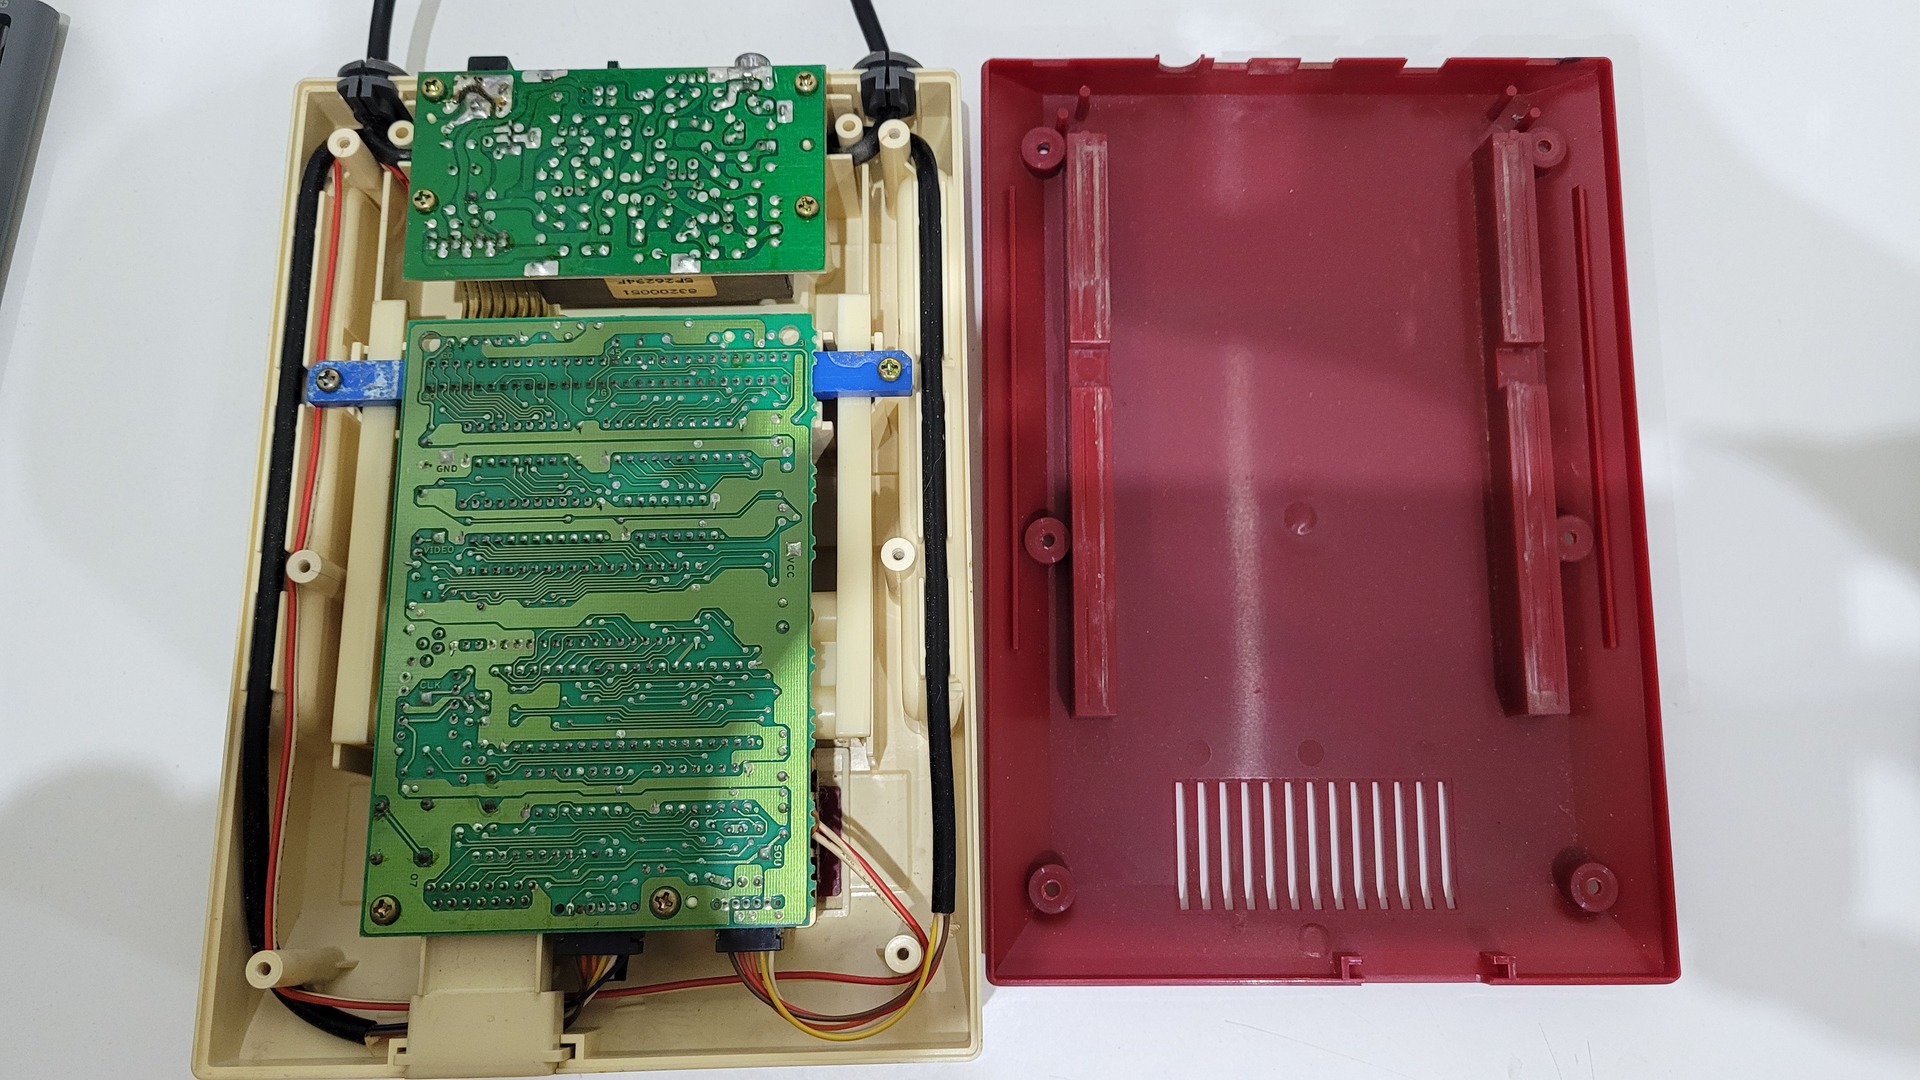
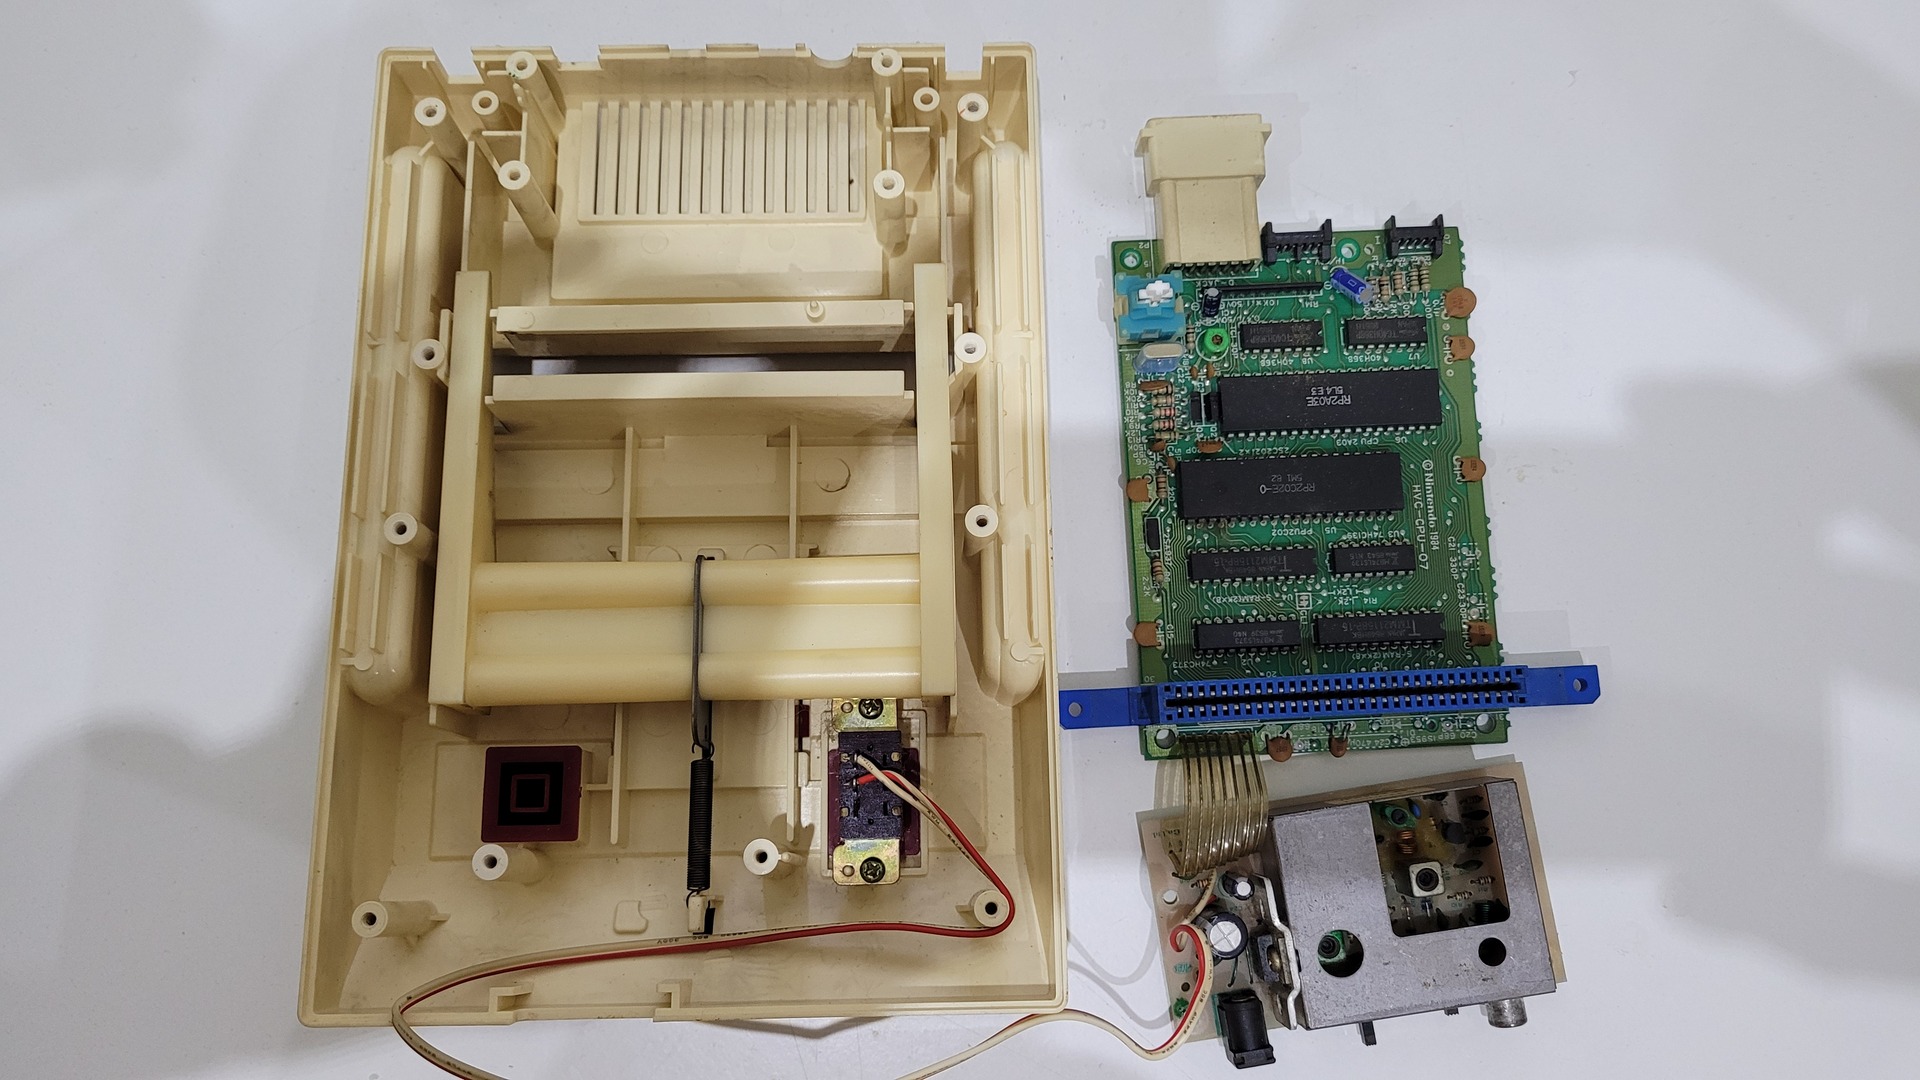
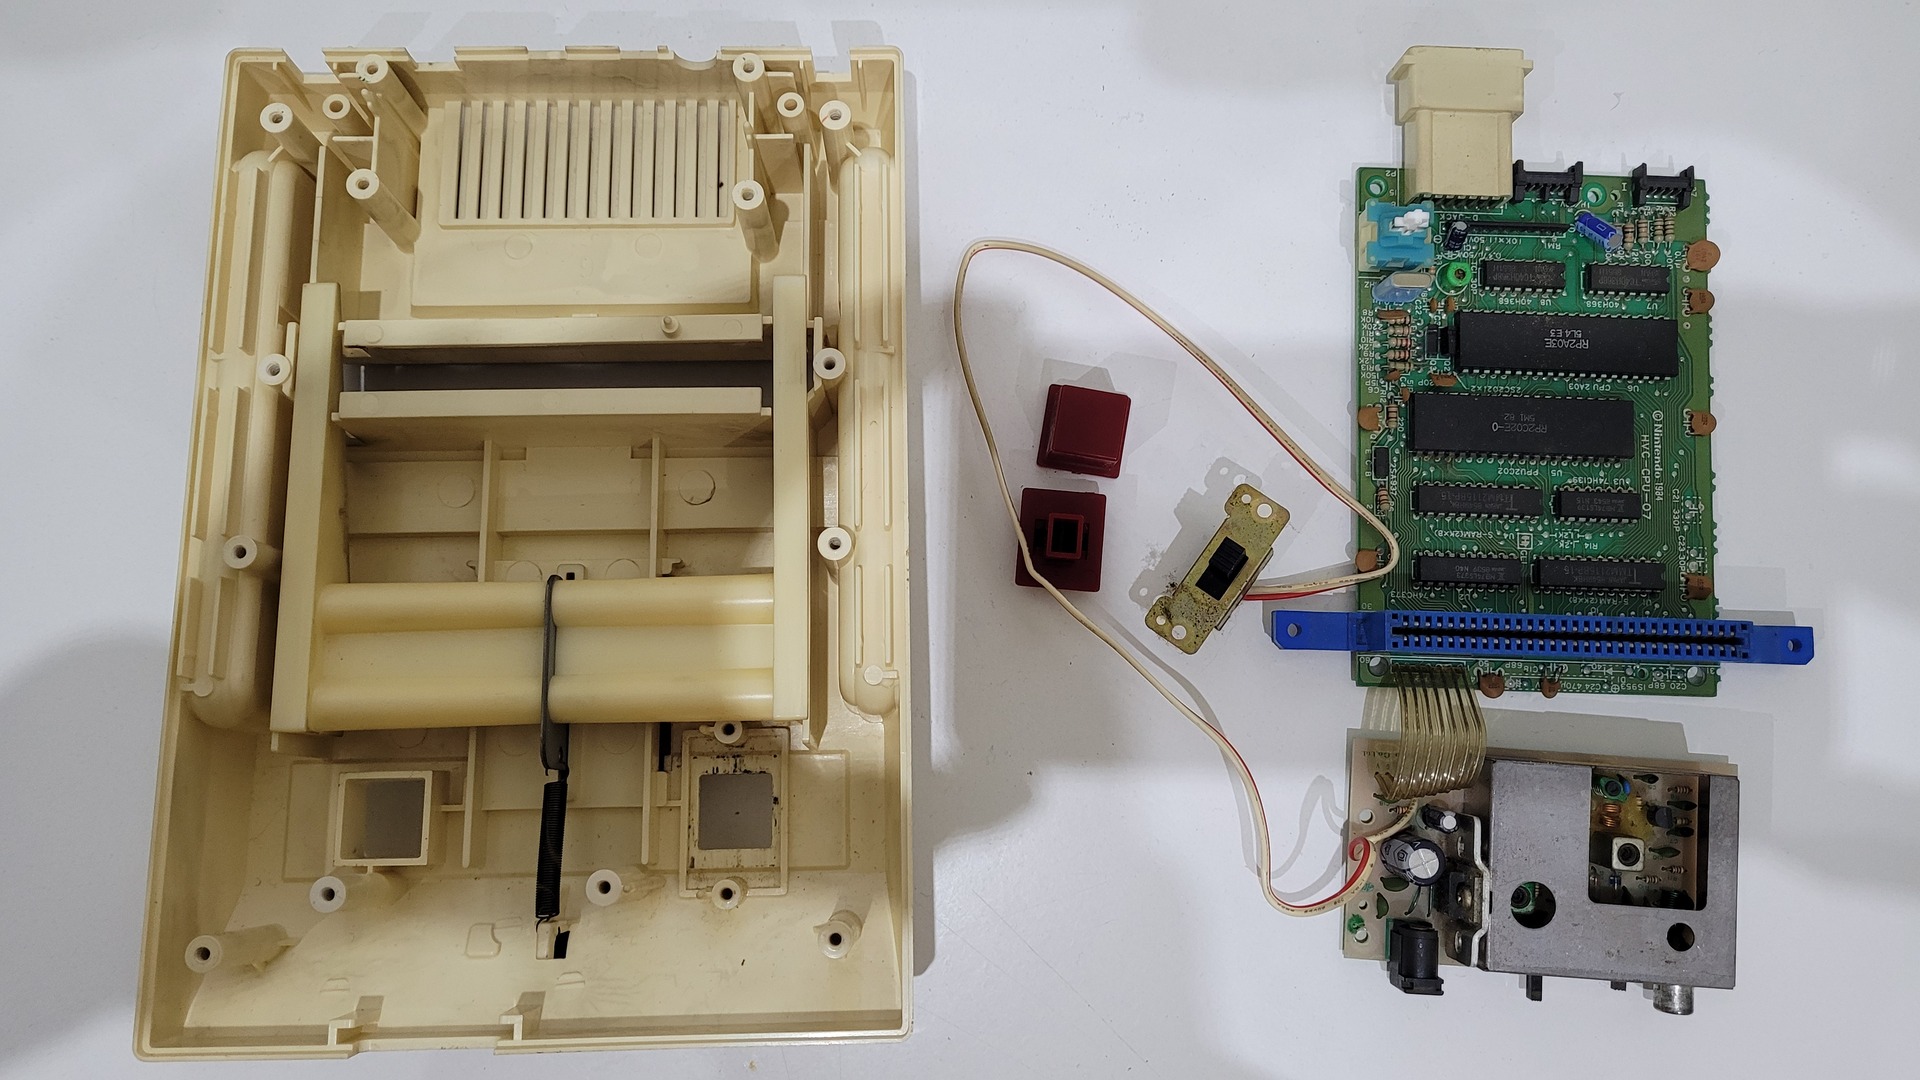

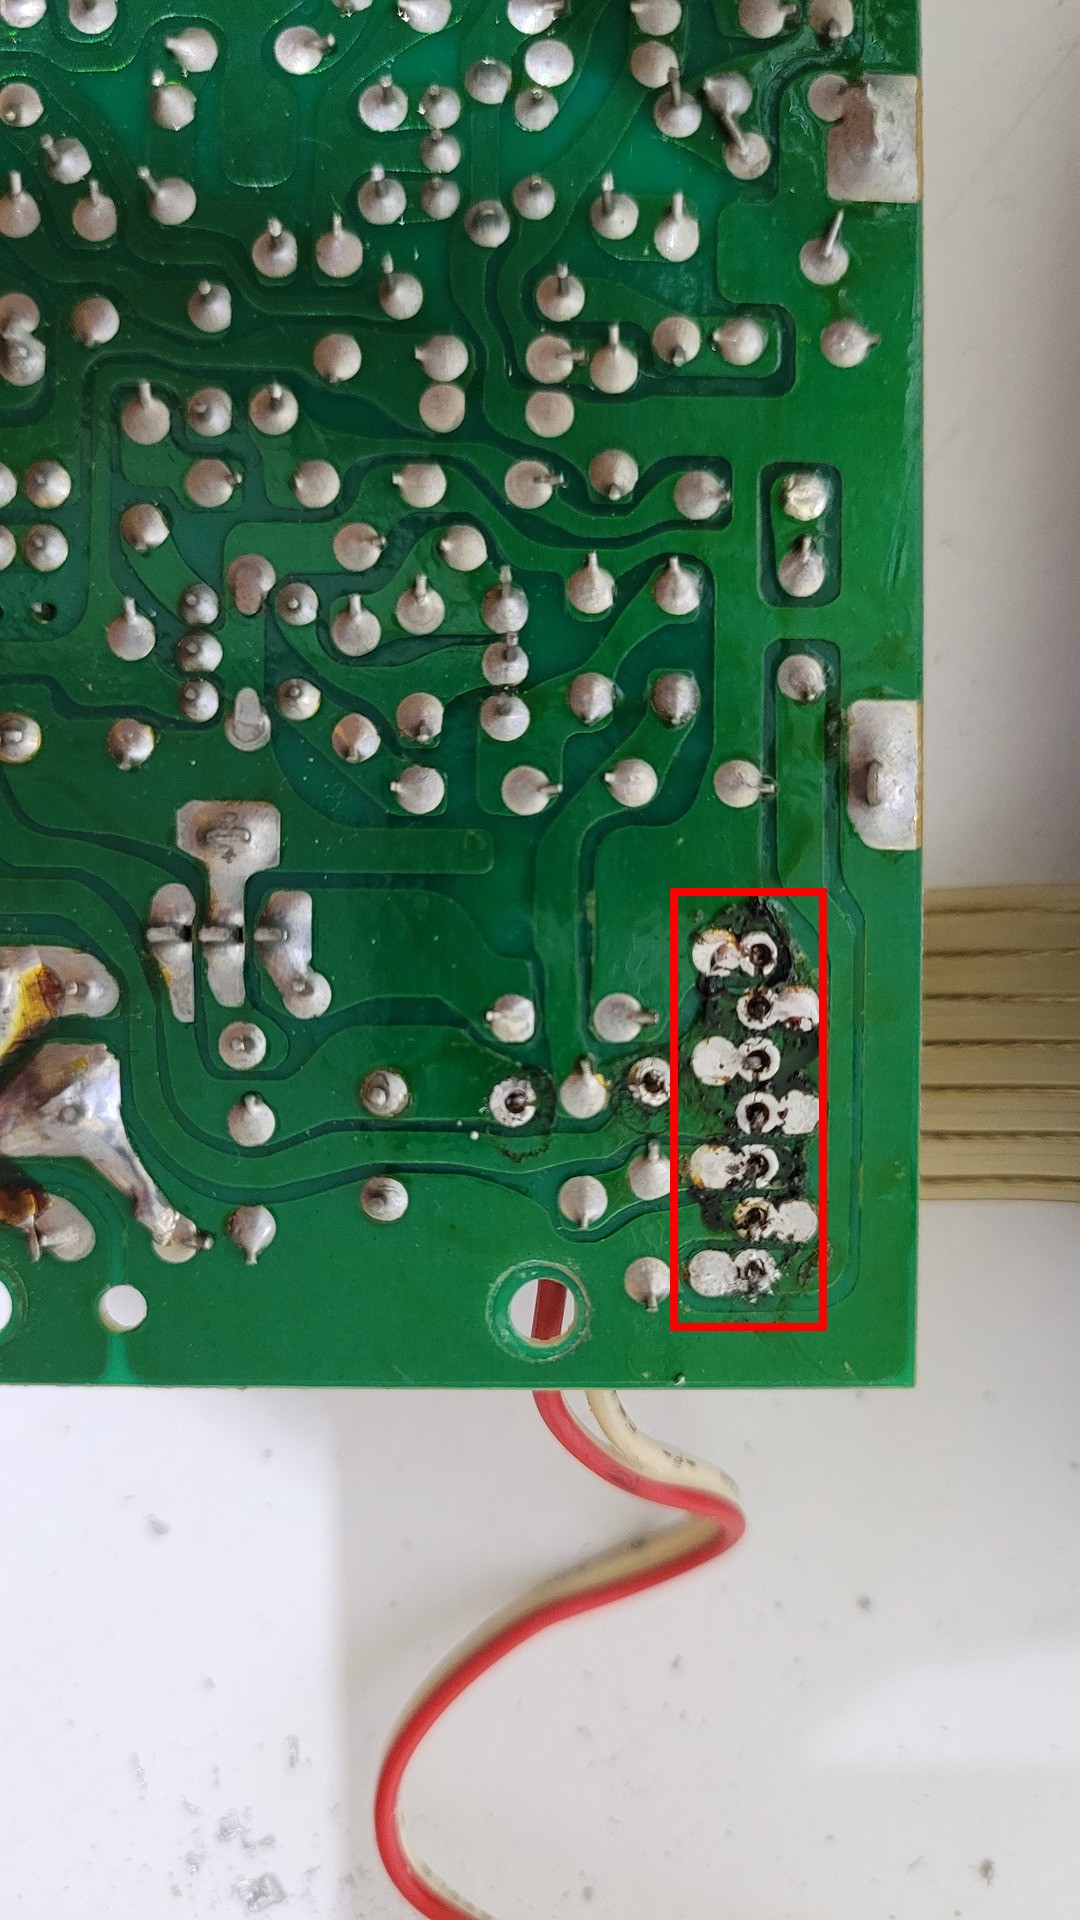
Remove the power / video board
As the NesRGB guide states, this board is no more usefull for the console… Unless you still have an old japanese CRT TV 😉
The board is wired to the motherboard with a ribbon cable. The easiest way to remove it is to add some fresh solder and use a solder sucker.
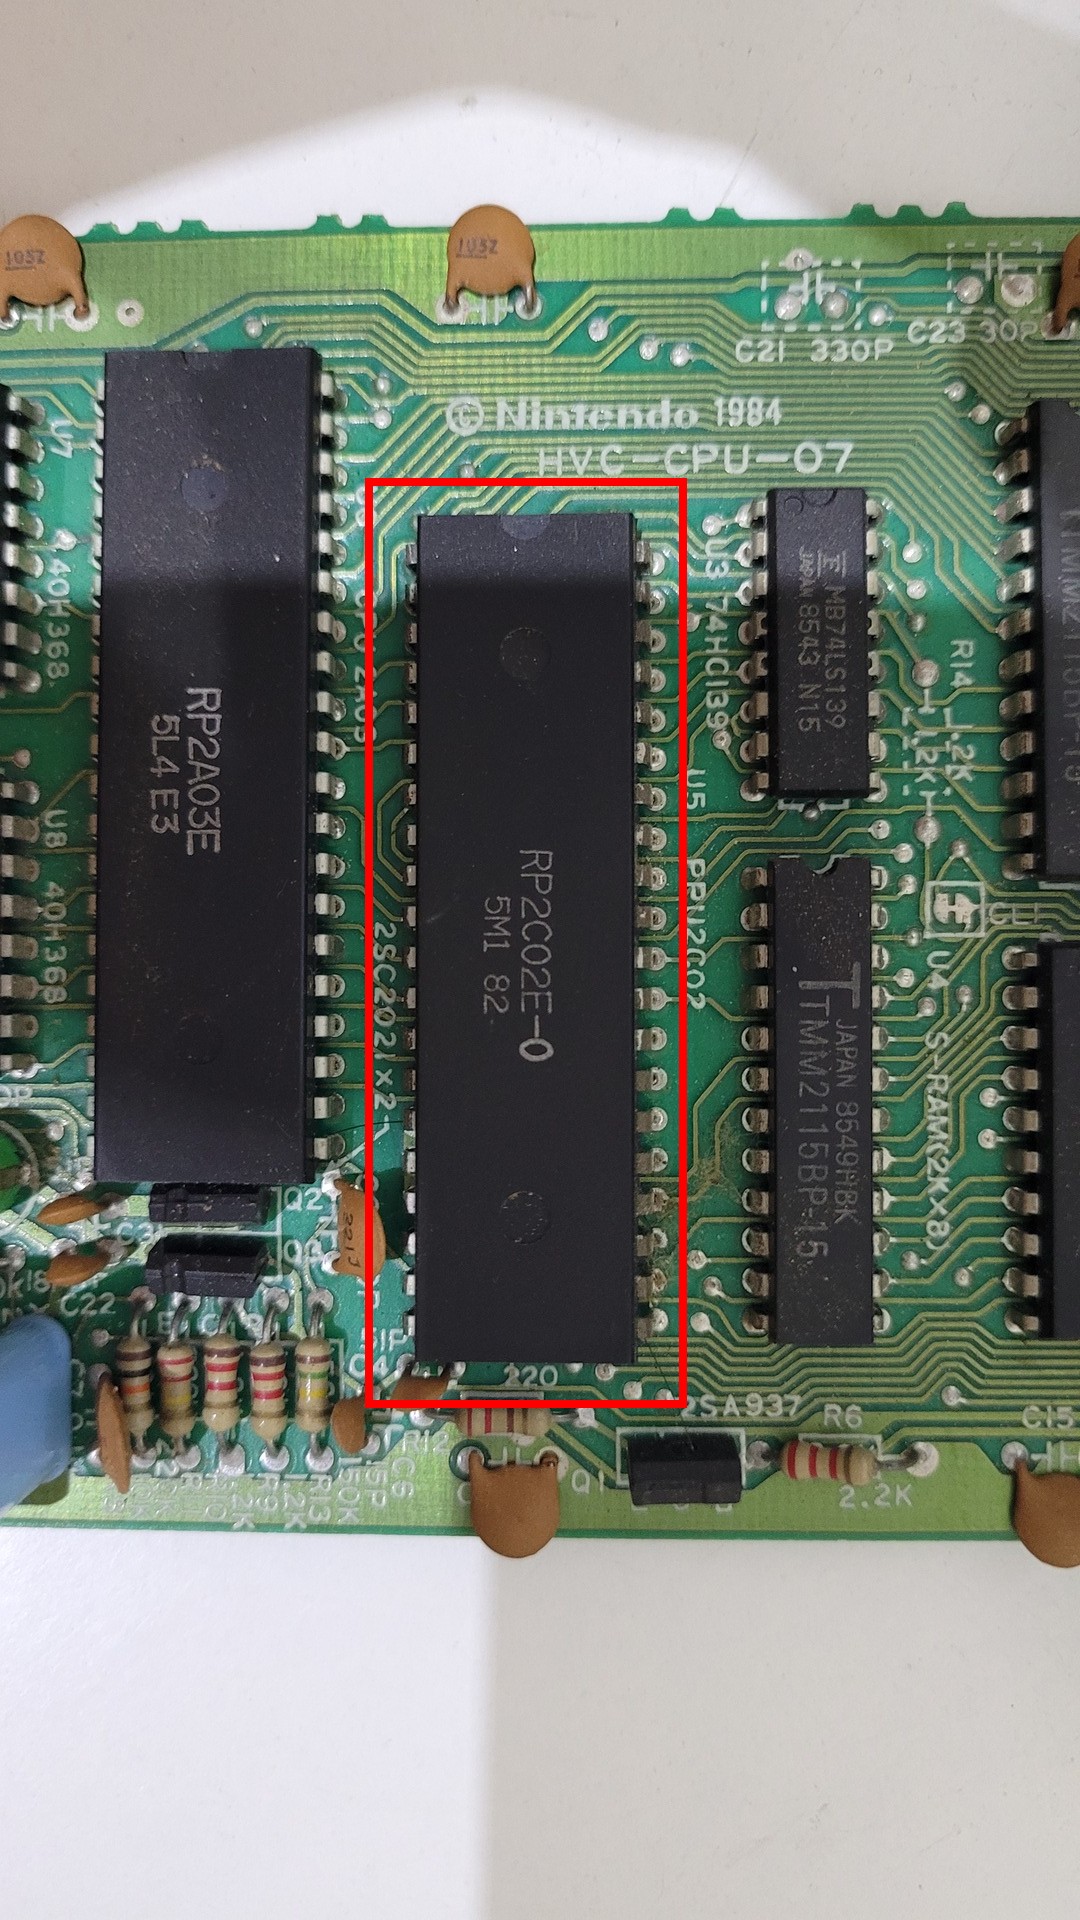
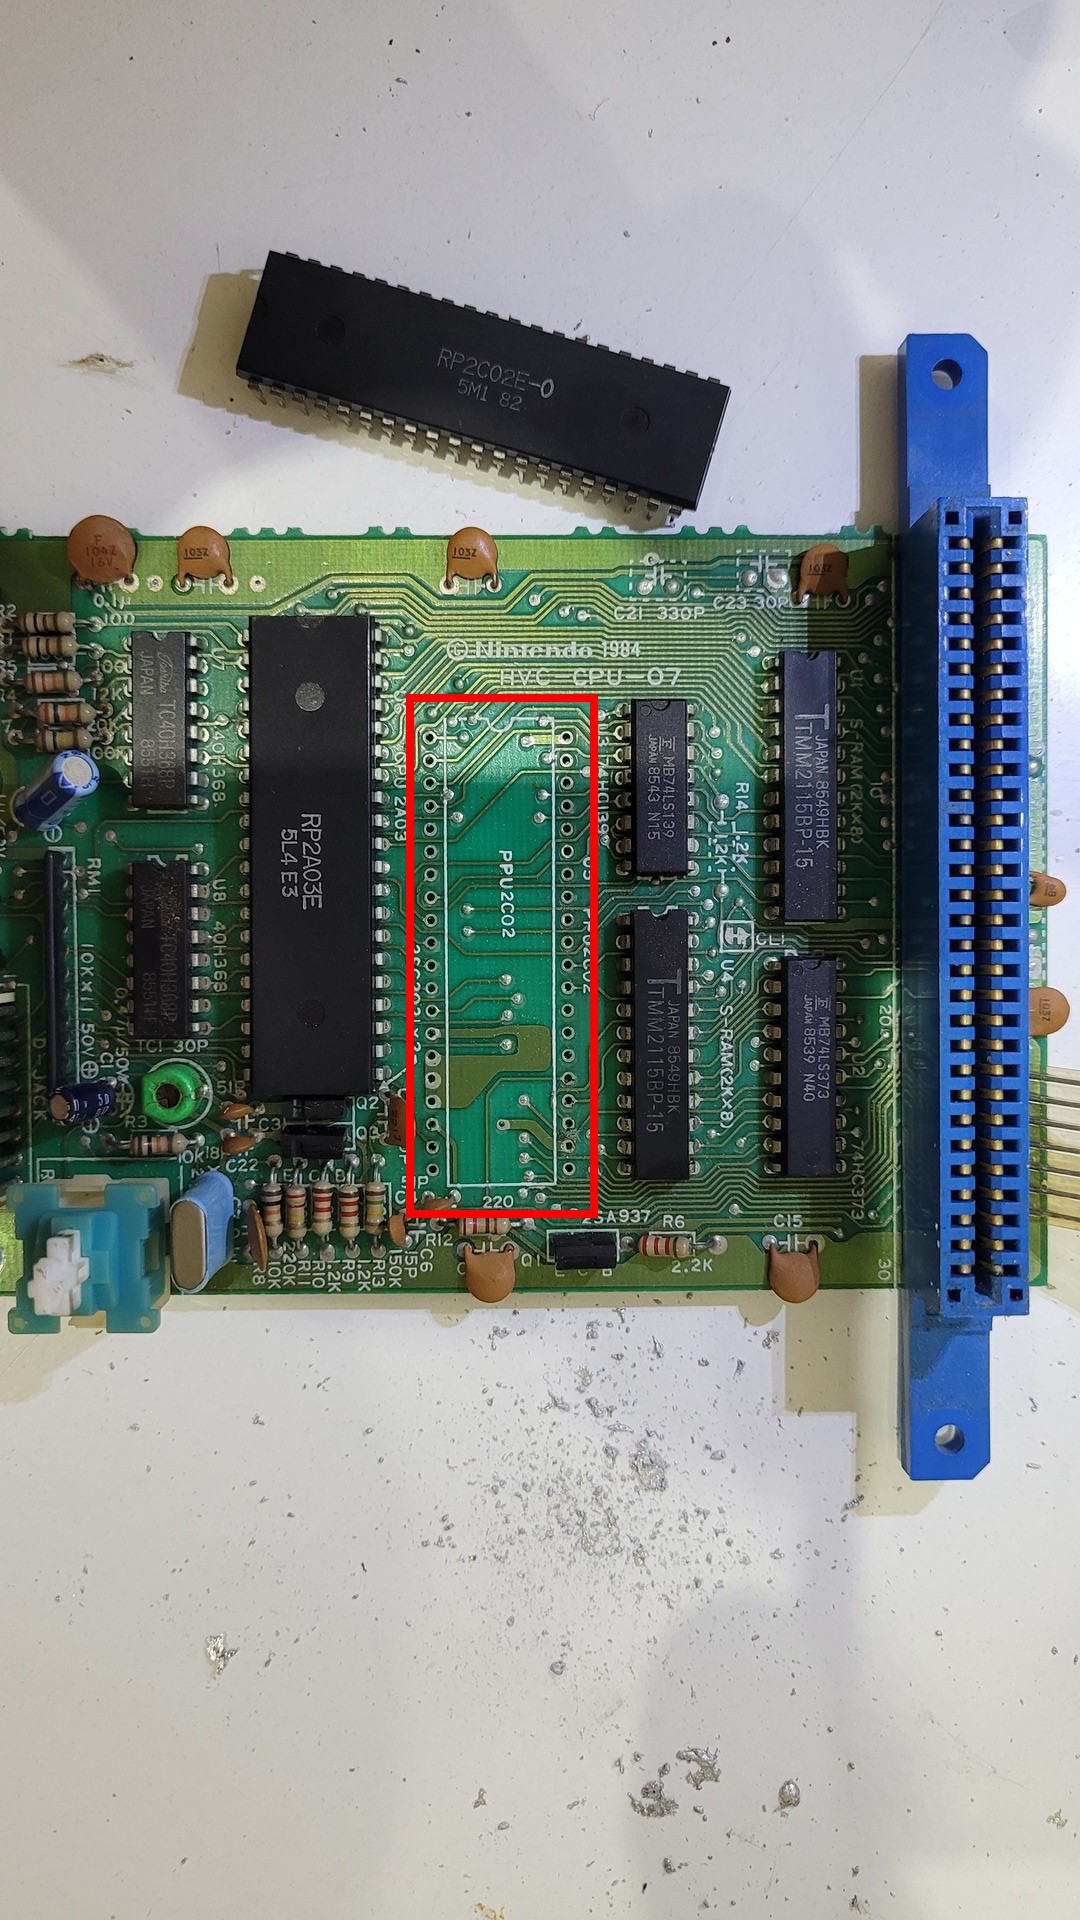
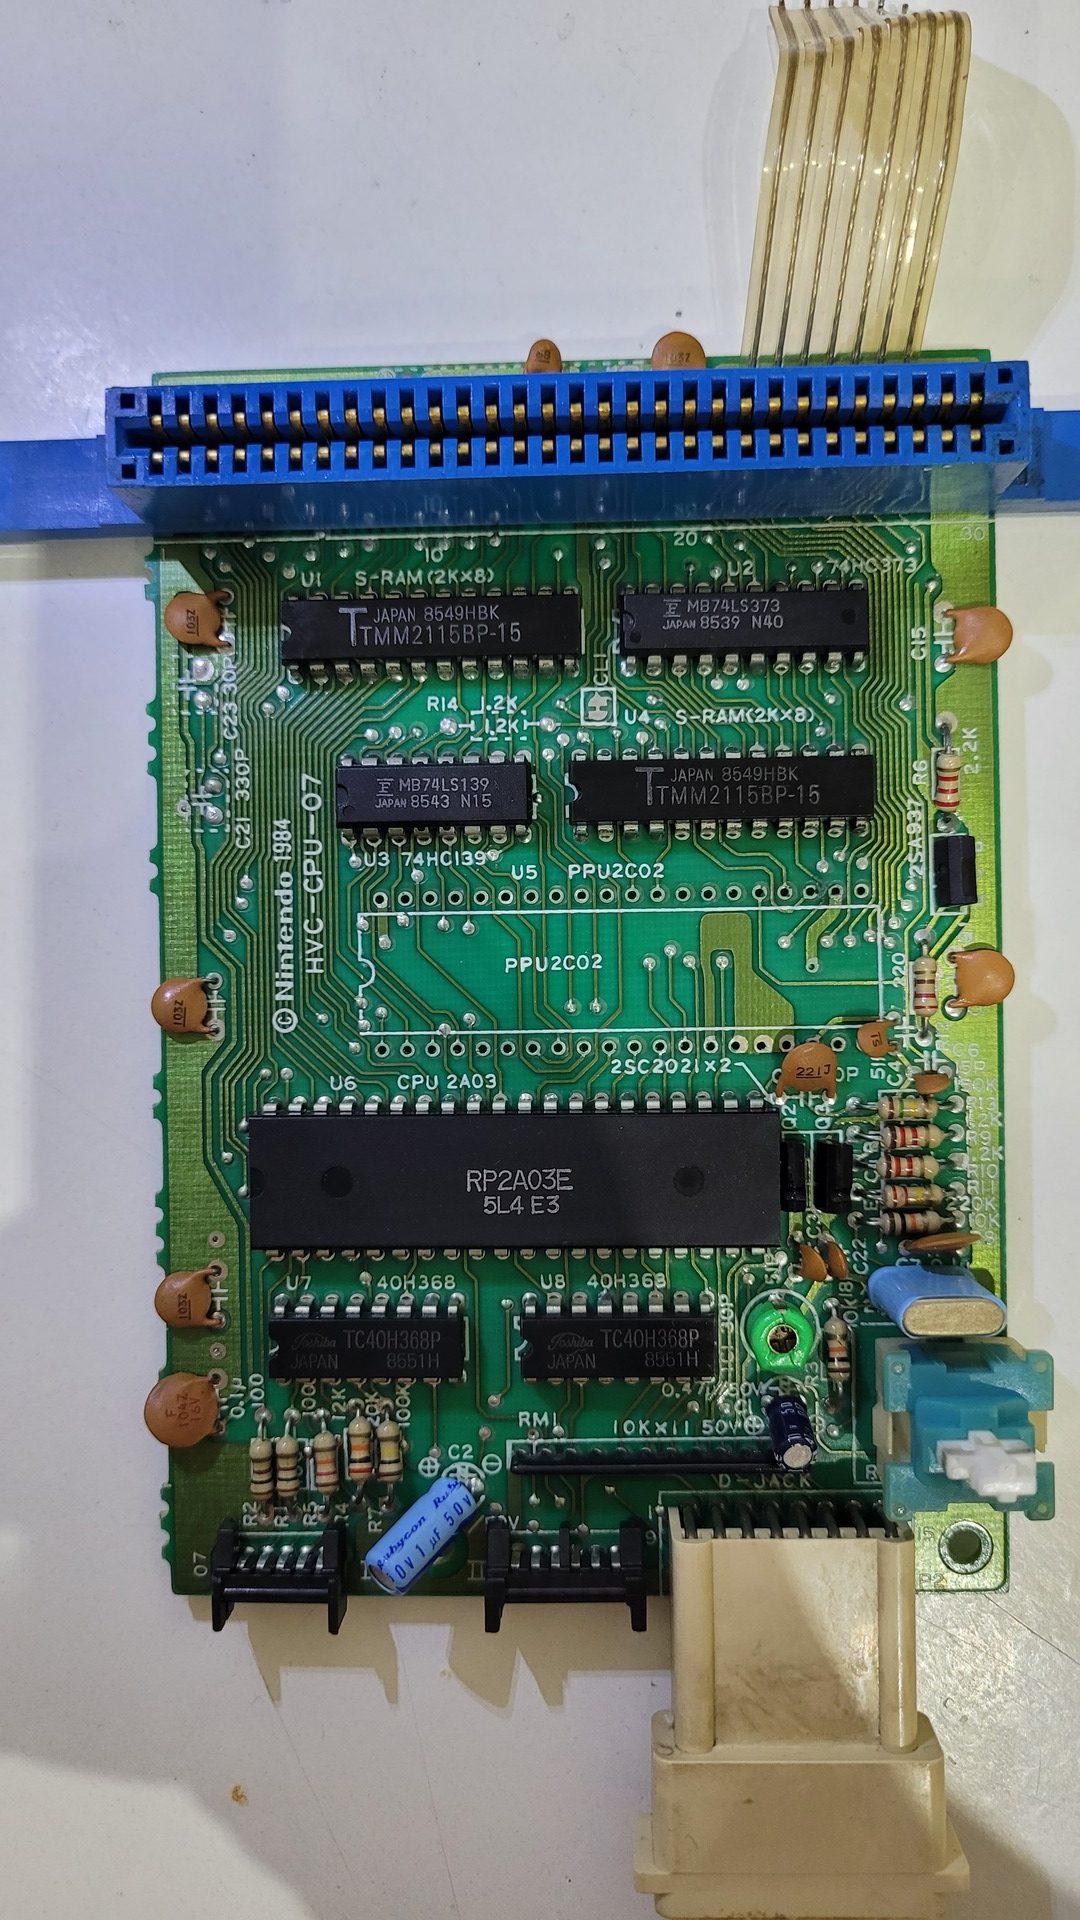
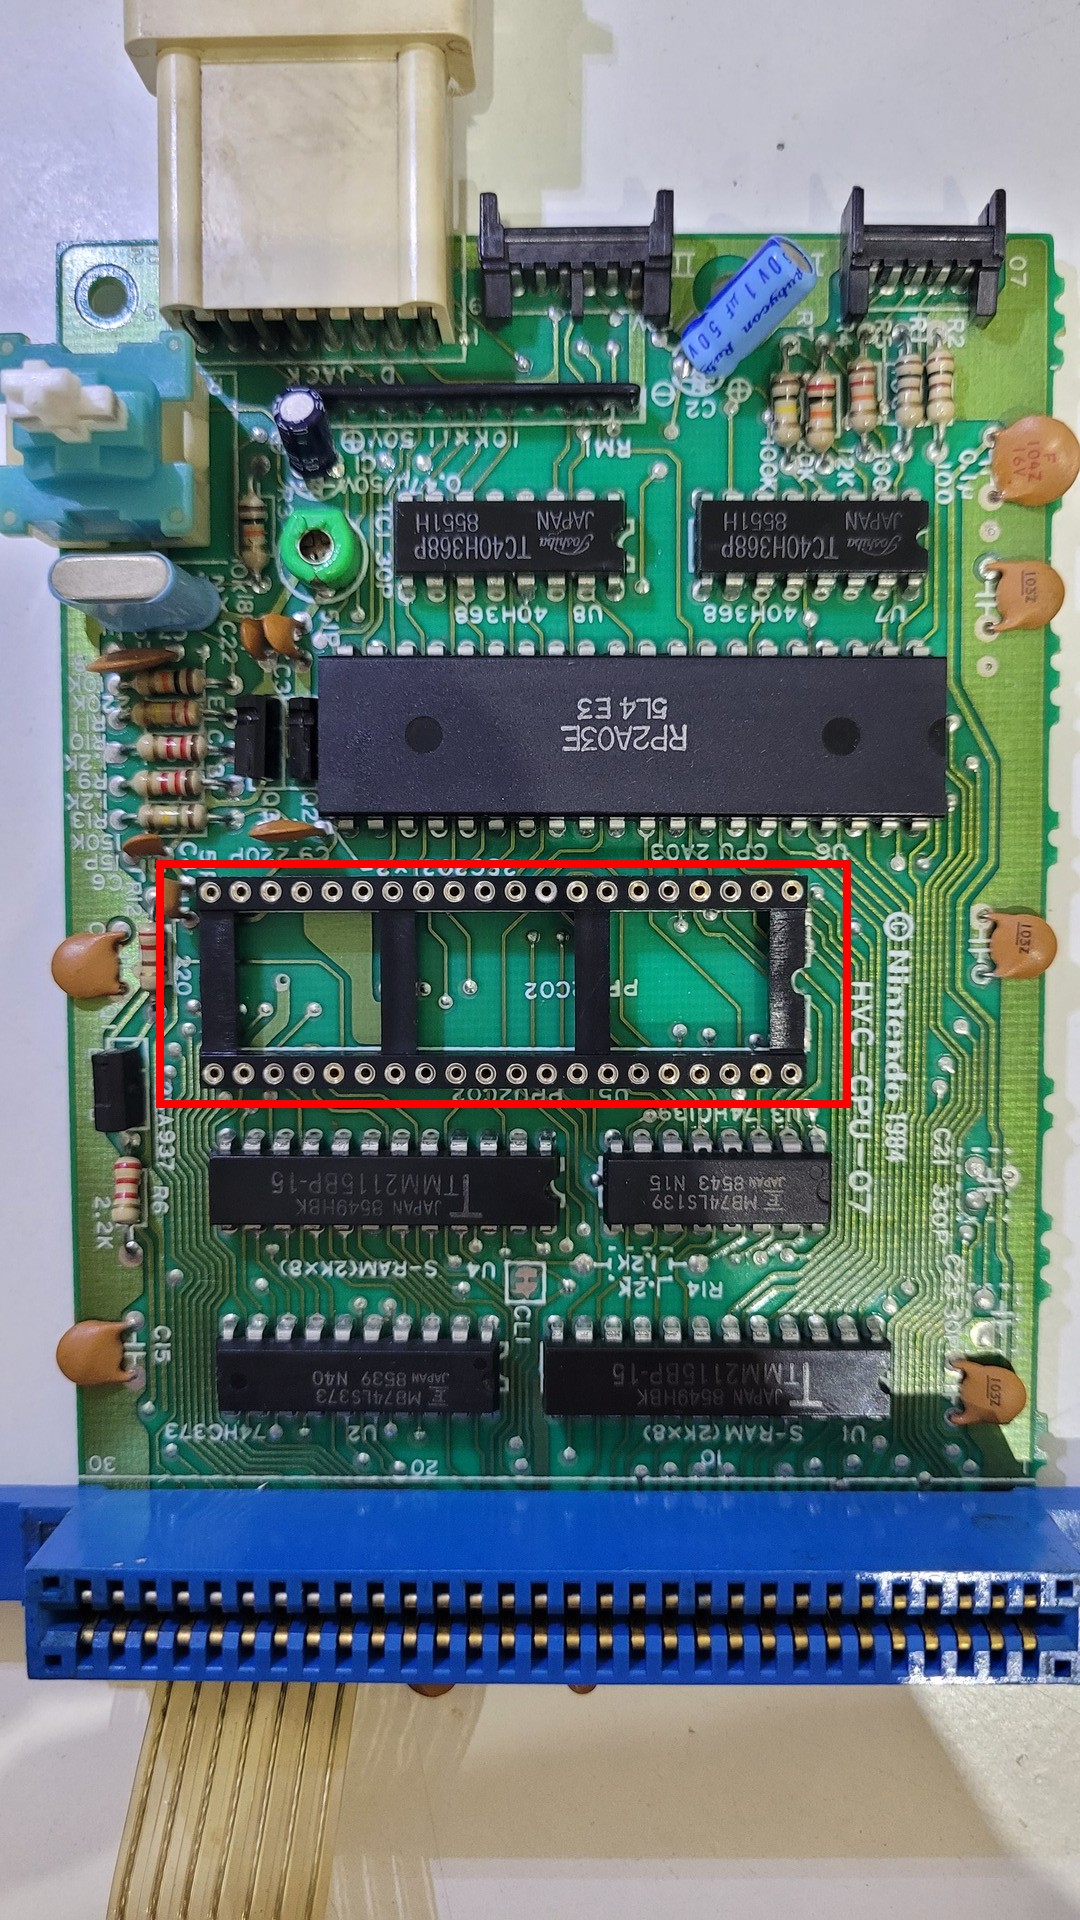
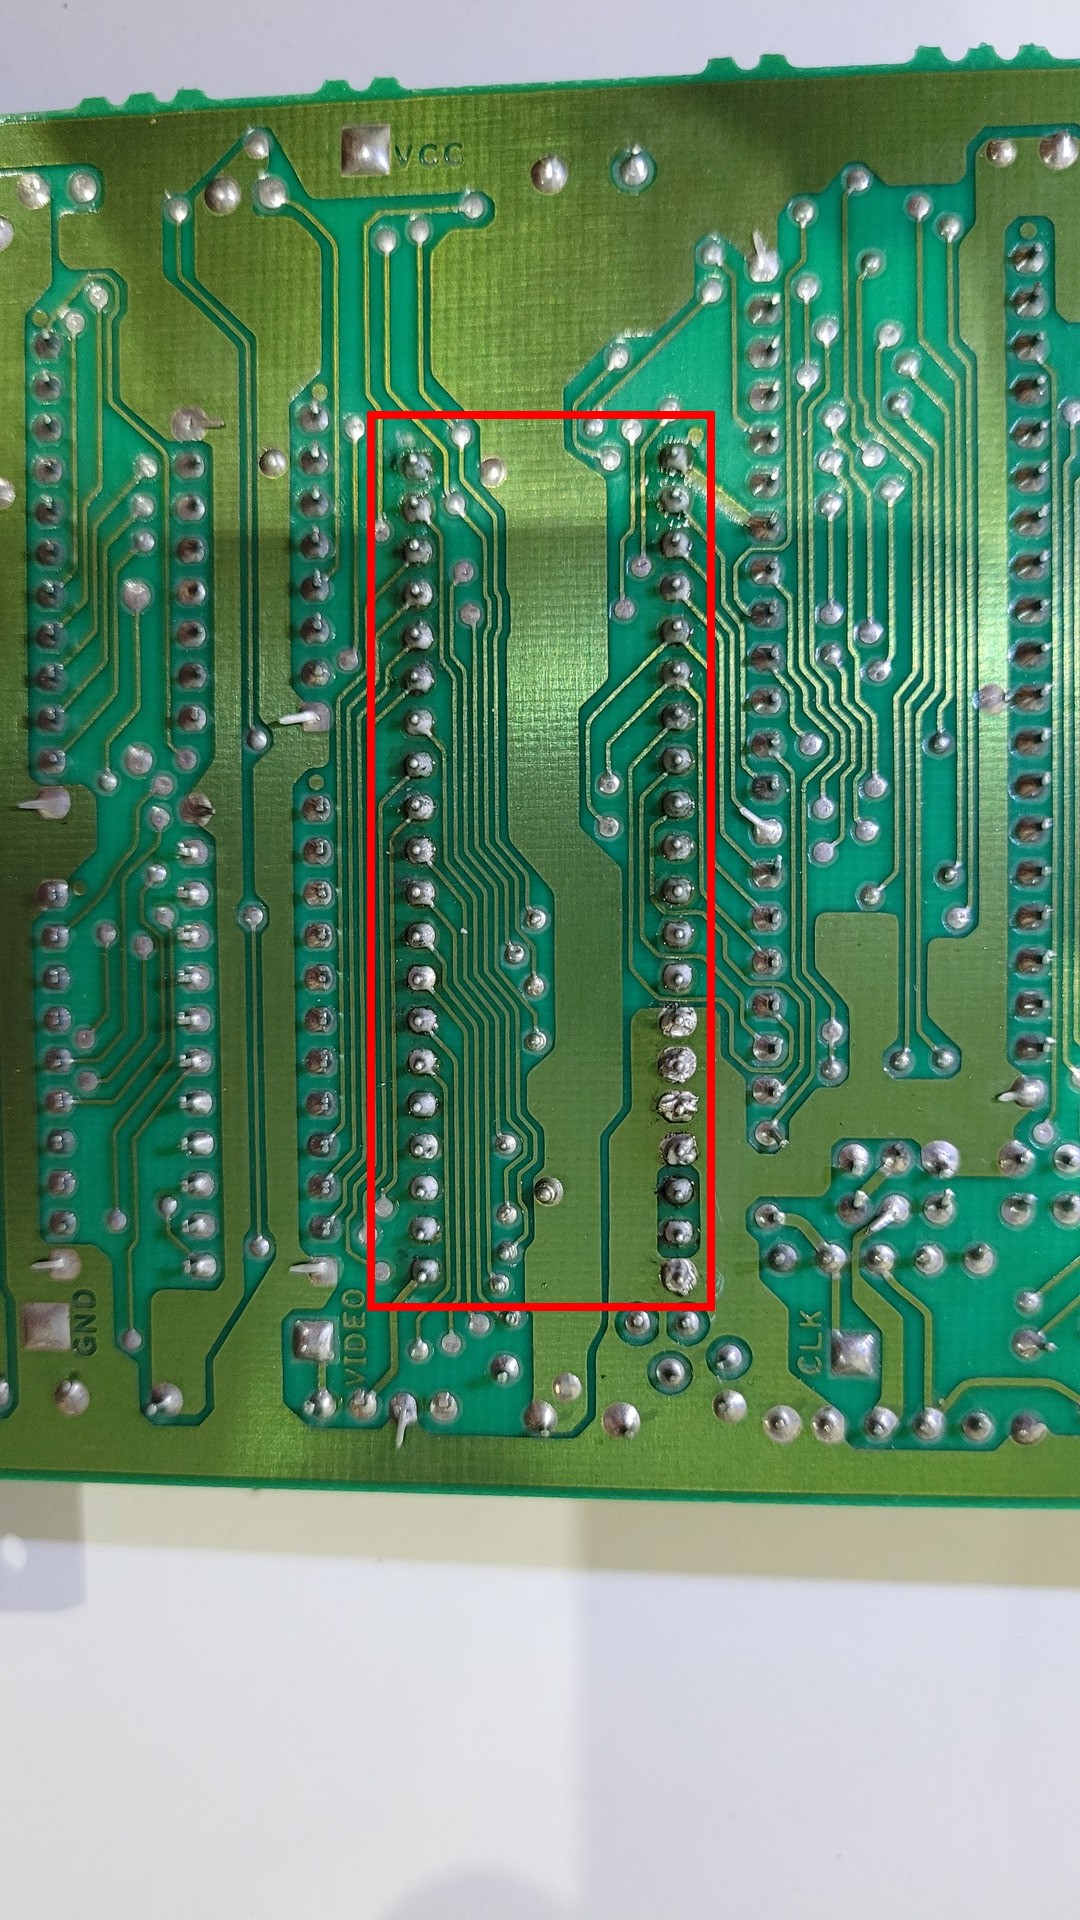
Removing PPU
Removing the PPU is pretty easy despite what we can read on the internet. Just use an electronic desoldering pump.
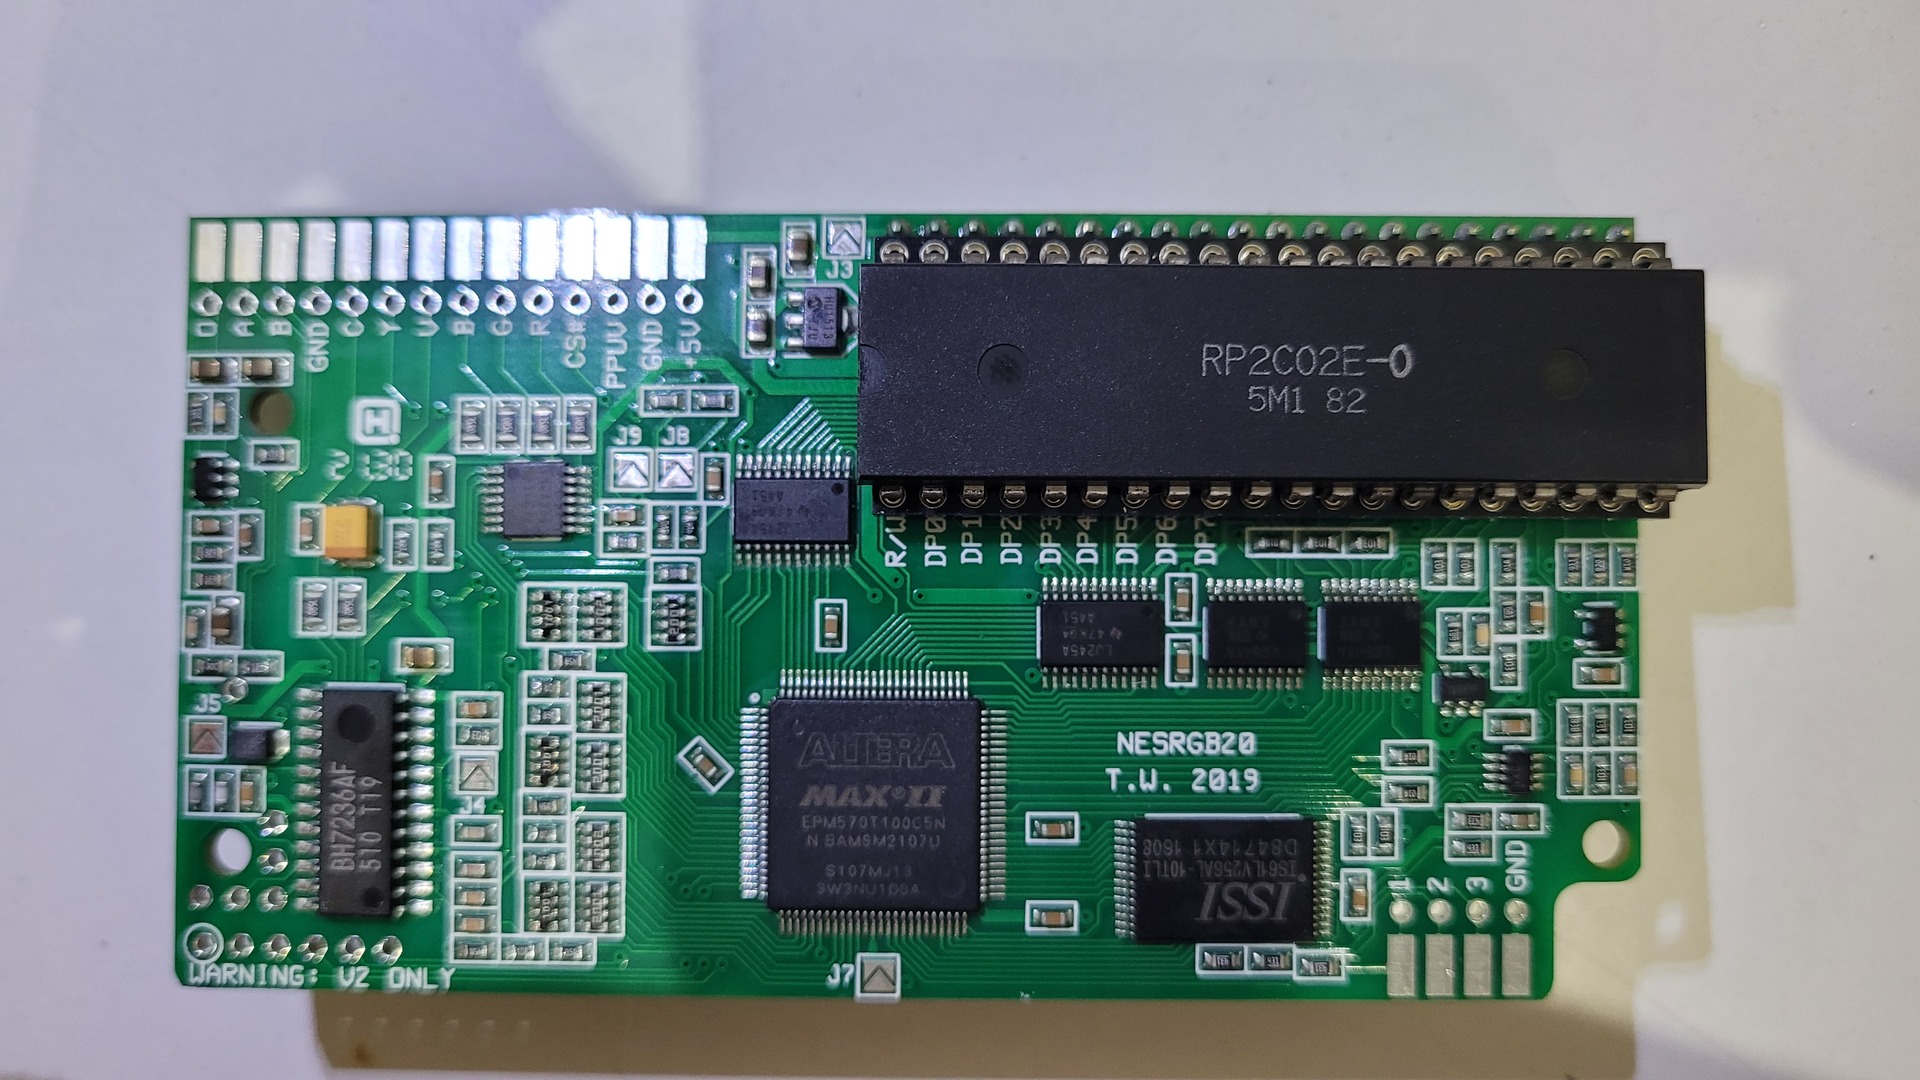
PPU on NesRGB
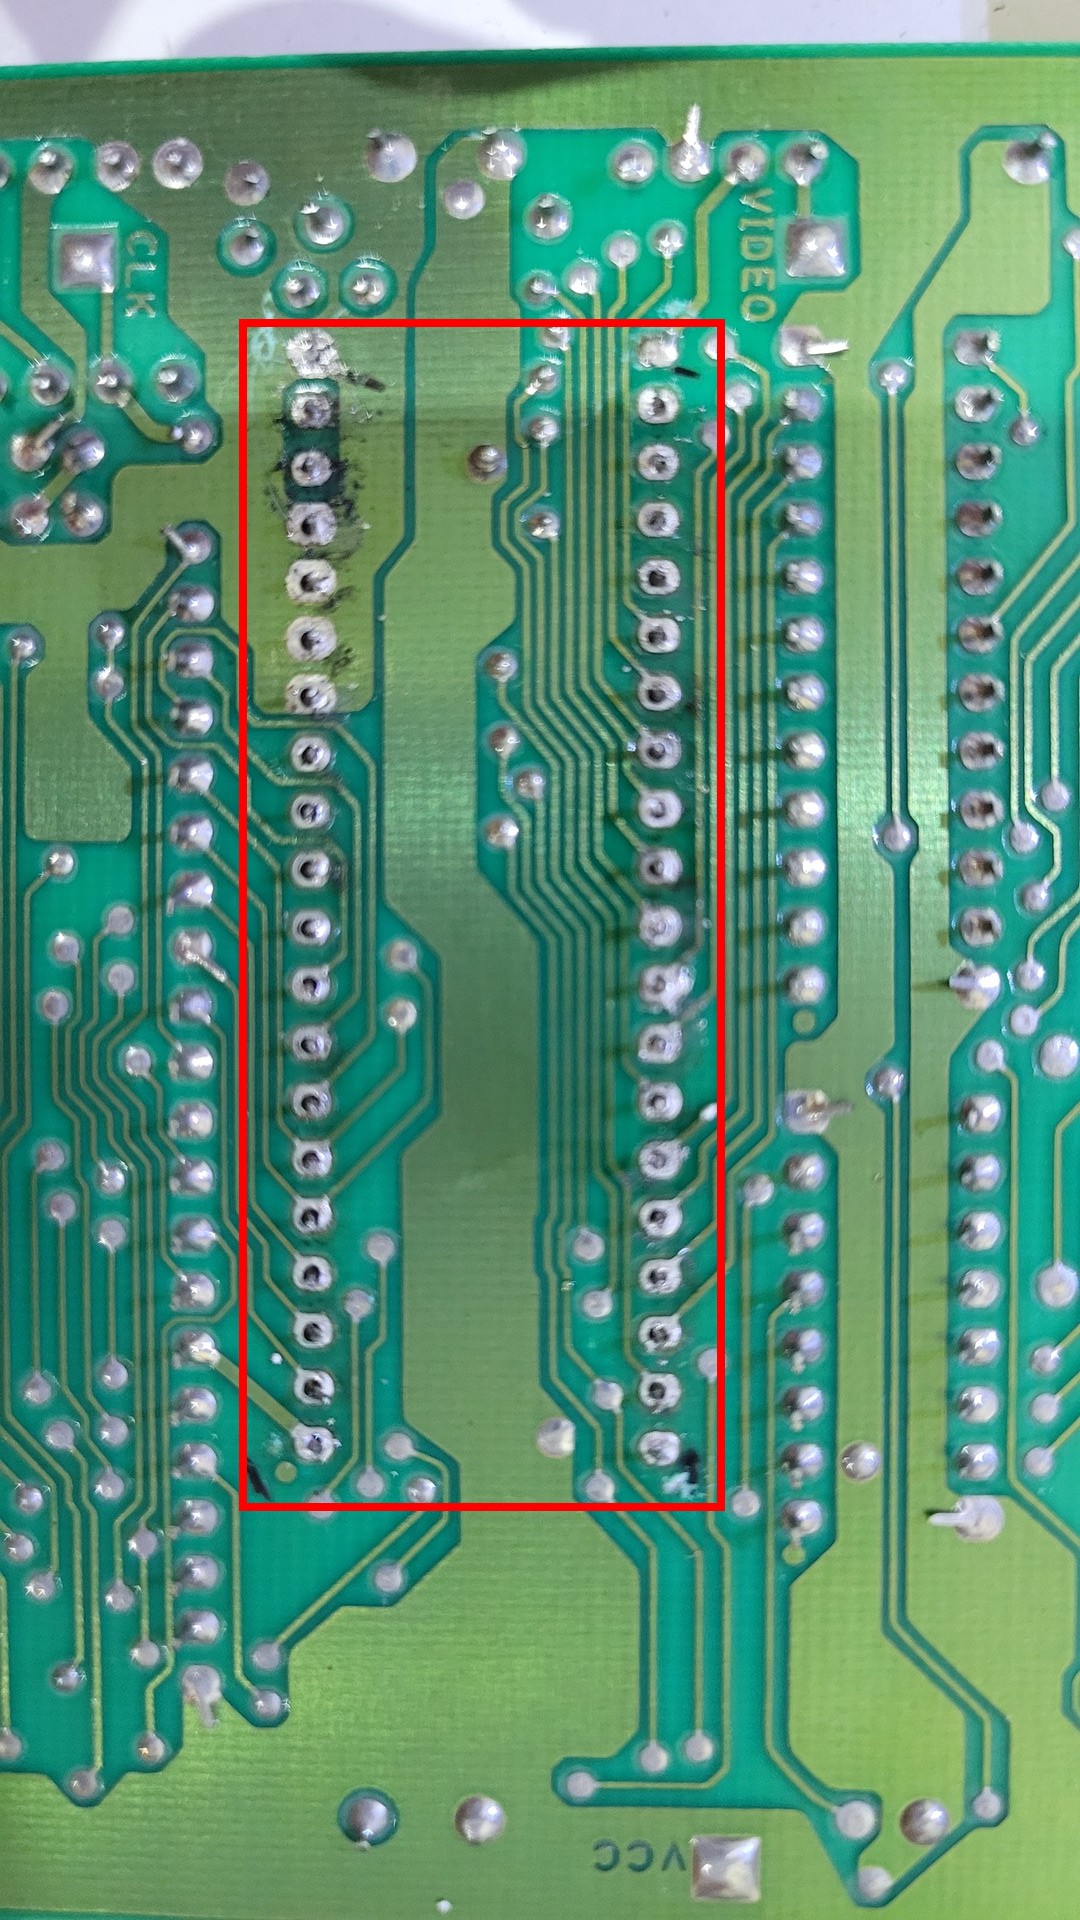
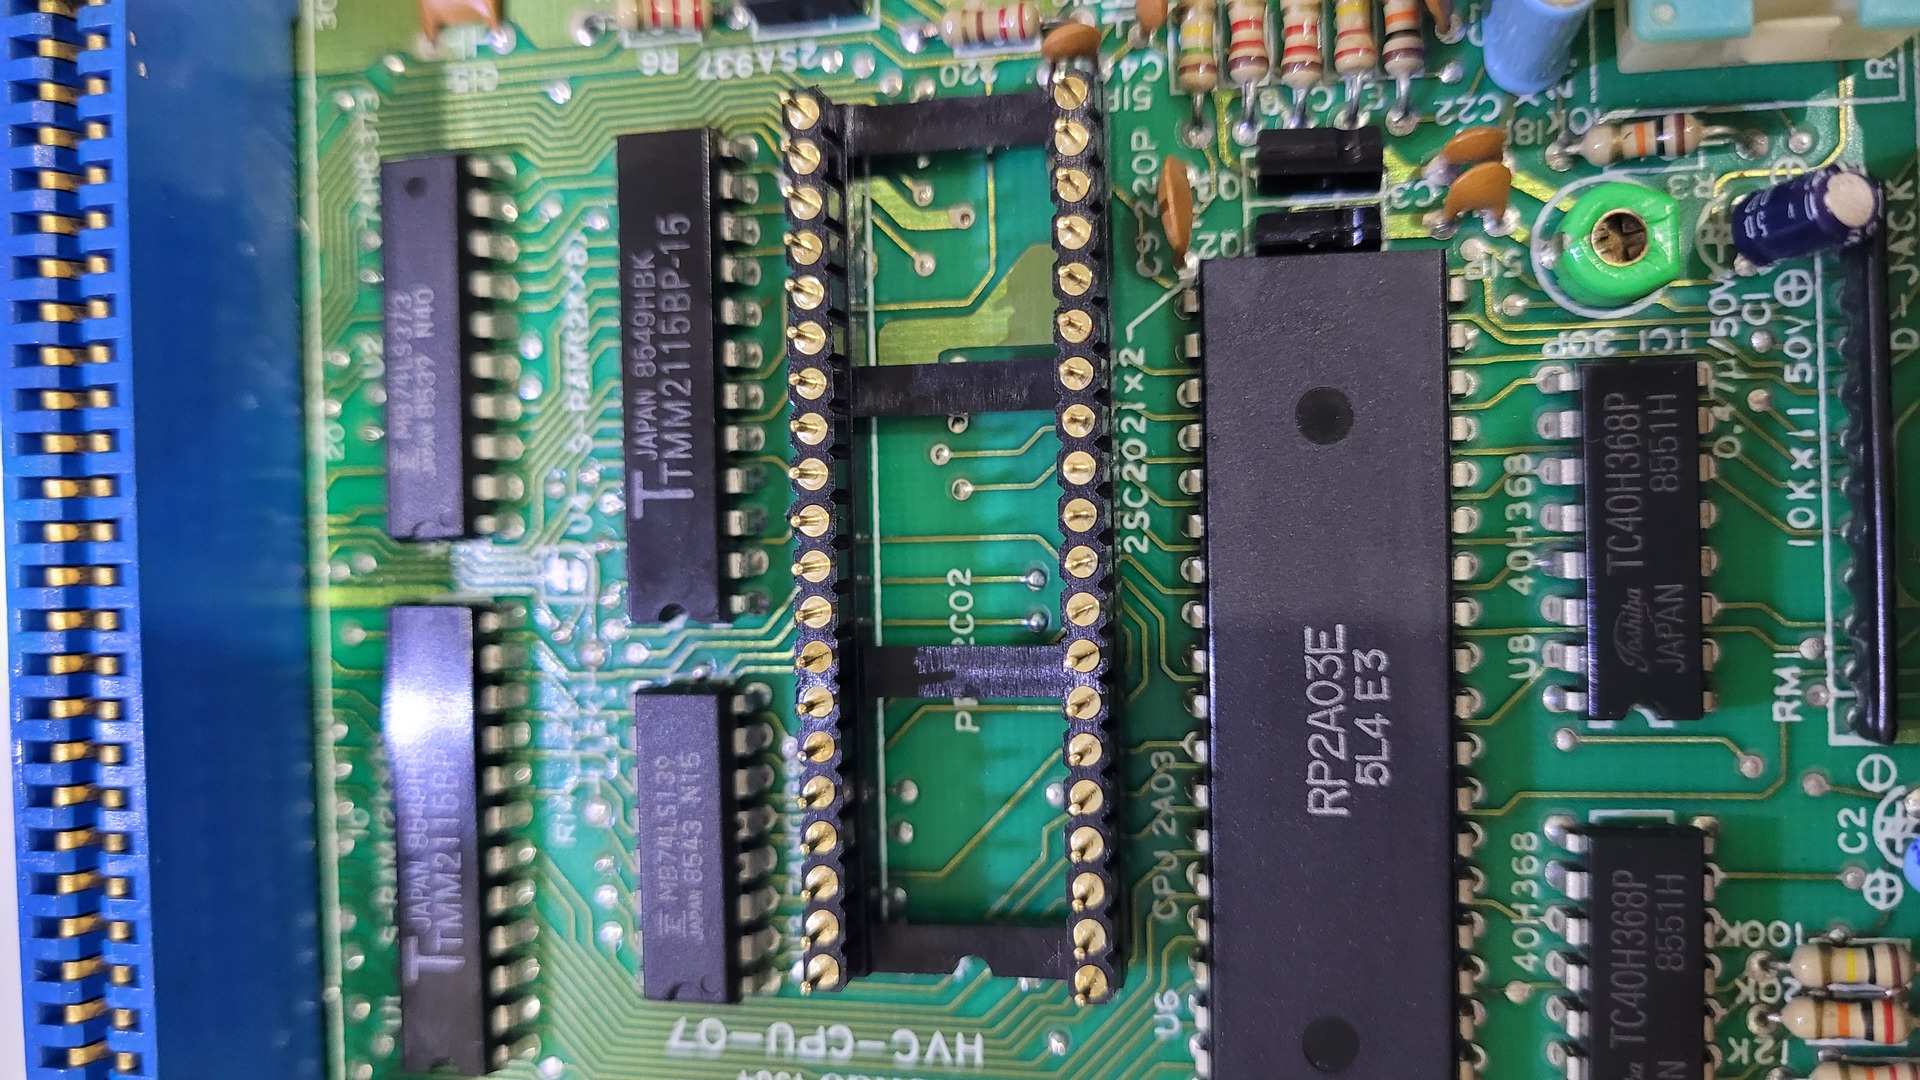
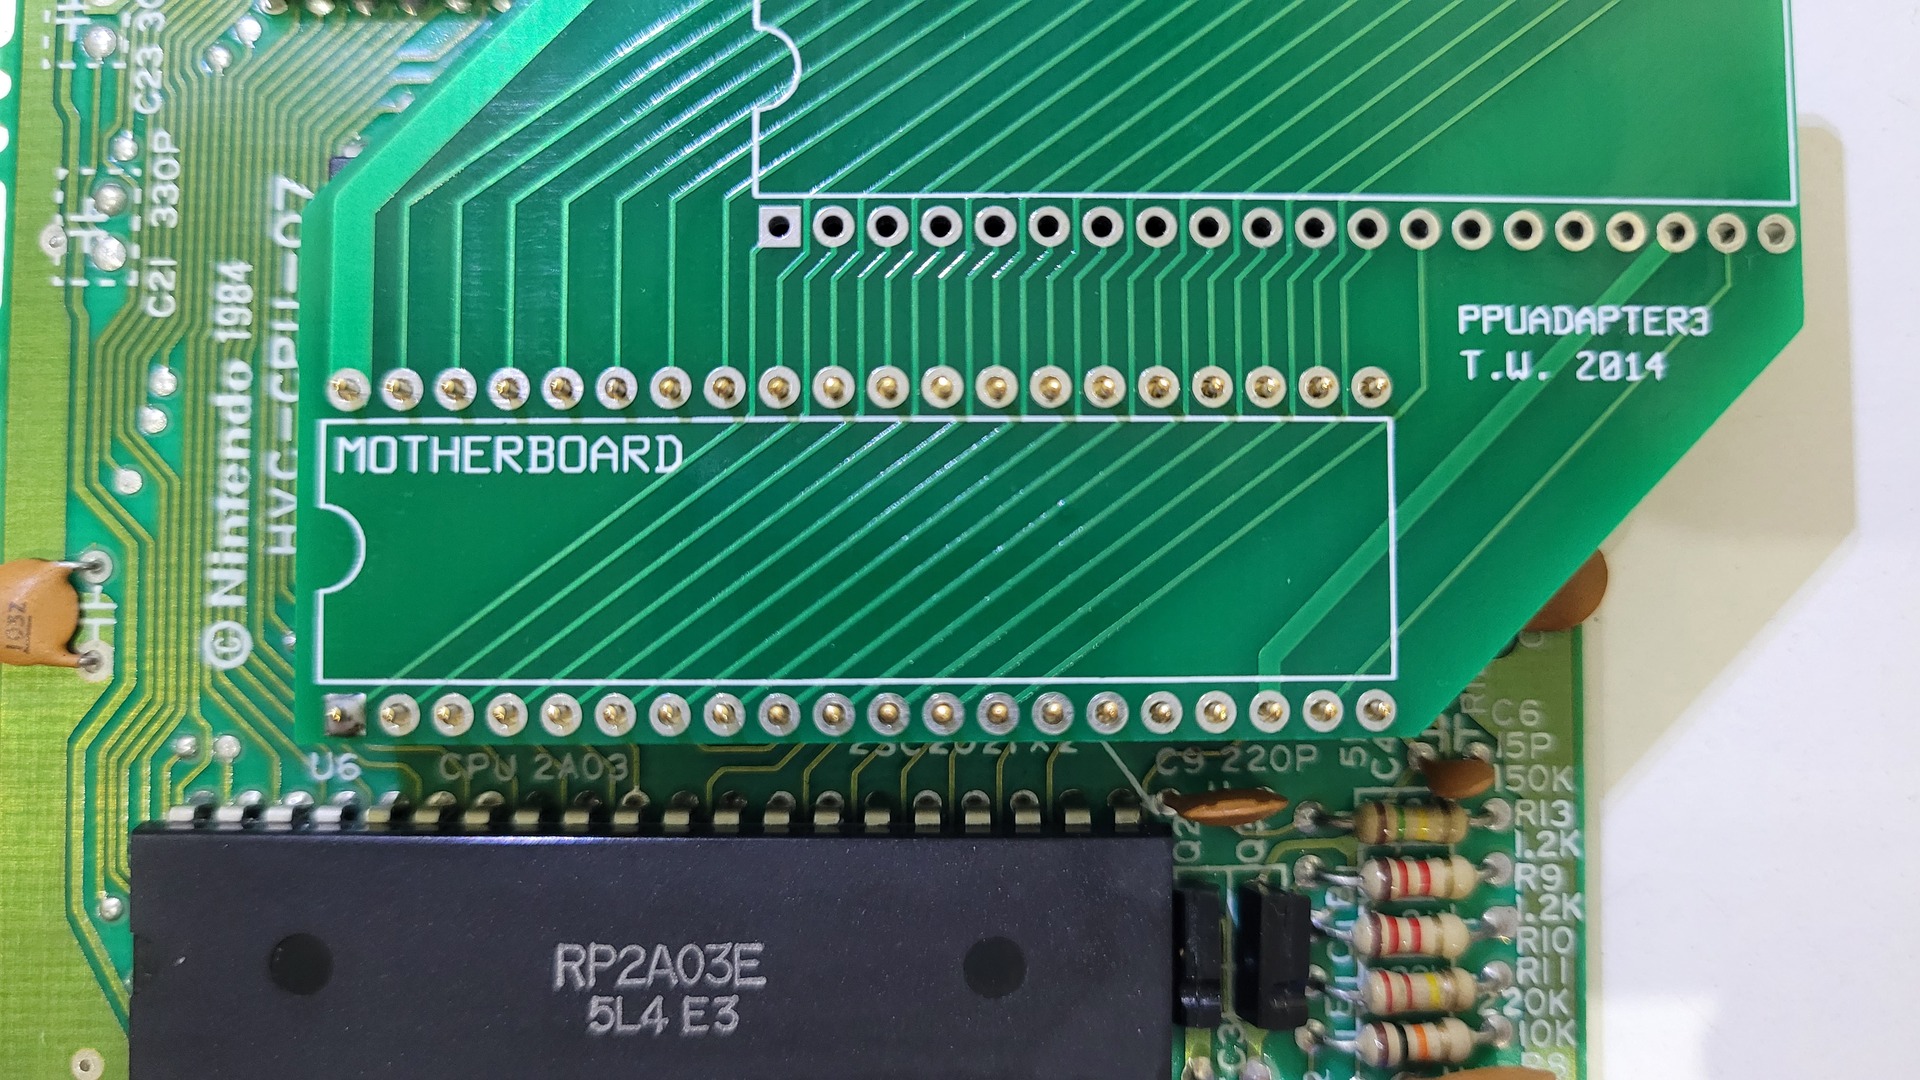
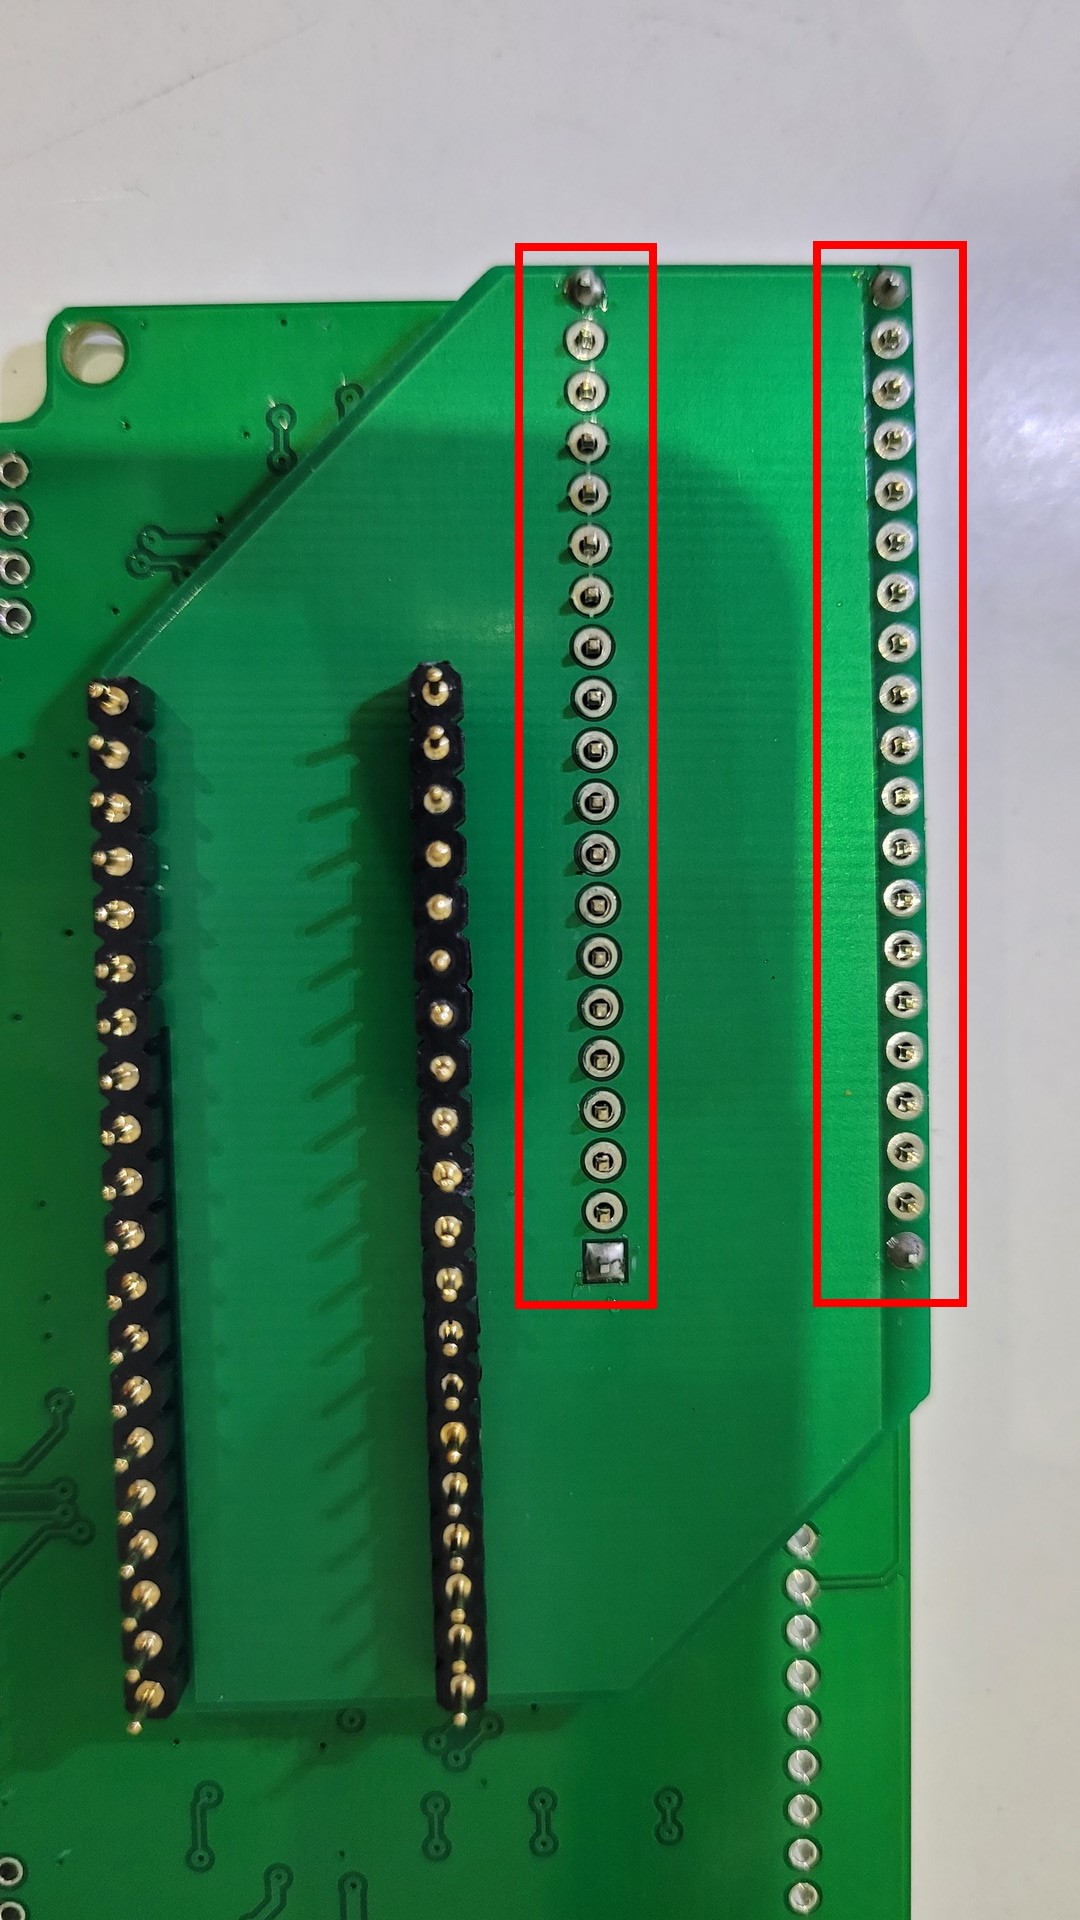
Placing the support on the motherboard
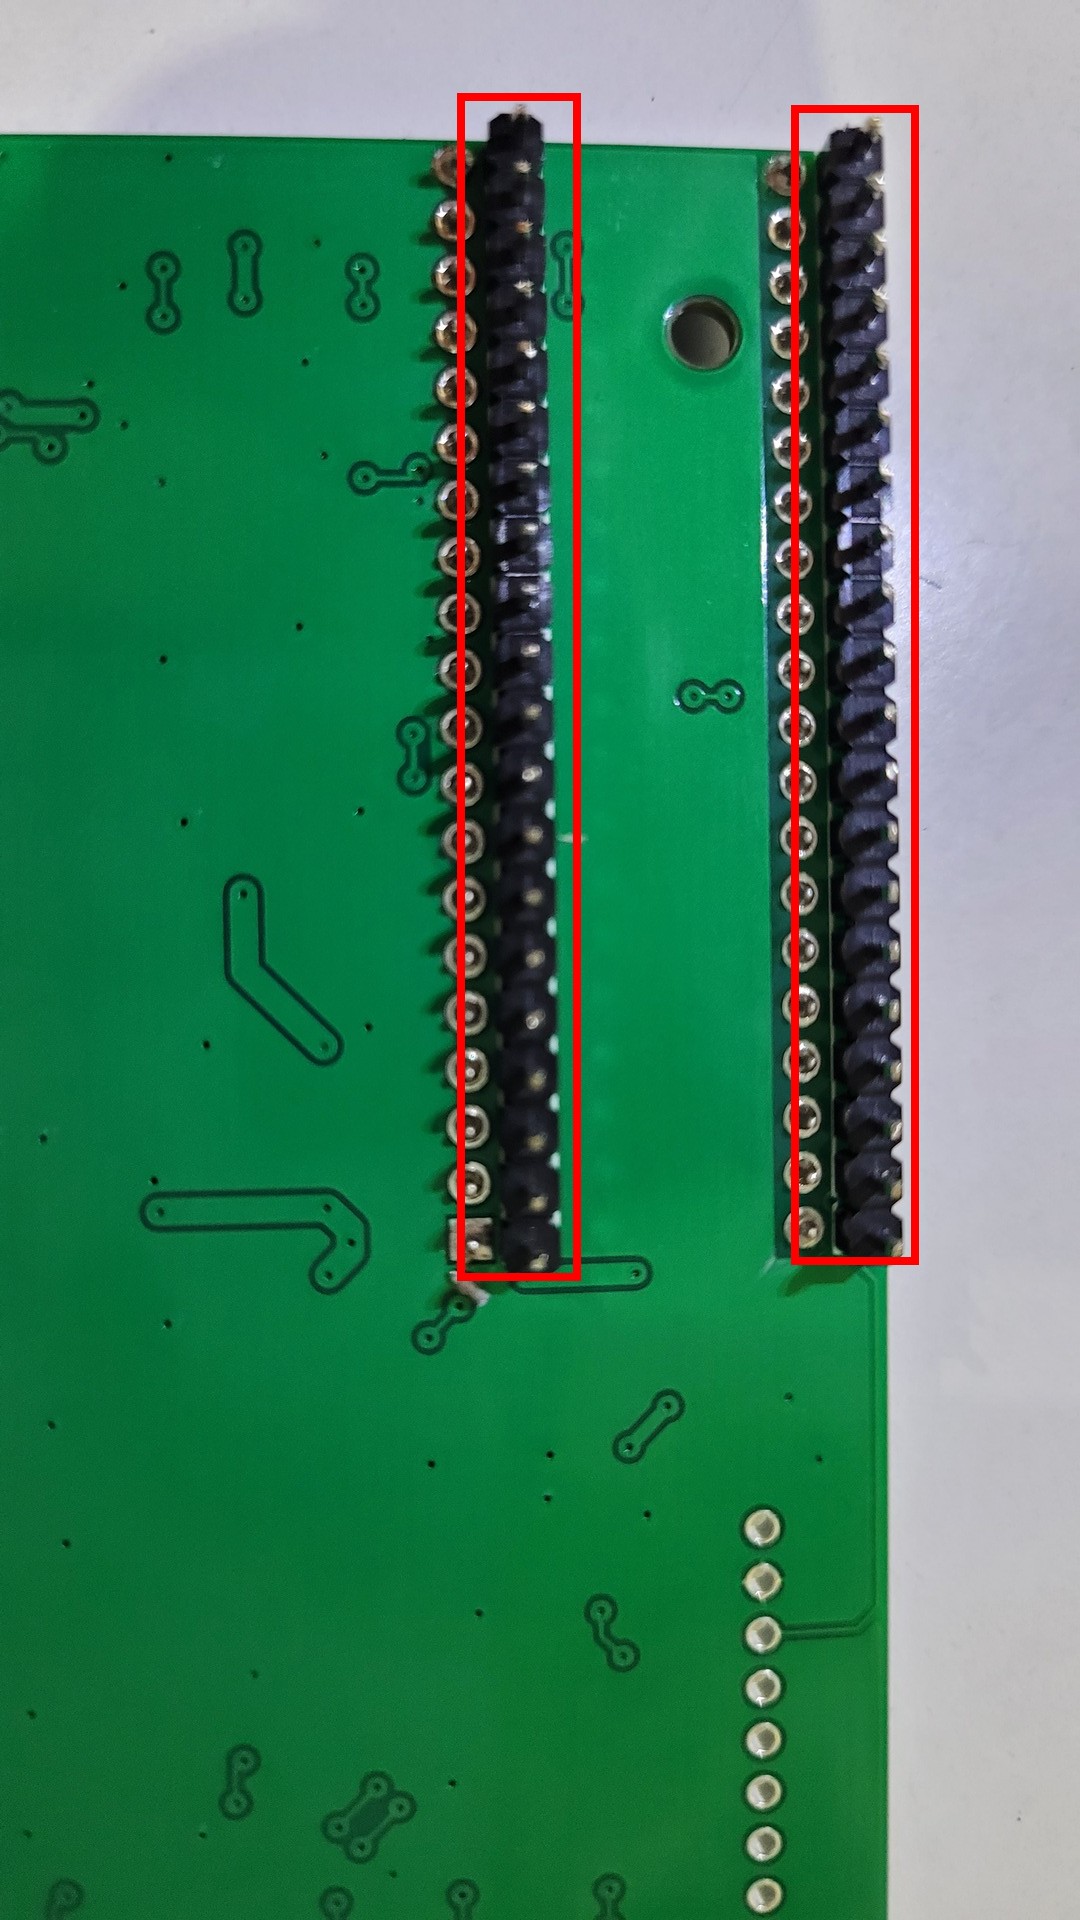
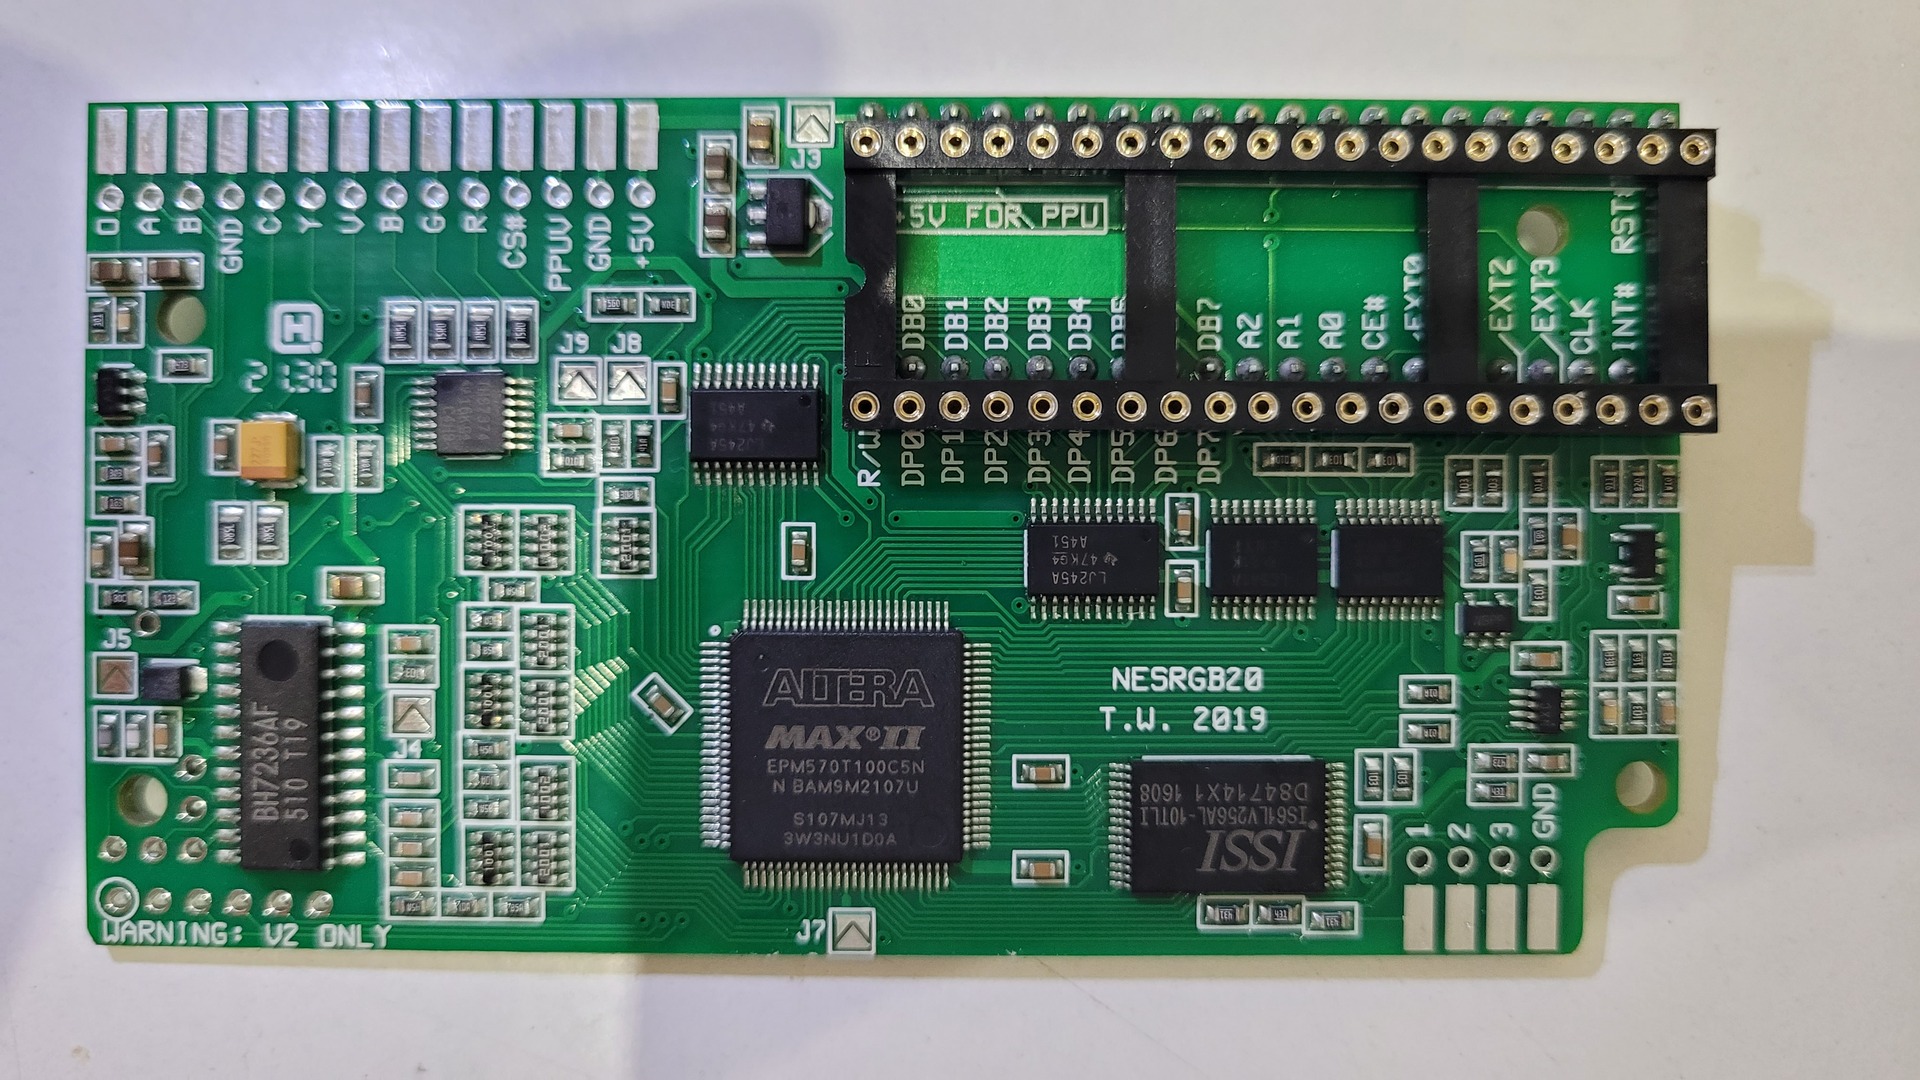
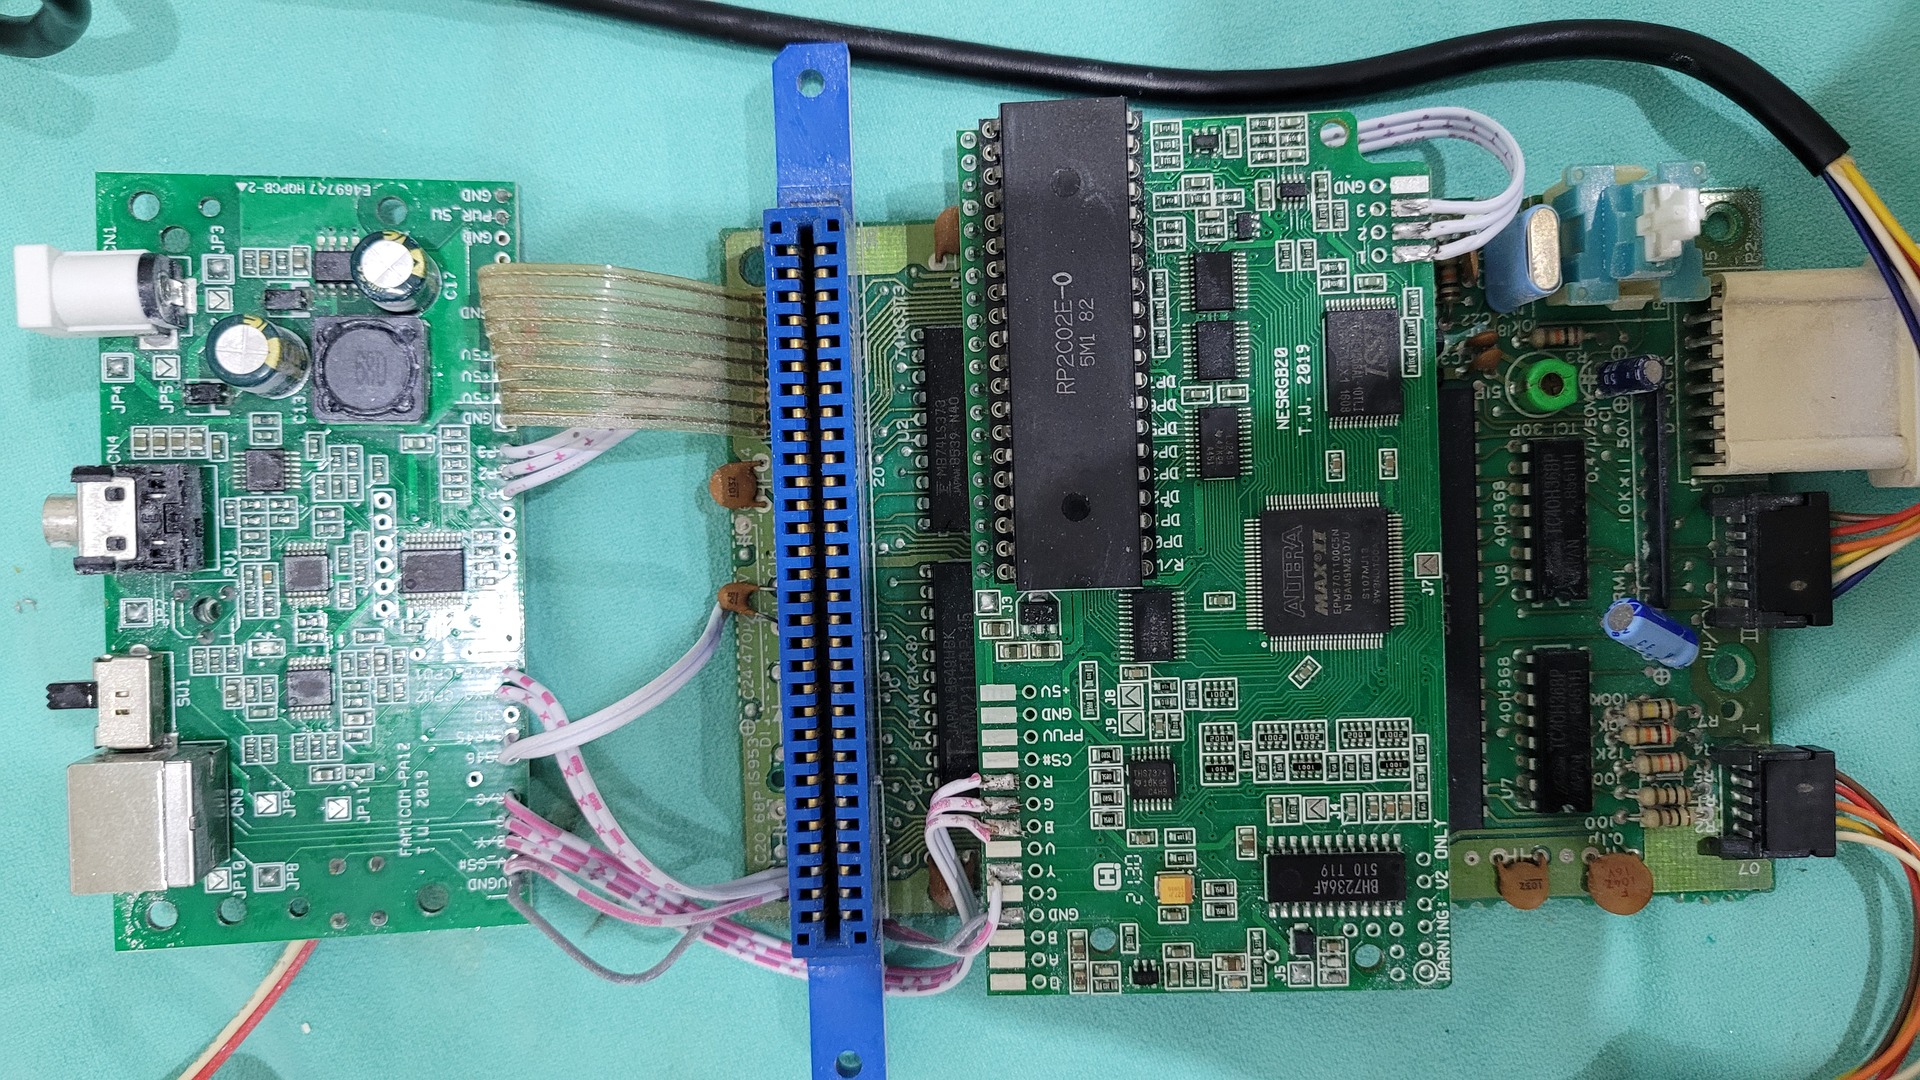
Preparing the adapter board
The adapter board is connected to the motherboard trough the support via a pair of pin rails. As the guide states, the easiest way to solder the pin rails on the adapter board is to insert the rails on the support which has just been installed. Then, maintain the adapter board on the pin rails while soldering the pins.
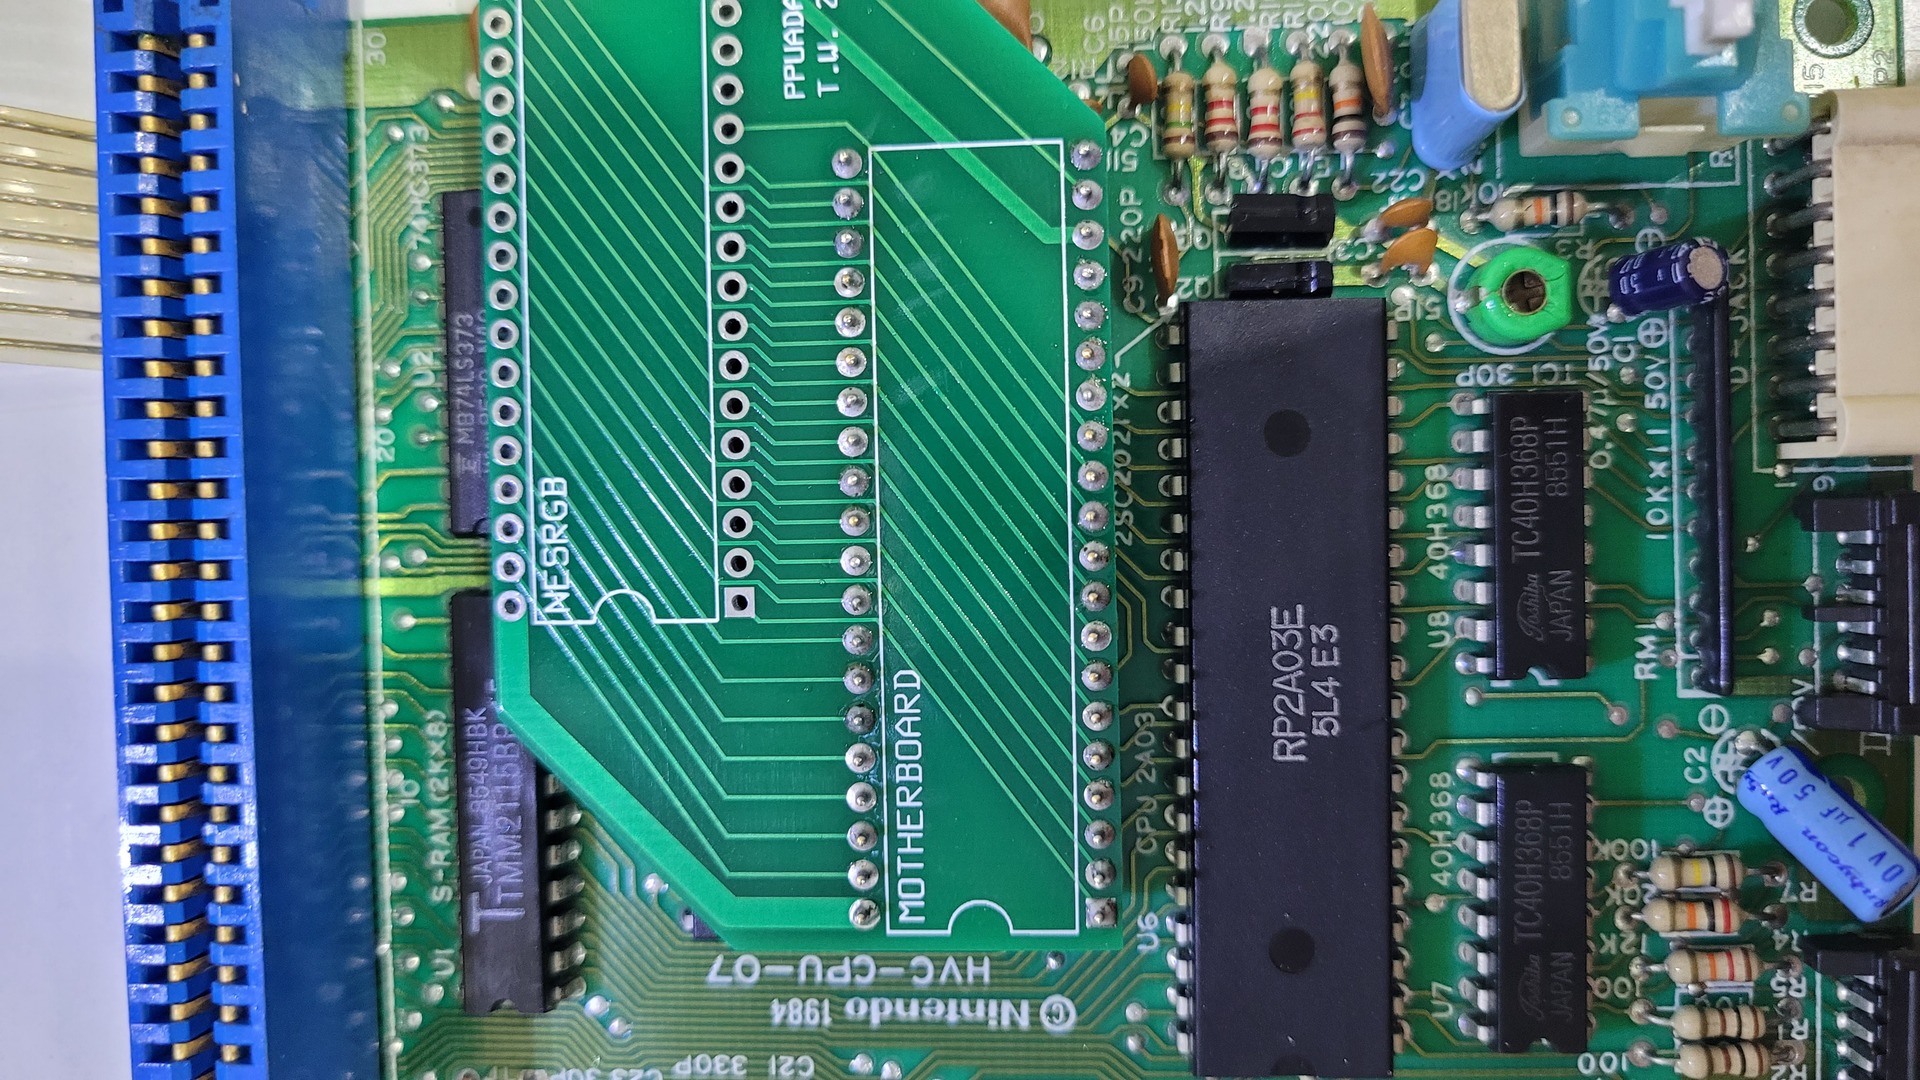
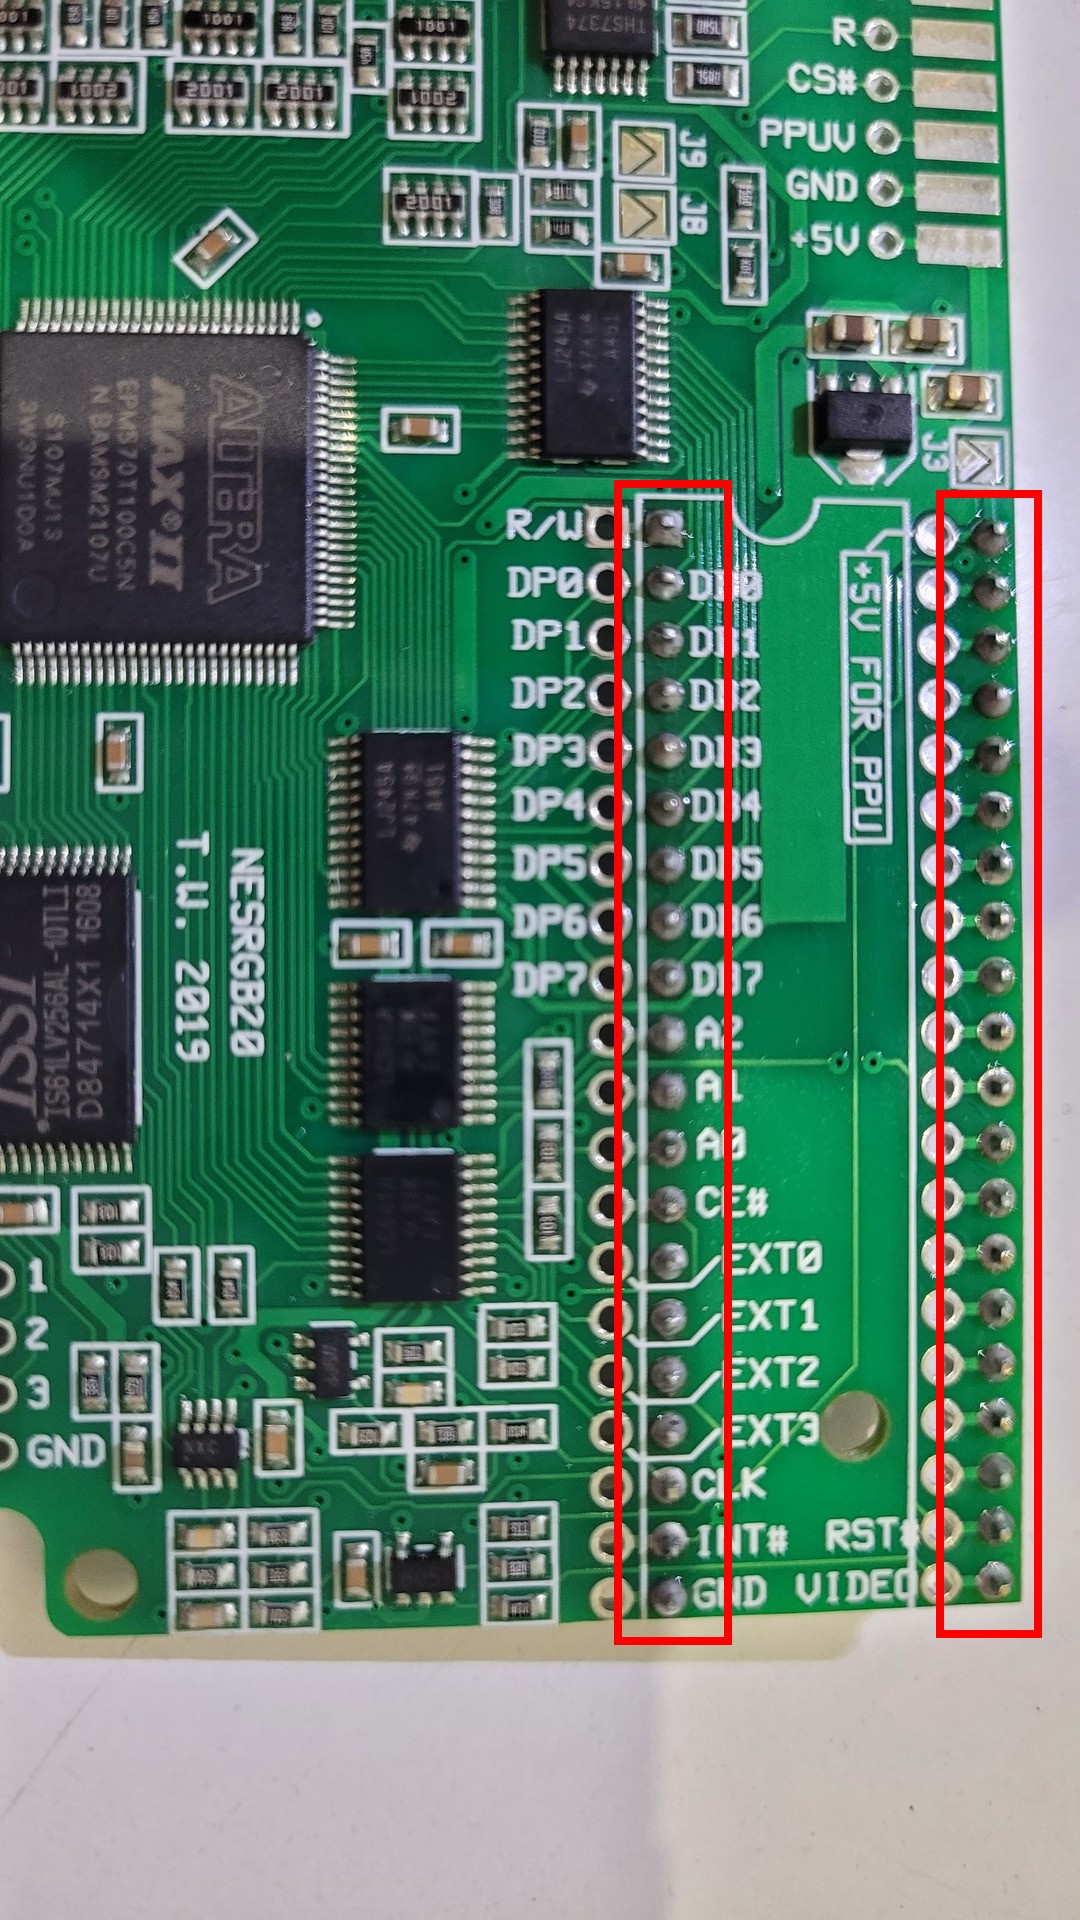
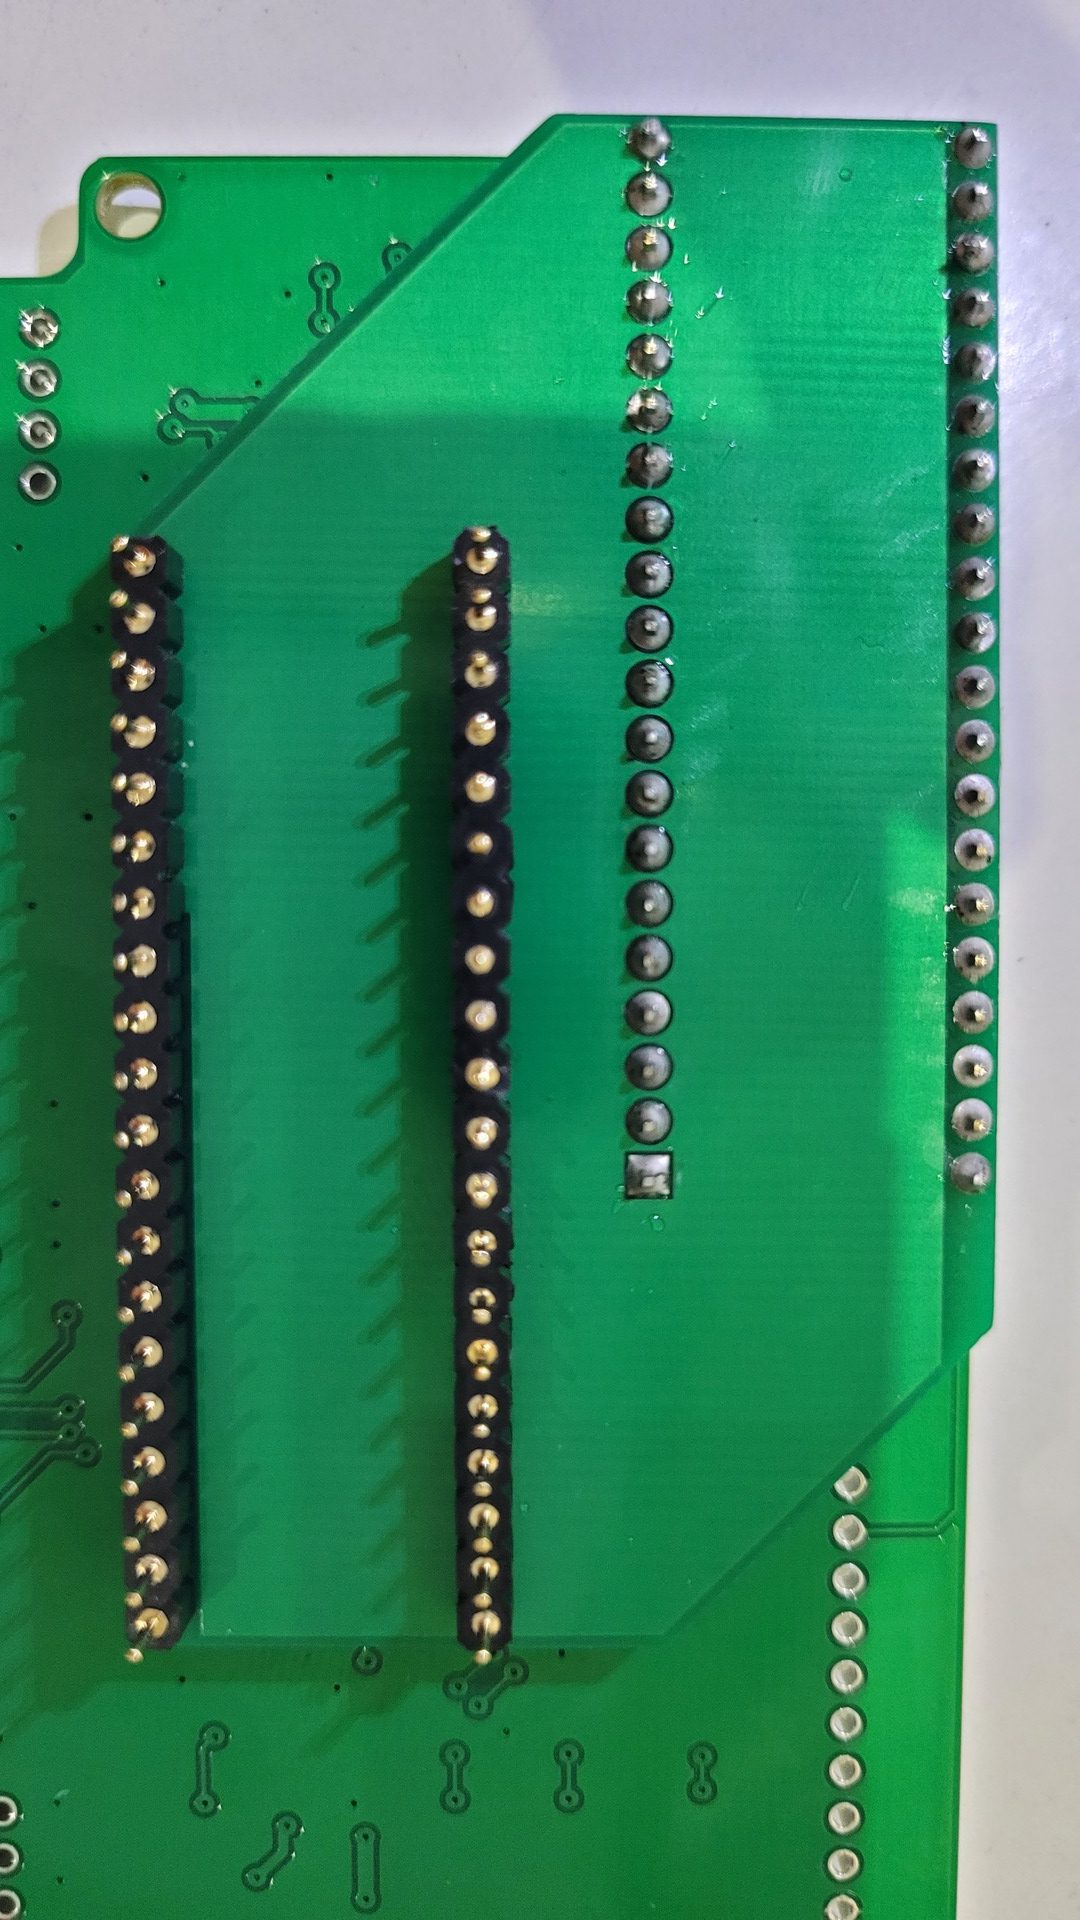
Putting PPU on NesRGB board
The NesRGB board is connected to the adapter board throught another pair of pin rails and needs a support to insert the PPU (the PPU could be soldered directly too).
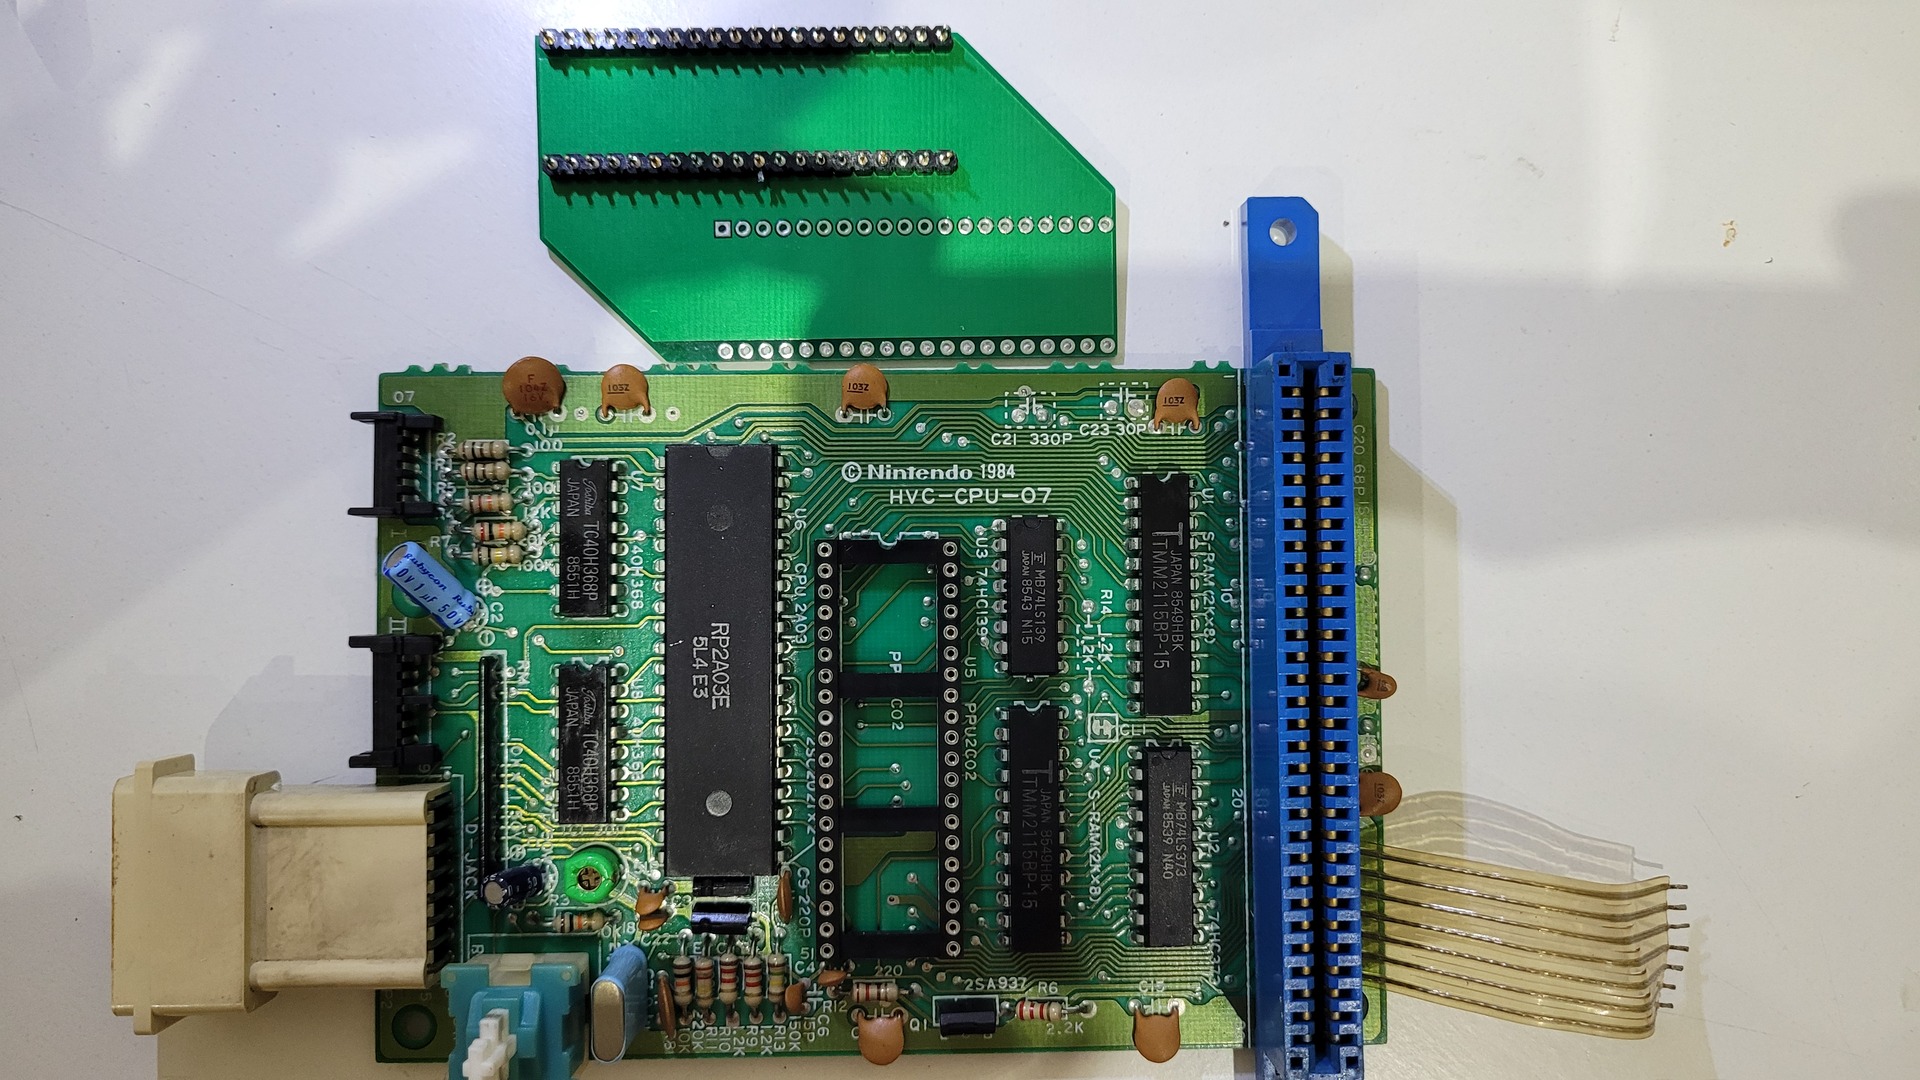
Pin rails soldering:
PPU support :
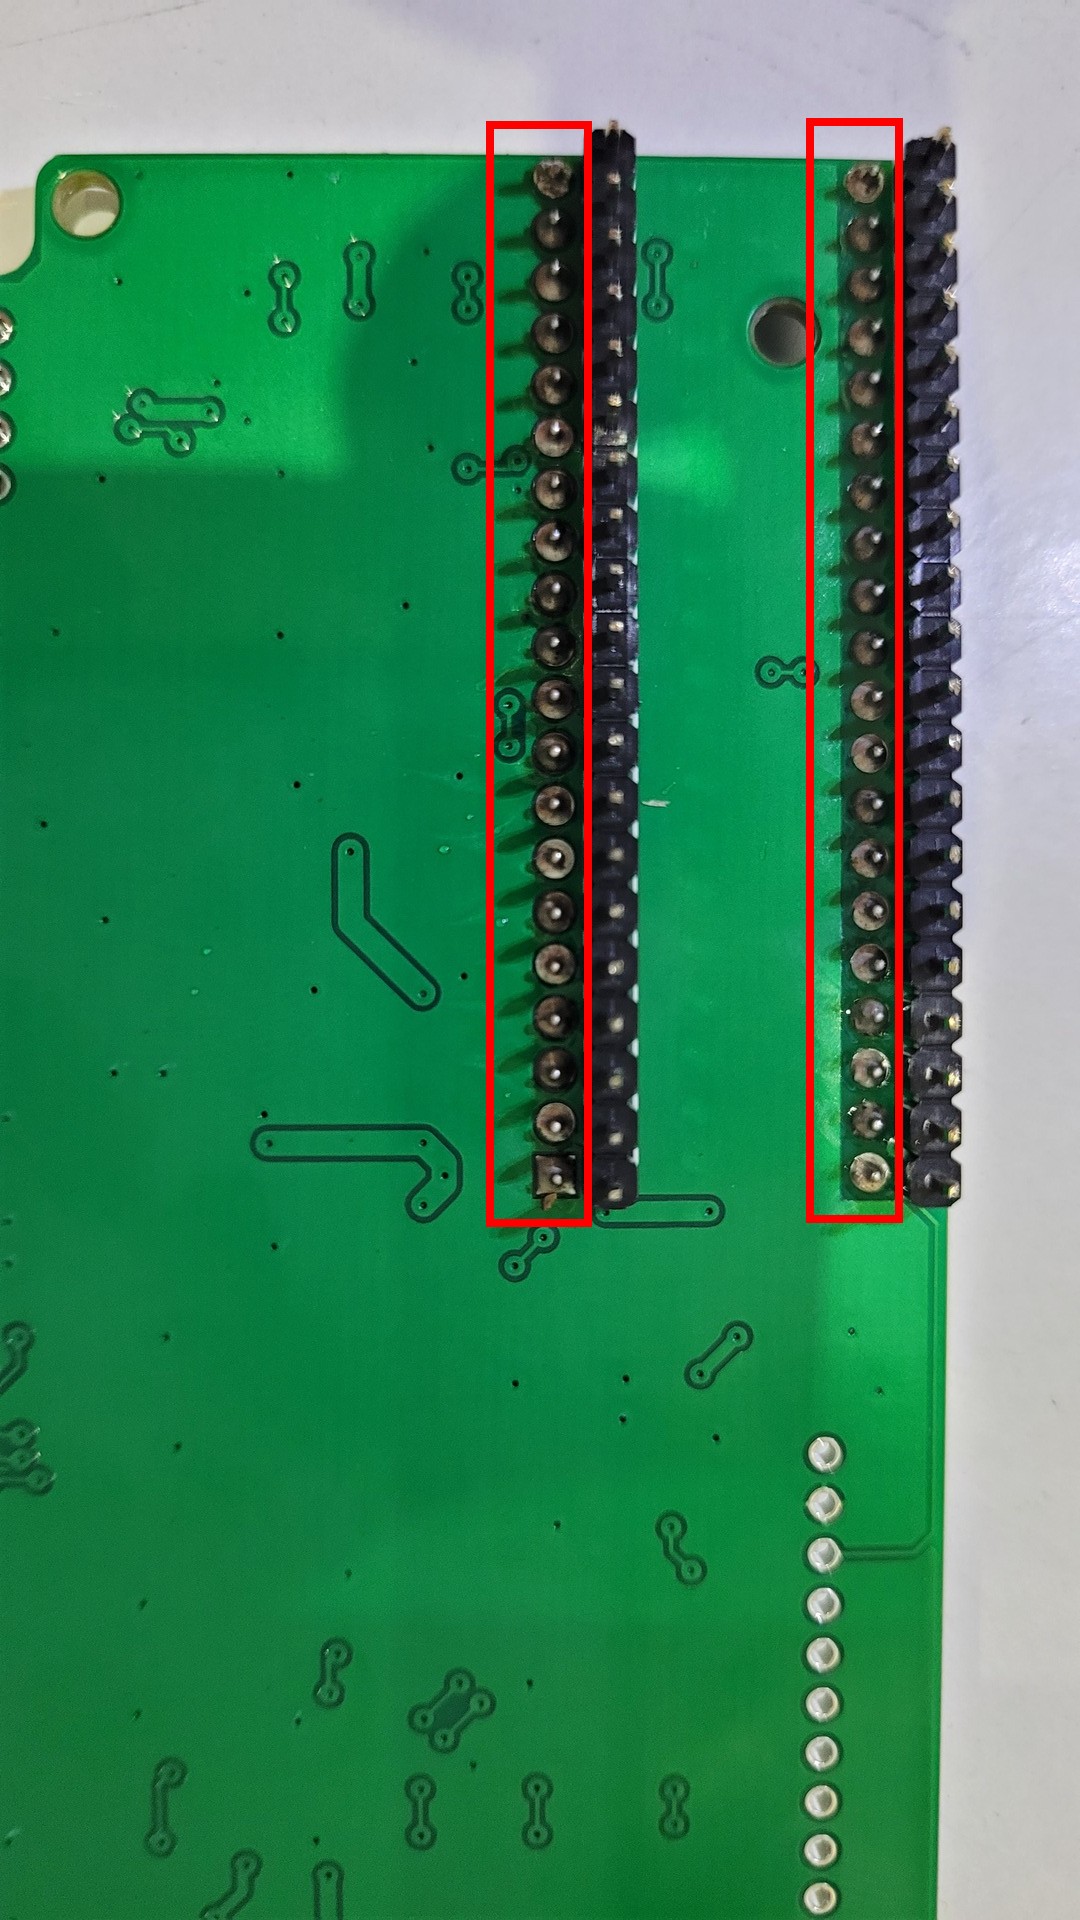
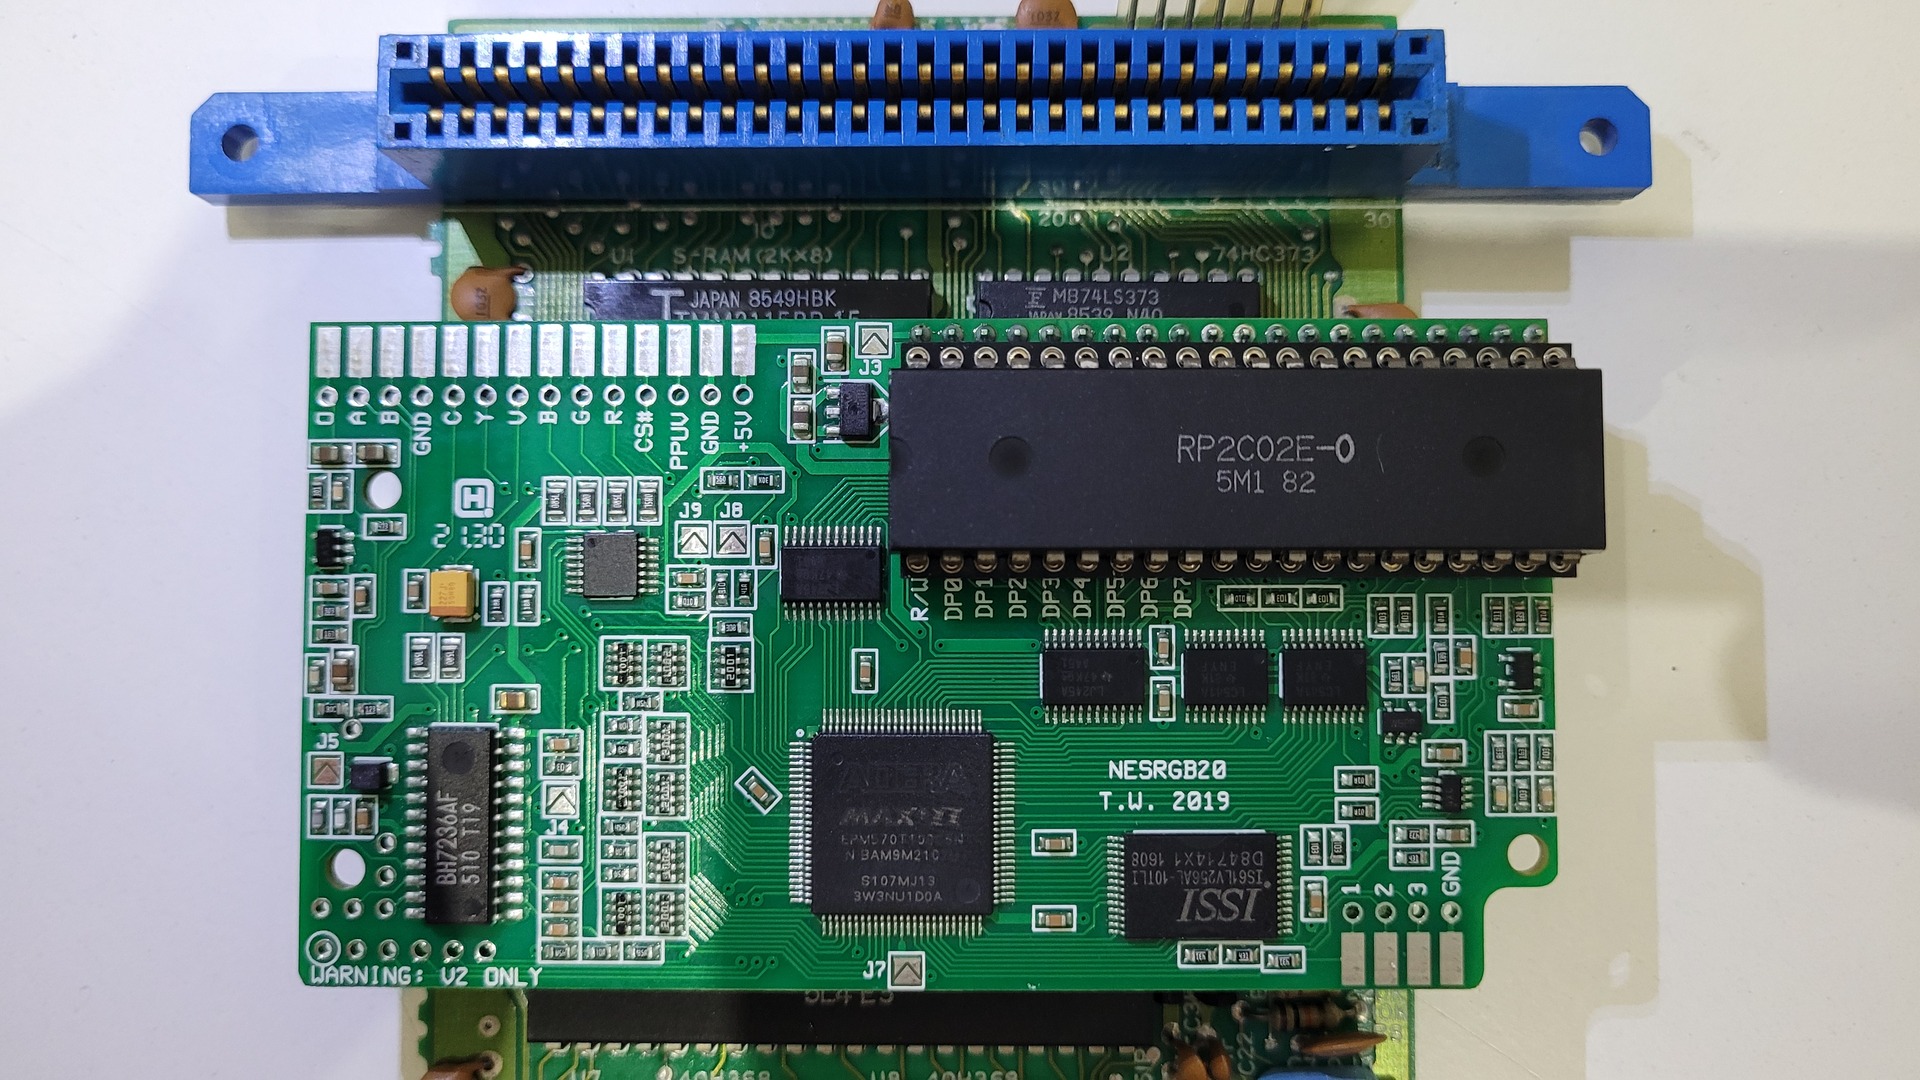
Assembly and soldering of the adapter board and the NesRGB:
Mounting and jumpers

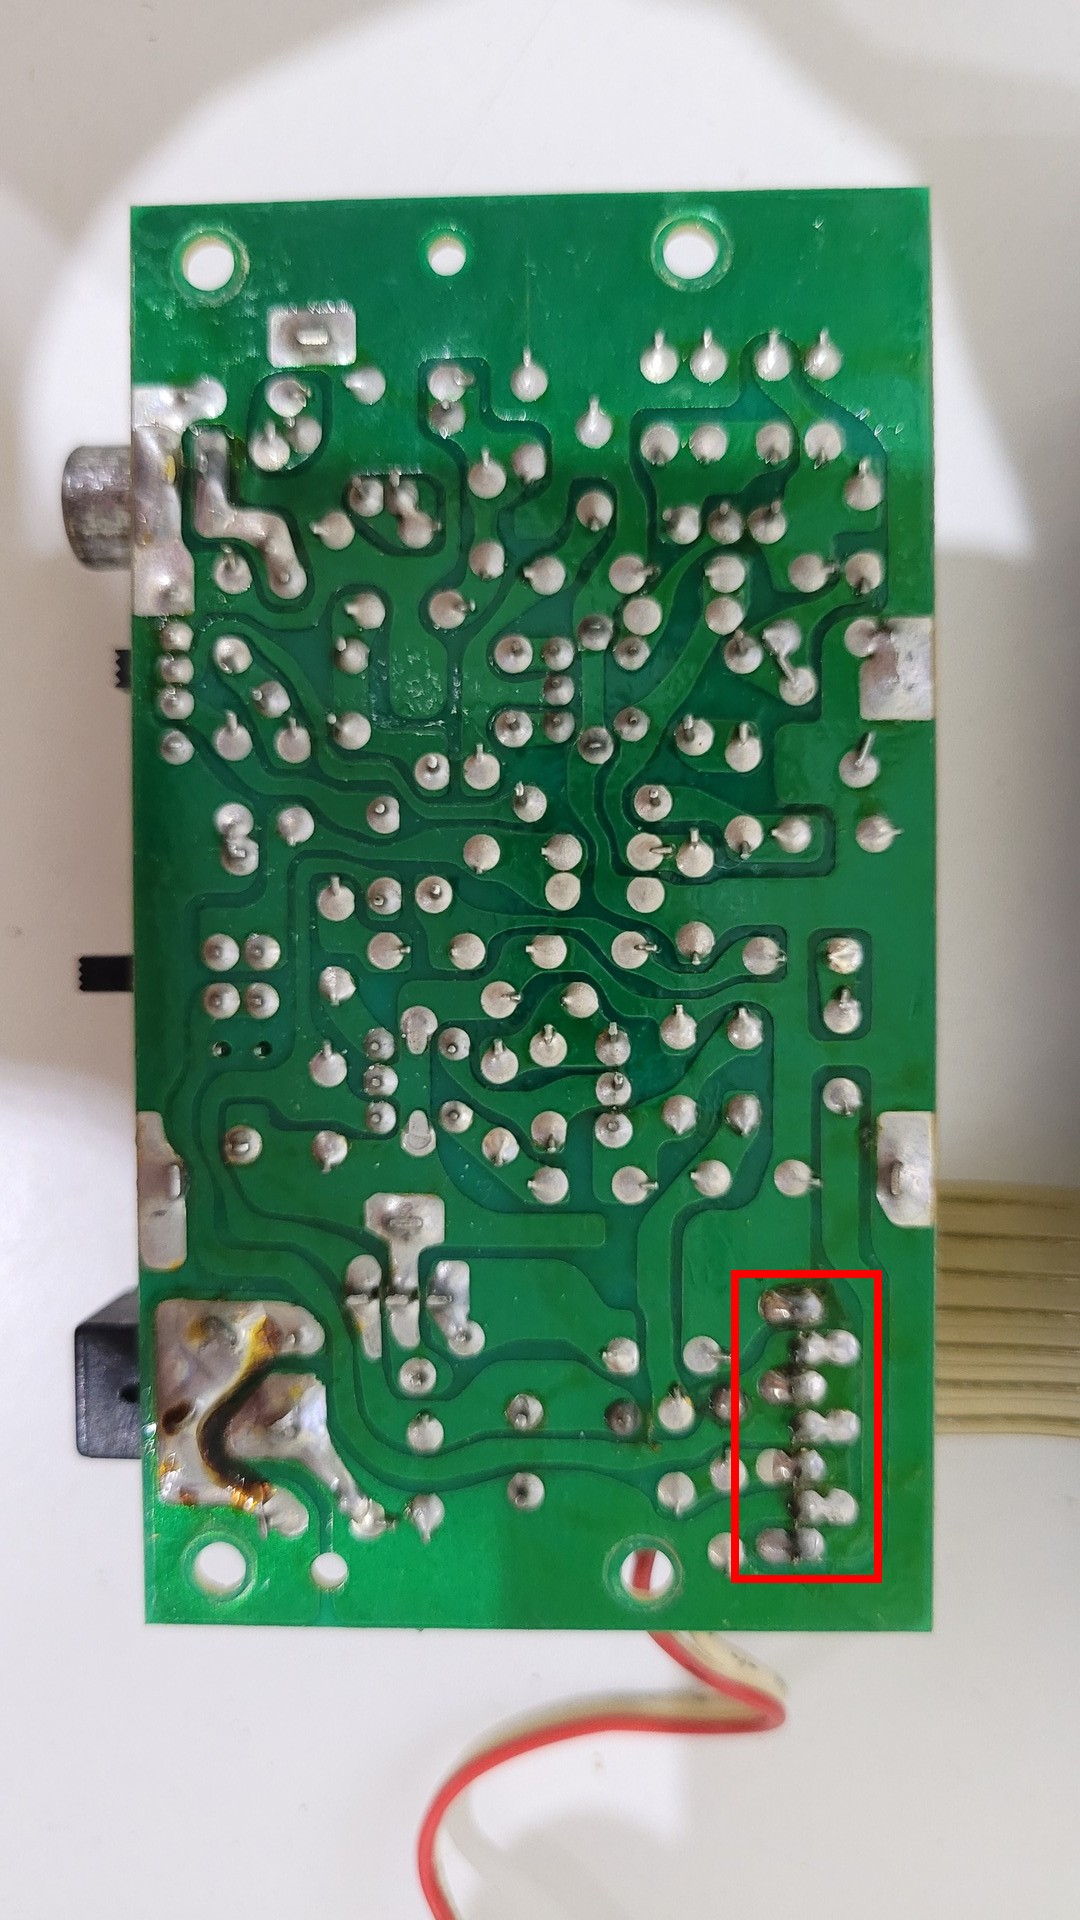
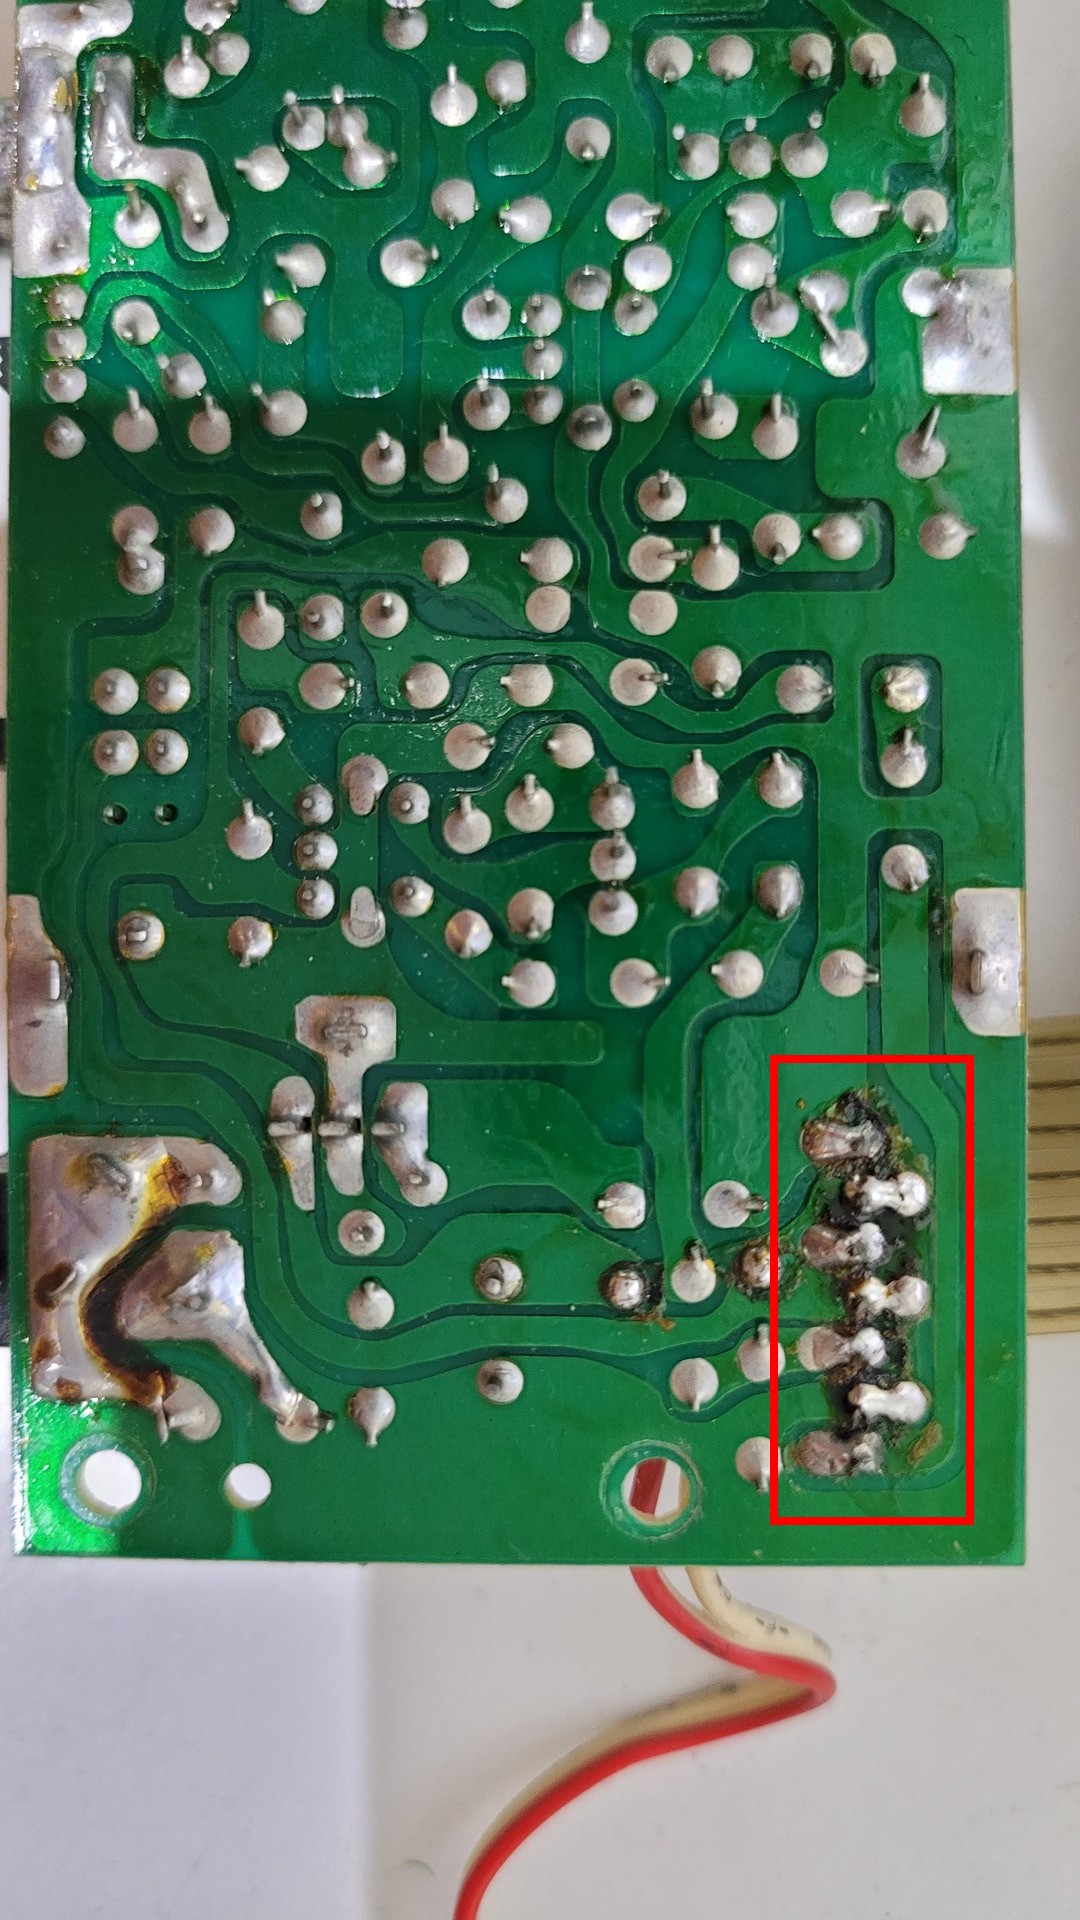
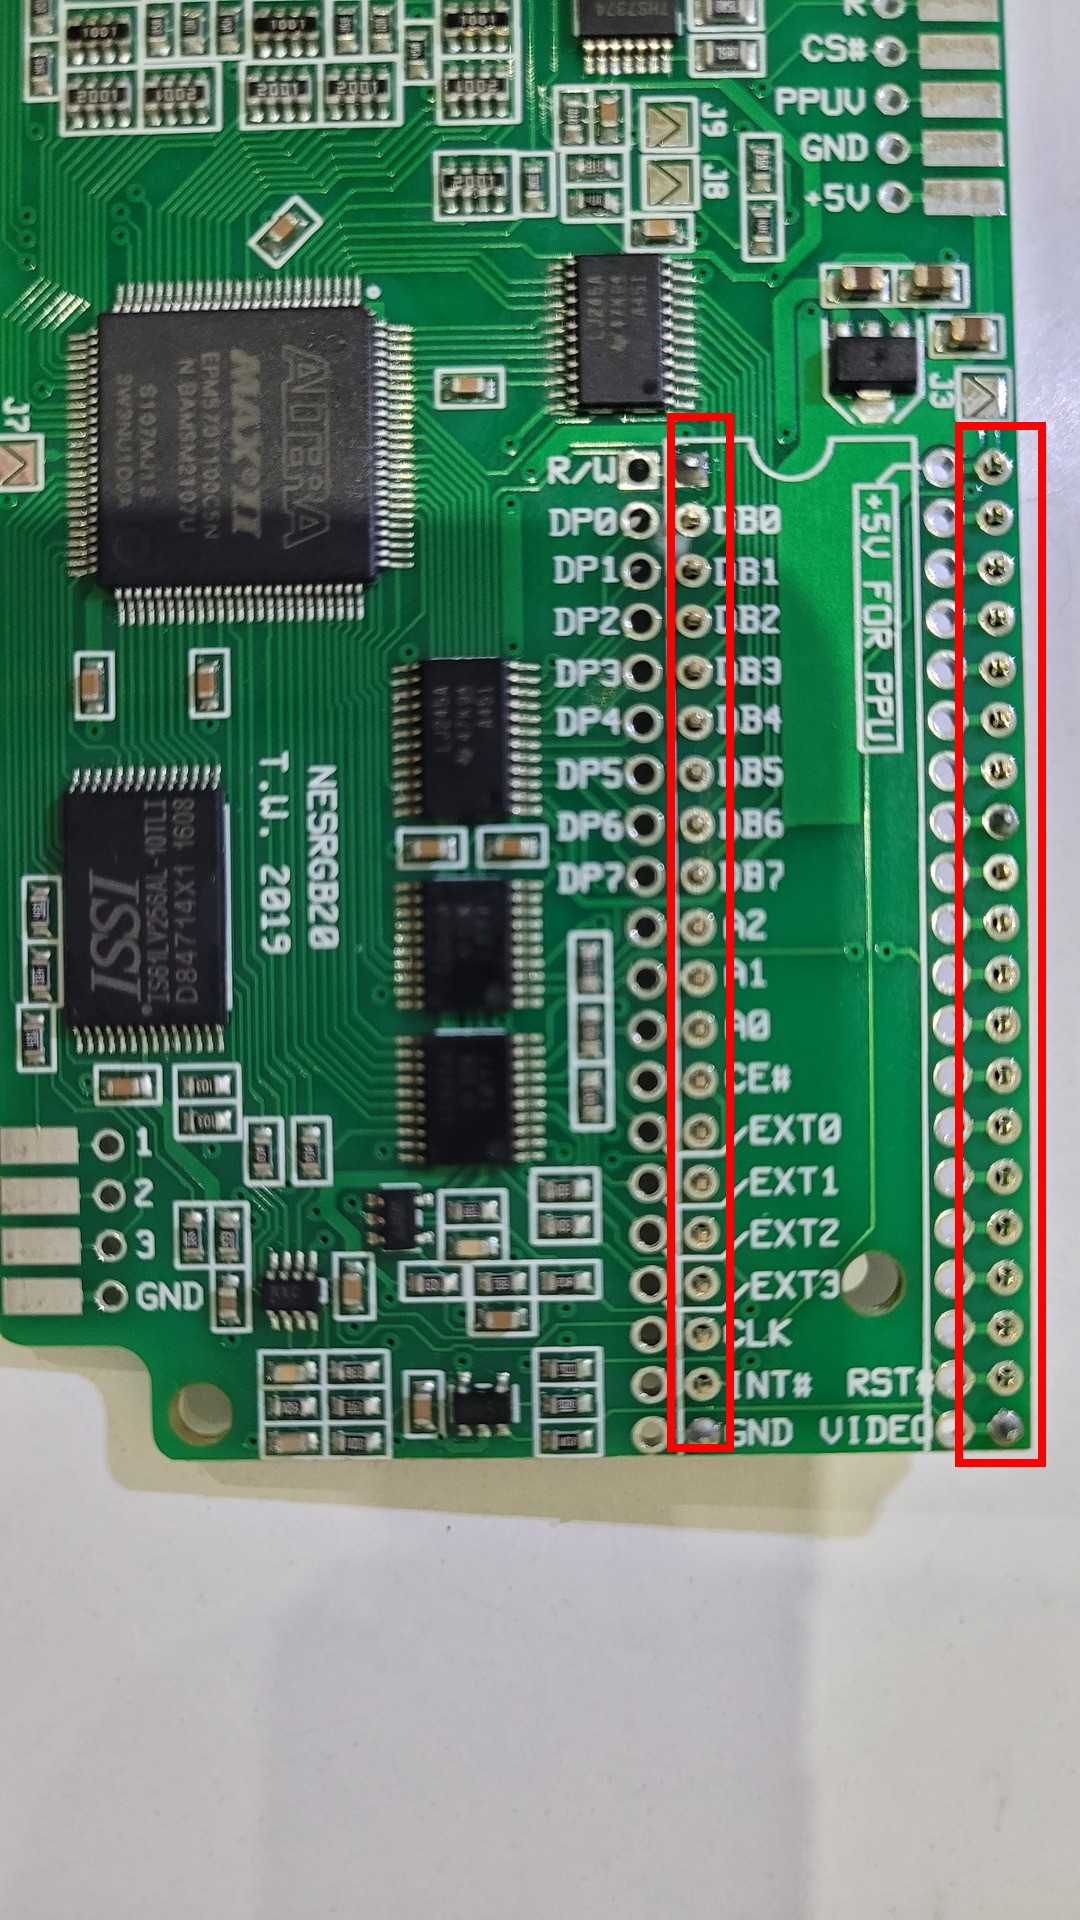
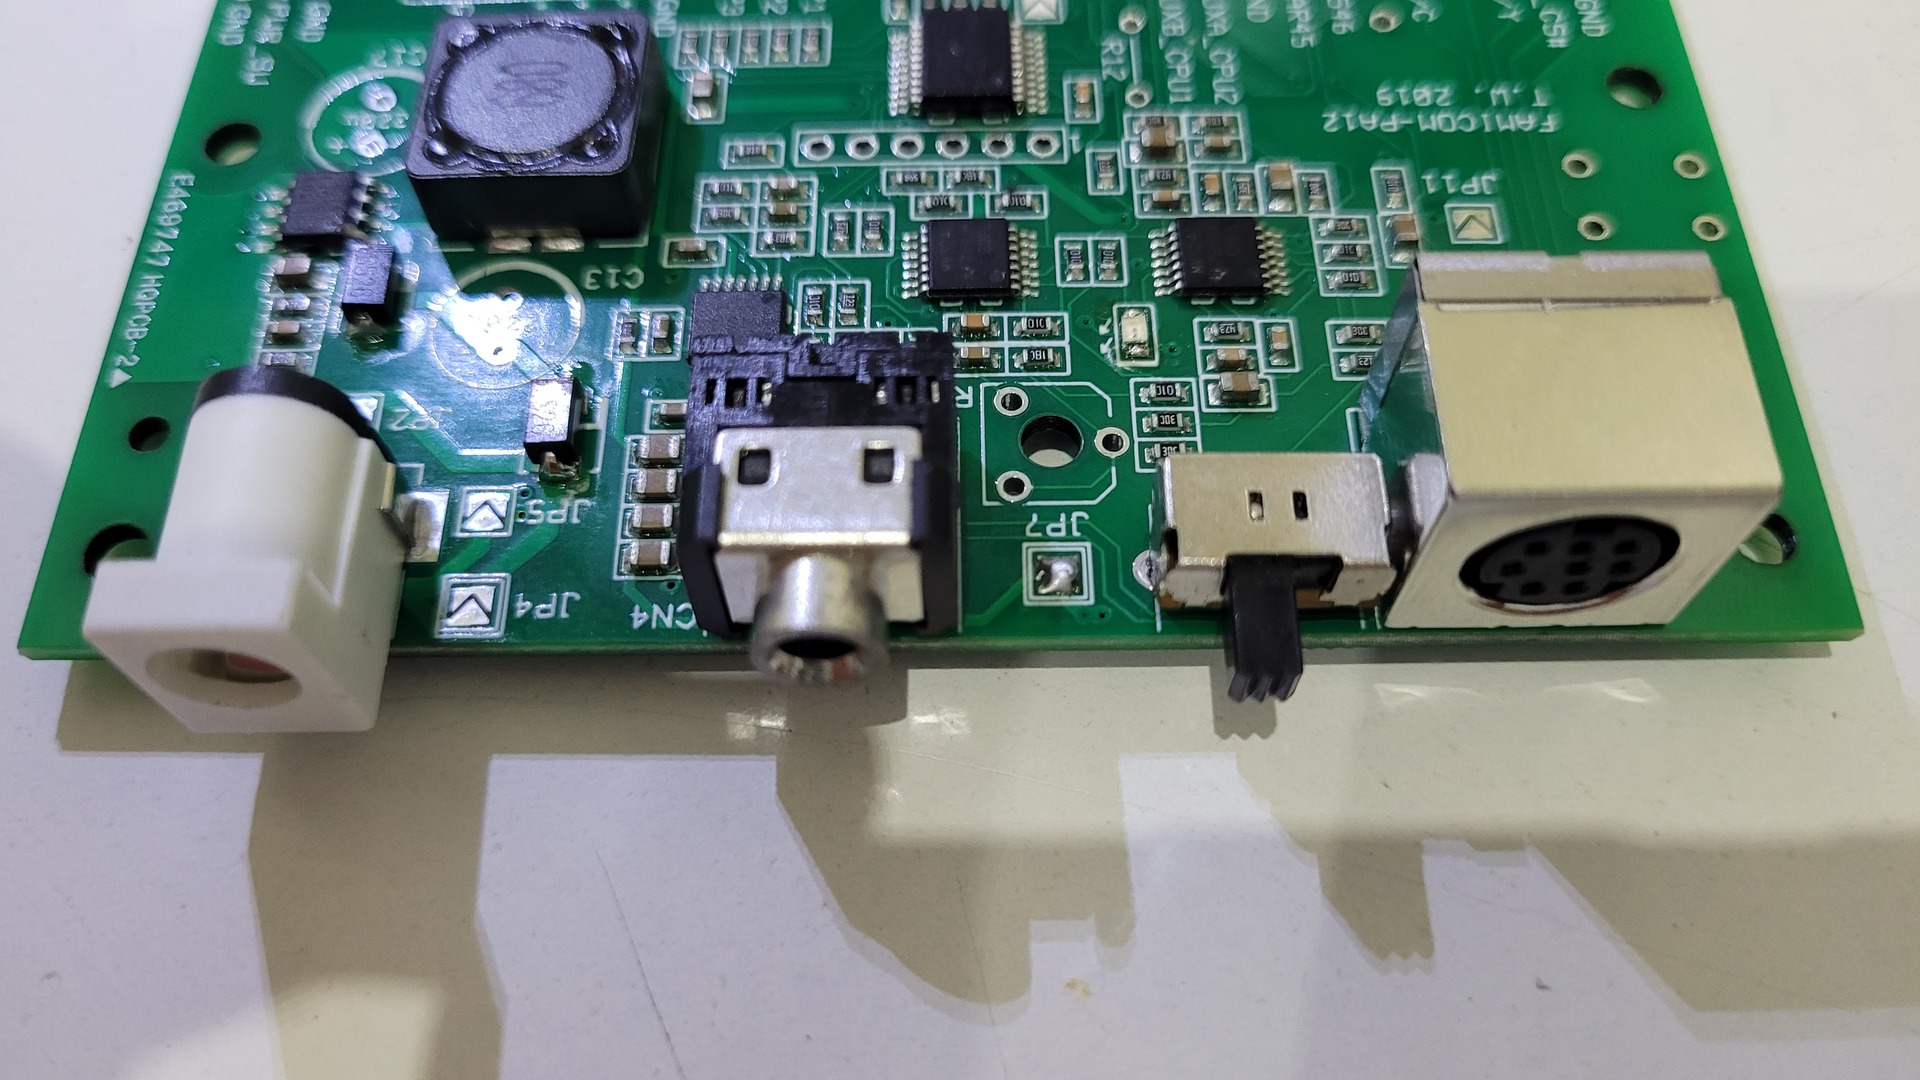
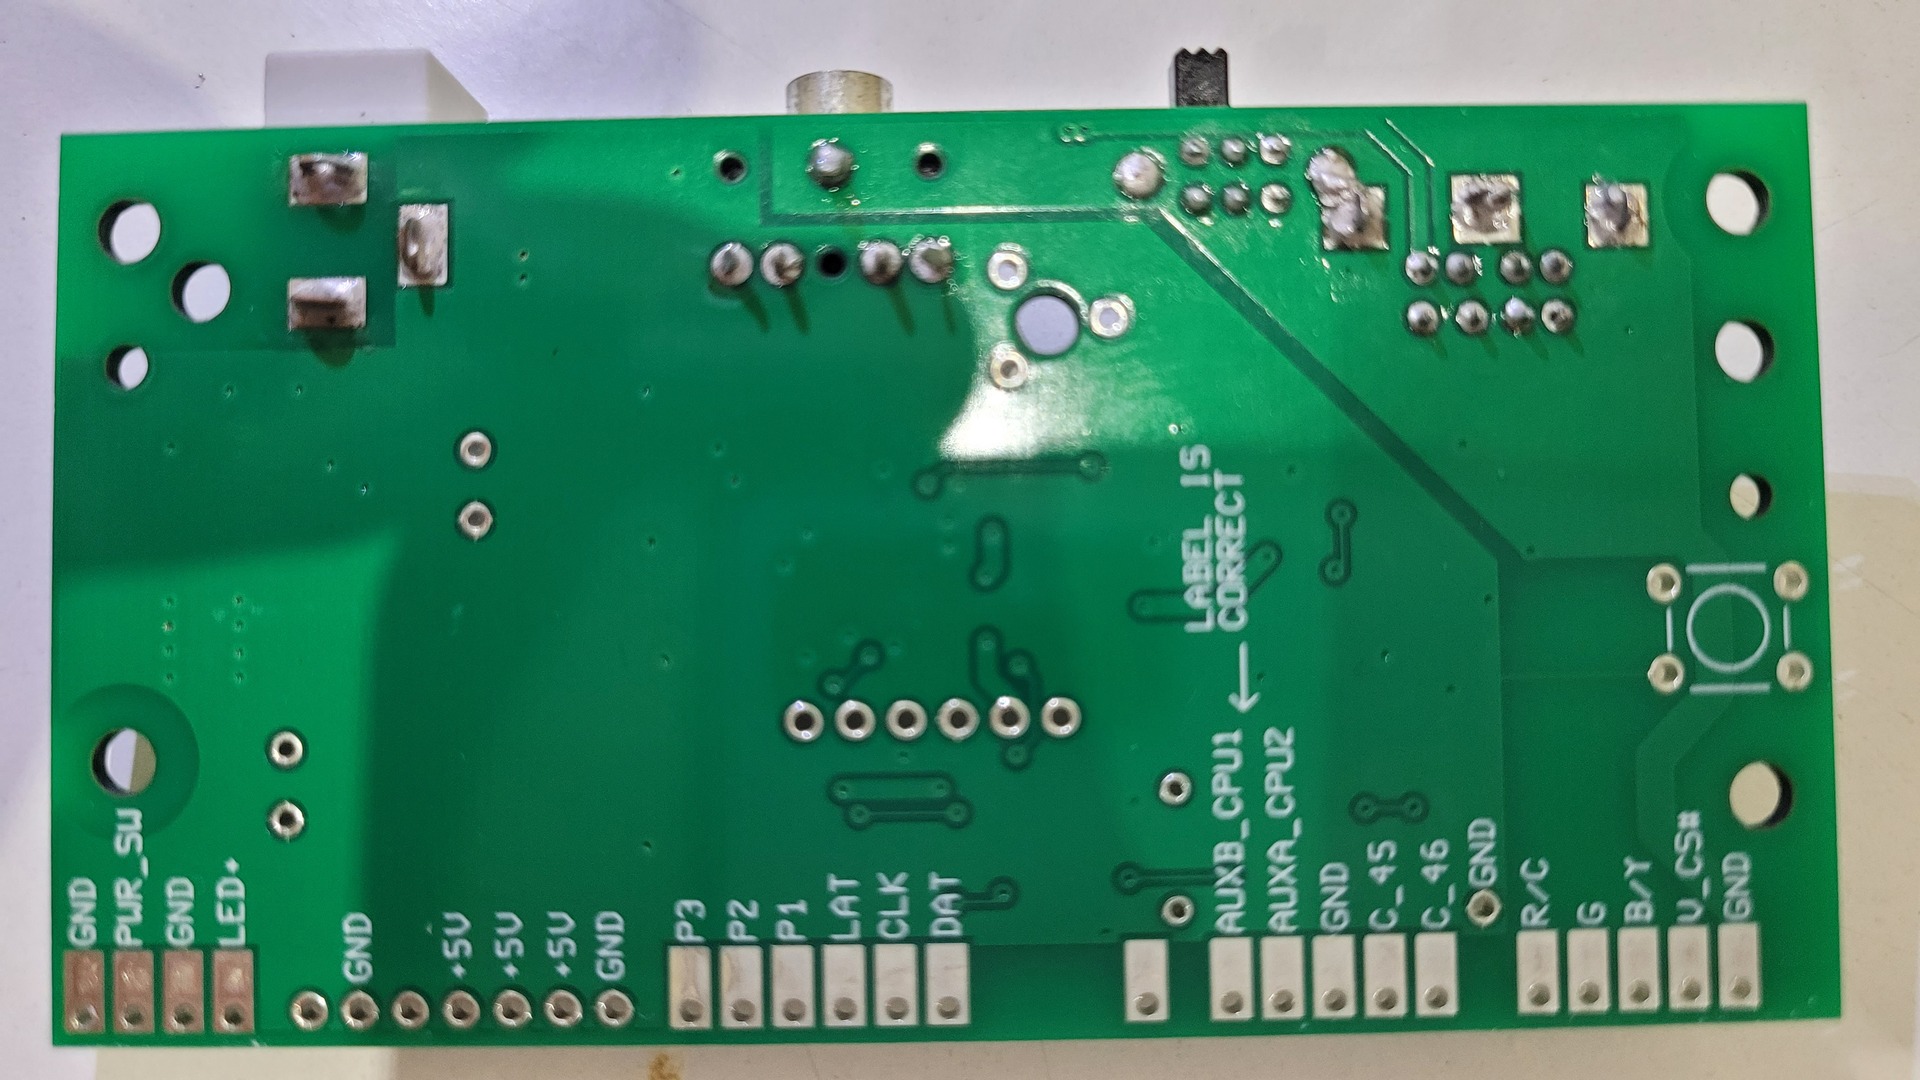
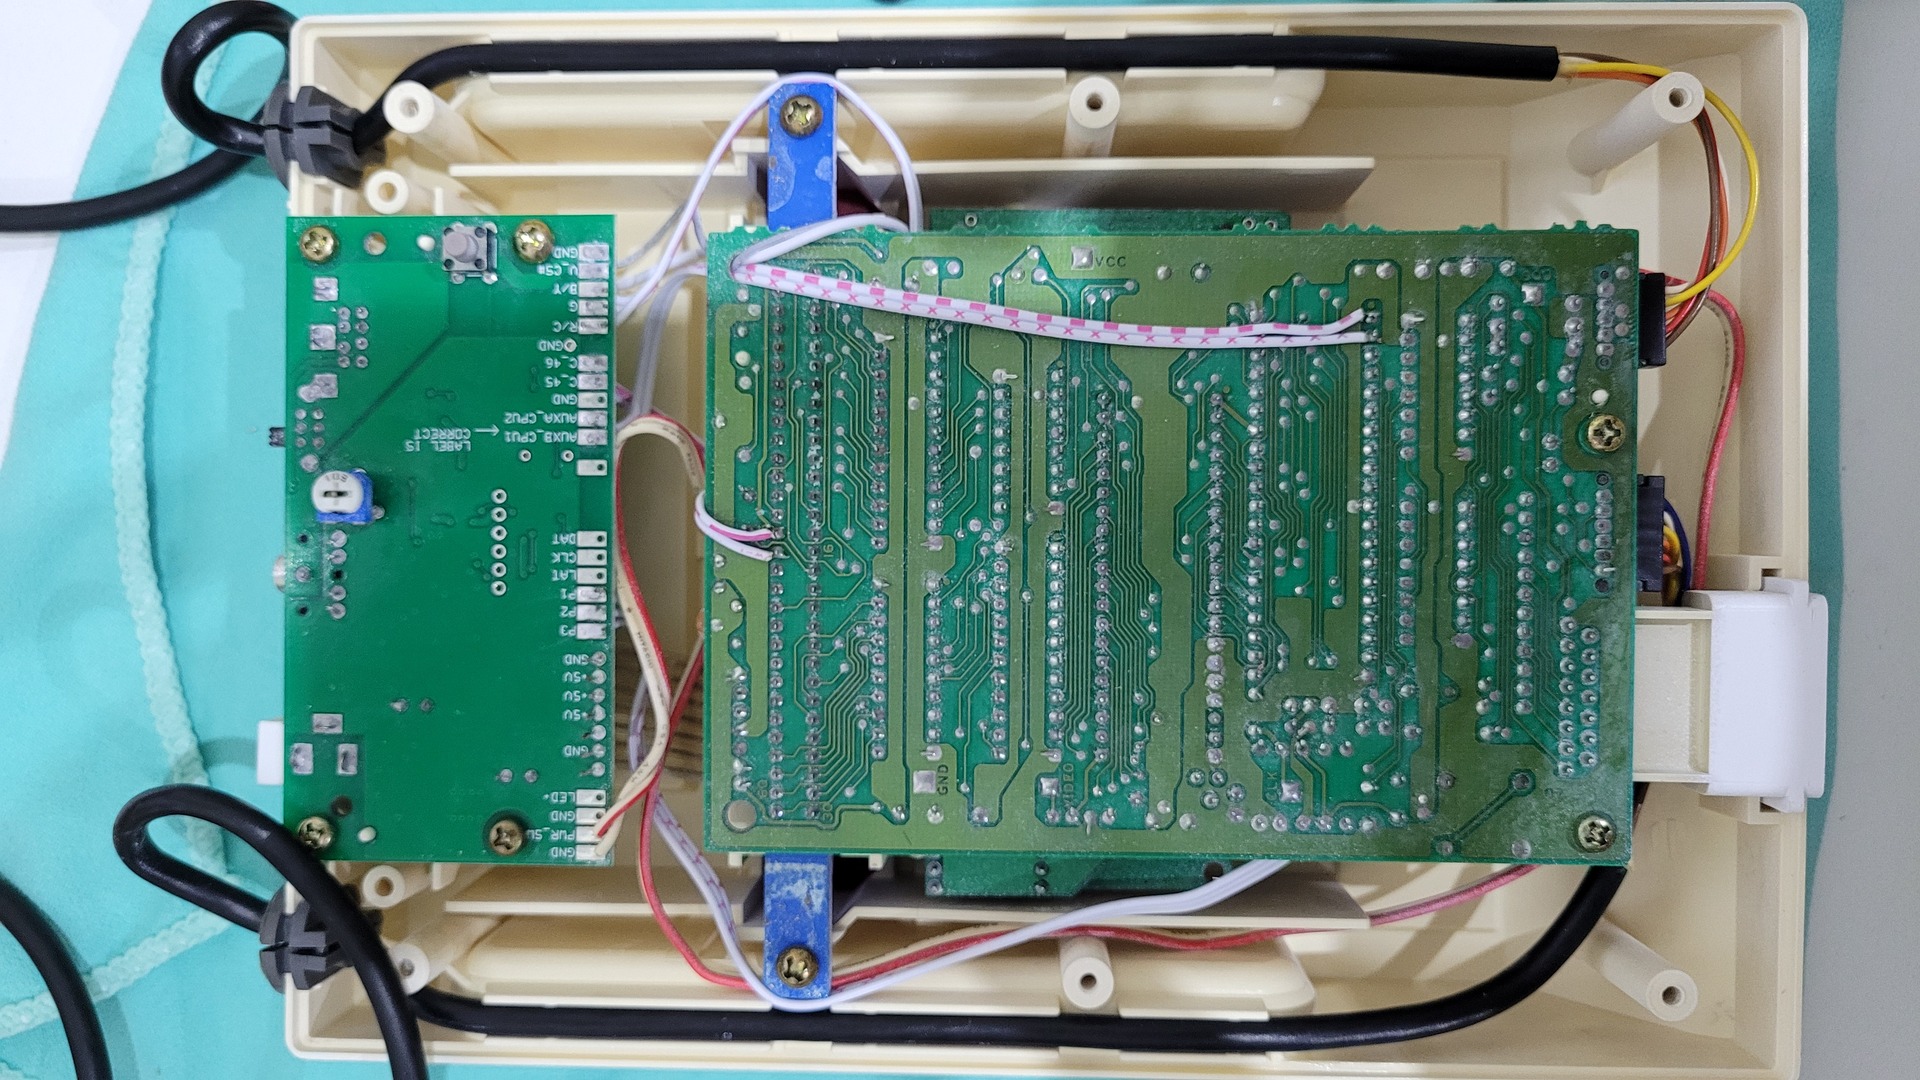
Power/connectors board
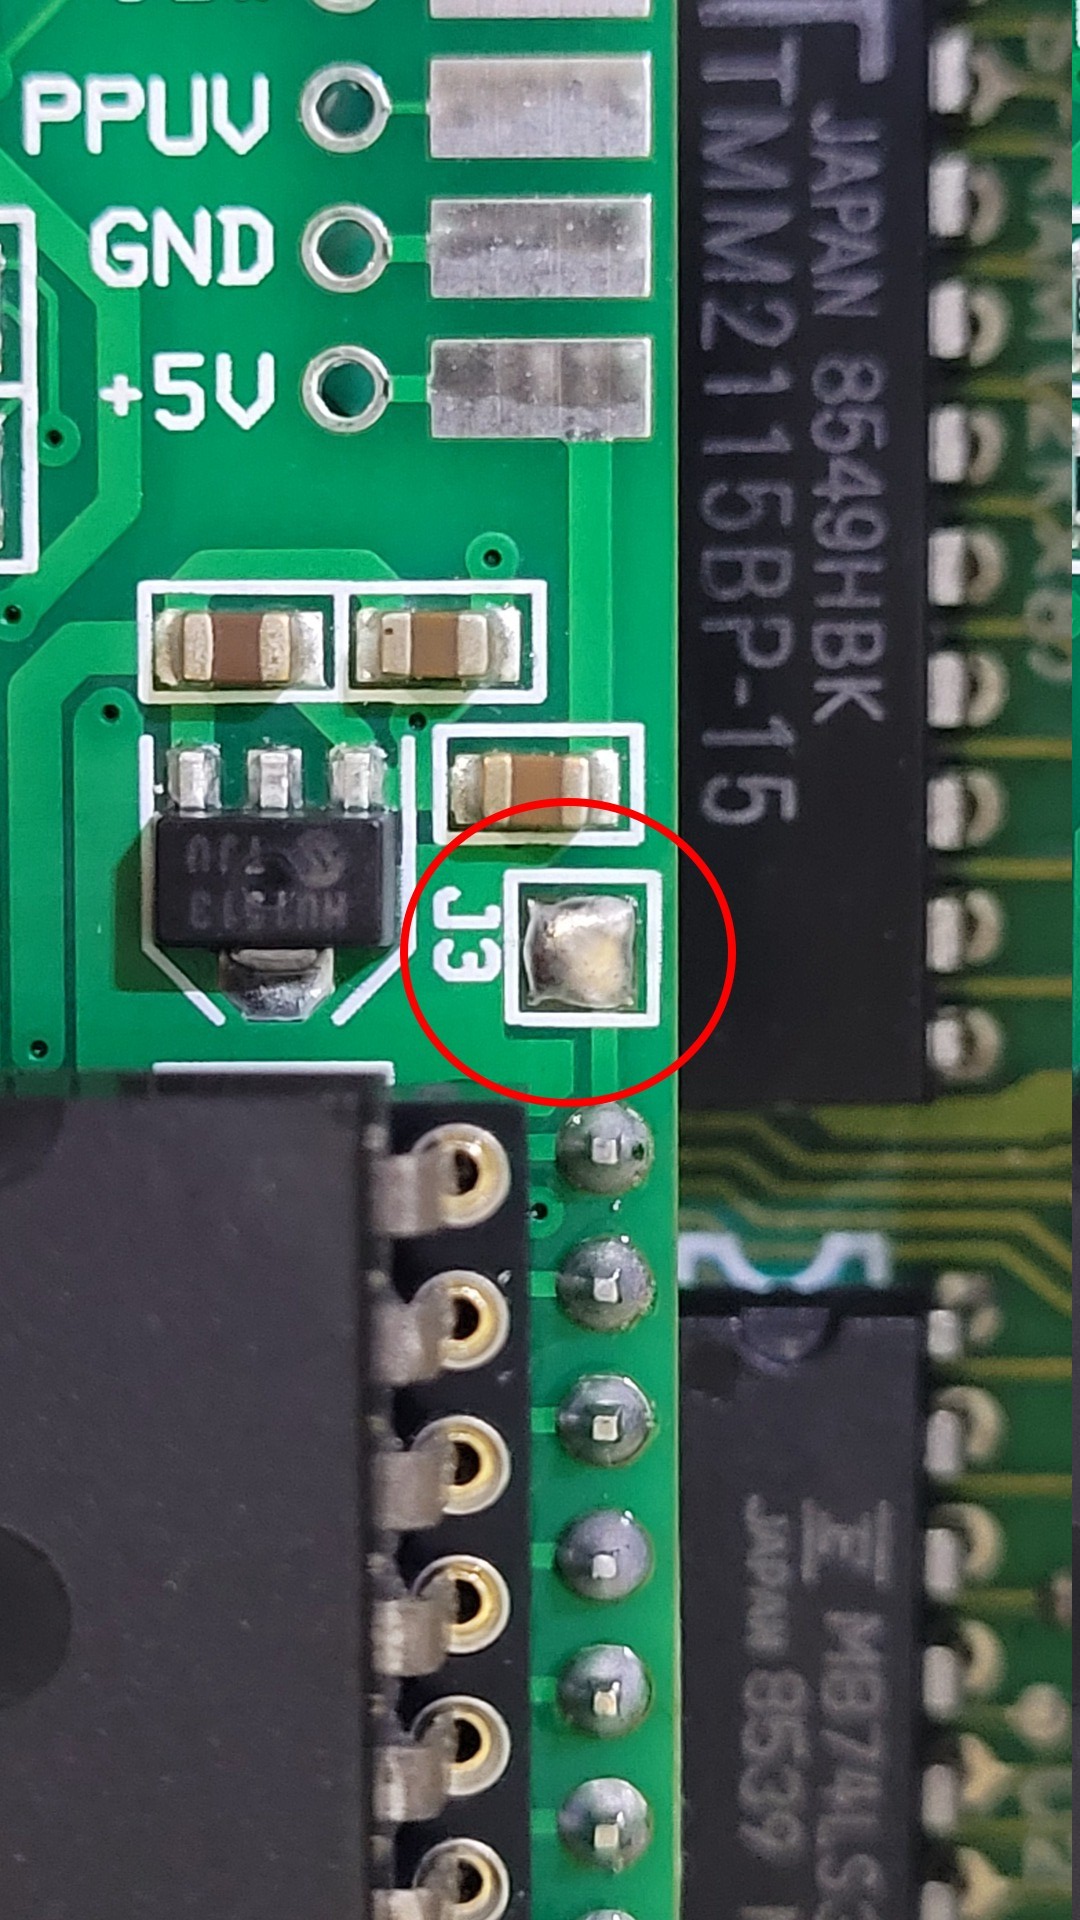
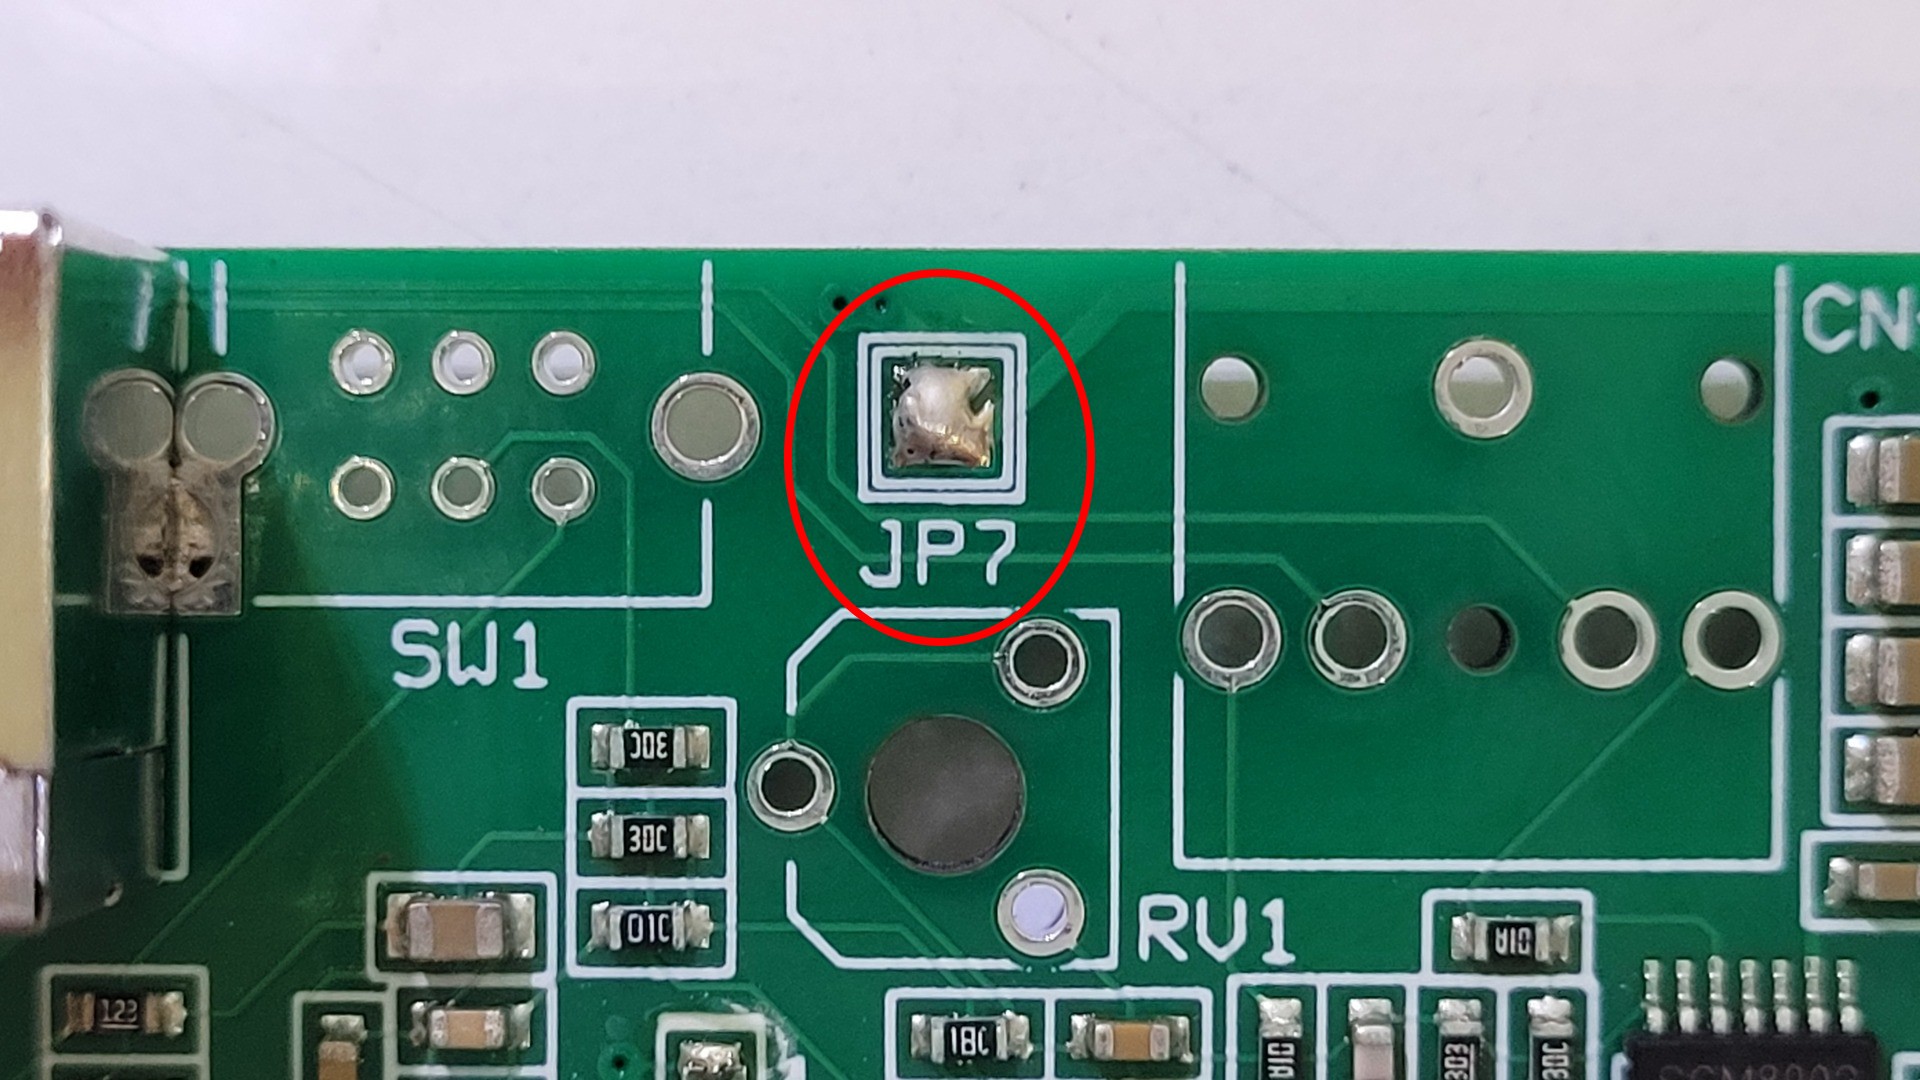
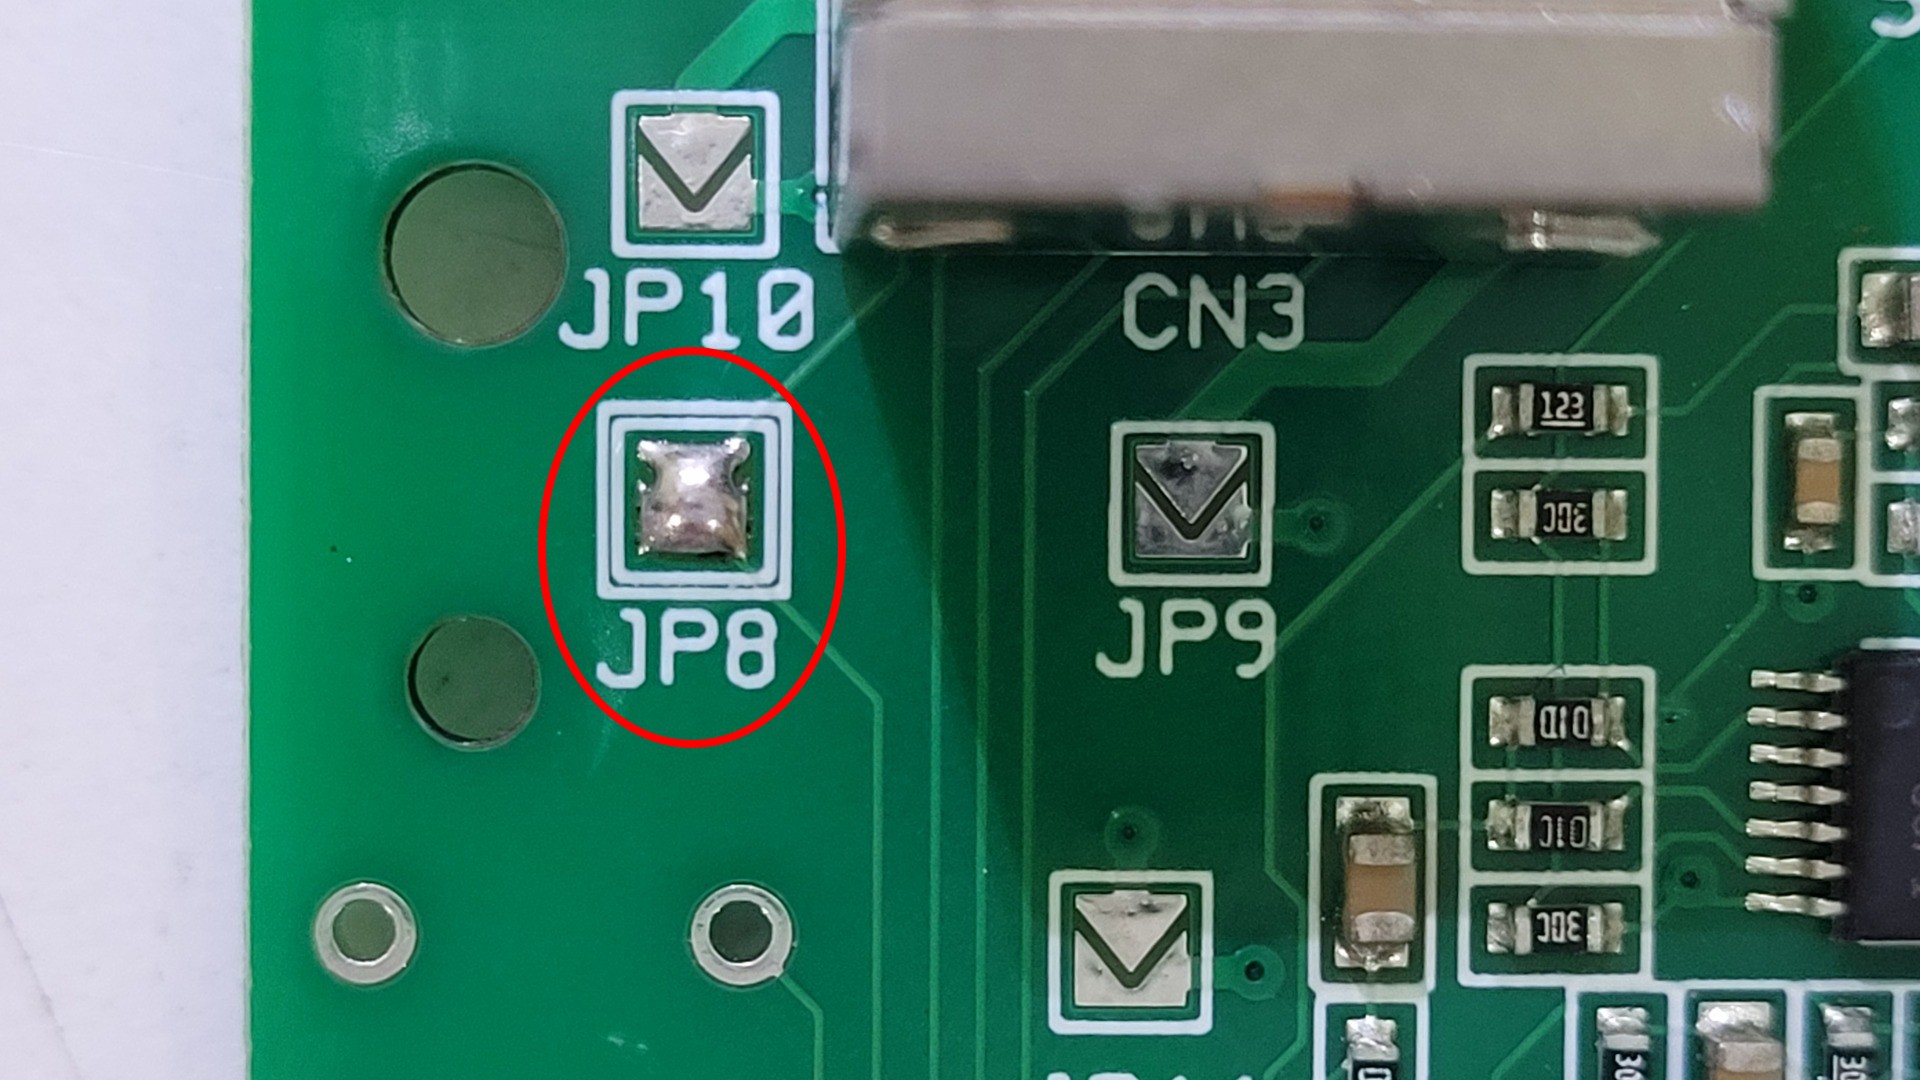
The IO board comes nude and all connectors have to be soldered. As I wanted RGB output, I did not use the Svideo connector and I bridged JP7 and JP8
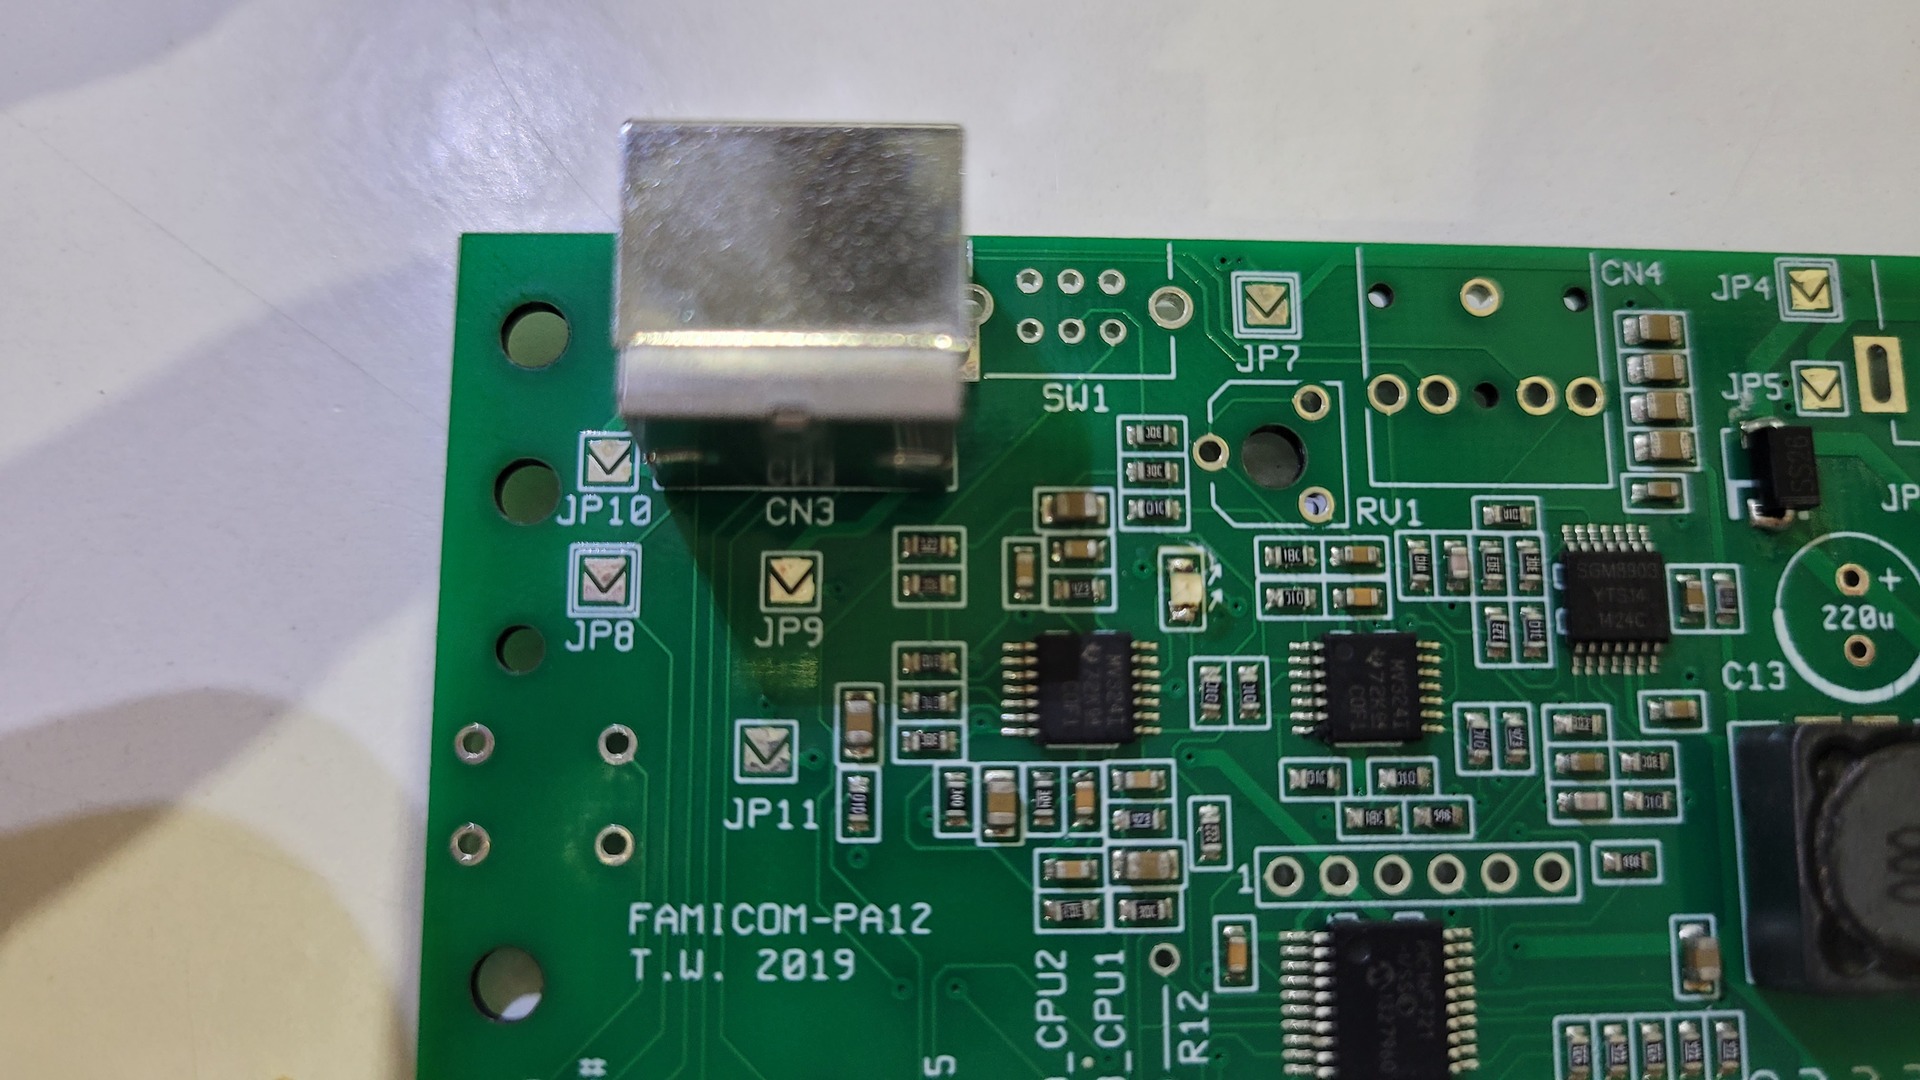
The board comes with a 3.5mm stereo jack for audio output. It is less usefull with RGB video out as the connector output both video and audio. But it may be interesting to use this output to record sound while displaying on a CRT for example. The switch is only usefull if you own or plan to use an everdrive.
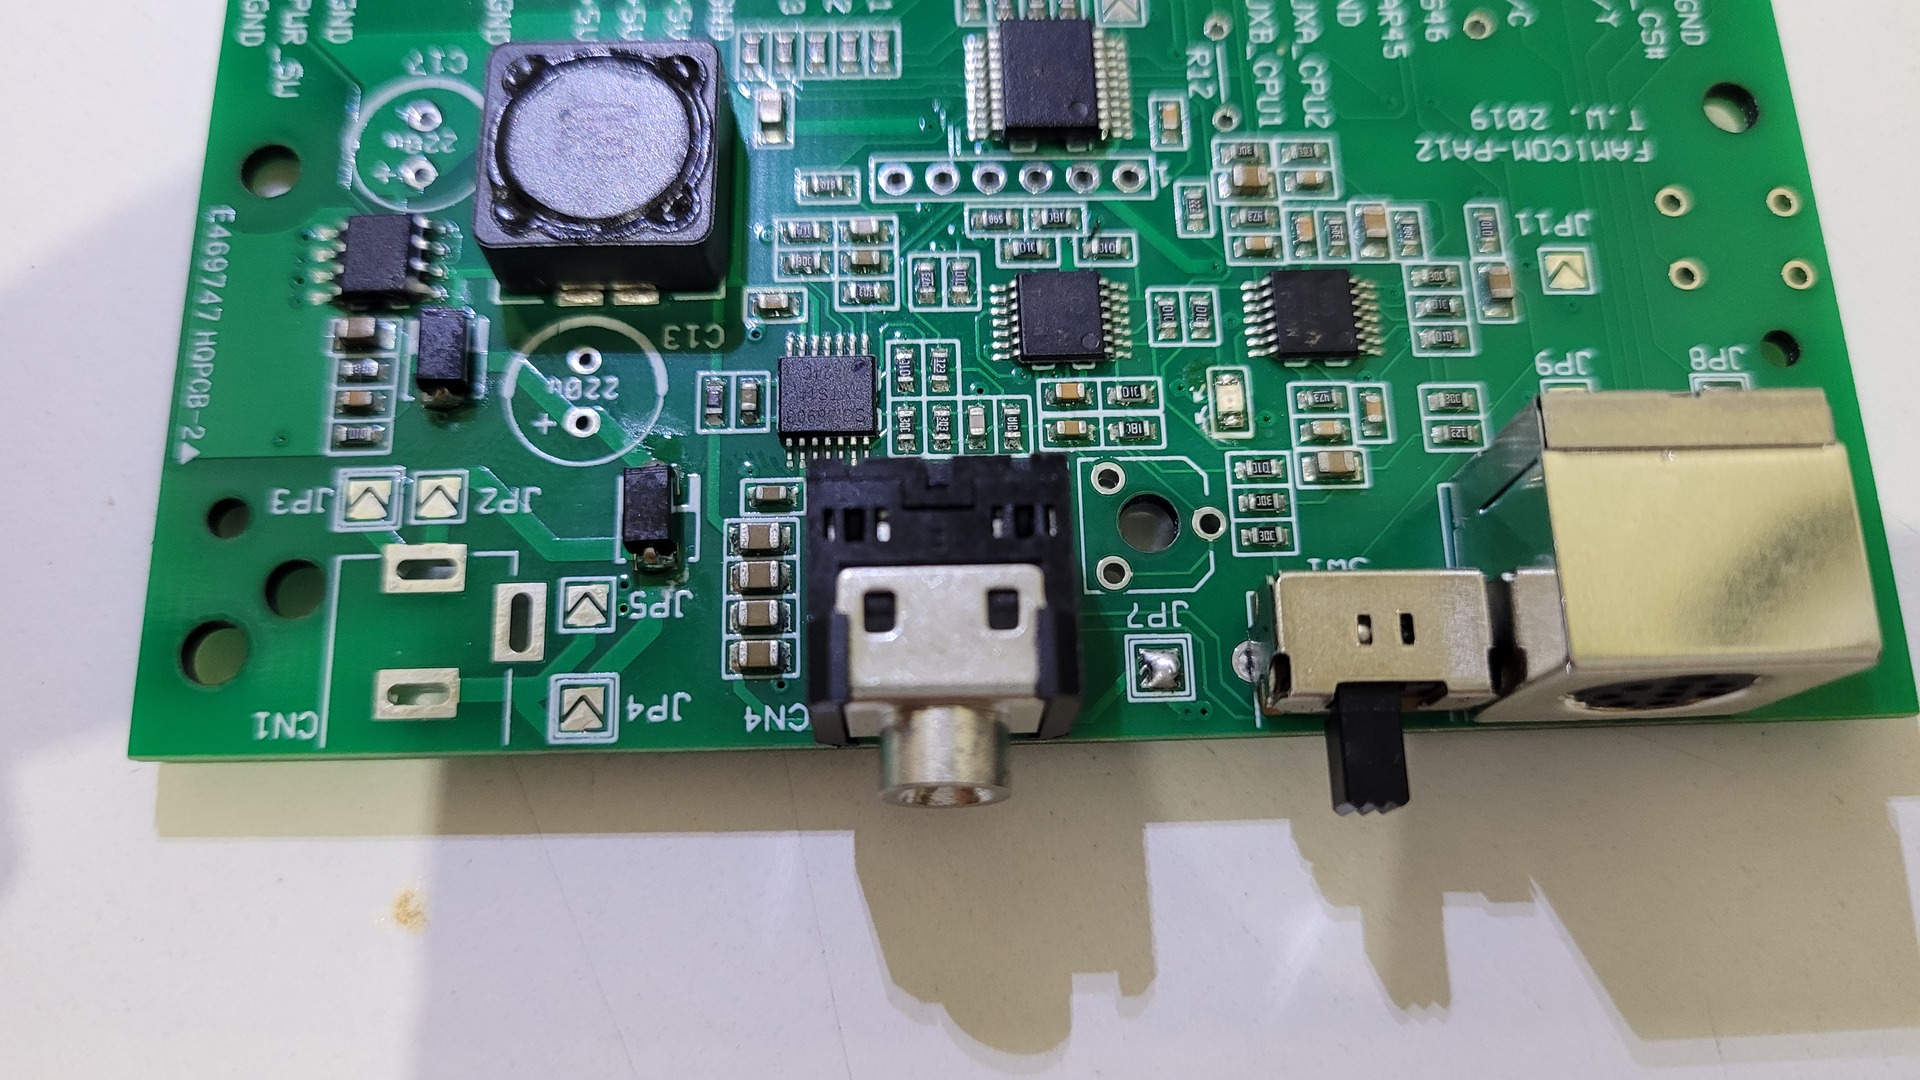
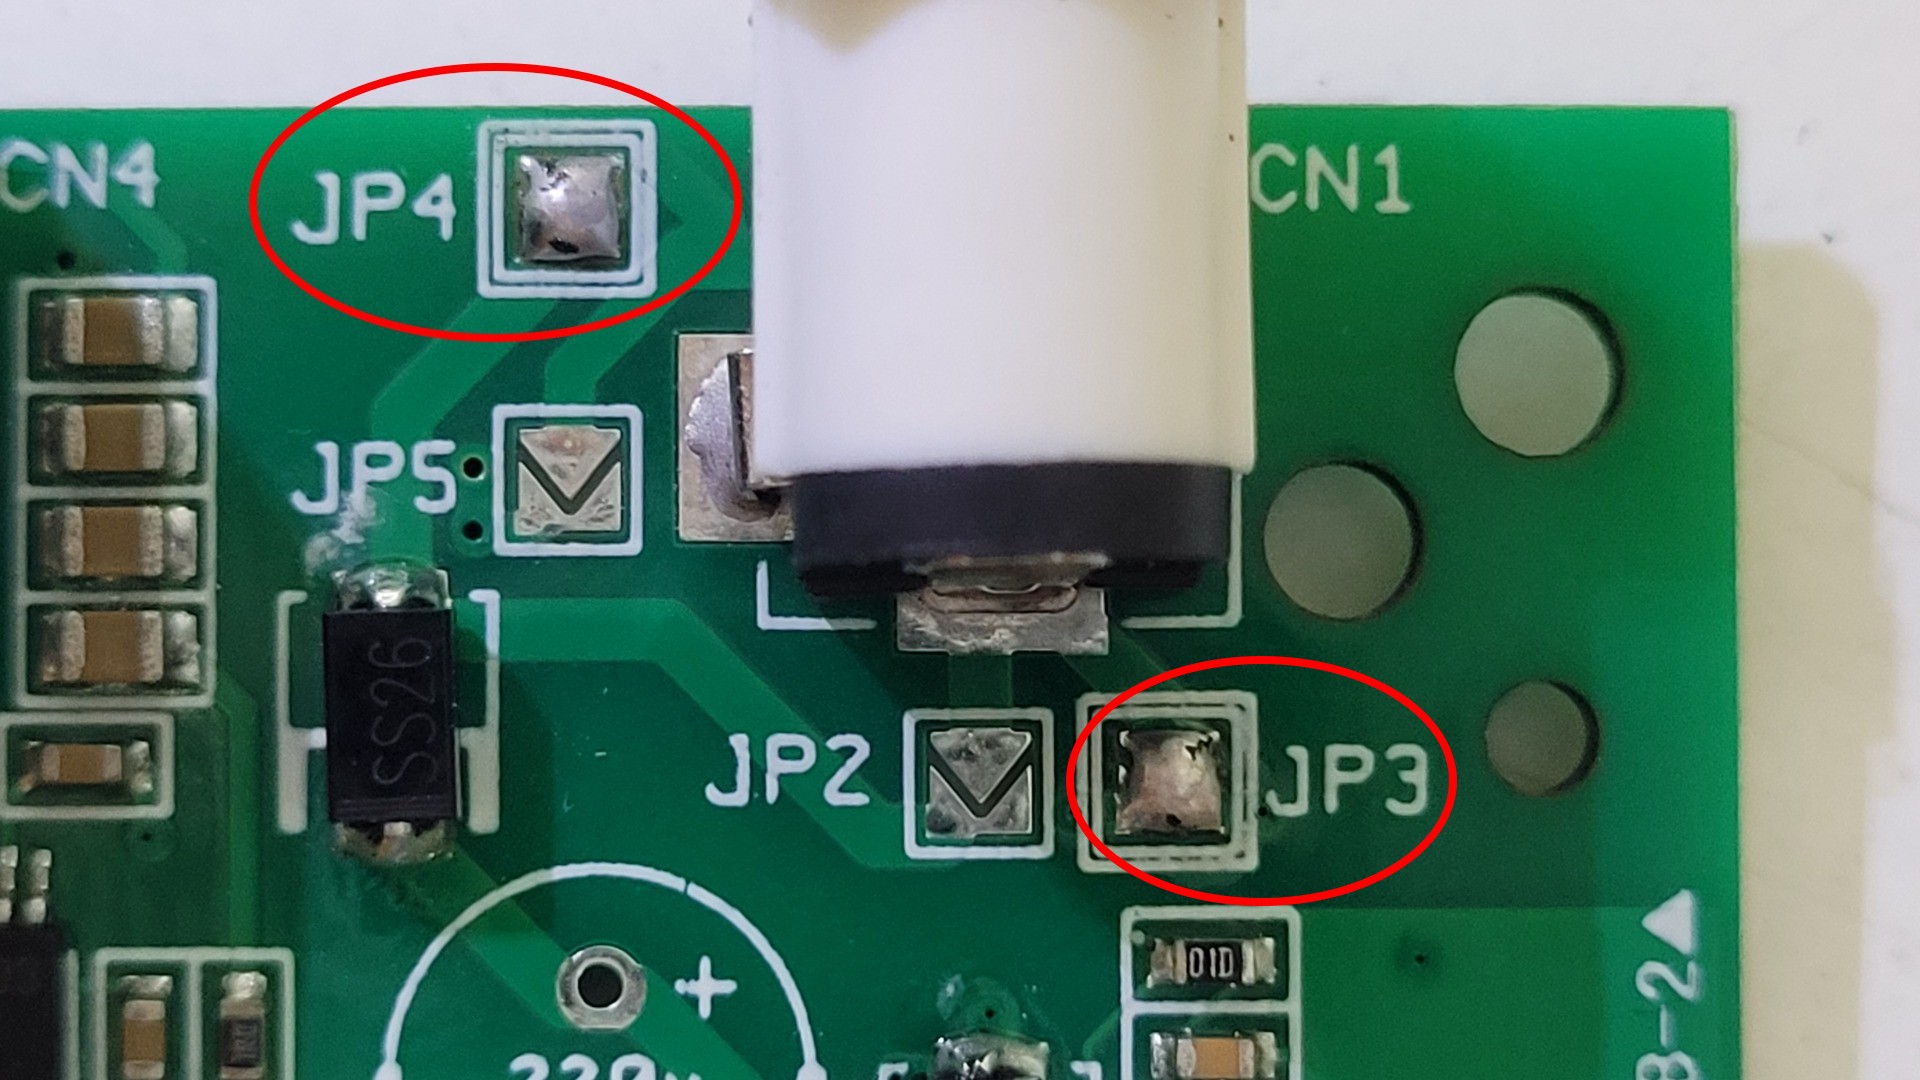
The power input can be configured for center positive or center negative connector. As I already have a center negative power adapter, I soldered JP3 and JP4.
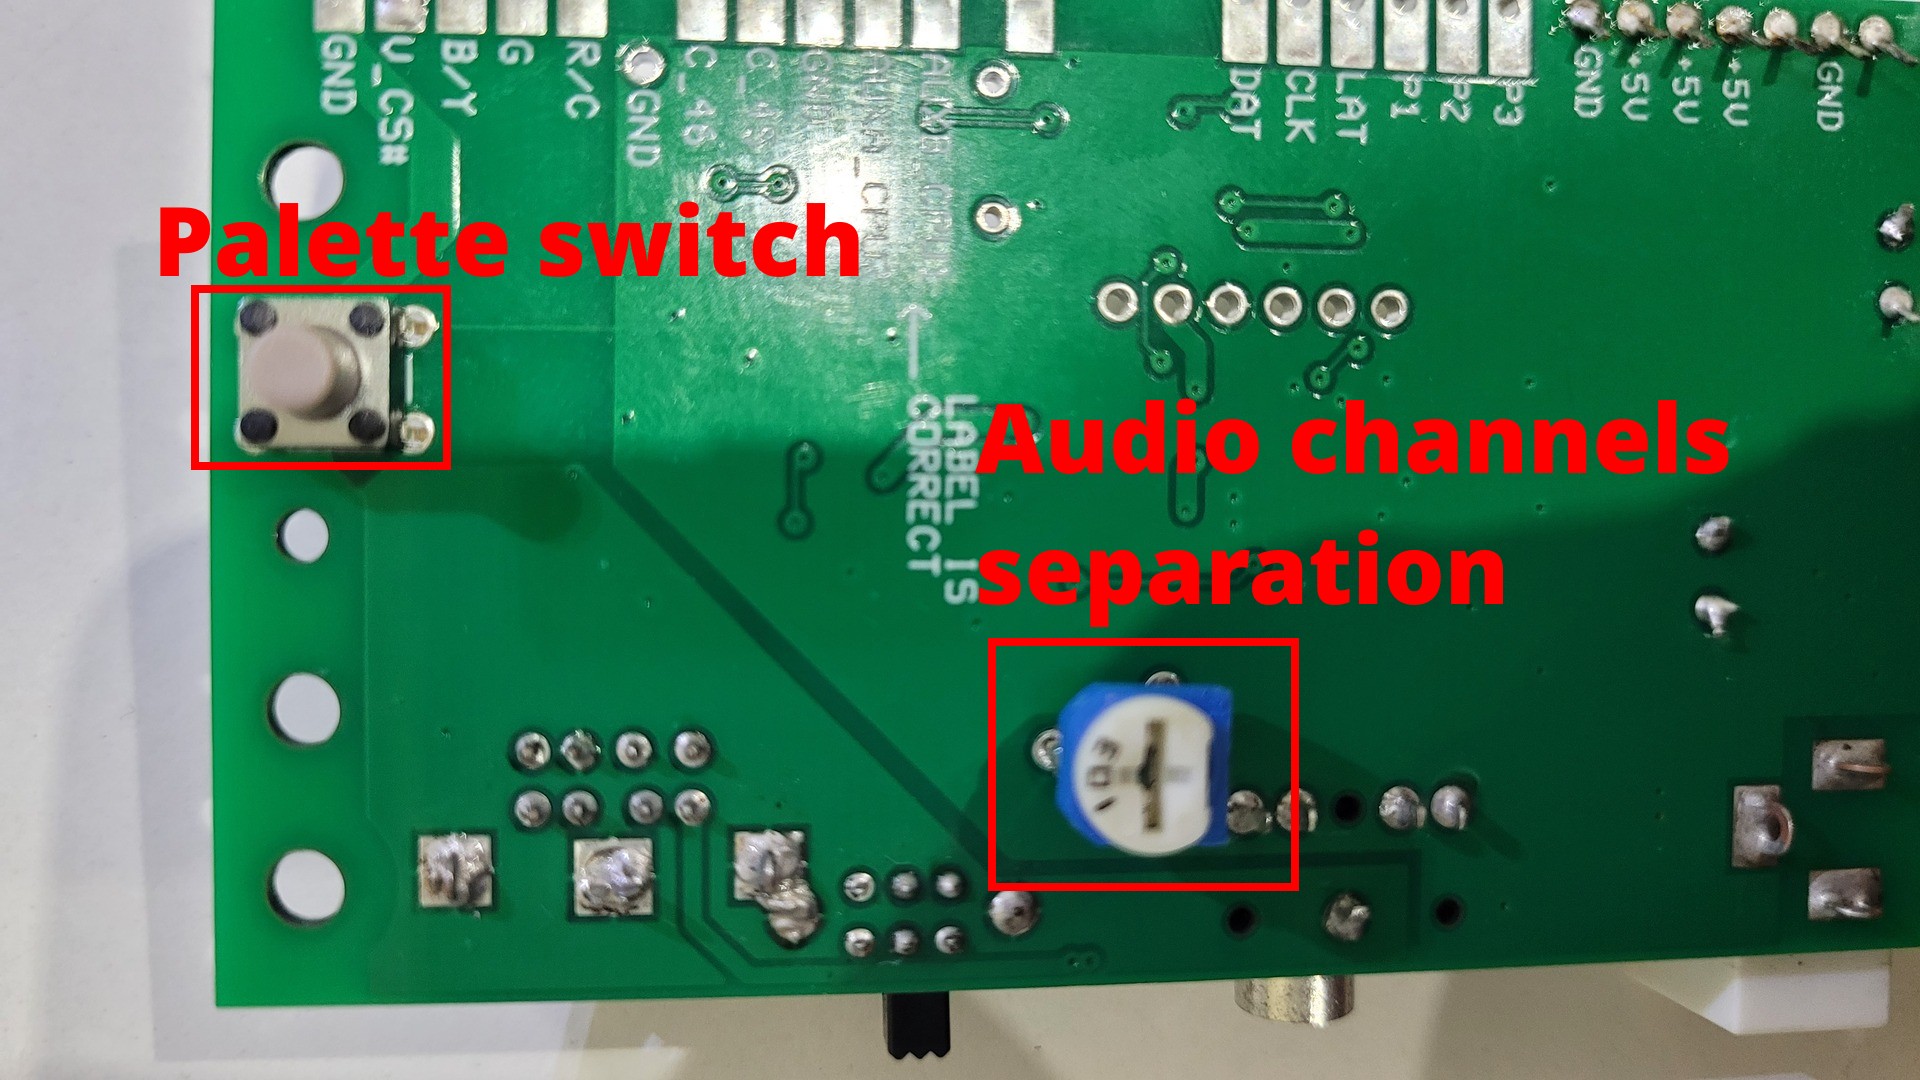
The board also provides 2 controlers : one for the color palette and one for audio channels separation. The color palette switch allows to choose from 3 differents type of palette (I show this on the video below). The audio channels potentiometer allows to choose how to mix the 2 audio channels that come from the CPU. You can adjust it from full stereo separation to original mono ouput. Even if the Famicom has not been designed to output stereo sound, I actually found it interesting to tune this potentiometer to have a light left / right separation (I show the differences on the video below).
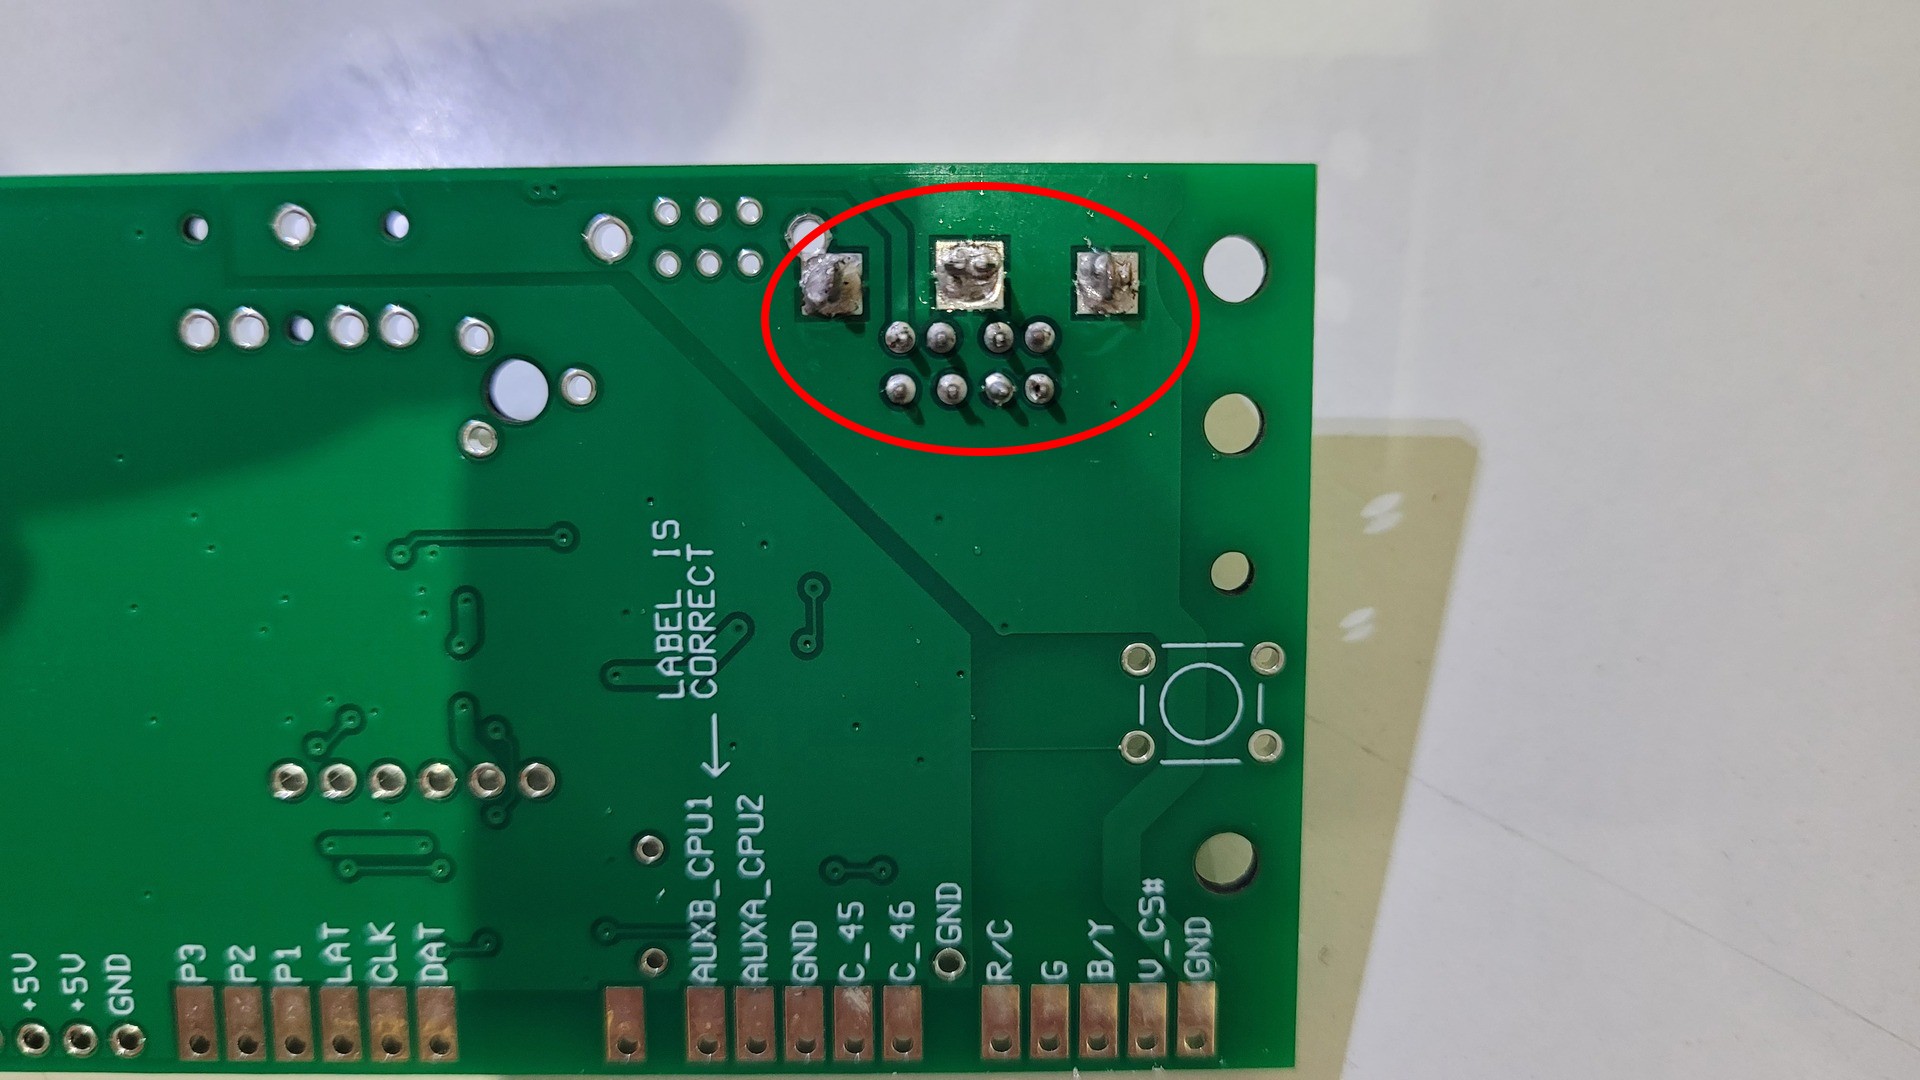
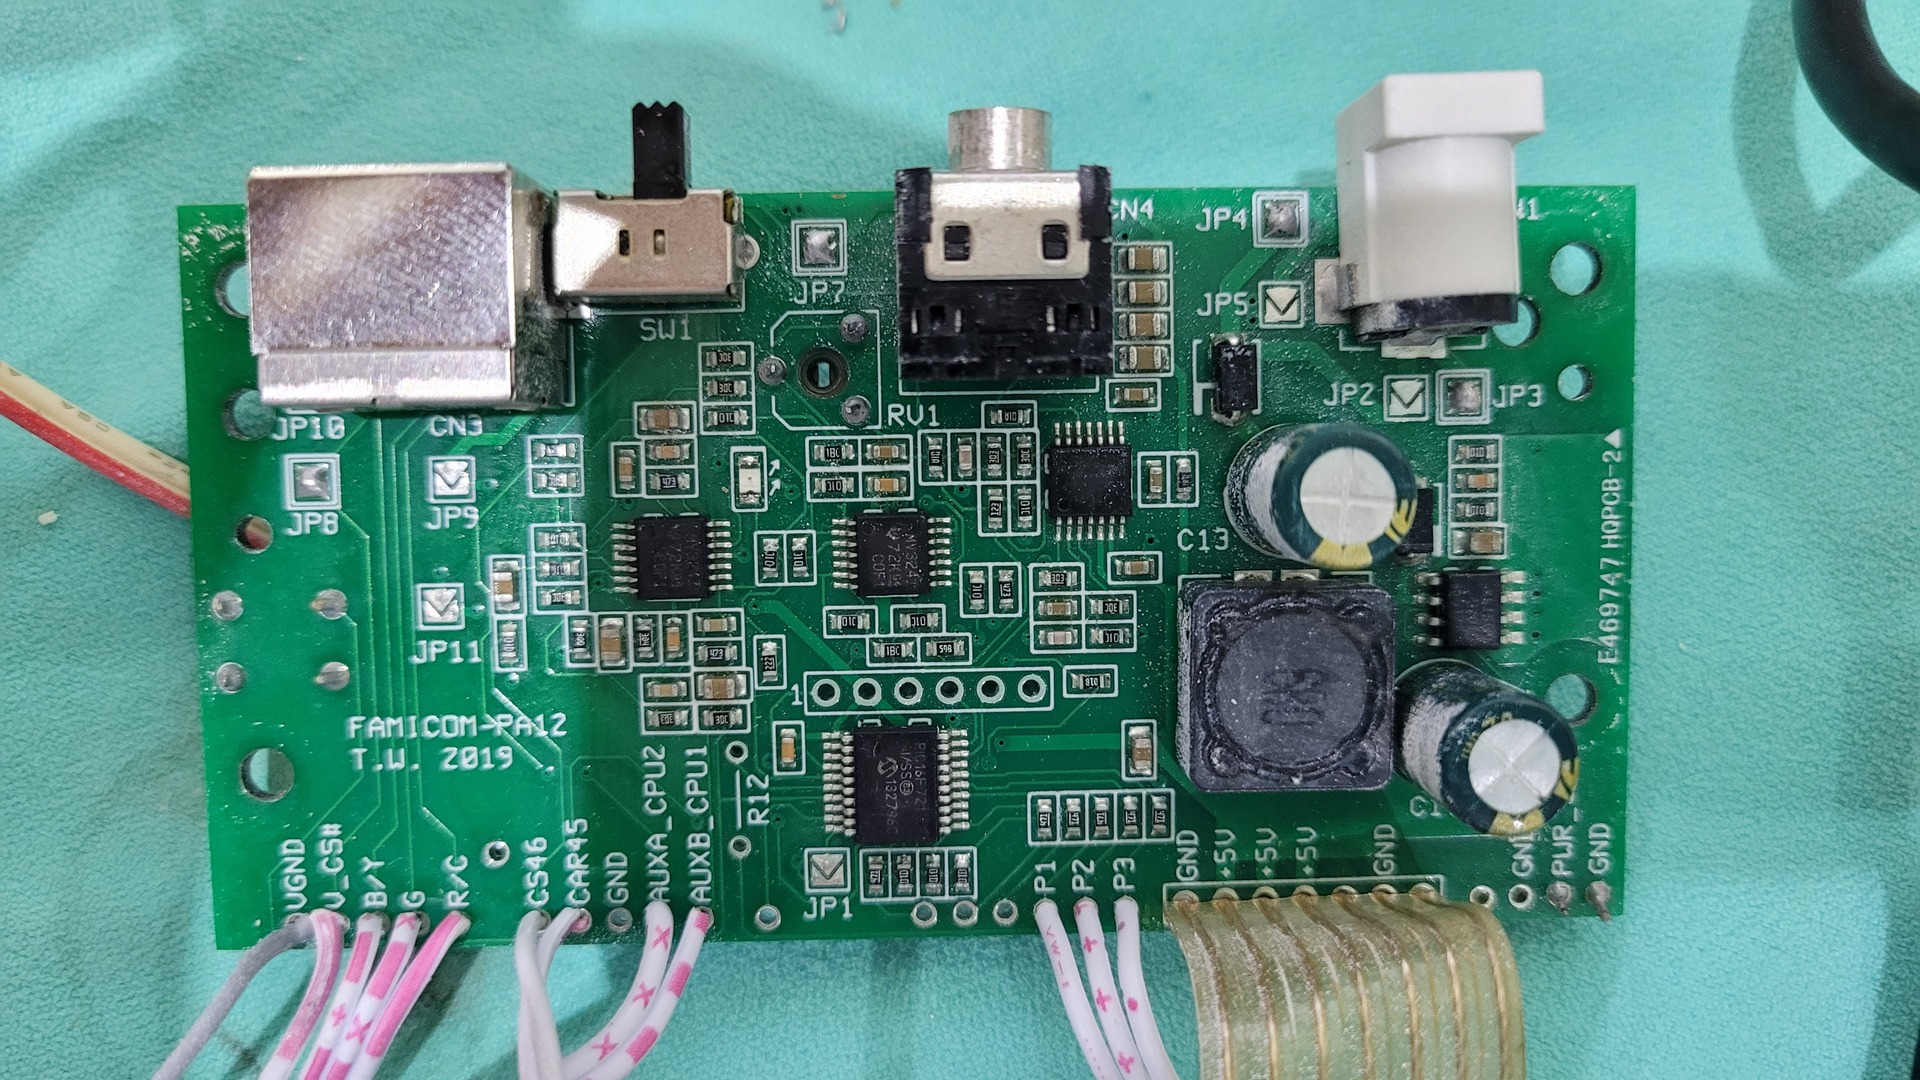
Wiring
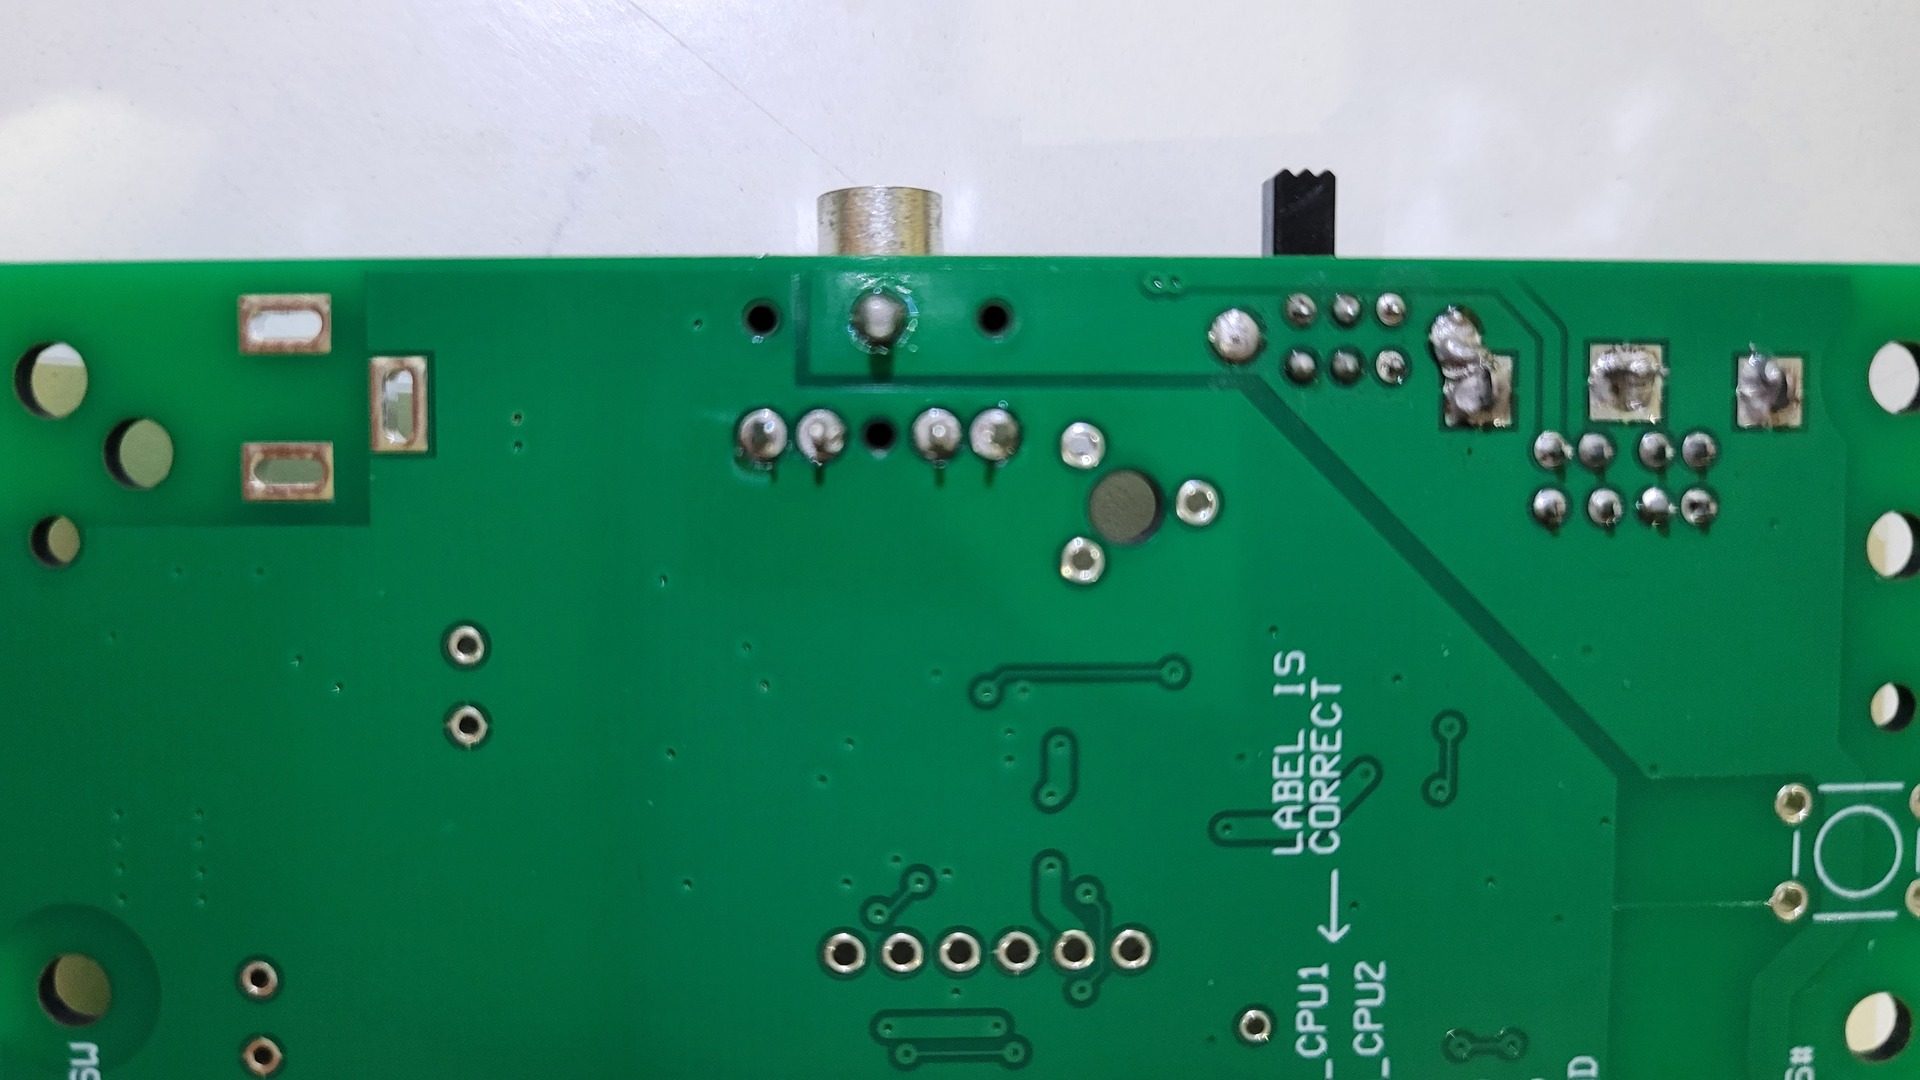
When the two boards are finished, obviously you have to solder some wires to pass power, audio and video signals from NesRGB to the Power / IO board

Note that the NesRGB kit does not come with a RGB nor Scart cable. And this is not a small detail. You can do a cable yourself, but the min din connector is not that easy to handle. The pins are small, very close to each other and if you heat them to much, the plastic starts to melt and the pin can become miss aligned.
A good cable can be purchased from Retrogamingcable but it’s not cheap at all considering that you will probably have to add local VAT and customs fees in addition to the already high shipping costs. Definitly, NesRGB for the original Famicom is marvelous but pretty expensive !
